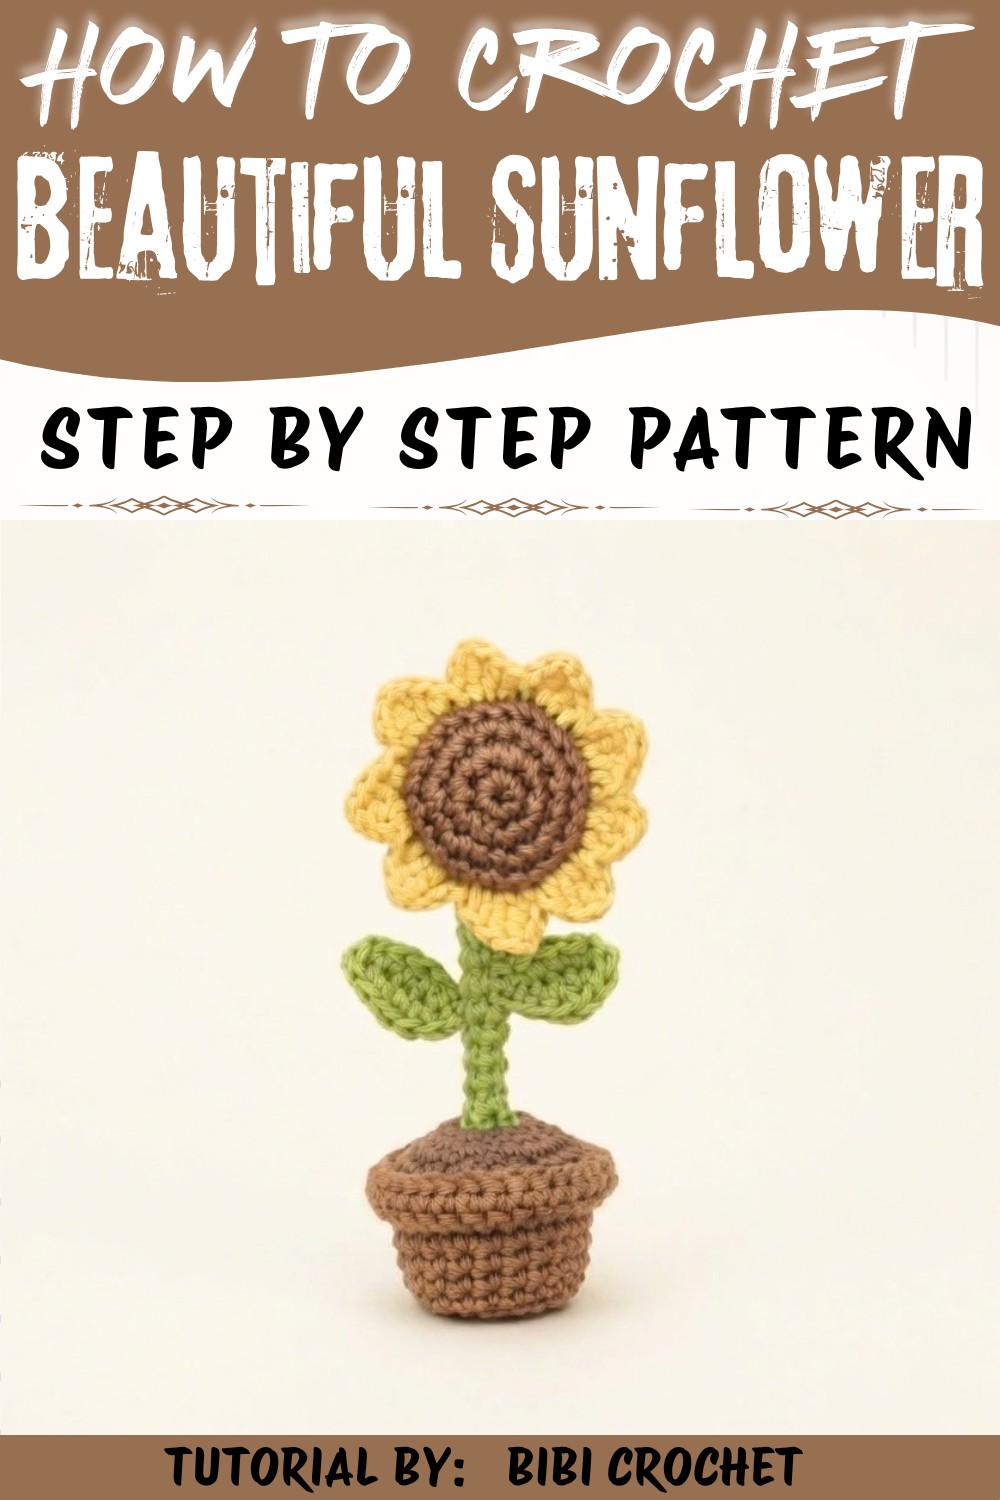
Bring sunny charm to your home with this Crochet Beautiful Sunflower Free Pattern featuring bright petals and a beautiful natural look.
A bright sunflower sitting proudly on your table, its golden petals open wide as if smiling at you. This charming sunflower looks so real and inviting that it can instantly brighten any room. The rich yellows and earthy browns bring a touch of sunshine indoors, perfect for decorating kitchens, living rooms, or even as a sweet gift for friends. The lovely stem and leaves add a natural feel, making the flower complete and full of life. The beautiful result you see comes from the wonderful Crochet Beautiful Sunflower Pattern, thoughtfully designed by Bibi Crochet, whose step-by-step tutorial on the original YouTube channel deserves full credit.
Fresh Crochet Beautiful Sunflower Free Pattern for Flower Lovers
This sunflower serves as more than just decoration. You could use it as a coaster holder, a cheerful brooch, or even an eye-catching accent for bags and hats. Its neat, tight stitches give it a durable yet soft texture that holds the shape perfectly. Thanks to the detailed guide, making this sunflower can be fun and rewarding for anyone with some basic skills.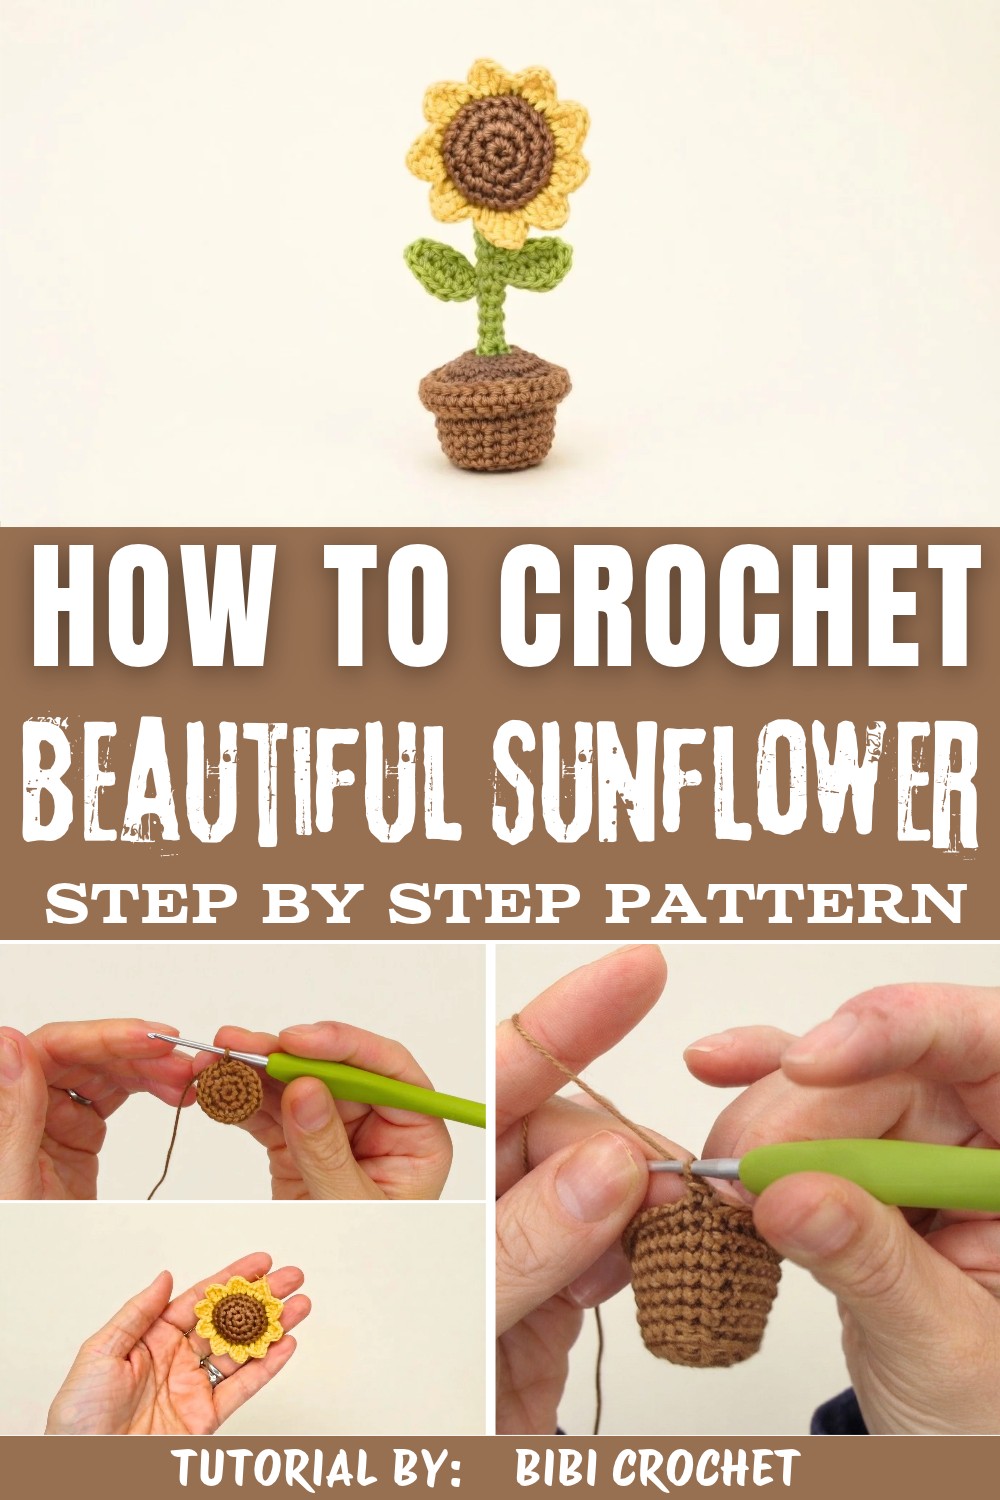
The Crochet Beautiful Sunflower Pattern is simple enough to bring joy to beginners while detailed enough to satisfy more experienced hands. The finished flower brings a smile every time you look at it, adding warmth wherever it goes. If you love sunflowers and want to add a bright touch to your space, take a moment to check out the free pattern by Bibi Crochet. Let your creativity bloom just like this beautiful sunflower.
Charming Crochet Beautiful Sunflower Free Pattern
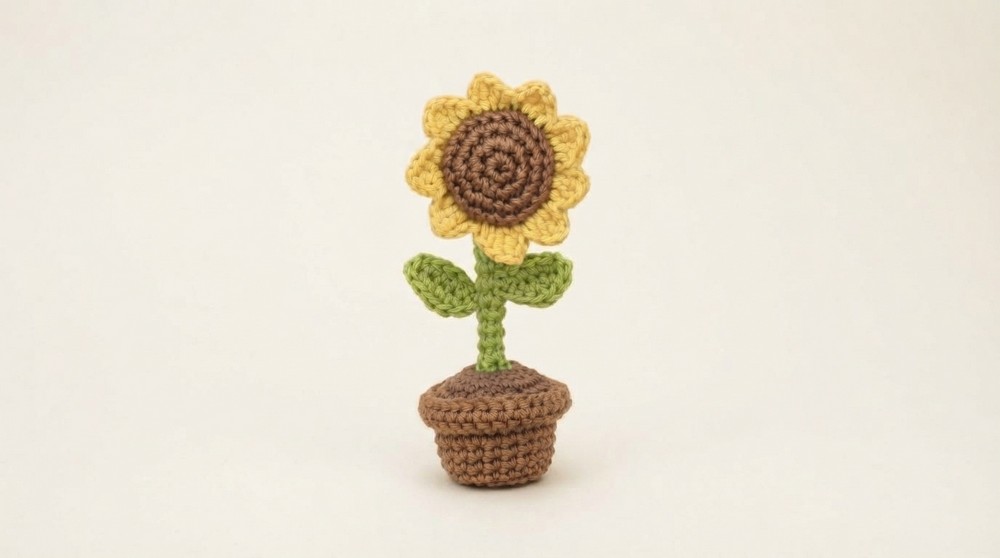
This adorable potted sunflower amigurumi is completed with a plush soil base, textured petals, and sturdy leaves, combining charming aesthetic elements. The project begins with the flower center, continues through the layered petal process, and moves on to the supporting stem accompanied by vibrant leaves and a neat crocheted pot. Each step follows closely the original tutorial guidance, taking care to maintain the characteristic stitch textures and color changes featured in the amigurumi style. The pot structure is reinforced and assembled with a concealed base, resulting in a stable, decorative piece. All individual components are constructed in seamless rounds and assembled at the end for a professional look.
Quick Overview Of Pattern
- Worked in seamless, continuous rounds: All pieces crocheted amigurumi style.
- Distinct pieces: Sunflower head, petals, stem, leaves, soil, and pot made separately and attached.
- Use of different loops: Stitches alternate between back and front loops for texture and color transition.
- Assembly: Flower and leaves attached with stitched, hidden joins; stem reinforced with craft wire/stick.
- Base support: Plastic disc ensures a firm, flat bottom.
Notes
- Move your stitch marker at the start of each round to keep track of the beginning.
- All terminology follows US crochet conventions.
- When a round states to work in "front" or "back" loops only, insert your hook in the designated loop unless stated otherwise.
- Stuff the flower head and pot firmly, shaping with your fingers as you go.
- Adjust stem length or petal count to customize the flower's final look.
- For best results, keep your stitches tight.
- Leave ample tails for sewing parts together.
- The pot base can be reinforced using a small circle of plastic or sturdy cardboard.
Skill Level
- Advanced Beginner to Intermediate
- You'll use magic ring, single crochet, increases, decreases, front/back loop work, joining parts, and sewing.
Materials
- Yarn:
- Light brown (flower center)
- Yellow (petals)
- Green (stem and leaves)
- Dark brown / Coffee (pot and soil)
- Crochet hook: Sized for a firm fabric (e.g., 2.0-2.5 mm for sport weight)
- Notions:
- Fiberfill or cotton stuffing
- Stitch marker
- Tapestry/yarn needle
- Craft wire or wooden stick (for stem support)
- Small plastic or cardboard circle (for pot base)
- Scissors
Measurements / Sizing
- Finished sunflower stands approximately 9-12 cm (3.5-4.5") tall, depending on yarn, hook, and stuffing.
- Pot diameter: about 3.5-4 cm (1.5-1.75").
- Schematic: Compact, upright sunflower with visible brown pot.
Gauge
- Not critical. Use a hook size creating firm stitches so stuffing does not show through fabric.
Stitch Abbreviations
| Abbreviation | Meaning |
|---|---|
| MR | Magic Ring |
| sc | single crochet |
| inc | increase (2 sc in the same st) |
| dec | decrease (sc 2 together) |
| hdc | half double crochet |
| dc | double crochet |
| sl st | slip stitch |
| ch | chain |
| st(s) | stitch(es) |
| BLO | back loops only |
| FLO | front loops only |
Special Stitches
- Magic Ring (MR): Loop the yarn to form an adjustable starting ring; work first round of stitches inside the loop.
- Invisible Decrease (dec): Insert the hook into the front loop only of the next two stitches, yarn over, pull up loop, then finish a single crochet as usual.
- Petal Construction: Each petal is formed across three consecutive unworked front loops.
The Crochet Pattern
Flower Center
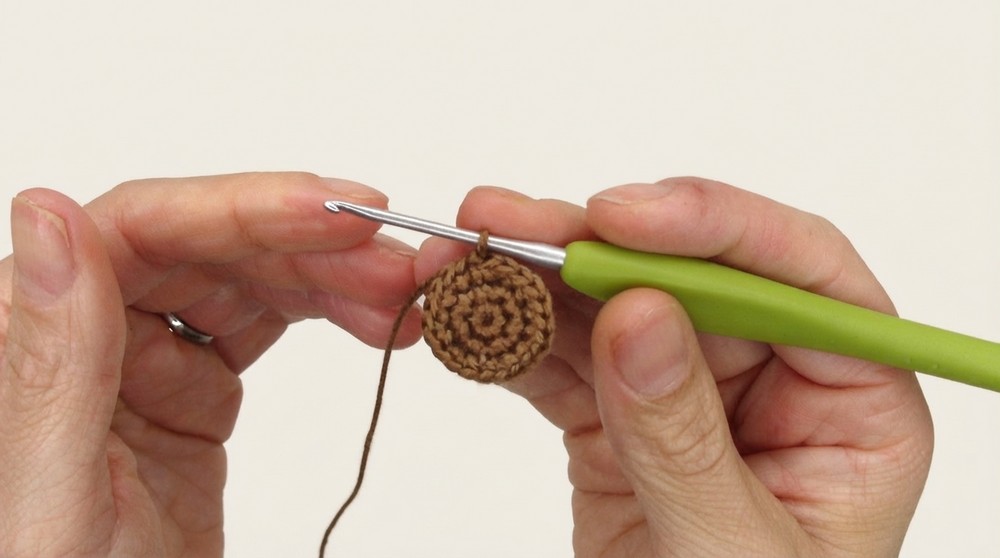
With light brown yarn:
- Round 1:
• Begin with a magic ring, work 7 sc into the ring. (7 sts) - Round 2:
• Work an inc in every stitch around. (14 sts) - Round 3:
• Repeat [1 sc, 1 inc] around. (21 sts)
- Round 4:
• Repeat [2 sc, 1 inc] around. (28 sts) - Round 5 (BLO):
• Working in back loops only, repeat [2 sc, 1 dec] around. (21 sts) - Round 6:
• Work [1 sc, 1 dec] around, both loops. (14 sts) - Round 7:
• Add stuffing. Work dec in each st around. (7 sts) - Thread the tail onto a needle, weave through the front loops of the last round, pull tight to cinch closed, knot, and hide inside.
Petals
With yellow yarn:
- Attach yarn to any unworked front loop ridge from Round 5 of the center.
- Work 9 petals; each petal is made over 3 loops.For each petal:
- In the first loop: 1 sc, 1 hdc (both in same loop).
- In the next loop: 2 dc (both in same loop; this is an inc), ch 1, then 1 sc into the ch/base.
- In the next loop: 1 hdc, 1 sl st.
- Repeat for all 9 petals.
- Finish with a sl st to the base of the first petal, fasten off, and weave in the end for neatness.

Stem
With green yarn:
- Round 1:
• Form a magic ring, work 4 sc inside (leave a long starting tail for assembly). (4 sts) - Round 2 (BLO):
• Work 1 sc in each st around in back loops only. (4 sts) - Rounds 3-14:
• Work 1 sc in each st around (standard, through both loops), for 12 more rounds (stem has 14 rounds total). (4 sts) - Fasten off, leaving a long tail.
- Insert craft wire or stick inside stem for structure.

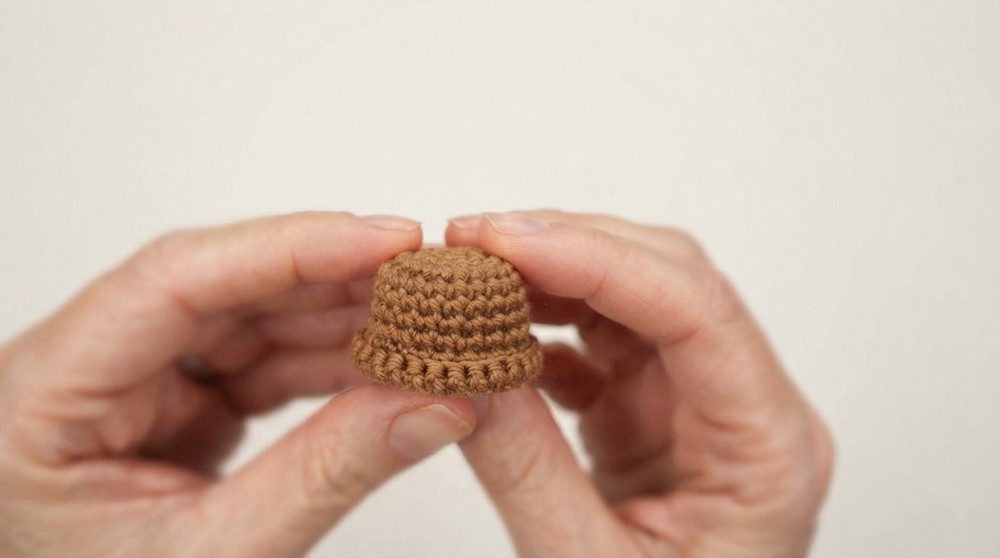
Pot
With dark brown/coffee yarn:
- Round 1:
• Begin with a magic ring of 7 sc. (7 sts) - Round 2:
• Work inc in every st around. (14 sts) - Round 3:
• Repeat [1 sc, 1 inc] around. (21 sts) - Round 4 (BLO):
• Work 1 sc in each st in back loops only. (21 sts) - Rounds 5-6:
• Work 1 sc in each st (standard, both loops) for 2 more rounds. (21 sts/round) - Round 7:
• Repeat [2 sc, 1 inc] around. (28 sts) - Rounds 8-9:
• Work 1 sc in each st around for 2 more rounds. (28 sts/round)

- Round 10 (FLO):
• Work 1 sc in each st in front loops only. (28 sts) - Round 11:
• Work 1 sc in each st (standard). (28 sts) - Fasten off, weave in end.
Soil Cover
With dark brown/coffee yarn:
- Round 1:
• Form a magic ring, work 7 sc inside. (7 sts) - Round 2:
• Work inc in every st around. (14 sts) - Round 3:
• Repeat [1 sc, 1 inc] around. (21 sts) - Fasten off, leaving long tail for sewing.
Leaves (Make 2)
With green yarn:
- Ch 6.
- Working along first side:
- Skip the first ch, sc in 2nd ch from hook.
- hdc in next ch.
- dc in next ch.
- hdc in next ch.
- 3 sc in last ch (turning the corner).
- On the opposite side:
- hdc in next ch.
- dc in next ch.
- hdc in next ch.
- sc in last ch.
- Join with a sl st to beginning.
- Fasten off, leaving a tail for assembly.
Assembly & Finished Size
Base:
- Place the plastic or cardboard disc in the bottom of the pot for stability.
Pot Top (Soil):
- Sew the soil cover to the inner top rounds (where FLO was used) of the pot, using the long brown yarn tail.
- As you go, stuff firmly with fiberfill before completely closing.
Stem:
- Insert the wire/stick-supported stem through the center of the soil cover; stitch/secure so it's centered and upright.
Flower Head:
- Place the back of the sunflower center carefully atop the stem and attach using the yarn tail-secure with discreet stitches around the center, making sure the join is hidden.
Leaves:
- Stitch one leaf to either side of the stem, at your preferred height.
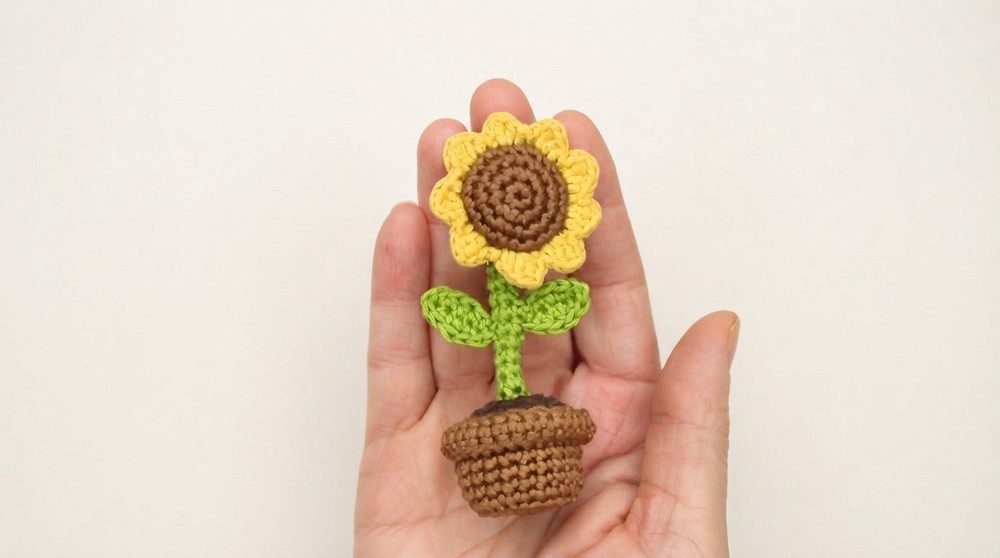
Finishing touches:
- Shape petals and leaves, hide all yarn ends inside.
- Adjust all parts for best display angle.
- The sunflower should now stand in the pot with firm structure.
Finished Size:
- Height: ~9-12 cm (3.5-4.5"), Pot diameter: ~4 cm.
Conclusion and Ending Words
Upon completing this amigurumi potted sunflower, you achieve a decorative crochet piece distinguished by its vivid petals and intricate assembly. Through alternating rounds, careful color changes, and strategic shaping, the project delivers a lifelike and joyful result. Crisp petals, a sturdy stem, and dense, stable potting provide visual appeal and make it a suitable piece for gifting or display. Following each round and step ensures both structure and finish; hidden stitches and wire reinforcement provide stability without sacrificing aesthetics. This sunflower amigurumi stands as a testament to the potential of basic shapes and accessible techniques. Keeping a steady pace and referring back to each section as needed will ultimately produce a charming, well-constructed crochet flower-brightening any setting where it's placed.