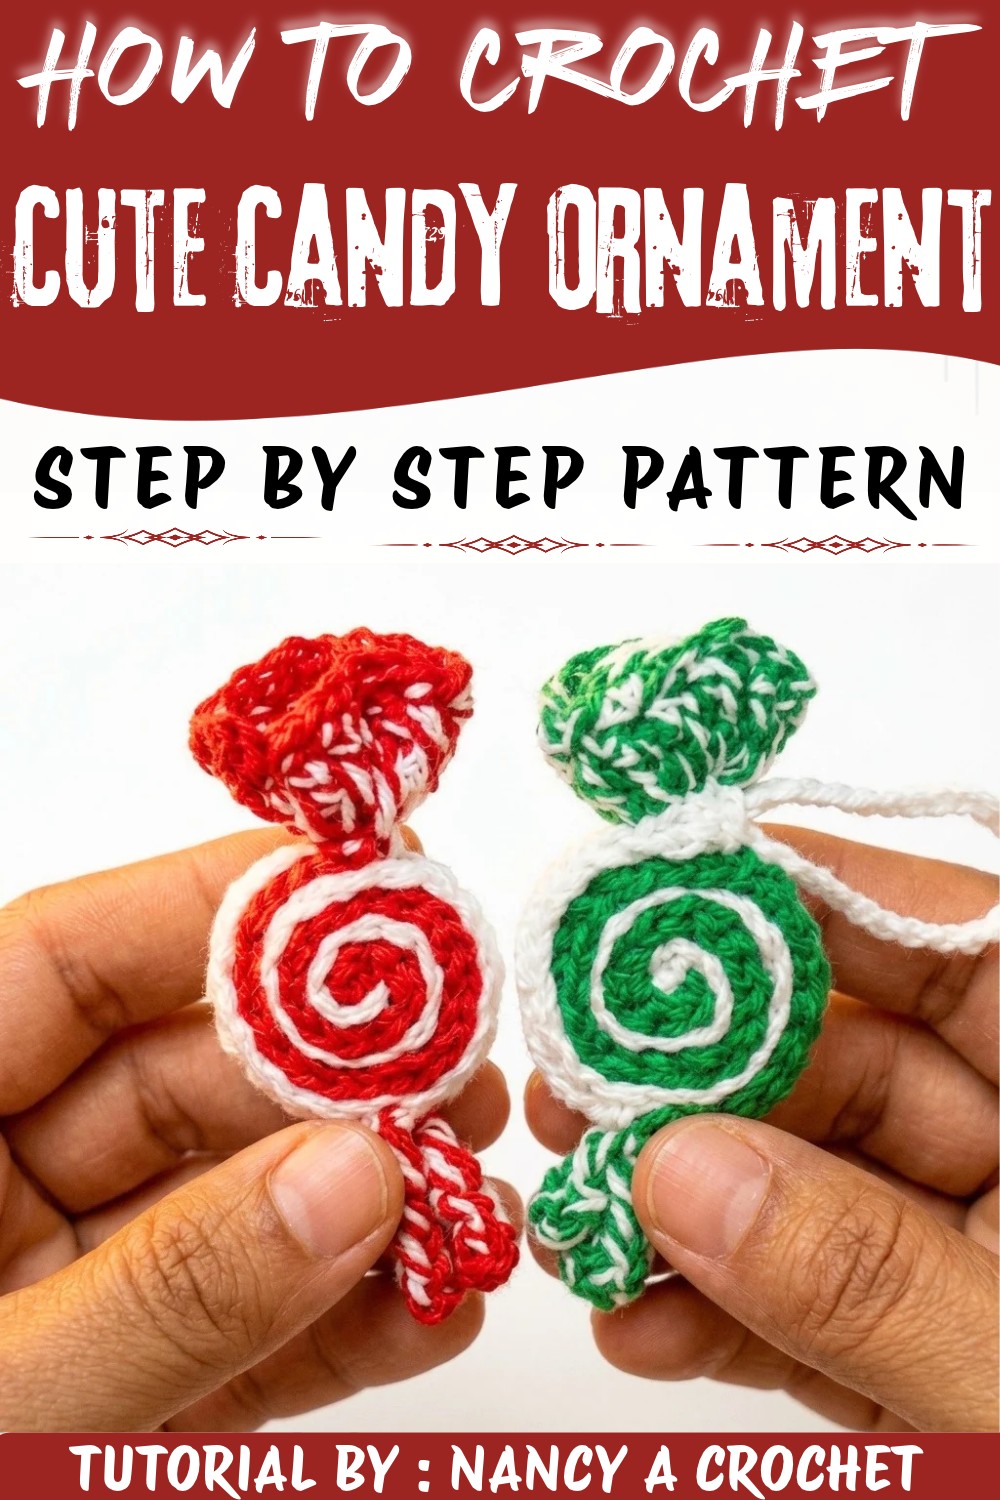
Pick cheerful yarn shades for the Crochet Candy Ornament Free Pattern and stitch a cute hanging piece for Christmas branches.
Bring a touch of whimsy and sweetness to your holiday decor with an enchanting crochet project that changes yarn into delightful candy-shaped ornaments. This charming design, beautifully demonstrated by Nancy on her YouTube channel Nancy a crochet, invites you to create eye-catching decorations that add warmth and a playful spirit to any space. Whether you're adorning your Christmas tree, embellishing gift packages, or brightening up a festive wreath, this project offers a versatile way to celebrate the season in style. The Crochet Candy Ornament Pattern perfectly blends creativity with comfort, making it an ideal seasonal accessory for winter holidays, festive parties, and cozy gatherings.
Sweet Crochet Candy Ornament Free Pattern For Christmas Trees
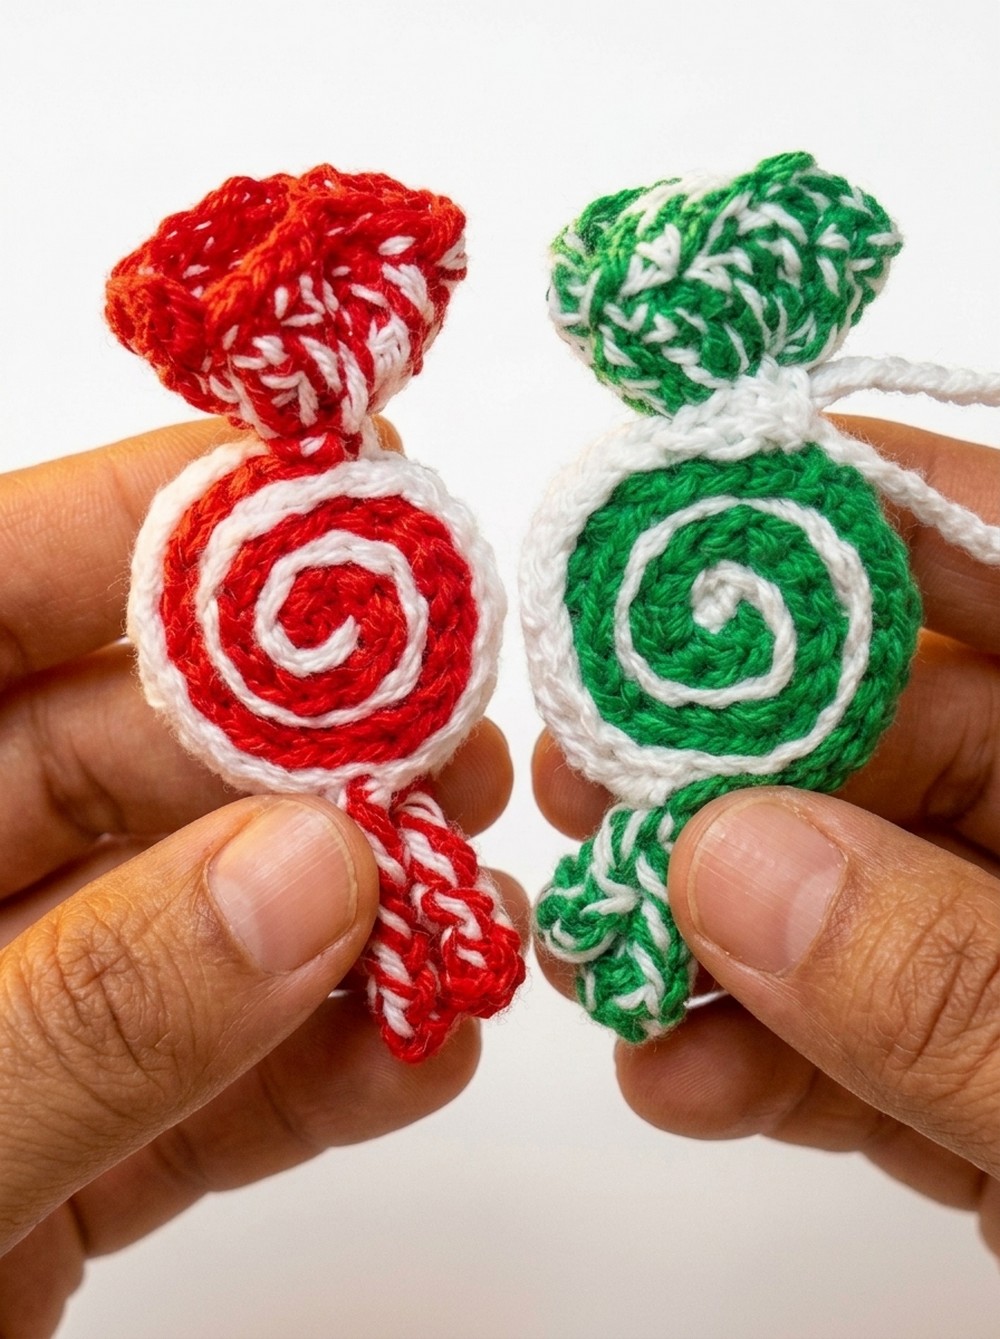
These ornaments boast a captivating blend of playful style and snug appeal. Their rounded, wrapped shape hints at classic candy wrappers, making them a perfect fit for both modern and traditional holiday settings. You can easily pair these sweet accents with rustic natural decorations, sparkling fairy lights, or vibrant ribbon details to create a joyful display that brings smiles to family and guests alike.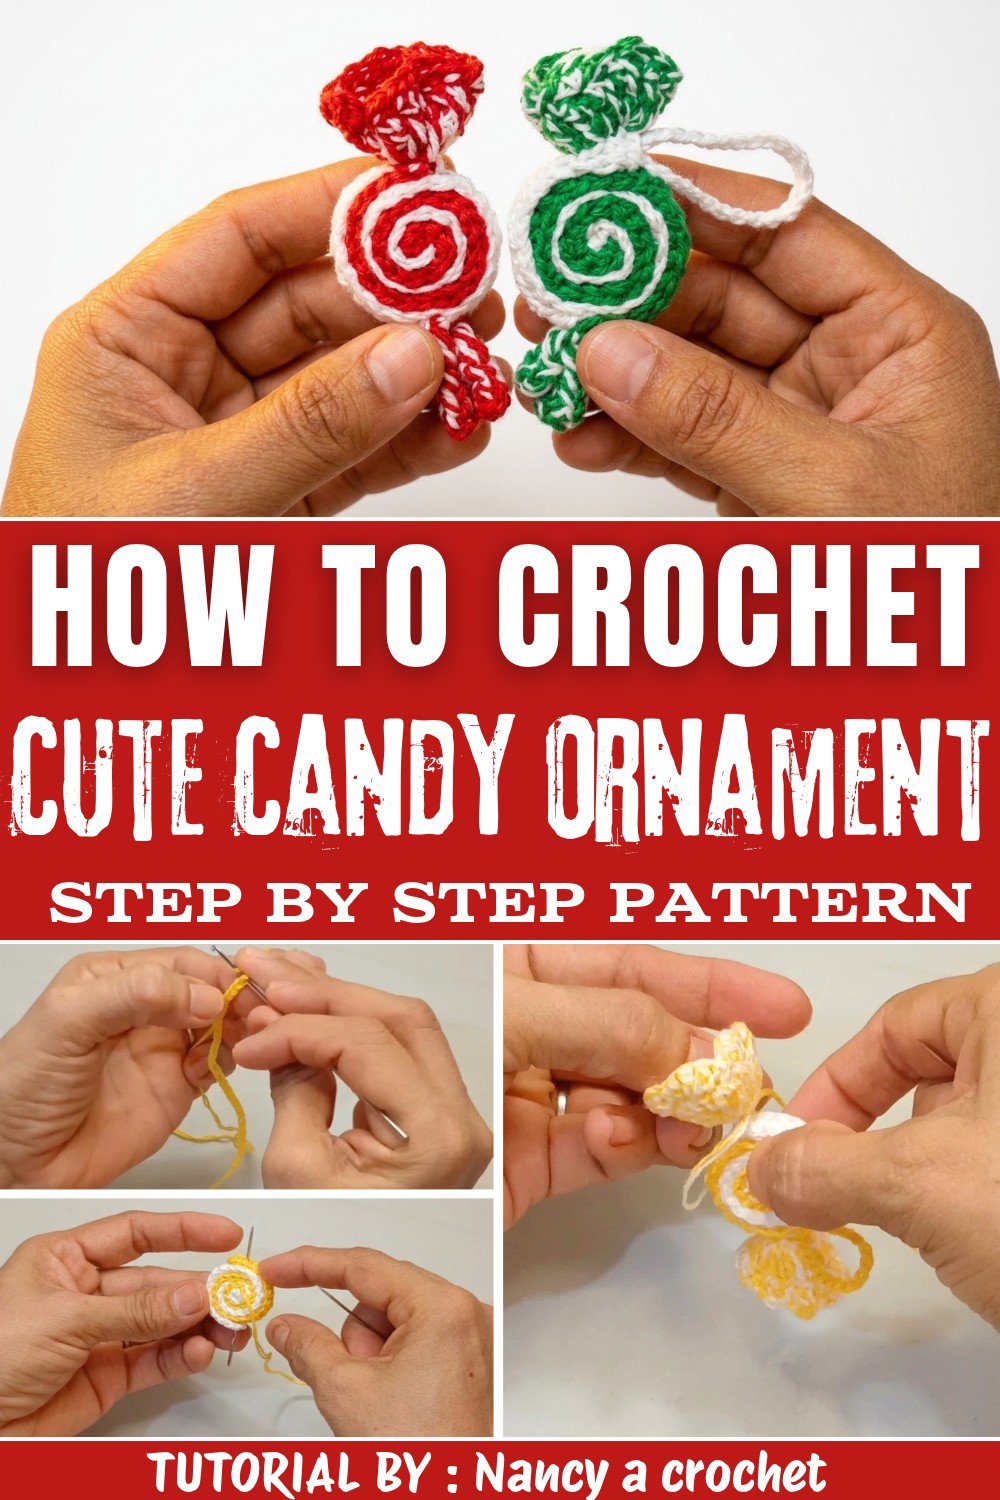
The texture of this project is another highlight, featuring a combination of smooth loops and subtly raised stitches that mimic the look of twisted candy wrappers. This tactile quality gives the piece depth and character, inviting touch and admiration. The design's standout feature lies in its clever use of back loop stitches and wrapping techniques, which form the characteristic "twists" at both ends of the candy, creating a three-dimensional, dimensional effect that's both charming and unique.
Perfect for anyone looking to add a handmade touch to their holiday celebrations, this Crochet Candy Ornament Pattern promises a rewarding experience and a truly delightful result. Dive into the full tutorial to learn how to bring this sweet project to life and add a splash of festive cheer to your home this season.
Easy Crochet Candy Ornament Free Pattern
This cheerful crochet candy ornament pattern is adapted step by step directly from Nancy's tutorial for a delightful, realistic sweet treat. Each section follows the techniques demonstrated, guiding you through the making of candy body strips, their assembly, the distinctive ruffled wrappers, and the finishing touches for a polished, eye-catching result. You'll work with fine yarn and basic crochet stitches, layering colors and constructing three-dimensional detail as achieved in the video. Every step-from careful chaining and back-loop half stitches to seaming and ruffling-delivers clarity and structure, producing a miniature candy ornament suitable for hanging on holiday trees or using as festive décor. Follow the sections in sequence and refer to the highlighted rounds and stitch details for consistency. This structured guide ensures that the finished piece captures both the spirit and look of the original tutorial.
Quick Overview of Pattern
- Start with two colored base strips, each crocheted in half double crochet through the back loop.
- Assemble and wrap strips to form a firm cylindrical candy body.
- Make two ruffled side wrappers with magic ring, single crochet, and double treble stitches.
- Attach wrappers neatly to either end of the body.
- Add a hanging chain for display.
Notes
- Maintain moderate, even tension throughout for a crisp look.
- Work all strips using two strands of 1 mm yarn held together.
- Secure joining stitches carefully for durability; pinning pieces before sewing can help.
- For a more durable ornament, consider lightly starching the finished piece.
- Silicone/glue is optional but sewing the joins is recommended for a more professional result.
- Loosely weave in yarn ends for hidden, neat finishing.
Skill Level
Advanced Beginner:
Participants should be comfortable with magic rings, working in both rows and rounds, back-loop techniques, double treble stitches, and basic hand-sewing.
Materials
- Yarn: 1 mm (use two strands together per color)
- Crochet hook: 1.7 mm
- Tapestry/yarn needle for seaming
- Scissors
- Optional: silicone/glue for extra hold
Measurements / Sizing
- Finished ornament approx. 7-8 cm (3 inches) long, not including hanging loop.
- Side wrappers extend 2-2.5 cm from each side.
Gauge & Stitch Pattern
- Gauge is not critical, but strips should measure around 13-14 cm before assembly.
- Stitch pattern: Mostly half double crochet (hdc) in back loops for strips and double treble crochet (dtr) for wrappers.
Stitch Abbreviations
| Abbr. | Meaning |
|---|---|
| ch | chain |
| hdc | half double crochet |
| sl st | slip stitch |
| MR | magic ring |
| sc | single crochet |
| dtr | double treble crochet |
| st(s) | stitch(es) |
| yo | yarn over |
Special Stitches
- Magic Ring (MR): Create adjustable center for rounds.
- Double Treble (dtr): Yo twice, insert hook, yo, pull through (four loops on hook), (yo, pull through two) three times.
- Back Loop Only (BLO): Insert hook into back loop only of each stitch.
The Crochet Pattern
Base Strips for the Candy Body
Starting the Strips:
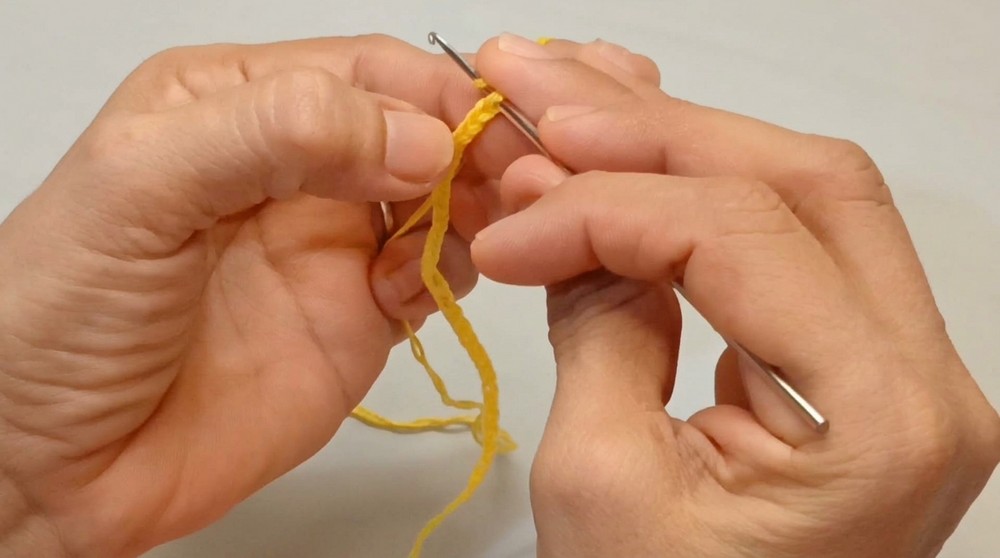
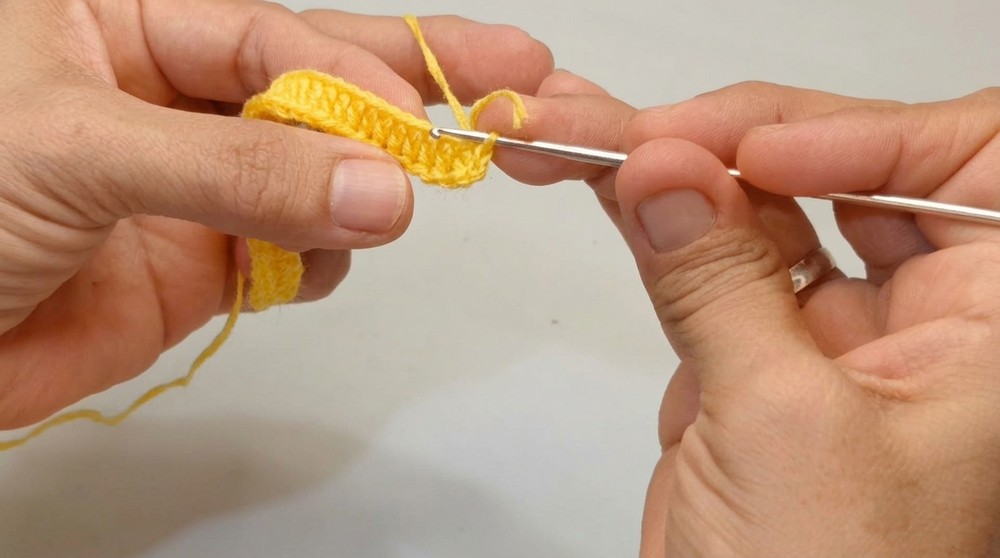
- Using two strands of 1 mm yarn, make a slip knot.
- Ch 35. Keep chains fairly even, not too tight.
- Row 1:
- Yo, hdc in 3rd ch from hook, through back loop only (BLO).
- Continue hdc (BLO) across the entire chain (total: 33 hdc).
- Shaping the Edge:
- Ch 2.
- 2 sl st into top and next st at the strip's end for a rounded contour.
- Fasten off, leaving a long tail for sewing.
- Repeat:
- Make a second strip in a contrasting color (e.g., white and red).
Assembling and Shaping the Candy Center
Layering the Strips:
- Arrange both strips together, aligning stitches and ends.
- Position: Place the thinner edge (ch side) downwards and thicker hdc edge upwards.
- Starting 2-3 sts in, fold the initial end of strips inward to make a neat axis.
Forming the Candy:
- Wrap both strips tightly and evenly in a spiral, always keeping the thinner side down, ending with the wider part wrapped above.
- Tuck final yarn ends inwards for neatness.
- Secure Layers:
- Thread a needle with the remaining tail.
- Stitch all layers together at the center and across several wraps to prevent unwinding.
- Optionally, use a bit of silicone/glue sparingly, but sewing is preferred for security.

Making the Side Wrappers ("Candy Ends")
Start with a Magic Ring:
- Use the same two-strand yarn, form a MR.
- 6 sc into MR, pull ring closed thoroughly.
- Join with a sl st to complete round.
Foundation for Ruffles:
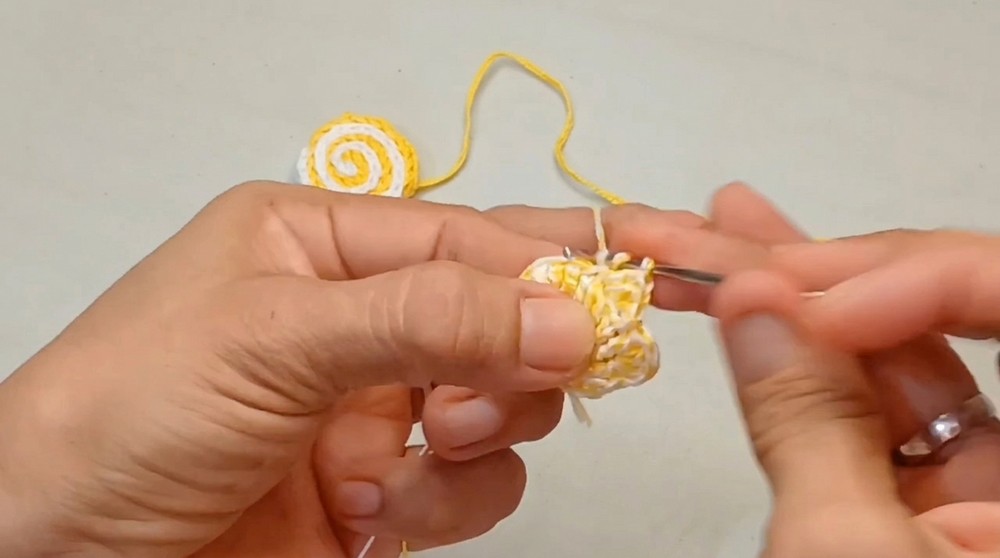
- Ch 4 (counts as first dtr).
- In same st as ch-4, 2 dtr more-so 3 dtr in first st.
- Move to next st: 3 dtr in each st all the way around (total: 18 dtr).
- Join with a sl st to top of ch-4.
Making the Ruffled/Butterfly Edge:
- Start at any dtr:
- Yo, skip a st, in next st: work the following -
- (sl st, ch 2, sl st, ch 2, sl st, ch 2, sl st) (or as observed-a ruffled edge)
- Repeat: Continue all the way around making ruffles on every alternate dtr.
- Yo, skip a st, in next st: work the following -
- Fasten off, leaving a long end for sewing.
- Make two wrappers, one for each side.
Assembly & Finished Size
Attaching the First Wrapper:
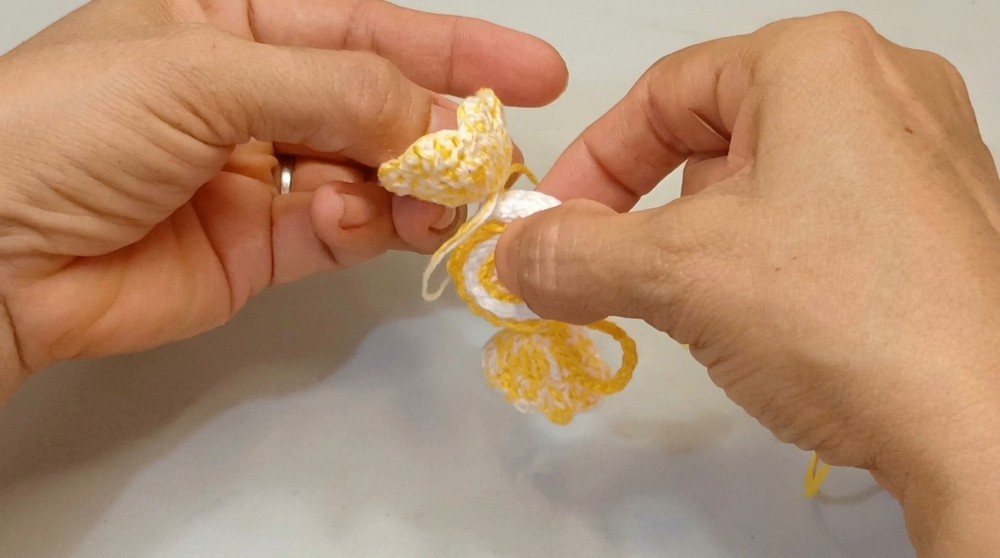
- Position a wrapper on one end of the candy body.
- Thread end through needle and sew securely around the entire base, so ruffled edge fans out attractively.
Creating the Hanging Loop:
- Before fixing the second wrapper, use the tail from the first side:
- Ch 22 (or adjust for your hanging preference).
- Anchor chain back at base; secure with a stitch.
Attaching the Second Wrapper:
- Place the second wrapper on the opposite end, sew in place as before.
Final Steps:
- Weave in all threads securely.
- Adjust ruffles and candy shape if needed.
- Check joins for firmness; reinforce sewing as necessary.
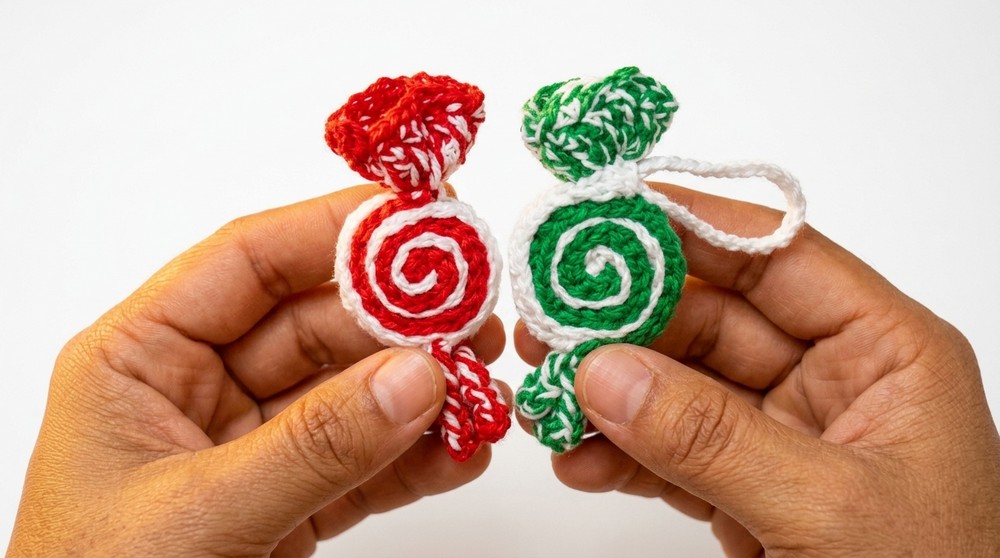
- Finished size: 7-8 cm (body) plus wrappers.
Conclusion and Ending Words
This candy ornament combines crisp strip work, spiral shaping, and lively ruffled ends. The careful construction ensures the body is both visually dense and firmly held together, while decorative wrappers bring texture and playfulness. The included hanging loop allows the ornament to be suspended on holiday branches or garlands. Attention to detail at each stage yields a professional, charming result. Use different colors, or add beads for variety if you wish. With both machine-like stitches and patient hand-sewing, the project blends function and festivity, ensuring the ornament remains a staple in seasonal decor. Upon completion, a visually striking, tactile, and cheerful crochet candy will brighten any festive scene, testifying to the joy and satisfaction of well-structured handmade work.