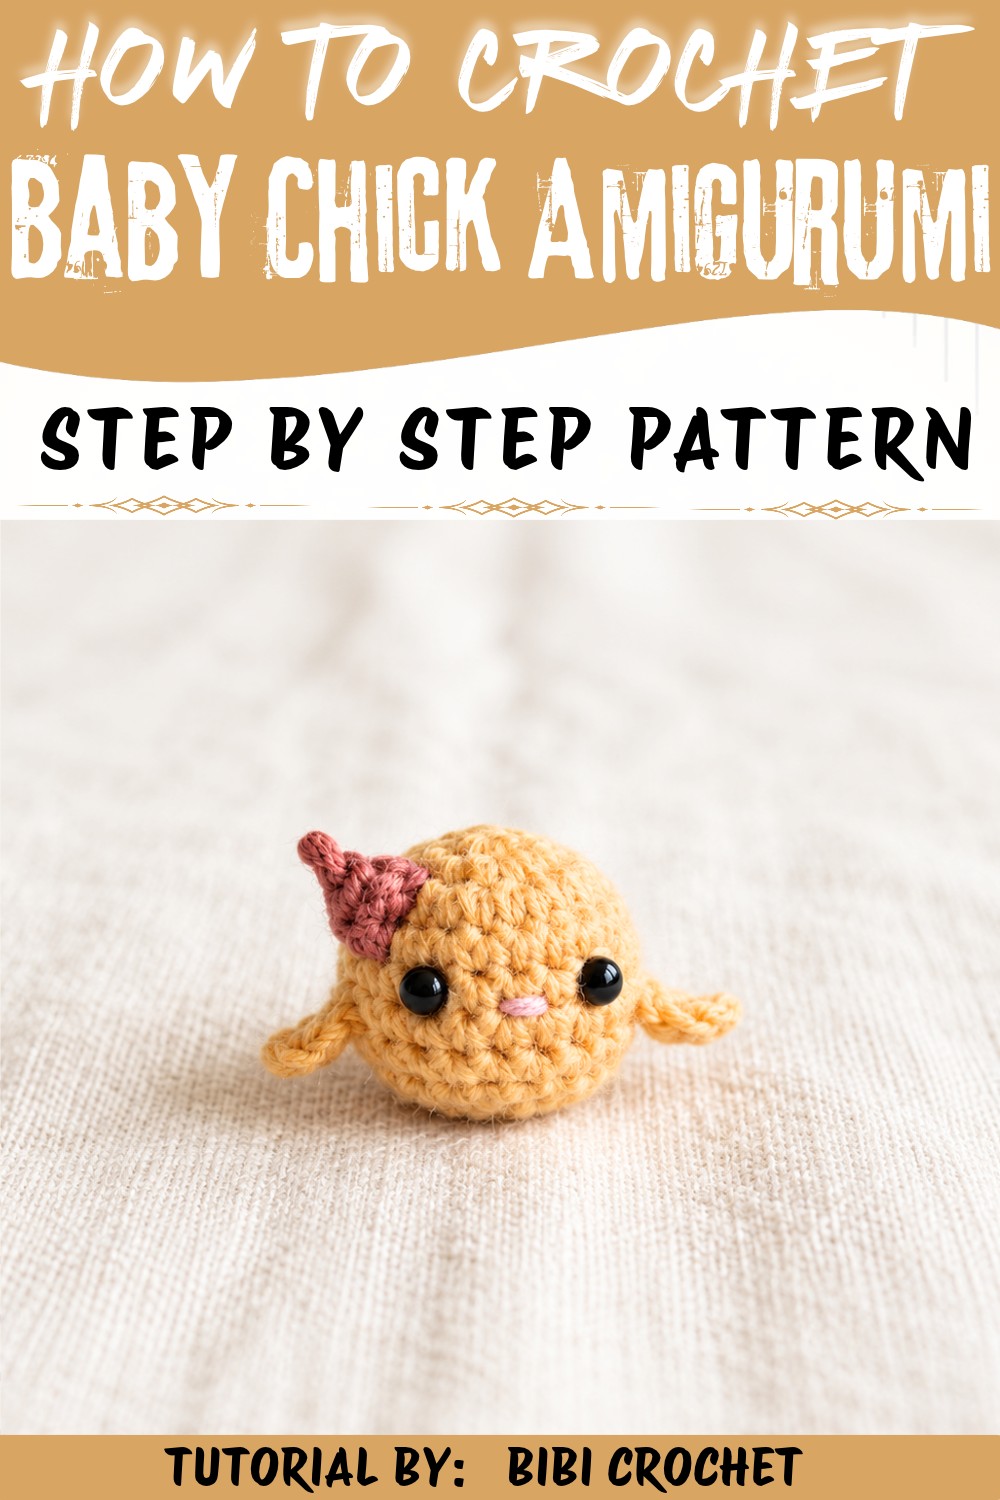
Pick a cheerful spring project with this Crochet Baby Chick Amigurumi Free Pattern and stitch a cute chick for children and festive gifts
Have you ever seen a tiny, fluffy baby chick and wished you could keep one forever? Imagine holding a small, soft ball of sunshine, with bright eyes and a cute little hat perched gently on its head. This sweet little friend is full of charm and perfect to brighten any room, be it on a shelf, a desk, or even hanging as a keychain. The adorable design captures the warm and playful spirit of a baby chick, making it a wonderful gift or a joyful decoration.
Spring Crochet Baby Baby Chick Amigurumi Free Pattern for Kids
Thanks to Bibi Crochet and their excellent work on the original YouTube channel, you can bring this delightful companion to life yourself! The popular Crochet Baby Chick Amigurumi Pattern shows you how to create this lovable figure with simple steps anyone can follow. The pattern is designed so beginners feel confident starting their first project and joyfully see their chick come together round by round.
This lovable amigurumi chick isn't just cute; it's also a great way to share a cozy moment with family or friends. Making several in different colors could help teach little ones about hues while having fun. Plus, adding a tiny bell or loop converts it into a lovable keychain or a sweet touch for your holiday tree.
Follow this free Crochet Baby Chick Amigurumi Pattern and start your own collection of cute handmade chicks. It's easier than you think to create this bundle of joy and add a little warmth and happiness to your day. Check out the step-by-step pattern and enjoy making your new little feathered friend.
Crochet Chick Amigurumi Free Pattern
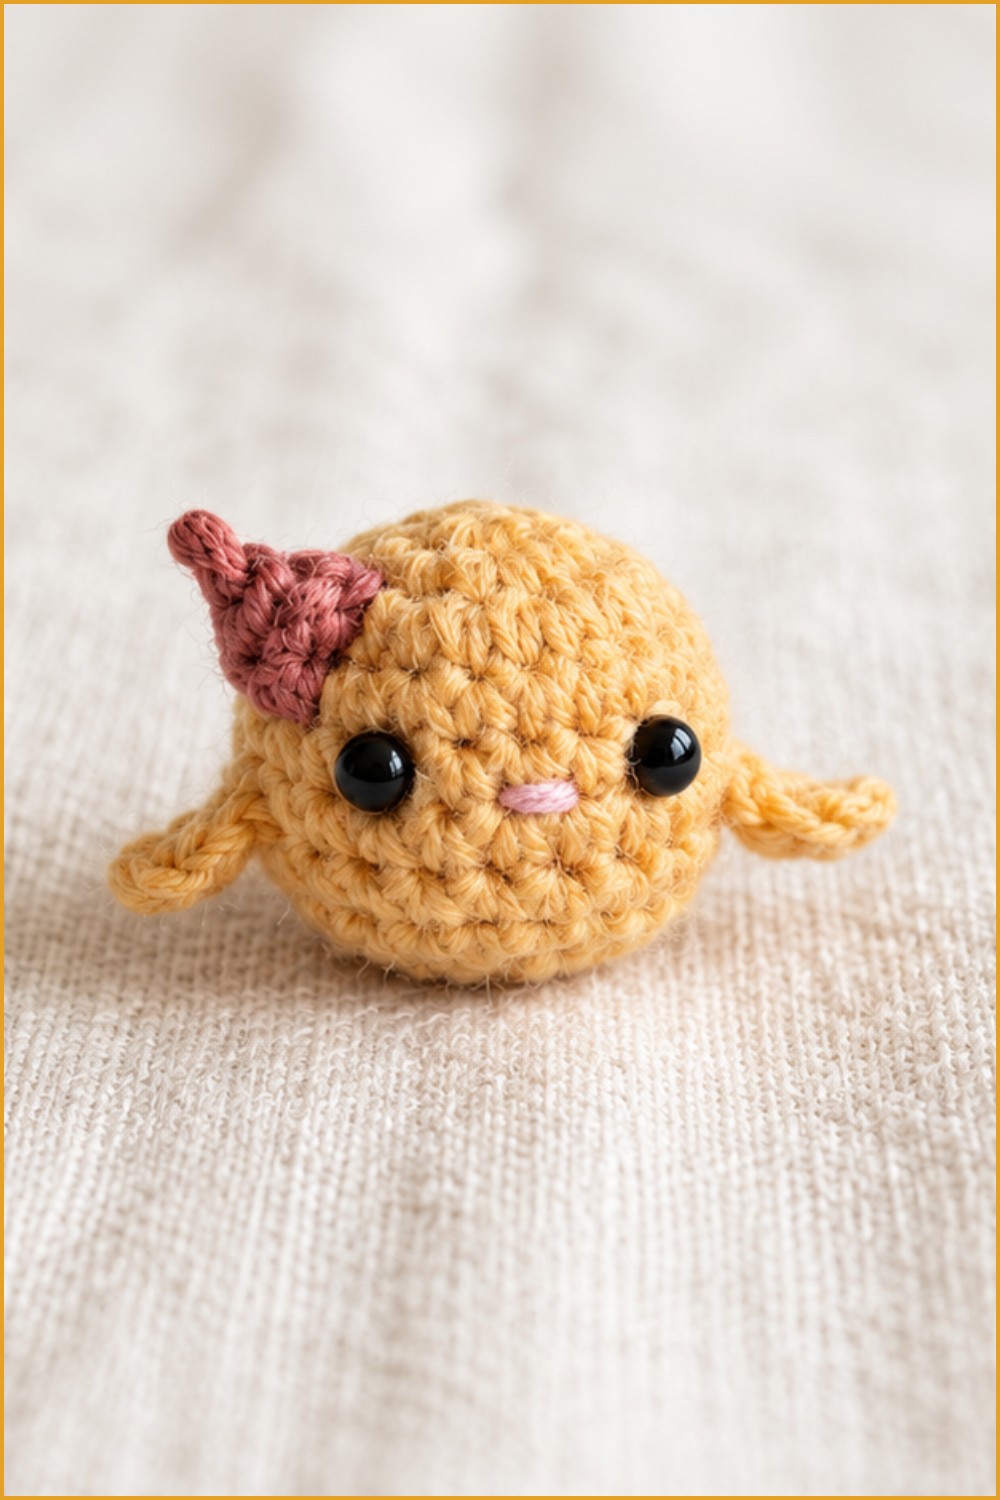
A playful amigurumi chick captures charm and simplicity with a gentle combination of textures and hues. Soft yarn forms the cheerful round body, while subtle stitched features evoke a friendly expression suitable for all ages. This lightweight design utilizes basic crochet methods, requiring only a few materials and straightforward assembly. Minimal sewing and accessible shaping ensure this small project offers a relaxing way to practice essential stitches or to add a whimsical touch to a desk, nursery, or gift basket. Small wings and a tilted hat provide a touch of individuality, allowing for easy variation in color and detail. The concise instructions below guide through each round and step, ensuring an approachable and encouraging experience for beginners and seasoned crocheters alike. Assemble a delightful chick, ready for display or gifting, with only a few hours of focused work and creativity.
Quick Overview Of Pattern
- Seamless sphere for head and body
- Two easy wings attached at the sides
- Small, tilted hat for extra personality
- Felt or button eyes, and embroidered beak
- All features sewn or glued with secure, hidden ends
Notes
- Keep stitches snug for a sturdy finish.
- Use a stitch marker to track round beginnings.
- Customize colors for your unique chick.
- If using safety eyes, insert them before closing the head.
Skill Level
Beginner-Intermediate: Basic crochet techniques including single crochet, increases, decreases, and simple assembling.
Materials
- Yarn (Size 3/DK):
- Main (body): yellow or orange
- Hat: red or other contrast
- Beak: light pink embroidery
- Crochet hook: 3 mm
- Stuffing: polyester fiberfill or cotton
- Small felt circles or tiny safety/button eyes
- Tapestry/yarn needle
- Scissors
- Stitch marker
- Craft glue (for felt eyes, optional)
Measurements / Sizing
- Chick (finished): approx. 5-7 cm diameter
- Hat: approx. 2.5 cm across
- Wings: about 2.5 cm long
Gauge (and Stitch Pattern)
Gauge is not critical; your chick's size will vary with yarn/hook. All main parts use single crochet (SC) in joined or spiral rounds.
Stitch Abbreviations
| Abbreviation | Definition |
|---|---|
| MR | Magic Ring |
| SC | Single Crochet |
| CH | Chain |
| SL ST | Slip Stitch |
| INC | Increase (2 SC in same stitch) |
| DEC | Decrease (Invisible/Regular decrease, sc2tog) |
Special Stitches
- Magic Ring (MR): Begin with a closed slip ring for working in rounds.
- Increase (INC): Work 2 SC into same stitch.
- Invisible Decrease (DEC): Insert hook into front loop of next 2 stitches, yarn over, pull through both, yarn over and pull through final loops.
The Crochet Pattern
Head and Body (Main Piece)
- Round 1:
- Make a magic ring (MR) with 2 loops.
- Chain 1.
- Work 7 SC into the ring.
- Pull tight, join with SL ST to the first stitch.
- Round 2:
- Chain 1.
- Work 2 SC (INC) in each stitch around (14 SC total).
- Join with SL ST.
- Round 3:
- Chain 1.
- (1 SC, 1 INC) - repeat around the circle (21 SC total).
- Join with SL ST.

- Round 4:
- Chain 1.
- Work 1 SC in each stitch (21 SC).
- Join with SL ST.
- Rounds 5-8:
- Repeat 4 rounds as follows:
- Chain 1.
- Work 1 SC in each stitch (21 SC per round).
- Join with SL ST.
- Repeat 4 rounds as follows:
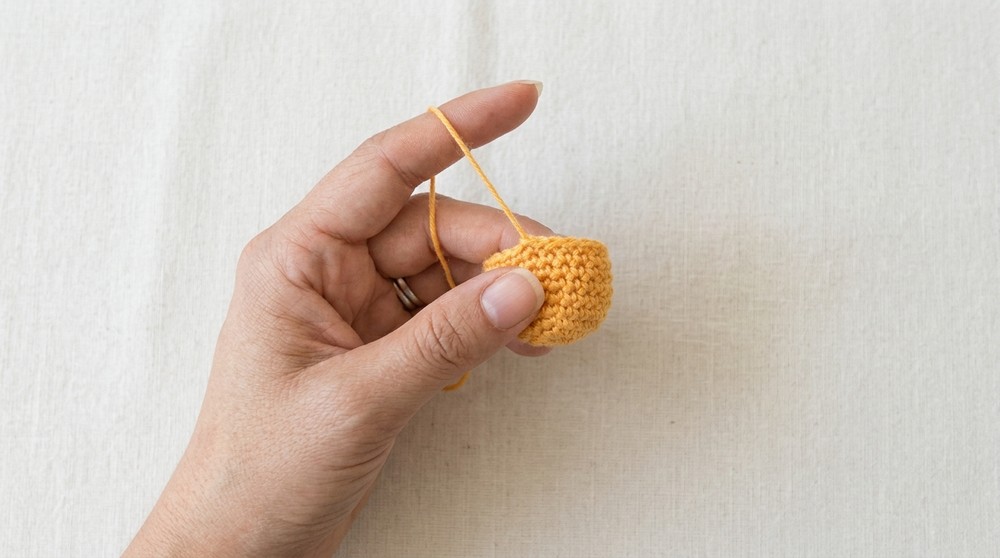
- Round 9:
- Chain 1.
- (1 SC, 1 DEC) - repeat around.
- (To decrease: insert hook in front loops of next two stitches, yarn over and pull through all.)
- Join with SL ST.
- Round 10:
- Chain 1.
- Work DEC in every stitch around.
- Join with SL ST.
- Leave a 10-15 cm tail, cut yarn.
- Finishing the Body:
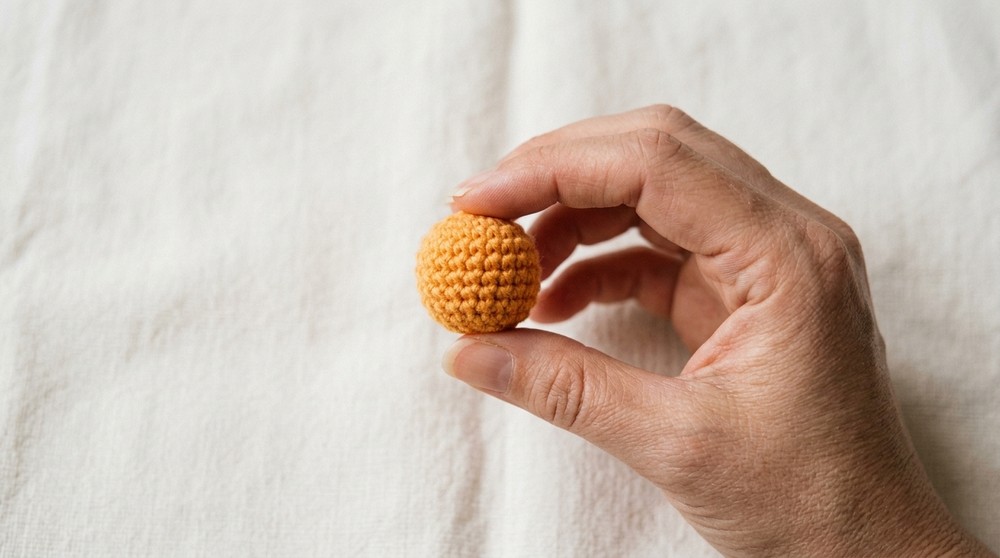
- Firmly stuff the body.
- Using a yarn needle, thread through front loops of the last round's stitches, pull to close.
- Weave in the tail securely so it's hidden.
Wings (Make 2)
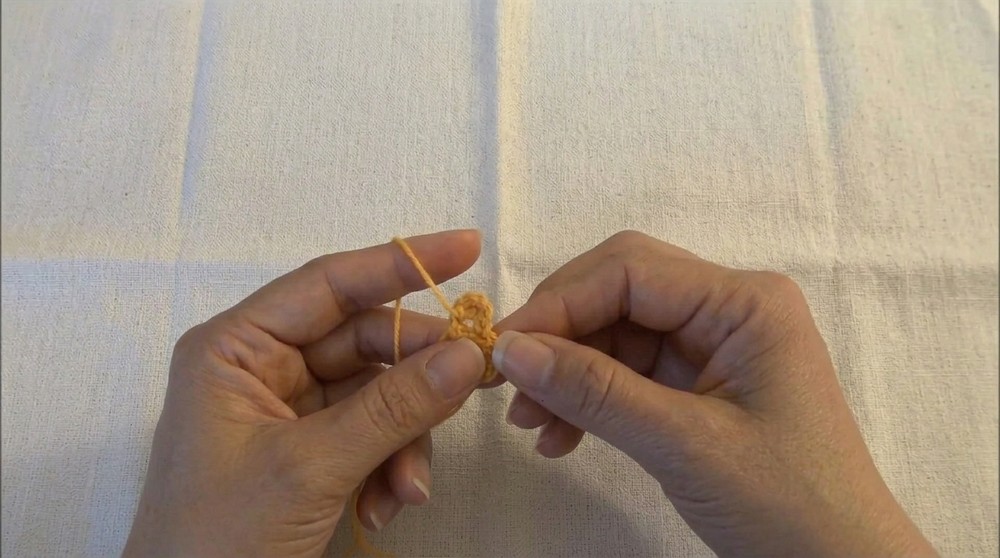
- Foundation:
- Leave a 10 cm starting tail.
- Chain 5.
- Row 1:
- Yarn over and insert hook into the second chain from the hook, yarn over and pull through (3 loops on hook).
- Yarn over, pull through the first loop only.
- Yarn over and pull through all 3 loops.
- Repeat for the last chain.
- Finishing Wings:
- Leave a 15 cm yarn tail, cut and pull through.
- Use tails to sew wings on sides of body (about the sixth row from the top, just below eyes).
Hat
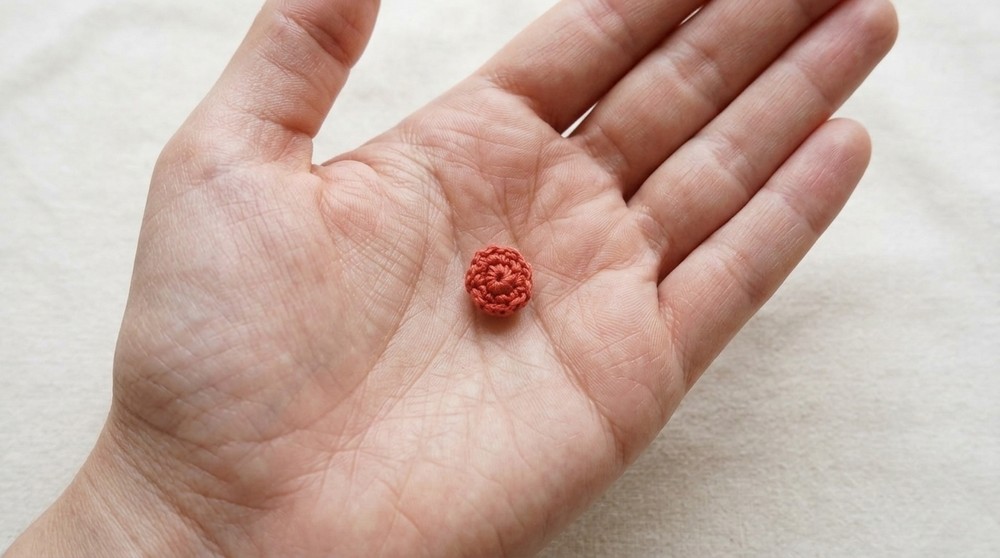
- Round 1:
- With hat color, create a magic ring (MR).
- Chain 1.
- Work 7 SC into the ring.
-
- Pull tight, join with SL ST.
- Round 2:
- Chain 1.
- Work 1 SC in each stitch (7 SC).
- Join with SL ST.
- Leave about 15 cm tail, cut yarn.
- Attaching the Hat:
- Tie secure knot at the top if desired.
- Sew the hat on a jaunty tilt to the top front of chick's head, using the yarn tail.
Facial Features (Eyes & Beak)
- Eyes:
- Attach felt, button, or safety eyes approximately 4-5 rounds down from the head's top, slightly above wings.
- Secure with glue or careful stitching (if applicable).
- Embroidered Beak:
- Thread pink yarn onto needle.
- Insert from back to the spot between the eyes.
- Stitch horizontally across 1-2 stitches, creating a neat line.
- Secure yarn, hide ends inside the head.
Assembly & Finished Size
- Wings: Sew one on each side, about the "cheek" line, below eye level.
- Hat: Attach on top, tilted, for playful look.
- Eyes: Place/secure as described above.
- Beak: Embroider and secure.
- Check all ends: Make sure tails are woven in or hidden for a polished result.
- Finished Chick: Approx. 5-7 cm in diameter with all features attached.

Conclusion
Upon completing this charming chick, attention to small details shines through-wings nestled snugly at the body's sides, a jaunty hat perched above expressive eyes, and a simple embroidered beak tying the features together. Consistent stitchwork and careful assembly underscore even the most basic amigurumi, resulting in a piece that is both sturdy and appealing. This project demonstrates how fundamental crochet skills can yield a cheerful result, offering satisfaction in both process and outcome. Whether intended as a token for a friend, a playful accent for a child, or a soft companion on a shelf, this chick serves as evidence that modest supplies and approachable methods can lead to results full of warmth and character. With each round and gentle finishing touch, a new figure graces your crocheted collection, carrying a sense of accomplishment and charm.