
Level up your style instantly using the Free Crochet Bucket Hat Pattern for a quick handmade hat that wows in both summer and winter.
Have you ever dreamed of crocheting the perfect accessory that's stylish, functional, and completely unique to you? With this crochet bucket hat pattern, you can bring that dream to life! Whether you're looking to crochet a cozy winter hat with soft acrylic yarn or a breezy summer essential using lightweight cotton or twine, this pattern is adaptable to any season and any style. The classic bucket hat pattern never goes out of fashion, and with this easy-to-follow guide, you can crochet your own version in any color or texture you love. Add stripes, mix bold shades, or keep it neutral to the possibilities are endless, making this both a fun and fashionable project.
Beautiful Free Crochet Bucket Hat Pattern for All Skill Levels
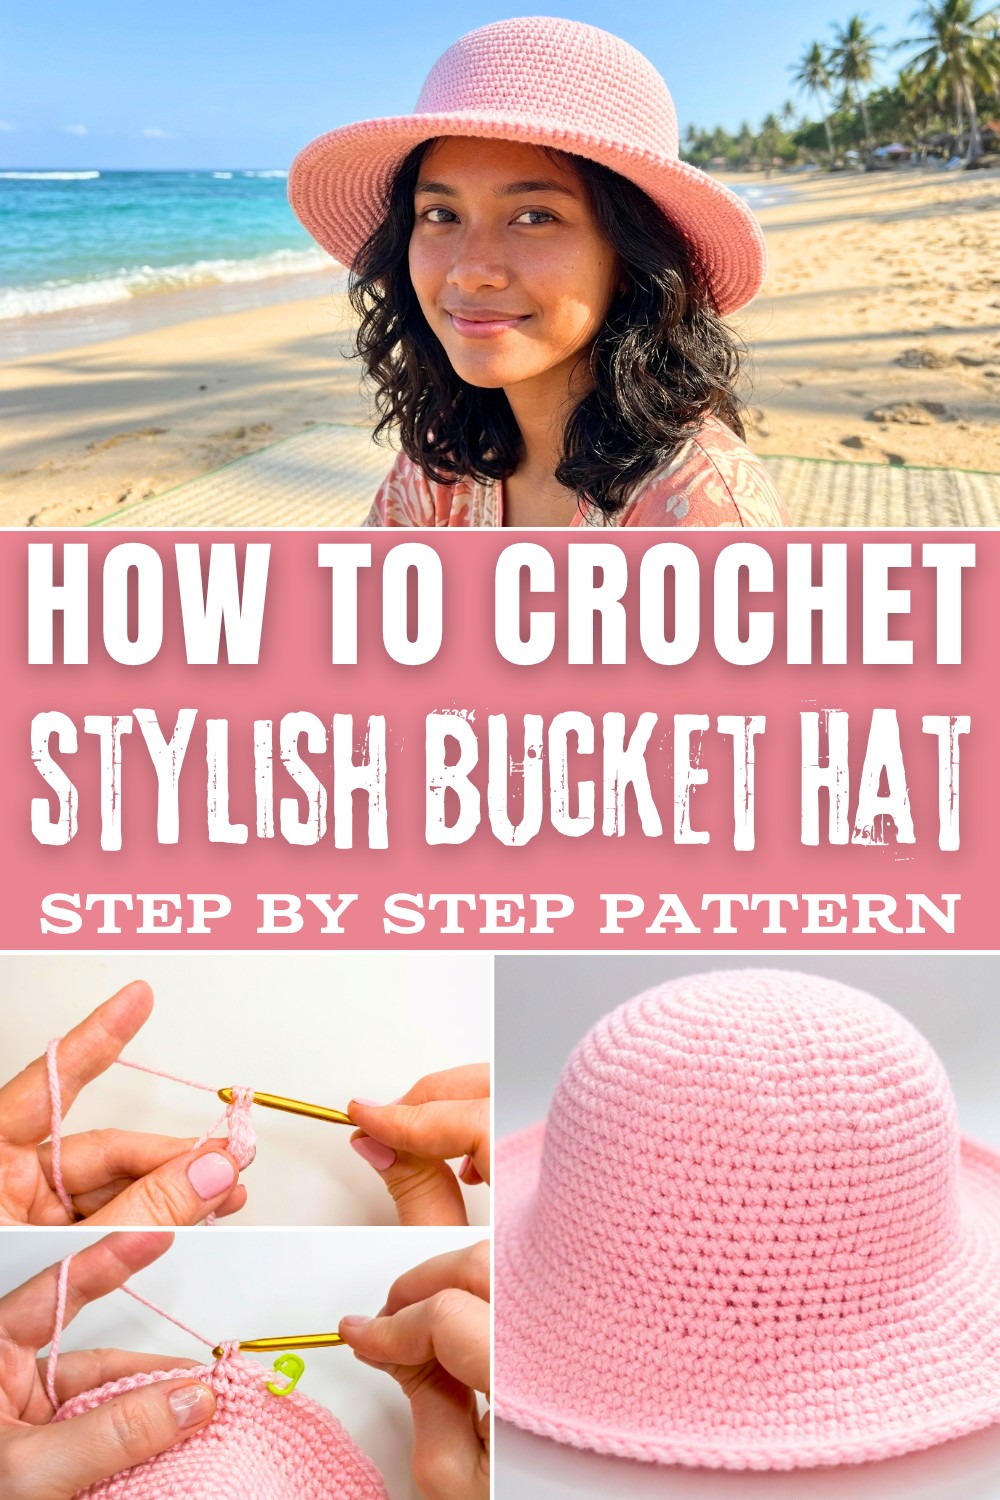
This pattern focuses on simple single crochet stitches, making it beginner-friendly while still allowing room for creativity. You'll learn step-by-step how to create a beautifully seamless crown starting with a magic circle, master the art of increasing in rounds, and even tackle shaping a structured brim. The addition of techniques like using stitch markers and creating an invisible finish will elevate your final piece, giving it a clean, professional look. By the end, you'll have a versatile hat perfect for sunny picnics, beach trips, or cool-weather strolls.

Other Projects You Can Make Using This Pattern:
- Wide-Brim Sun Hats: Customize the brim for extra protection.
- Kids' Bucket Hats: Resize the pattern for little ones.
- Beach-Themed Hats: Go bold with nautical colors or fun appliqués.
- Decorative Pieces: Turn this pattern into smaller versions for display or gifts.
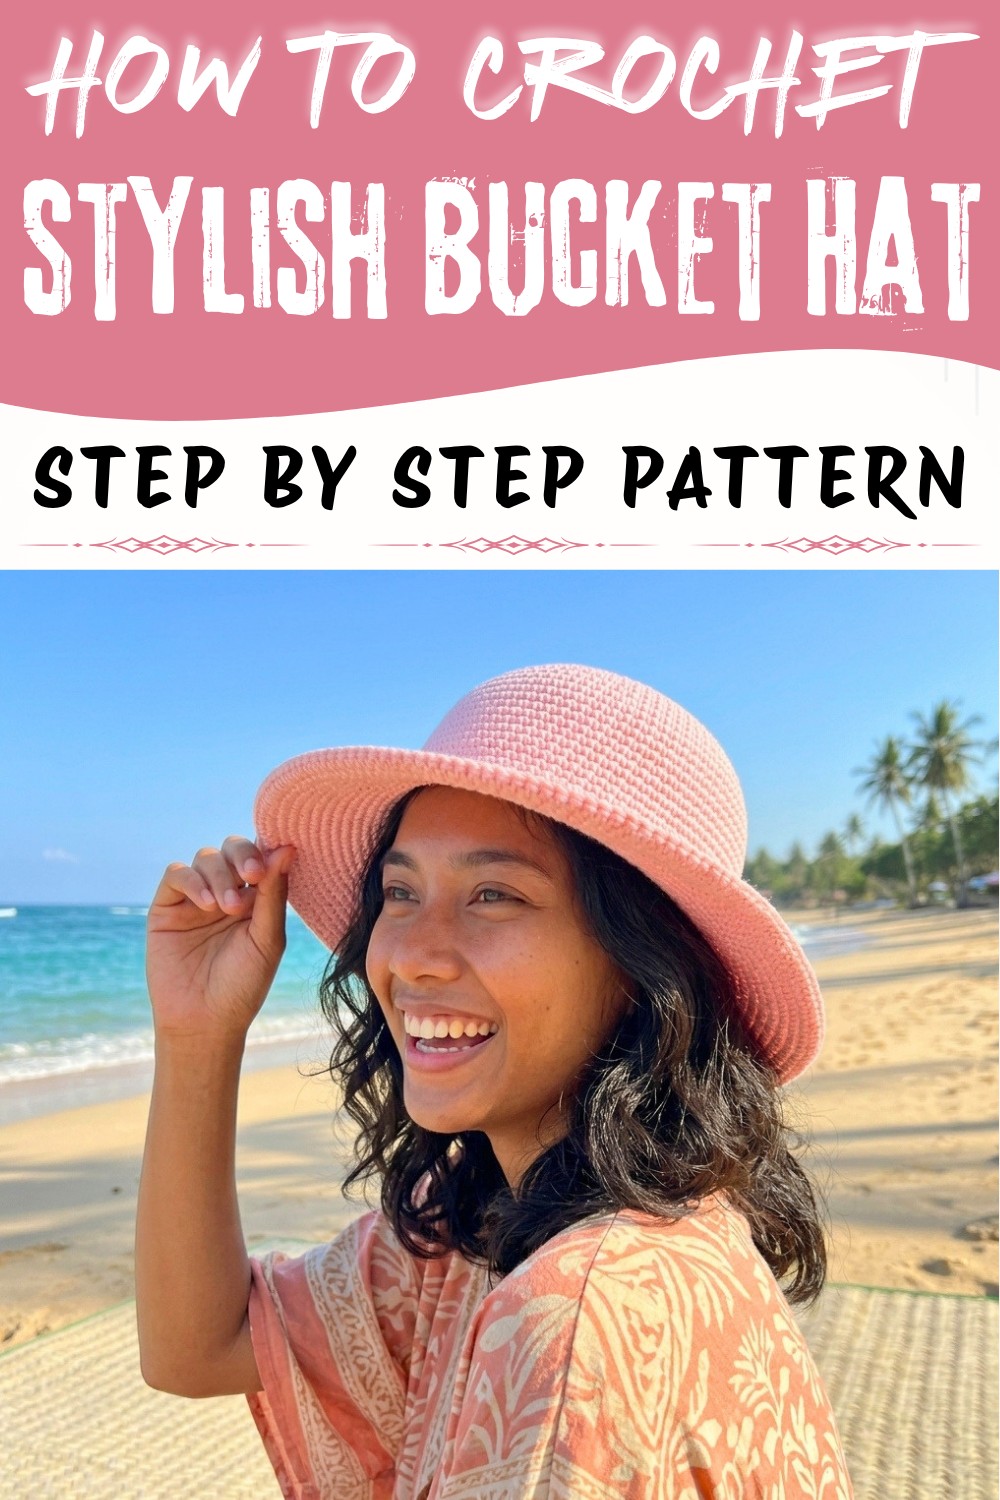
What You'll Learn From This Pattern
- How to crochet a smooth and seamless crown with basic stitches.
- Techniques for adding perfectly spaced increases to achieve the ideal shape.
- Building a sturdy yet flexible brim to suit your personal style.
- Finishing details like invisible joins for a neat, polished edge.
Crochet Hat Pattern - Seasonal Versatility
Materials Required
Yarn Options:
- Acrylic Hat:
- Bernat Premium Acrylic Yarn (#4 Medium Weight) in baby pink color.
- Amount: Approximately 150-200 yards.
- Twine Hat:
- Crocheting twine from a dollar store (150 meters needed).
Hook Sizes:
- 5 mm crochet hook (recommended for acrylic yarn).
- 5 mm or slightly larger hook (recommended for twine to achieve looser stitching).
Notions:
- Stitch marker.
- Darning needle (for weaving in ends).
- Scissors.
Skill Level
Intermediate: Techniques include working in continuous rounds, yarn under and yarn over single crochet, stitch increases, and creating a seamless finish.
Key Abbreviations
(All terms are in US Crochet Terminology.)
- ch: Chain
- sc: Single Crochet
- sl st: Slip Stitch
- inc: Increase (two single crochets worked into the same stitch).
- st(s): Stitch(es)
Special Notes
- Stitch Style Options:
- Yarn Under: Creates a tighter weave, ideal for warmer hats.
- Yarn Over: Produces more relaxed stitches, suitable when working with twine.
- Sizing Adjustments: Follow the pattern until desired diameter or row count for various head sizes.
- Markers: Always use a stitch marker at the start of each round to track your progress and ensure correct stitch counts.
Why You'll Love This Pattern
- Completely customizable for size, style, and colors.
- Perfect for beginners looking to build confidence with core techniques.
- A quick and satisfying project with endless creative opportunities.
- Lovely as a gift, a fashion statement, or a practical accessory for any season!
Step-by-Step Pattern Instructions
Part 1: Crown
Round 1: Foundation
- Create a magic circle.
- Ch 1, then work 6 sc into the circle:
- For acrylic yarn: Use yarn under single crochet for tighter stitches.
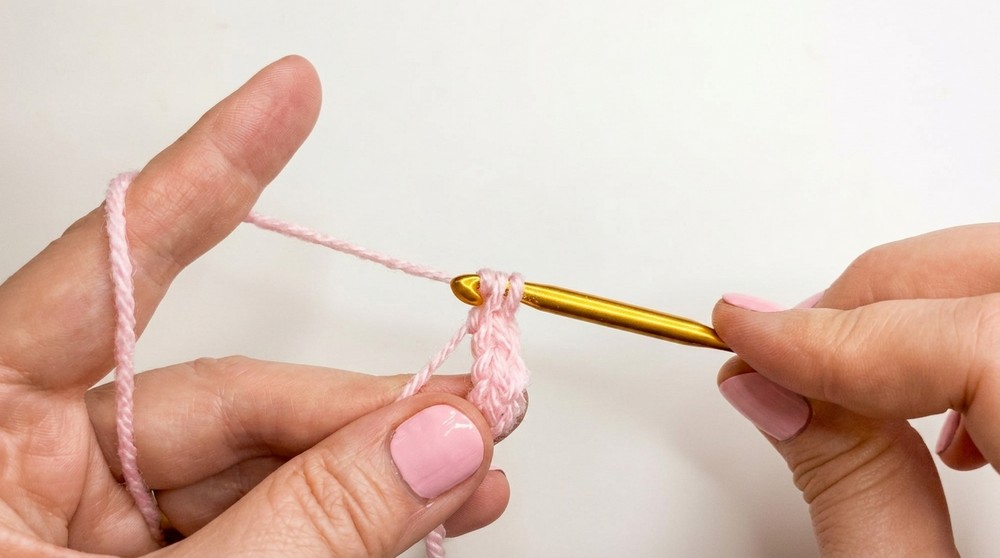
- For twine: Use normal yarn over single crochet, maintaining a looser tension.
- For acrylic yarn: Use yarn under single crochet for tighter stitches.
- Pull the circle snug.
- Do not join; work continuously into the first stitch of Round 2.
- Stitch Count: 6 stitches.
Round 2: First Increase
- Work 2 sc into each stitch from Round 1.
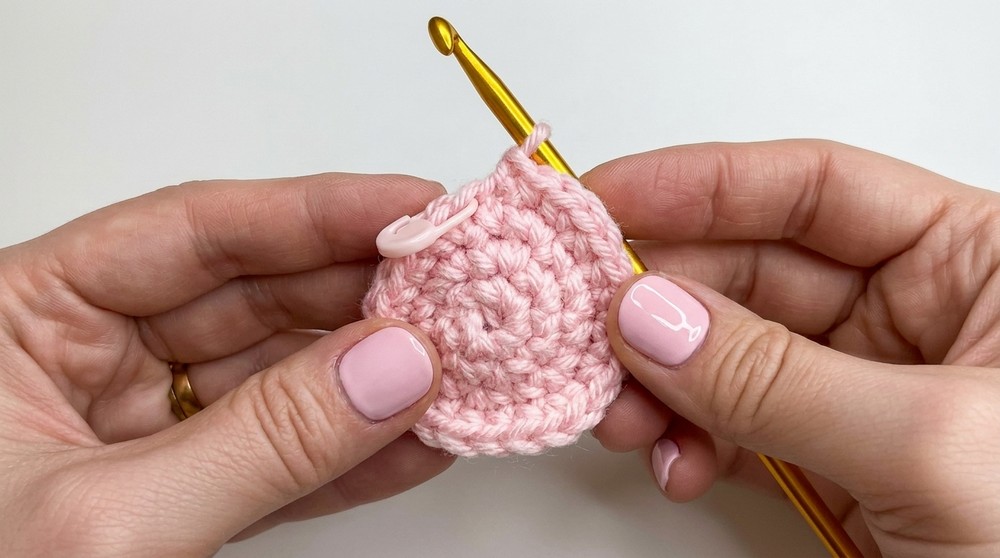
- Insert a stitch marker into the first stitch to mark the beginning of the round.
- Stitch Count: 12 stitches.
Round 3:
- Work 2 sc in the first stitch, 1 sc in the next stitch. Repeat (2 sc, 1 sc) around.
- Stitch Count: 18 stitches.
Round 4:
- Work 2 sc in the first stitch (increase), followed by 1 sc in each of the next 2 stitches. Continue (2 sc, 1 sc, 1 sc) around.
- Stitch Count: 24 stitches.
Round 5:
- Work 2 sc in the first stitch (increase), followed by 1 sc in each of the next 3 stitches. Repeat (2 sc, 1 sc, 1 sc, 1 sc) around.
- Stitch Count: 30 stitches.
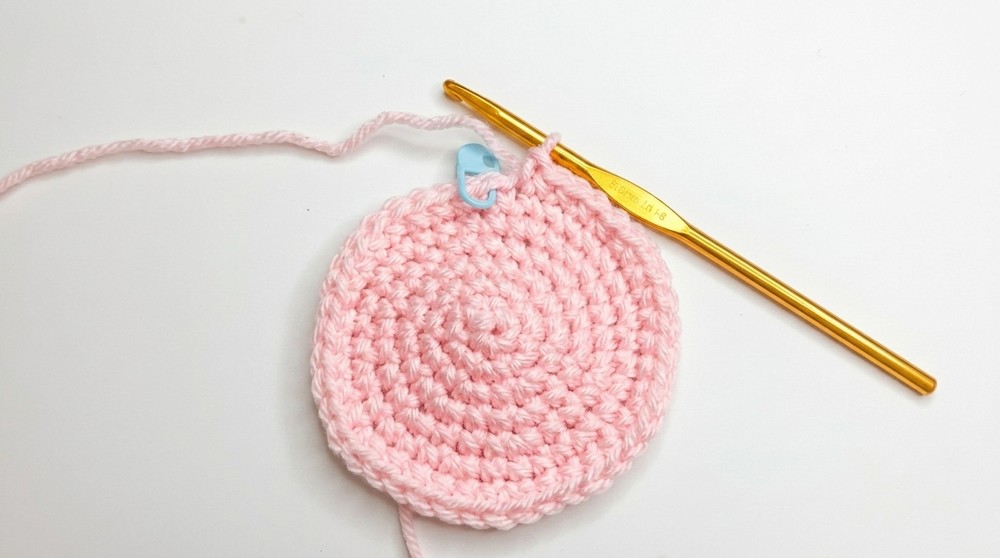
Round 6+: Alternating Centering Increases
From this point forward, move the placement of your increases to create a perfectly round crown by shifting into the center of the single crochet group between prior increases:
- Add necessary stitches to "move over" to the center.
- Start the increase (2 sc in one stitch).
- Follow the increase with 4 sc for Round 6, 5 sc for Round 7, and continue increasing the single crochet grouping by one stitch each round.
- Example for Round 10: (2 sc, 8 sc) sequence across 60 stitches.
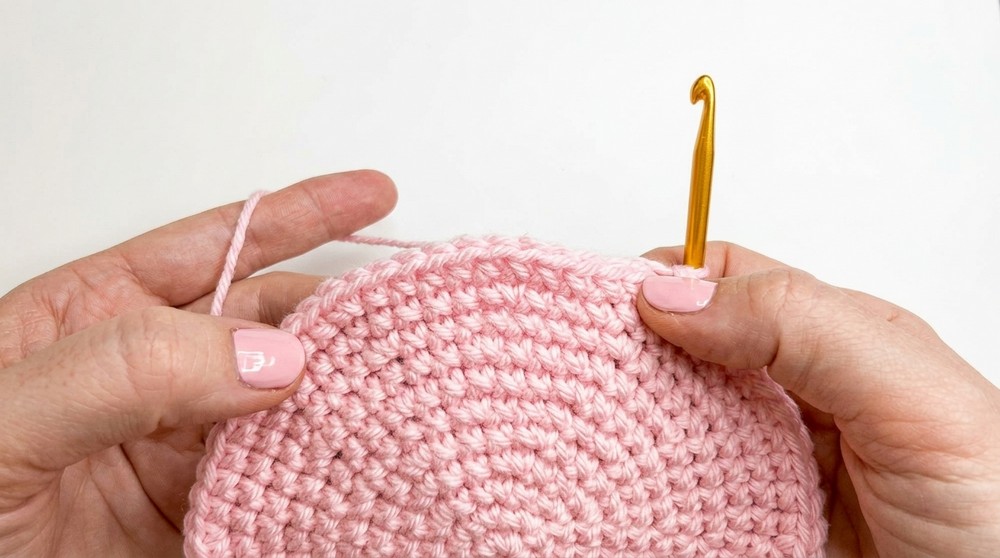
Continue alternating placement and stitch increases every round until the crown measures 7 inches (18 cm) in diameter for an adult size.
Part 2: Body of Hat
Single Crochet Section (Length Transition):
- Once the crown reaches the desired diameter, work 1 sc in each stitch around.
- Leave the stitch marker in to count rows.
- Continue working single crochet rounds until the sides of the hat measure 6 inches (15 cm) or until the hat comfortably covers the top of the ears.
For reference:
- Acrylic version: Approximately 11 rounds.
- Twine version: Approximately 9 rounds (adjust based on tension).
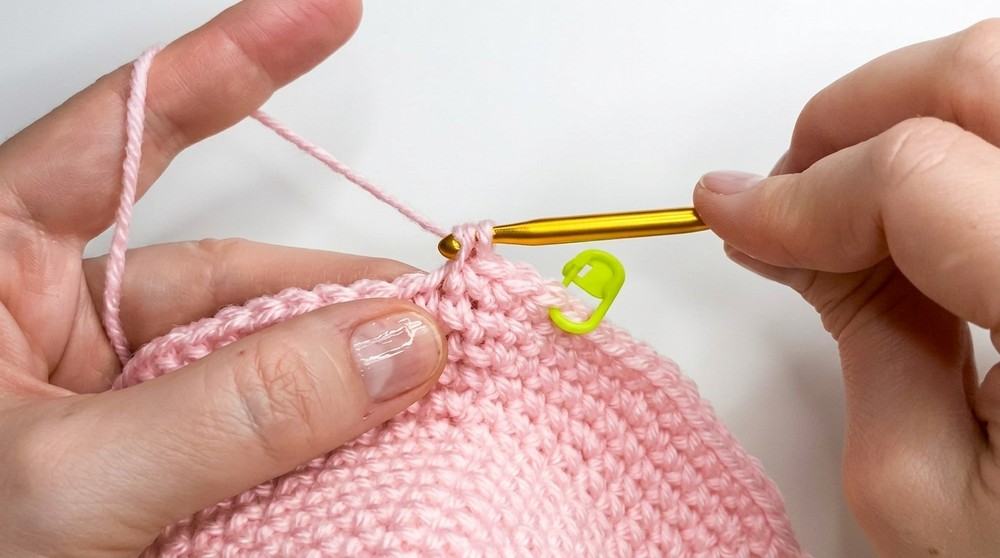
Part 3: Brim
Brim Increases:
Round 1:
- Increase round: (2 sc, 3 sc) sequence across the row.
- Place a stitch marker in the first stitch for consistency.
Round 2:
- Single crochet round: Work 1 sc in each stitch around.
Round 3:
- Increase round: (2 sc, 4 sc).
Subsequent Rows:
- Alternate between increase rounds and single crochet rounds according to the pattern below:
- Round 5: (2 sc, 6 sc) sequence.
- Round 7: (2 sc, 8 sc) sequence.
Continue until the brim measures your desired width. Standard brim widths are 2-2.5 inches (5-6 cm).
Part 4: Finishing
Last Round (Seamless Edge):
- Work sl st in the last stitch of the brim row and cut yarn.
- Use a darning needle for an invisible join:
- Insert the needle into the front of the first single crochet from the finishing round.
- Insert the needle into the back of the slip stitch to complete the V-shape.
This creates a smooth edge with no visible stitching gaps.
Weaving Ends:
- Use the darning needle to weave in all loose ends.
- Weave ends up and down, avoiding stretch areas to prevent unraveling.
Conclusion
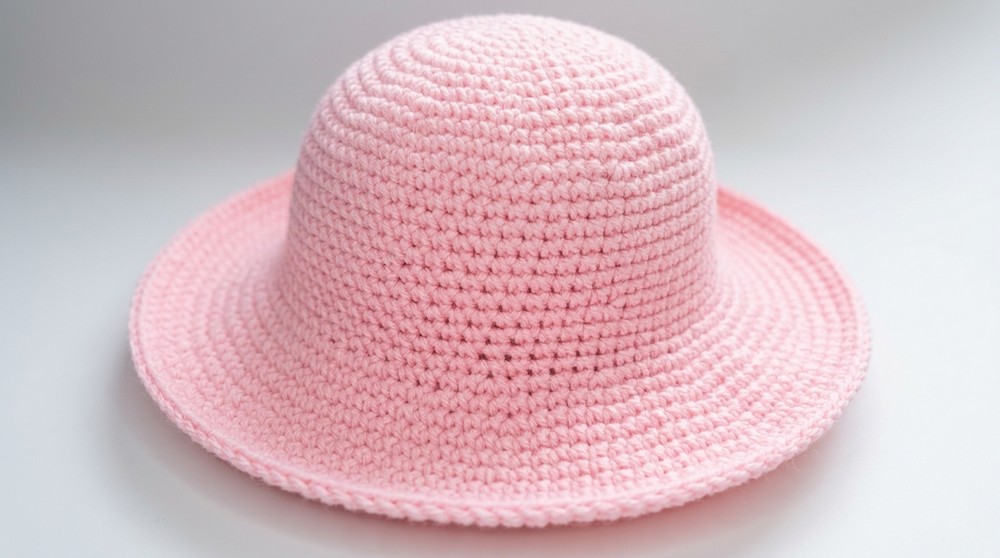
Congratulations on completing your seasonal hat! Whether cozy and tight for winter or loose and airy for spring, this hat provides comfort and style all year round. The choice between acrylic yarn and twine allows flexibility in both texture and utility, making this an adaptable and versatile project.
Pattern Corrections
- Alternate placement of increases in the crown to avoid uneven stitching or pointed edges.
Tips for Success
- Adjust for Smaller Sizes: Reduce the crown diameter for children or opt for fewer side rows.
- Uniform Texture: Maintain consistent tension, especially when working with twine, as its stiffness can vary.
- Personalize: Add embellishments like pom-poms, flaps, or decorative stitches for unique details.
Common Difficulties and Solutions
Crocheting a bucket hat can come with a few challenges, especially for beginners. One common issue is maintaining the proper shape while working in rounds. If your hat starts to ripple or curl, it's likely due to uneven increases-be sure to carefully count your stitches and place increases at consistent intervals using stitch markers to guide you. Another challenge can be working with tighter materials like twine or stiff yarn; in this case, loosen your tension slightly and take breaks to prevent strain on your hands. If your brim isn't as structured as you'd like, consider adding an extra row of increases or using a firmer yarn for added stability. With patience and these simple adjustments, you'll have a beautifully shaped hat every time!