
Brighten a chilly morning with this free crochet men's hat pattern to make a professional looking cap that is very fun and soft for him to wear.
A warm head is something everyone wants, especially when the weather turns cold or when you spend time outside. Making a hat with yarn and a hook is a simple way to stay comfortable every day. A Crochet Men's Hat pattern gives you a clear and easy guide to follow, using basic stitches anyone can learn. Even if you have never made anything before, you will see that these steps are not difficult, and you do not need to read big words or worry about complicated tools. This type of pattern is perfect for anyone who wants a good-fitting hat that does not slip and feels just right.
Popular and Practical Free Crochet Men's Hat Pattern
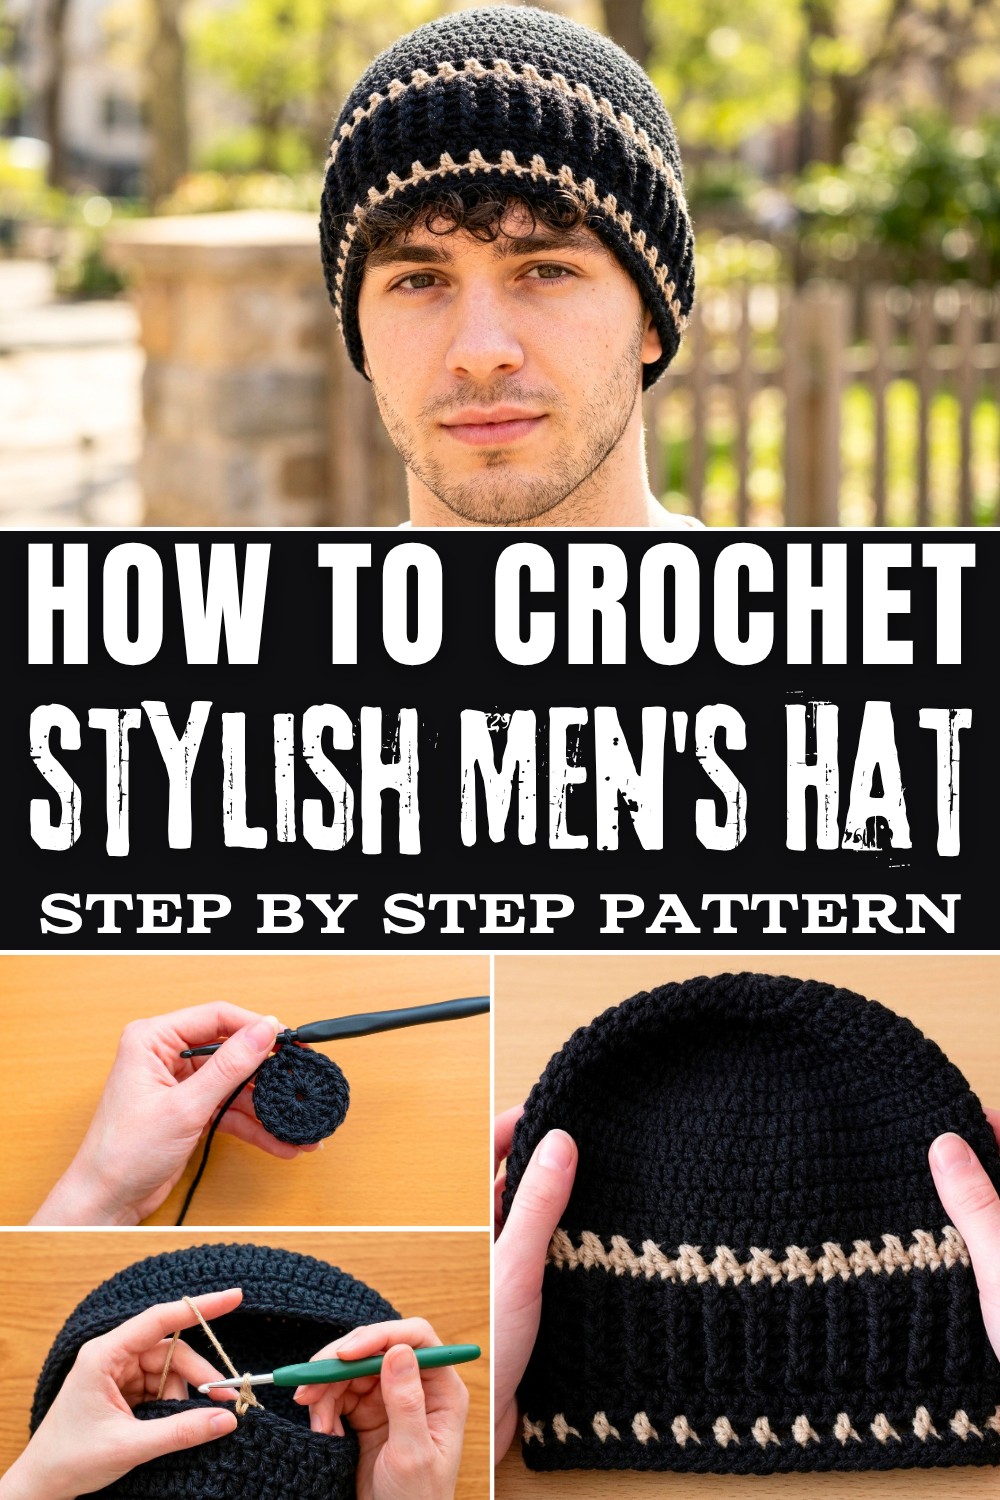
The benefits go beyond just staying warm. Using a Crochet Men's Hat pattern means you can choose the thickness and color you like best, matching your jacket or your favorite shirt. Making hat for friends or family shows you care and gives others something useful and special. This hat are strong, easy to wash, and take only a little time to finish, so you can have more than one for work or play. Sharing the hat-making steps can help children or neighbors learn a new skill and enjoy time together.
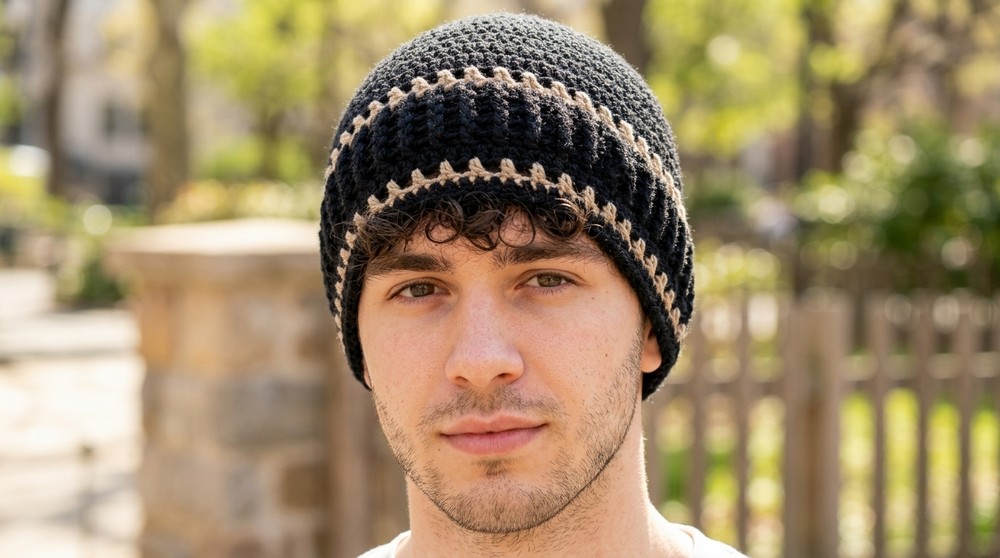
With this pattern, you always have a chance to make something that keeps you and your loved ones happy and safe all year long. This cool crochet hat isn't just a beautiful piece-it's also a practical way to stay cozy in winter. Whether you're making it as a gift or for yourself, this pattern offers a creative way to add handmade charm to your wardrobe.
Free Crochet Men's Hat Pattern
Materials Needed
- Yarn: Two different colors of medium-weight yarn.
- Main Color (MC)
- Contrast Color (CC)
- Crochet Hook: Size 7 mm (US size).
- Stitch Markers: A stitch marker or alternatives like a paperclip, scrap yarn, or safety pin.
- Scissors: To trim yarn tails.
- Darning or Tapestry Needle: For weaving in ends.
Stitches & Techniques
- Slip Knot: Used to start the project.
- Chain (ch): Creates foundational loops.
- Double Crochet (dc): A tall stitch providing height and texture.
- Slip Stitch (sl st): Used to connect rounds.
- Front Post Double Crochet (fpdc): Worked around the post of a stitch, pushing it forward.
- Back Post Double Crochet (bpdc): Worked around the post of a stitch, pushing it backward.
- Half Double Crochet (hdc): A medium height stitch.
- Single Crochet (sc): A short, compact stitch.
- Decrease (dec): Combining two stitches into one to reduce the number of stitches in a round.
Special Notes
- Always count your stitches at the end of each round for accuracy.
- Use stitch markers to keep track of rounds and decreases.
- For color changes, secure your yarn tails with knots and crochet over them when possible.
- Adjust the number of increase rounds for different head sizes (fewer for smaller heads).
- This pattern fits a large adult head; modifications can be made as noted in the conclusion.
Pattern Instructions
Step 1: Foundation and Round 1
- Begin with MC: Make a slip knot and place it on the hook.
- Chain 4 (ch 4):
- Count the third chain as the first double crochet (dc).
- Form a ring: Work 14 dc into the first chain (counts as 15 stitches total, including the first "ch 3").
- Connect the round: Slip stitch (sl st) into the second chain of the initial ch 3.
Stitch Count for Round 1: 15.
Step 2: Round 2 (Increase Round)
- Chain 3 (ch 3): Counts as the first double crochet.
- Increase: Place 2 dc in every stitch around.
- Connect: Slip stitch into the second chain of the starting ch 3.

Stitch Count for Round 2: 30 (2 stitches per previous stitch).
Step 3: Round 3 (Increase Round)
- Chain 3 (ch 3).
- Pattern: Alternate 2 dc in one stitch (increase) and 1 dc in the next stitch. Repeat around the round.
- Connect: Slip stitch into the second chain of the starting ch 3.
Stitch Count for Round 3: 45.
Step 4: Round 4 (Increase Round)
- Chain 3 (ch 3).
- Pattern: 2 dc in one stitch, followed by 1 dc in each of the next two stitches. Repeat around.
- Connect: Slip stitch into the second chain of the starting ch 3.

Stitch Count for Round 4: 60.
Step 5: Round 5 (Non Increase Round)
- Chain 3 (ch 3).
- Pattern: Place 1 dc in every stitch around. No increases are made in this round.
- Connect: Slip stitch into the top of the starting ch 3
Stitch Count for Round 5: 60.
Step 6: Round 6 (Last Increase Round)
- Chain 3 (ch 3).
- Pattern: 2 dc in one stitch, followed by 1 dc in each of the next three stitches (2, 1, 1, 1). Repeat around.
- Connect: Slip stitch into the second chain of the starting ch 3.
Stitch Count for Round 6: 75.
Step 7: Rounds 7 to 11 (Non Increase Rounds)
- Chain 3 (ch 3).
- Pattern: 1 dc in every stitch below. No increases will be made for these rounds.
- Repeat: Work 4 additional rounds (5 total from Round 6).
- Connect: Slip stitch into the top of the starting ch 3.
Stitch Count for These Rounds: Stays at 75 stitches.
Step 8: Switch to CC and Add Criss Cross Pattern
- Introduce CC:
- At the end of Round 11, attach the second color (CC) with a slip stitch.
- Chain 3 (ch 3).
- Pattern:
- Skip the first stitch.
- Place 1 dc into the second stitch, then place 1 dc back into the skipped stitch.
- Repeat this method (crisscross pattern) all the way around.
- Connect: Slip stitch into the second chain of the starting ch 3.
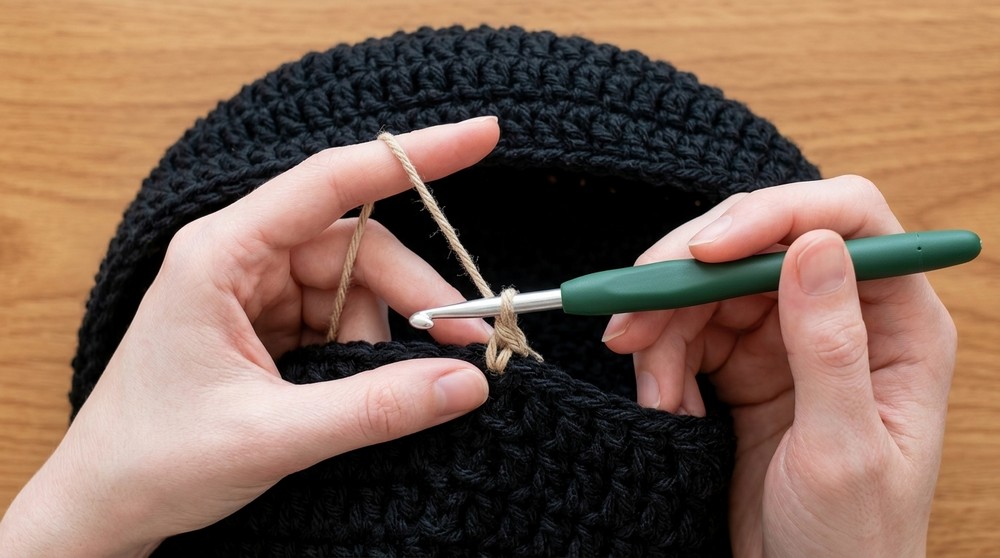
Step 9: Front Post and Back Post Double Crochet Rounds
- Switch Back to MC: Attach MC as before.
- Chain 3 (ch 3):
- Place a front post double crochet (fpdc) around the next stitch, then a back post double crochet (bpdc) around the following stitch.
- Alternate fpdc and bpdc around the round.
- Repeat 3 additional rows (4 total).
- Finish with a slip stitch.
Step 10: Half Double Crochet Rounds
- Using MC, work 2 rounds of half double crochet (hdc) stitches into every stitch.
- In the next round, alternate hdc and chain spaces to create openwork.
Finishing the Beanie
- Weave in all ends using the darning needle.
- Block your work lightly if needed to shape the finished piece.
- If the brim feels loose:
- Add a single round of decreases using sc.
- Attach elastic b cord if needed for extra snugness.

Troubleshooting (Quick Guide)
- Beanie too loose/tight: Double-check your stitch count and try a different hook size.
- Wavy or wonky shape: Make sure you add increases and decreases exactly as written.
- Holes/gaps: Maintain even tension and don't accidentally skip stitches.
- Messy color changes: Tie knots securely and weave ends neatly into your work.
- Edges curl/ruffle: Check your decrease stitches and don't add extra stitches at the brim.
- Post stitches look off: Always go fully around the post, not between the yarn loops.
Tip: Count your stitches at the end of each round to catch mistakes early!

Pattern Correction:
- Always verify your stitch count at the end of every round, especially increase and decrease rounds.
- Watch for accidental increases or decreases on post stitch rounds-always work around the complete decrease stitch for proper shaping.
- Ensure color changes are secure by tying knots and weaving tails.
Final Thoughts and Tips
- Sizing: This tam/beanie fits a large adult head. Adjust stitches for smaller heads. For example:
- Skip the final rounds of increases for children or smaller heads.
- Customization: Add or omit crisscross or post stitch details for varied patterns.
- Yarn Care: Use machine washable yarn for easy maintenance.
- Blocking: Shape the tam after washing for better dimensions and aesthetic.
Enjoy creating this beautiful, textured tam/beanie. It's a wonderful handmade gift or a unique addition to your own wardrobe.