
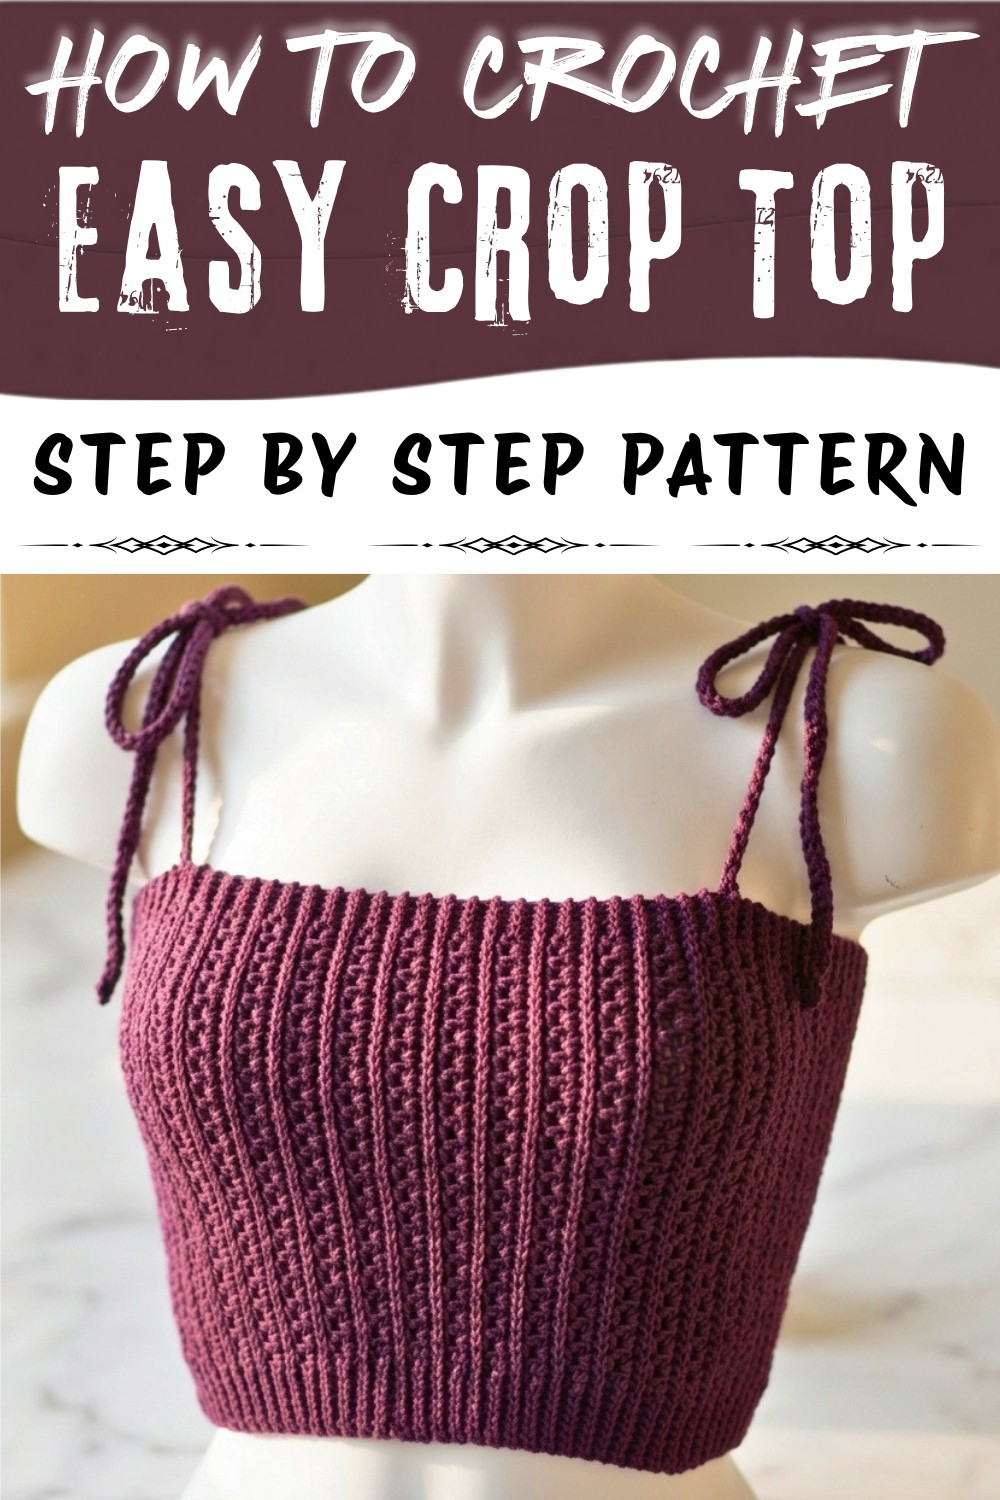
Try out this free crochet crop top pattern and enjoy making a cool and stylish top that's quick to complete and fun to wear for any occasion.
A new style in clothes brings happiness by showing bright colors and light shapes for warm days. Everyone can make a top for themselves or someone special, even without knowing letters or numbers. This kind of top uses single loops, short parts, and straight lines, which makes every piece strong and comfortable. The crochet crop top pattern helps all people make a cool piece that fits any body, and the shape stays neat all day without rolling or stretching too much.
Versatile Free Crochet Crop Top Pattern That looks so bright
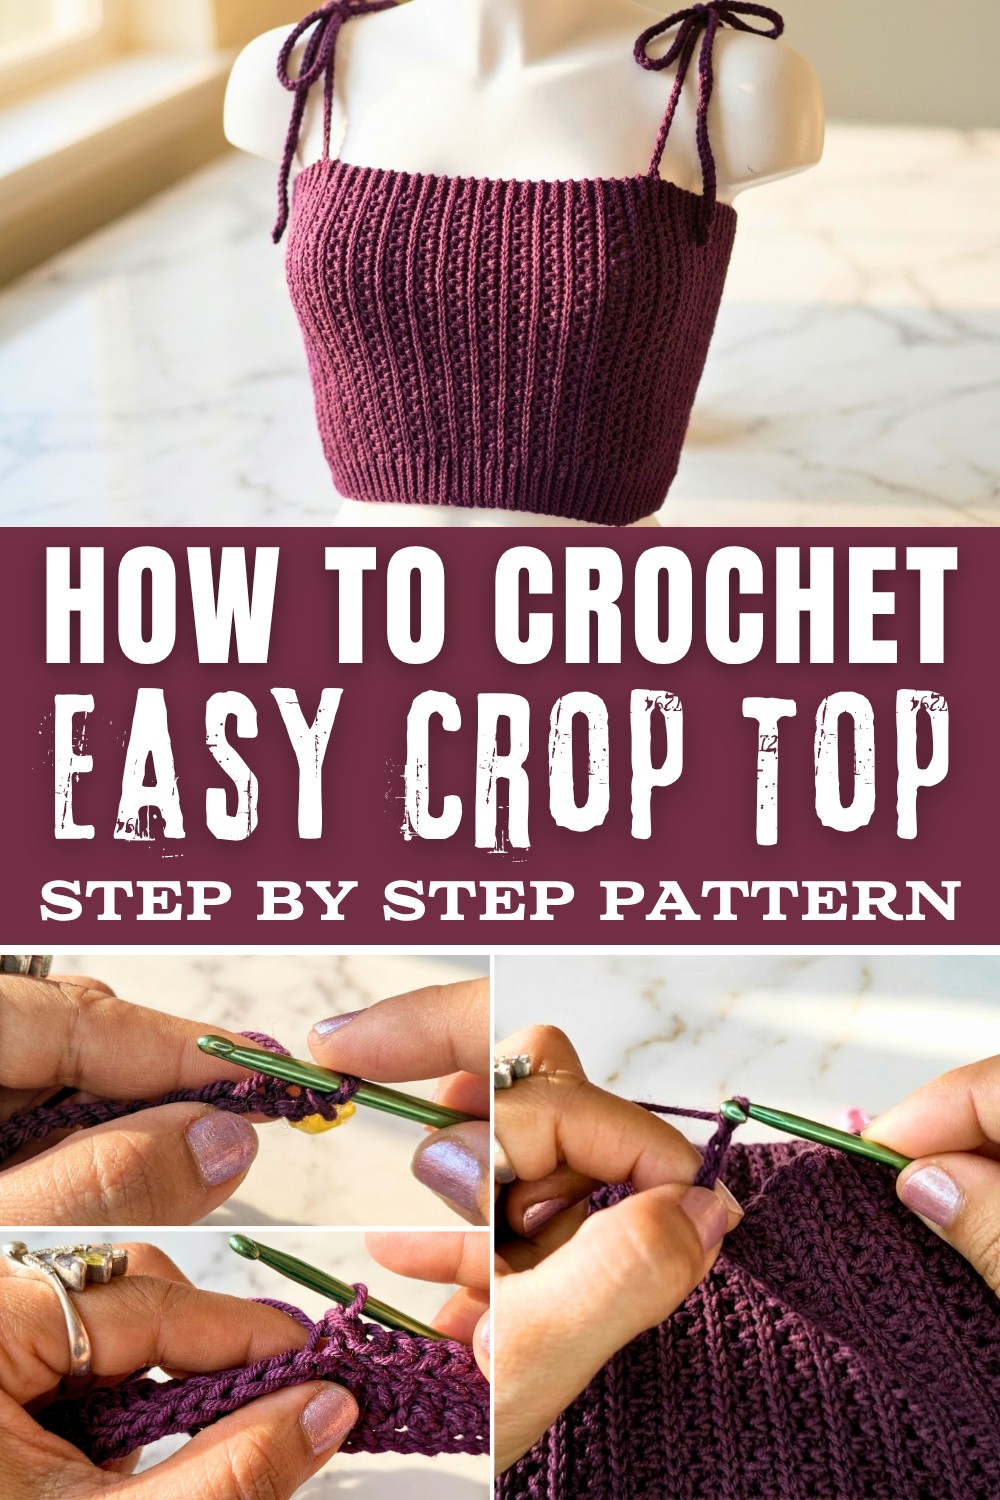
This top helps keep your body cool when the sun is high, giving freedom to move arms and shoulders. Many like to use this for walking outside, enjoying sports, or sitting with friends. It can be shaped in many ways with a mix of colors or simple stripes. People can use it at home or for going to markets, making every day brighter and more fun. With this easy process, children and grown-ups can learn new skills step by step. Each top becomes one of a kind because the maker decides on the size and look.
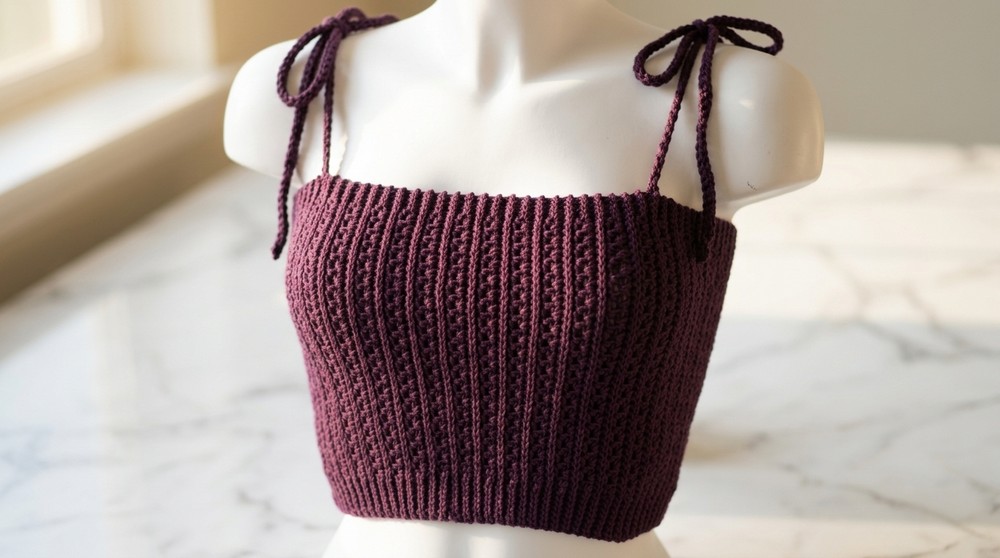
Washing the top is simple, and it dries fast for next use. In winter, the top works as a layer under jackets, giving both warmth and fashion to the outfit. The pattern lets makers save money by using leftover thread, and each finished piece can be a present for family or neighbors. The crochet crop top pattern is full of good things: it brings smiles, builds confidence, and lets anyone share beauty without hard work or reading.
Step by Step Crochet Crop Top Pattern
Materials Required
- Yarn: Blend of 50% cotton and 50% acrylic in Dark Grape color (recommended for softness and durability).
- Recommended Hook Size: Size 4 mm.
- Other Tools:
- Scissors or thread cutter.
- Measuring tape.
- Stitch markers (at least 4).
Gauge
Ensure the following gauge for accurate sizing:
- 10 cm (4 inches) = 26 stitches in single crochet.
Gauge swatches should be worked flat and measured after blocking to ensure correct dimensions.
Finished Size
- Size L: The top consists of a total of 148 rows, giving a chest coverage of approximately 23 inches wide when flat.
- For different sizes:
- Size M: ~132-134 rows.
- Size adjustments can be made based on desired measurements. Measure continuously as you work for custom fitting.
Pattern Tips and Customization Ideas
- Ribbing Adjustments: You can make ribbing sections longer for a more prominent texture or shorter for a sleeker look.
- Color Changes: Experiment with color blocking or stripes by alternating yarn colors every few rows.
- Length Modifications: For longer tops, extend rows by adding more single crochet sections proportionately.
- Durable Straps: Reinforce straps by doubling yarn or working over them with another layer of slip stitches.
Pattern Notes
- Special Techniques Used:
- Slip Stitch: Used for ribbed texture and edging. Work loosely to avoid stiffness.
- Single Crochet in Chain Spaces: This technique creates the "seed" style texture with chain gaps.
- Project Division:
- Ribbing: Worked on either end of the rows.
- Center Panel: Alternating chain and single crochet rows forming the body.
- Straps: Added as a final detail.
Pattern Instructions
Step 1: Start with Ribbed Edging
- Foundation Row:
Begin with 38 loose chain stitches for size L.
This forms the width of the base row. Adjust chain count for other sizes as required. - Row 1 (Ribbing on One Side):
- Skip the first chain, insert the hook into the second chain, and make a slip stitch.
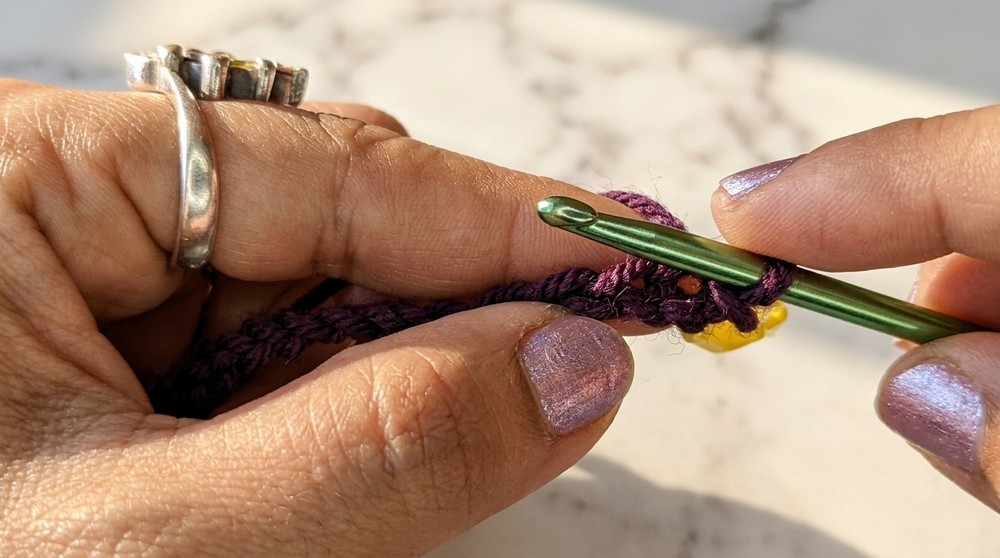
- Continue slip stitches across 7 chains (work loosely).
- Place a stitch marker in the seventh stitch for identification.
- Skip the first chain, insert the hook into the second chain, and make a slip stitch.
- Transition to Single Crochet:
- Work 1 single crochet into the next chain.
- Add 1 chain for a gap, skip 1 chain, and single crochet into the following chain.
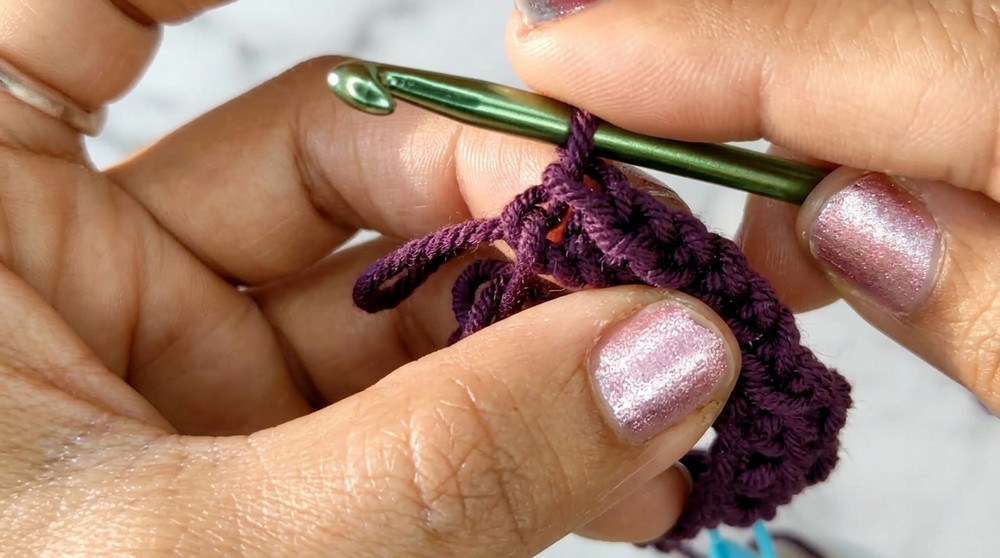
- Repeat the sequence (chain, skip 1, single crochet) until 7 chains remain before the end of the row.
- End of Row 1:
- Use slip stitches across the final 7 chains. Make sure to match the ribbing length at the start.
- Place a marker at the last slip stitch for reference.
Step 2: Continuing the Pattern
- Turn and Work Ribbing:
- Chain 1, turn the work.
- Make 7 slip stitches into the ribbing section at the start of the row.
- Alternate Rows:
- For each new row, make slip stitches in the ribbed edging, followed by repeating the section of seed stitches (single crochet and chain gaps).
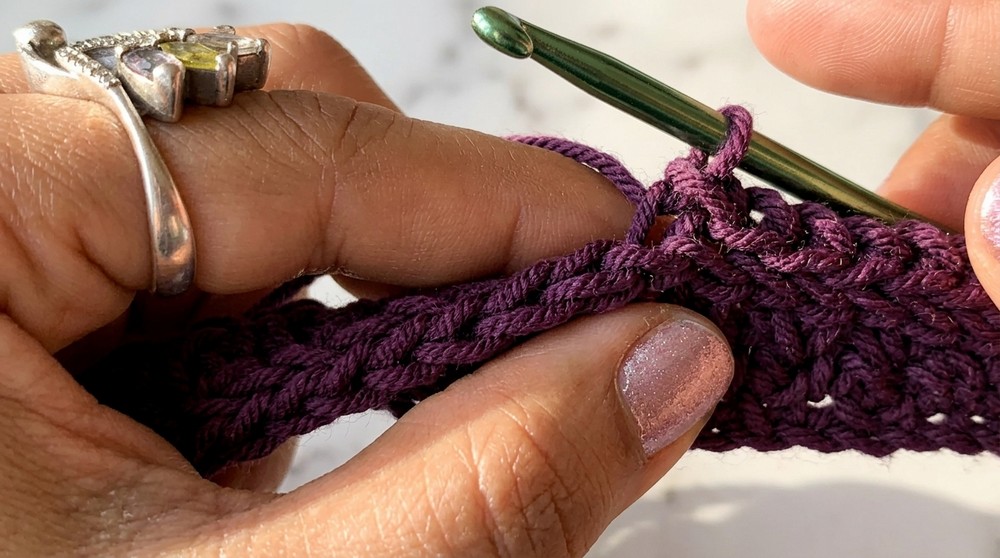
- For each new row, make slip stitches in the ribbed edging, followed by repeating the section of seed stitches (single crochet and chain gaps).
- Repeat Rows for Desired Width:
- Continue working the alternating pattern for 148 rows (or required rows for your size).
Ensure the stitch count is consistent-use markers to prevent discrepancies.
- Continue working the alternating pattern for 148 rows (or required rows for your size).
Step 3: Joining Edges
- Identify Right Side (RS) and Wrong Side (WS):
- Locate the RS where the textured ribbing is raised and visible. The WS will appear smoother.
- Edge Seam:
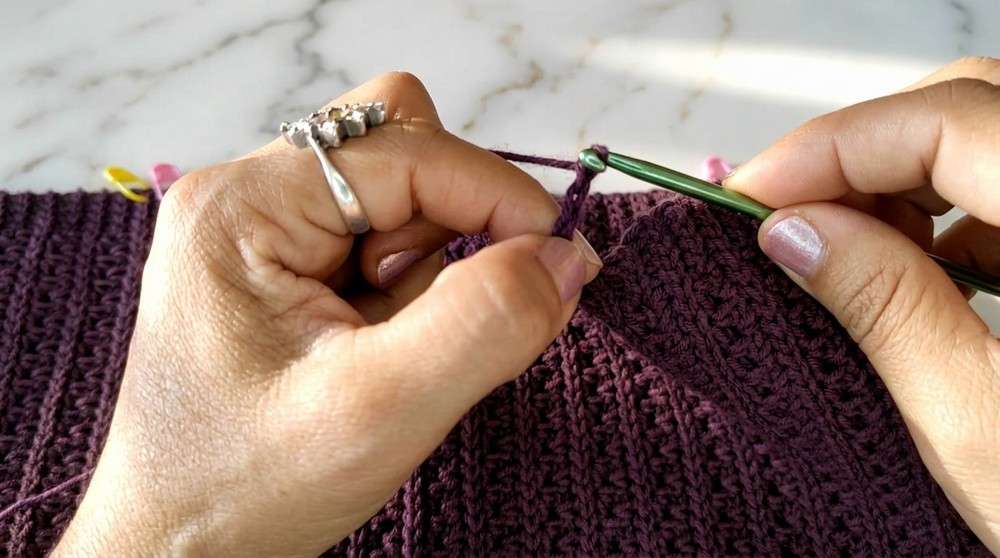
- Fold the piece in half, with WS facing out.
- Use a slip stitch seam to join the two sides. Match stitch to stitch for alignment.
Step 4: Adding Straps
- Positioning:
- Measure approximately 23 rows for strap placement on each side (or adjust according to personal fit).
- Place markers to indicate where straps will start.
- Strap Construction:
- Attach yarn to the marked stitch.
- Work 135 chains for the strap. Increase or decrease chain count for different strap lengths.
- Turn and work slip stitches across the newly made chain to reinforce the strap.
- Final Attachment:
- Seam the strap securely to the opposite side of the marked area.
- Seam the strap securely to the opposite side of the marked area.
Special Techniques
Slip Stitch Ribbing:
- Insert the hook into the back loop only for ribbing texture. Keep your tension light to maintain elasticity.
Seed Stitch Panel:
- Work single crochets into chain spaces from the previous row to maintain the pattern.
Conclusion
Congratulations, You've completed a stylish sleeveless top with beautiful ribbed detailing and functional straps. The clean texture, versatility in sizing, and easy to follow methods make this project one that beginners and advanced crocheters will appreciate. The top pairs wonderfully with jeans, shorts, or skirts for casual outings.
Important Remarks
- Blocking: Gently steam block the finished piece to enhance the texture and create an even surface.
- Sizing Adjustments: This pattern is flexible and allows room for customization based on individual measurements.
- Final Look: The textured ribbing combined with the decorative seed stitch and well placed straps ensure a polished and comfortable garment.
Why You'll Love This Pattern
- Easy steps with clear markers help anyone follow along-even beginners.
- Fits your body because you can adjust as you go.
- Feels light and comfortable for both warm days and layering.
- Uses common yarn and tools, so anyone can try it.
- Makes a beautiful gift for friends or family.
Troubleshooting Section
- Edging not straight: Use markers and count stitches to keep sides even.
- Too tight or loose: Try to relax your hands and use the right-size hook.
- Wrong size: Check your fit often and add or remove rows as needed.
- Visible seam: Join parts with slip stitches inside to keep seams hidden.
- Lost markers: Use bright or big markers so they don't get lost.