
Crocheting a tiny flower is such a simple yet delightful project, and it's perfect for anyone with just a bit of leftover yarn. There's something really charming about creating a tiny, cheerful blossom from scraps that might otherwise go unused. You can use any color you like, and these small flowers are truly versatile. I love making them in pastel shades for springtime, but bold colors look amazing too. These dainty crochet flowers can brighten up so many things, from hats and bags to hair clips and greeting cards. Whenever I add them to a gift, it makes everything feel extra special and handmade.
Free Crochet Tiny Flower Pattern for Cute Appliqués and Motifs
The pattern uses the magic ring to start and primarily depends on the slip stitch and chaining technique. These are some of the very first stitches beginners learn, which makes this tiny flower pattern very approachable for anyone new to crochet. The magic ring helps you create a neat, tight center, while the slip stitch forms those delicate, soft petals. In just a few minutes, you can have a little flower that looks intricate but is really easy to make. By learning this pattern, you actually master a key crochet technique that opens the door to so many other projects, like crochet appliqués, garlands, or even tiny decorative coasters.
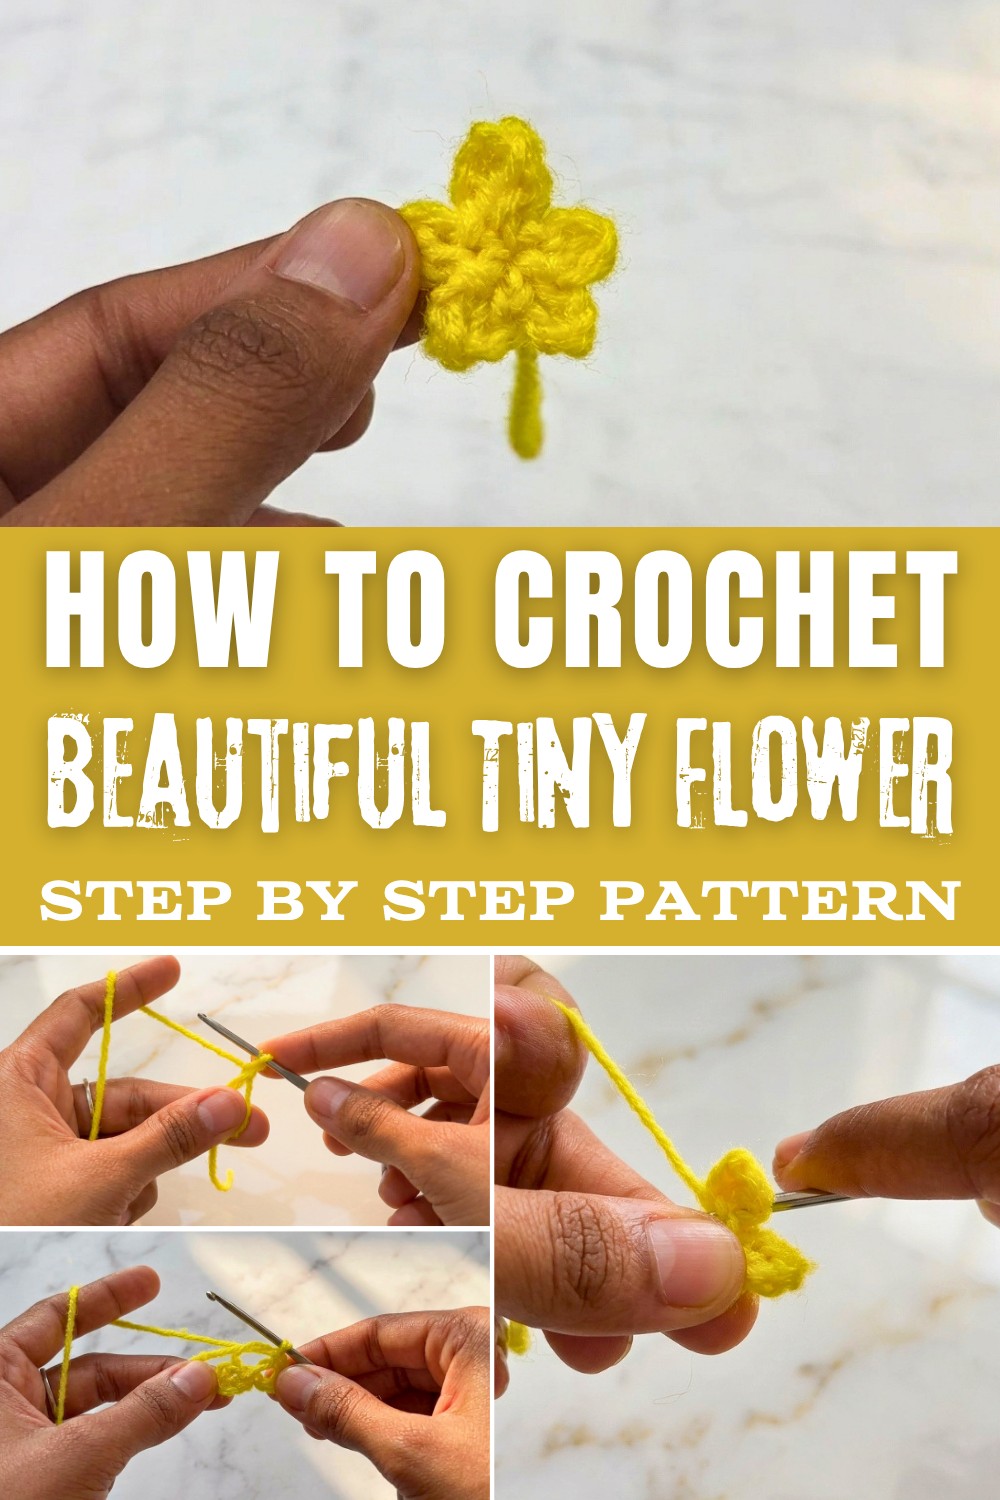
Following this pattern, you'll discover the process of starting with a magic ring and creating petals by making chains and slip stitches into the ring. Not only will you learn how to make a pretty, puffy flower, but you'll also see how these basic stitches can be used to crochet other small accessories like leaves, mini hearts, and even small circles. Once you get the hang of this flower, you might find yourself making matching sets to embellish blankets, sweaters, or anything that needs a little handmade touch!
Tiny Scrap Yarn Crochet Flower Pattern
Materials Needed
- Yarn: Any leftover yarn (sample uses yellow, mixed-fiber, but any type will work)
- Hook: 12 mm crochet hook (or size matching your yarn)
- Scissors
- (Optional): Yarn/tapestry needle for sewing your flower onto other items
Finished Size
- Roughly 2-4 cm across, depending on your yarn and hook size.
Step-by-Step Instructions
Step 1: Make a Magic Ring
Instructions:
- Take your yarn and wrap it loosely around two fingers, forming a loop (circle) with the working yarn on the right and the tail of the yarn on the left.
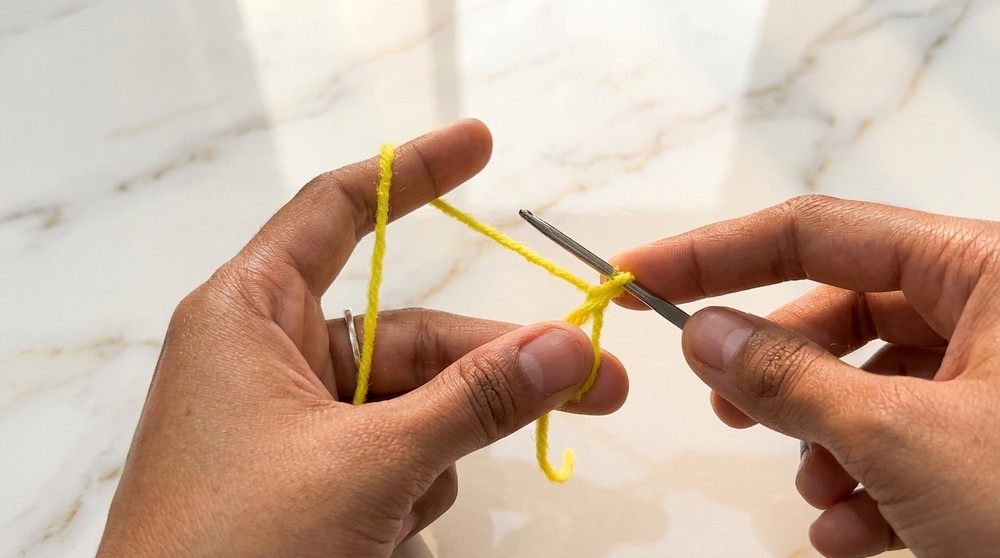
- Hold the cross where the yarn overlaps with your thumb and forefinger.
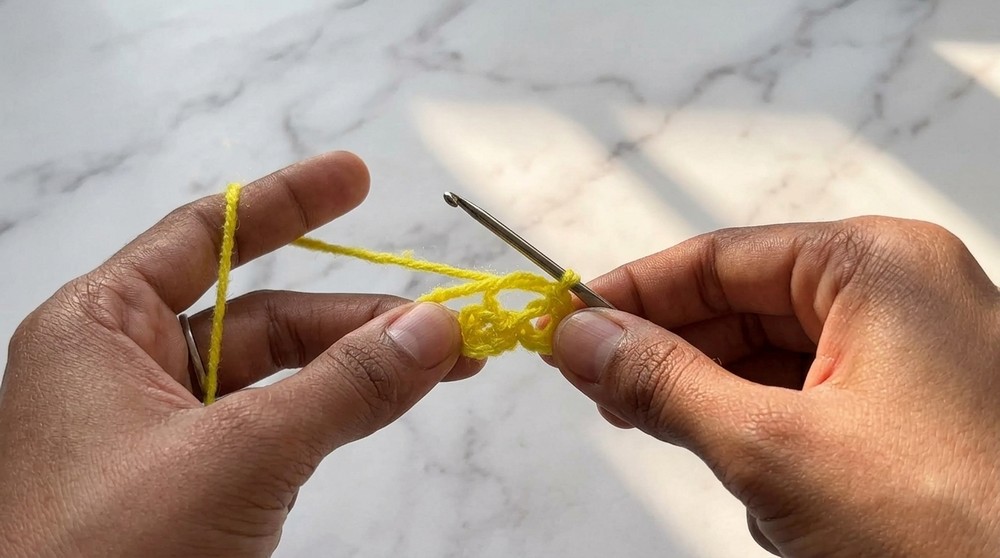
- Insert your hook under both strands of the loop, grab the working yarn (the strand attached to the ball, not the tail), and pull a loop up through the ring.
- Chain 1 to secure the loop and stop it from unraveling.
Beginner Notes:
The magic ring (or circle) is a foundational way to start crochet circles, allowing you to pull the yarn tail to tightly close the center hole. If you are not comfortable yet, you can make a loose slip knot and chain 4, then join with a slip stitch to make a ring as an alternative.
Tip: Don't pull the ring tight yet! Wait until all petals are made.
Step 2: Create the First Petal
Instructions:
- Chain 4:
- Yarn over, pull through the loop on your hook (1 chain)
- Repeat 3 more times (for a total of 4 chains)
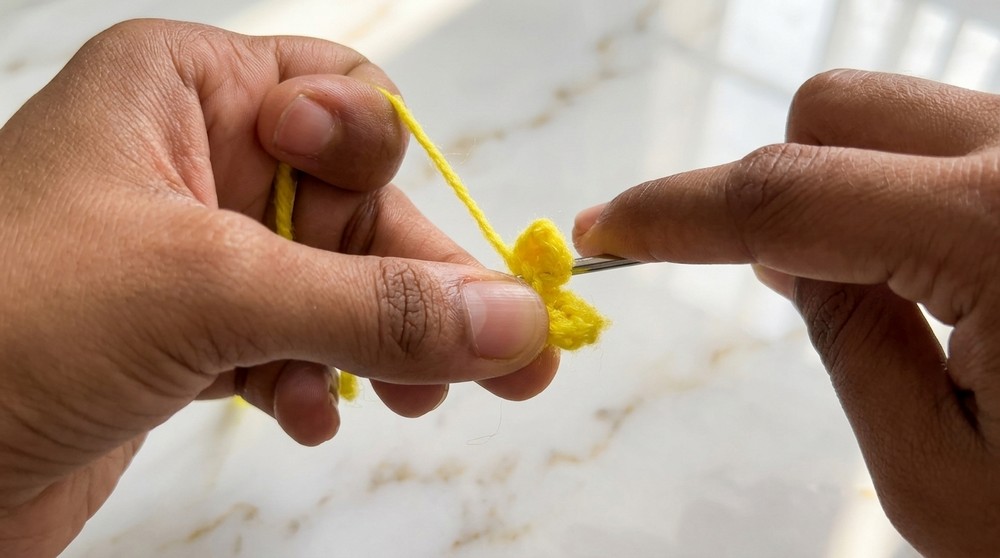
- Slip Stitch into the magic ring:
- Insert your hook into the center of the magic ring, yarn over, pull up a loop through the ring (now you have 2 loops on your hook)
- Pull the first loop through the second-this completes your slip stitch.
Beginner Notes:
Chaining 4 creates the petal's height and arch. Slip stitching secures the chain-loop back to the flower center.
You should now see your first small "petal" loop coming from the ring.
Step 3: Continue Making More Petals
Instructions:
- Repeat the following steps until you have the desired number of petals (generally 4 or 5; 5 is most common for a classic flower look):
- Chain 4
- Slip Stitch into the Magic Ring
- Every time, work into the magic ring, not into earlier chains or petals.
Beginner Notes:
Each chain-4 + slip stitch combination forms another petal. Spread them evenly around the ring as you go.
Tip: If your yarn allows for more petals and you want a fuller flower, add one or two extra petals! Just make sure you have enough space and yarn.
Step 4: Finishing Off the Last Petal
Instructions:
- After completing your desired number of petals (usually 5),
- Chain 1 (to lock everything in place)
- Cut the yarn, leaving at least 10-15 cm (4-6 inches) for sewing or weaving in.
- Pull the yarn tail fully through the last chain to fasten off.
Beginner Notes:
This locks your last stitch so that your flower doesn't unravel.
You're ready for the final shaping and finishing steps!
Step 5: Shaping and Securing the Flower
Instructions:
- Now, firmly pull the yarn tail from the magic ring (the beginning tail, not the working yarn end you just cut) to close the circle at the center of your flower tightly. The petals will snug up close together.
- Arrange all petals by gently pulling on their edges so they are even and circle out from the center.
- Next, using the two tails (start and finish), tie a secure double knot at the base on the back of the flower to make sure it won't unravel.
- With your scissors, trim the shorter tail close to the knot if you wish. Leave the long tail if you plan to sew your flower onto a project-or weave it in with your hook or a yarn needle if you plan to use it as a stand-alone embellishment.
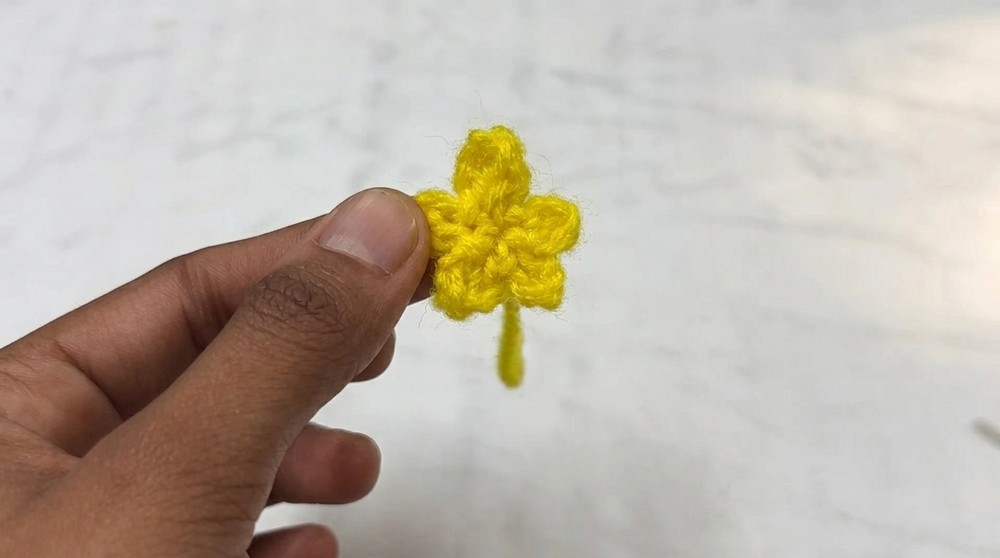
Beginner Notes:
Shaping your petals is important for a neat look! Pull gently so you don't misshape or break your yarn.
A strong double knot is ideal-your flower should be sturdy enough for accessories, sewing onto other projects, or for little hands to play with!
Step 6: Use and Customize Your Flower
Instructions:
- With the long yarn tail, sew your flower onto anything-hats, bags, headbands, cozy blankets, bookmarks, gifts, pencil pouches, or add a button/bead to the center for extra detail.
- Try changing the number of starting chains (chain 5 for longer petals, or chain 3 for tiny petals) to alter the flower's look.
- Make a colorful bouquet by repeating the steps with different yarn scraps.
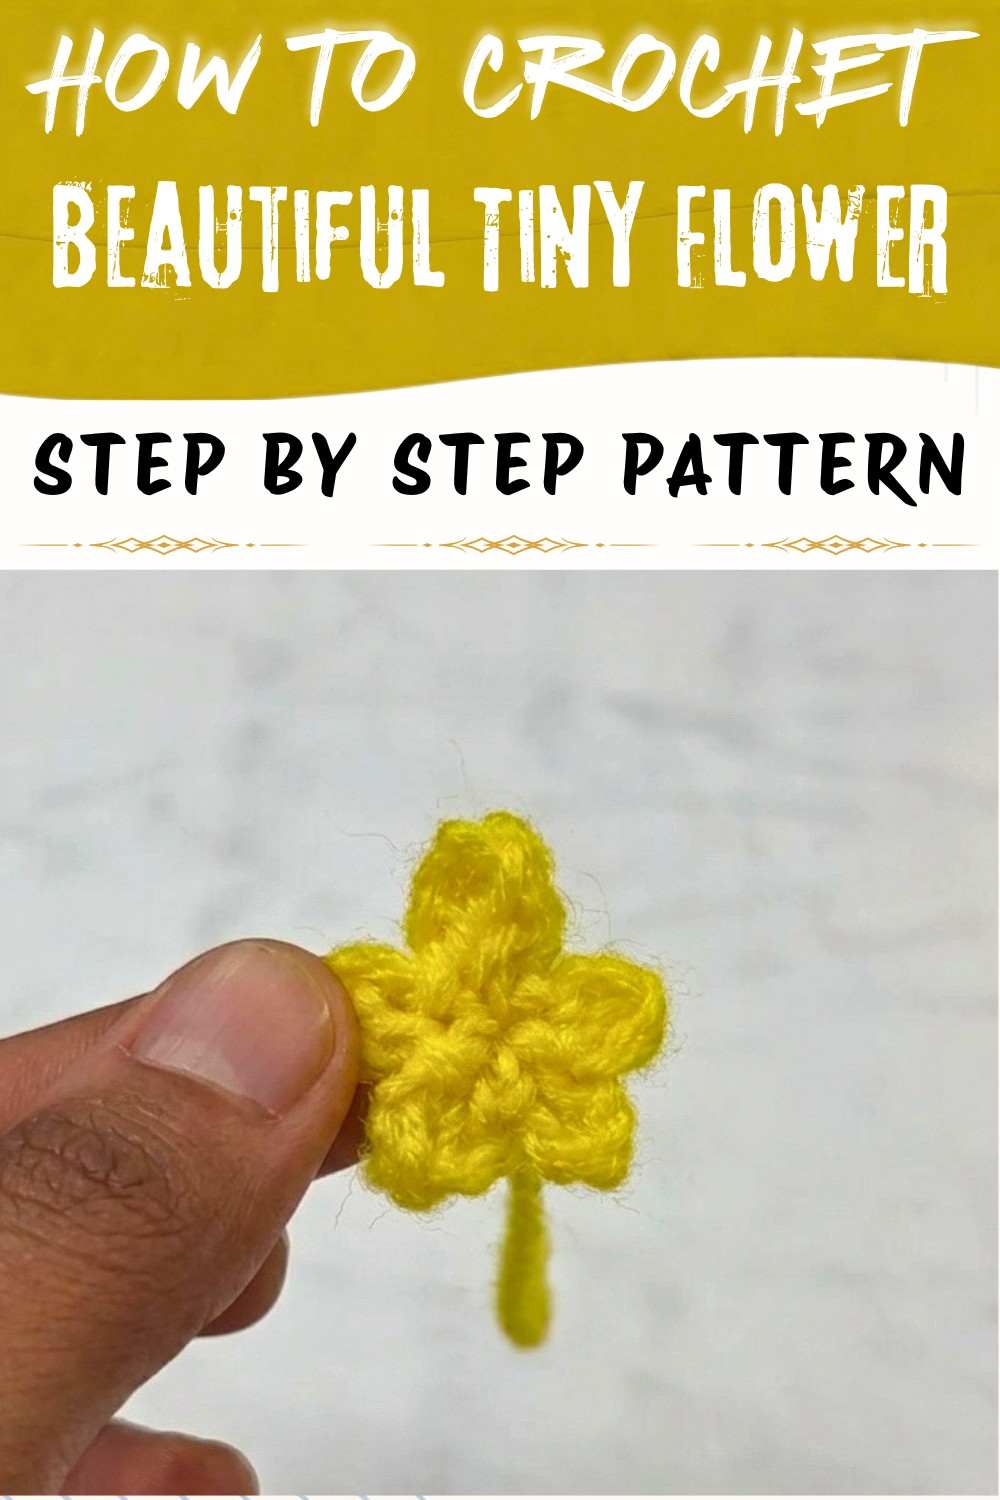
Beginner Notes:
There's no wrong way to use your flower! Try stitching a few together for a fun garland, keychain, or appliqué project.
Customization Ideas and Creative Tips
- Color Combos: Make each petal a different color by changing yarn between petals, or sew a bead or button in the middle for a center.
- Layering: Stack two flowers (same or different sizes) and sew together for a fuller effect.
- Yarn Types: Use thin yarn and a small hook for mini blossoms, thick yarn and a big hook for "statement" flowers.
- Accessories: Add to hair clips, bookmarks, or make tiny pairs for earrings.
- Gifts: Attach to cards, presents, or baskets for a personal touch.
What You Learn with this Pattern
- Making and tightening a magic ring for seamless motifs.
- Practicing chain and slip stitch fundamentals.
- Finishing techniques for durability and neatness.
- Simple modifications for creativity and style.
Pattern Recap (At a Glance)
- Magic ring.
- [Chain 4, slip stitch into ring] × 5 petals.
- Chain 1, fasten off.
- Pull ring tail to close, knot ends, adjust petals.
- Attach or finish as desired.