
If you are looking for a chic and practical accessory to carry all summer, you will love this free crochet raffia bag pattern. This stylish bag uses raffia yarn, a light and natural material that gives your creation an airy, textured look that fits perfectly into warm-weather wardrobes.
With its roomy interior and sturdy shape, it's ideal for shopping trips, beach outings, or as a charming everyday tote. The beauty lies in its simplicity, making it suitable for even absolute beginners who have never crocheted before. You only need a 3 mm crochet hook and a couple of skeins of raffia, then you're ready to go.
Free Crochet Summer Raffia Bag Pattern Using Simple Stitches
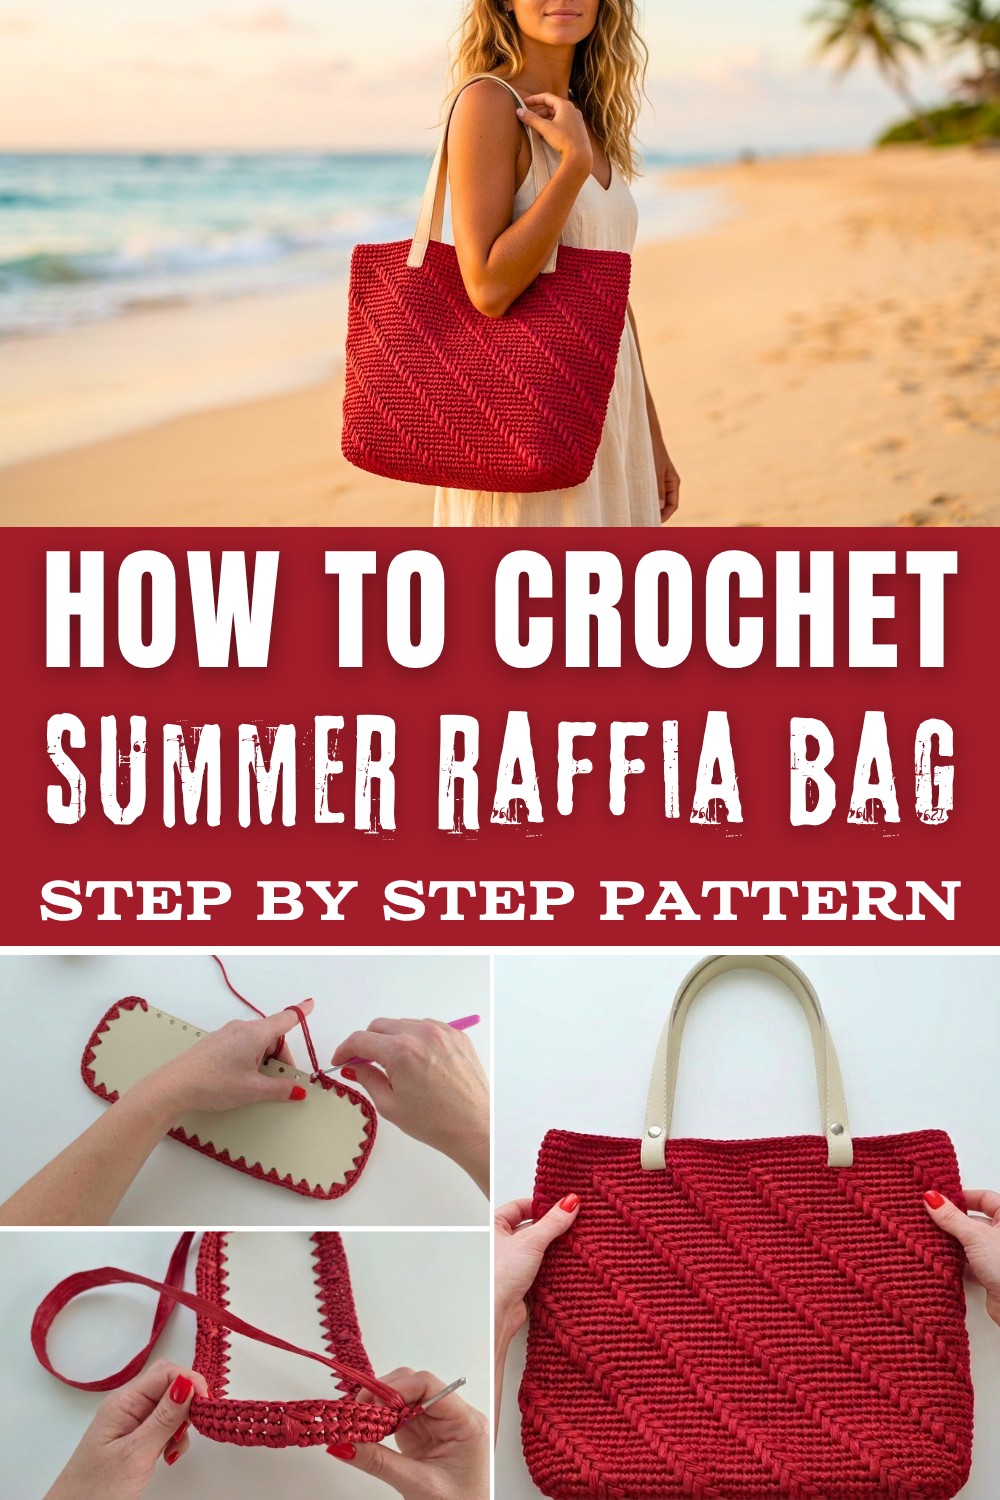
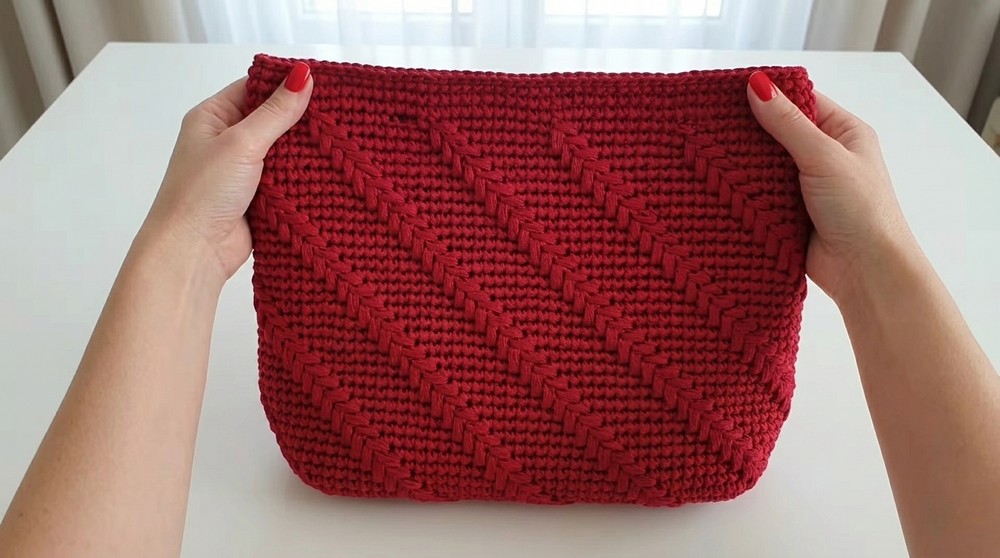
The standout feature of this pattern is the unique "Christmas tree" or herringbone stitch, which forms a decorative and dimensional texture that runs in spirals throughout the bag. This easy-to-recognize stitch is not only visually interesting, but it's also a great introduction to textured crochet techniques. The pattern is worked in a spiral without closing the rounds, so you don't have to worry about joining seams or having visible row transitions. The bottom and handles can be customized, allowing you to choose different shapes or use buttons or carabiners for your handles-perfect for tailoring your bag to your own taste.
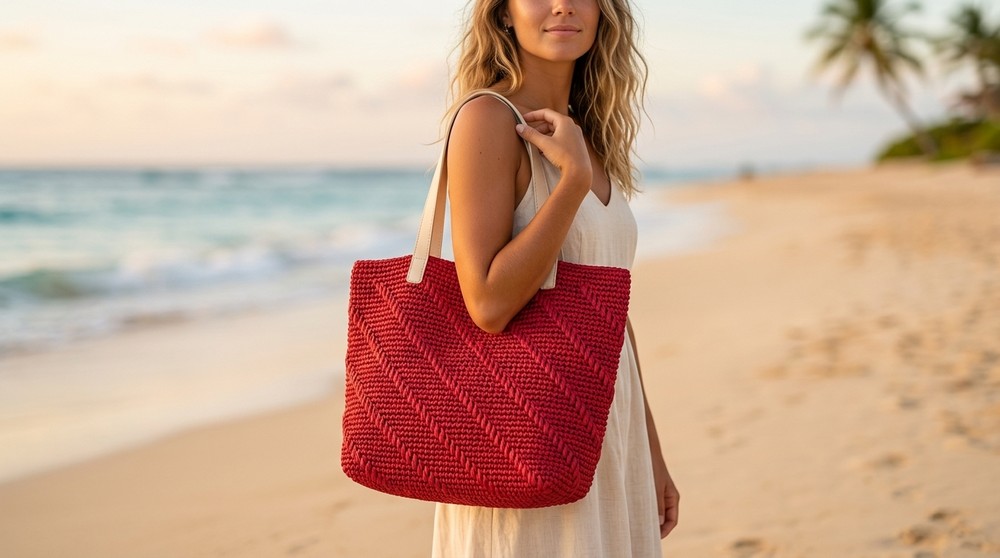
As you follow along, you'll discover how flexible and forgiving this pattern is. You can easily adjust the size to suit what you need, whether you want a small purse or a large shopper. The designer guides you through each step, from preparing the raffia (with a simple steaming step for extra softness and volume) to adding the handles. If mistakes happen, it's easy to unravel and re-steam the raffia, so you can experiment as much as you want.
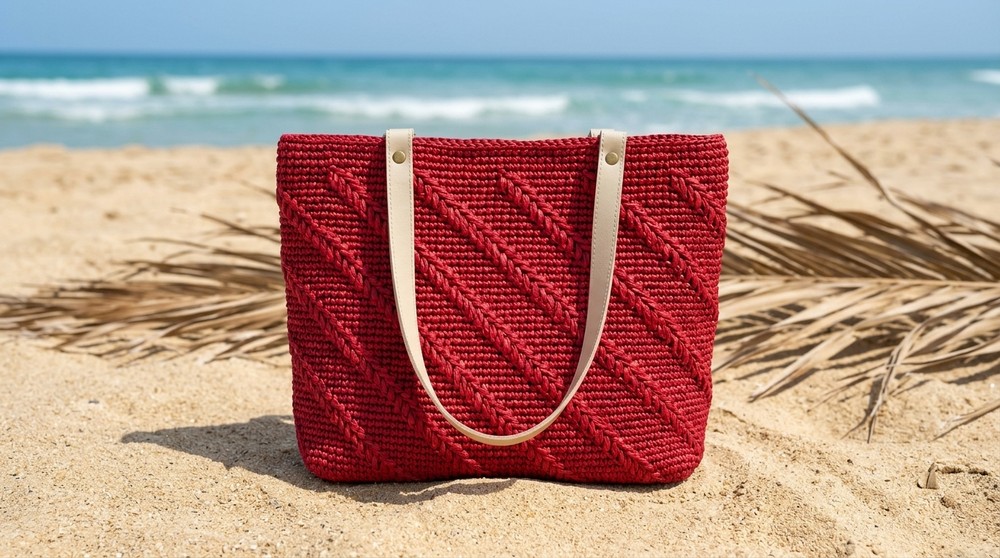
By learning the "Christmas tree" or herringbone stitch from this pattern, you unlock a whole new set of possibilities. This textured stitch is wonderful for adding interest to many items. With these skills, you can crochet matching accessories like a raffia sun hat or a boho-style clutch, or add the stitch to placemats, baskets, and other home decor. This project is not just about making a summer bag-it's a fun and easy way to boost your confidence and creativity with crochet.
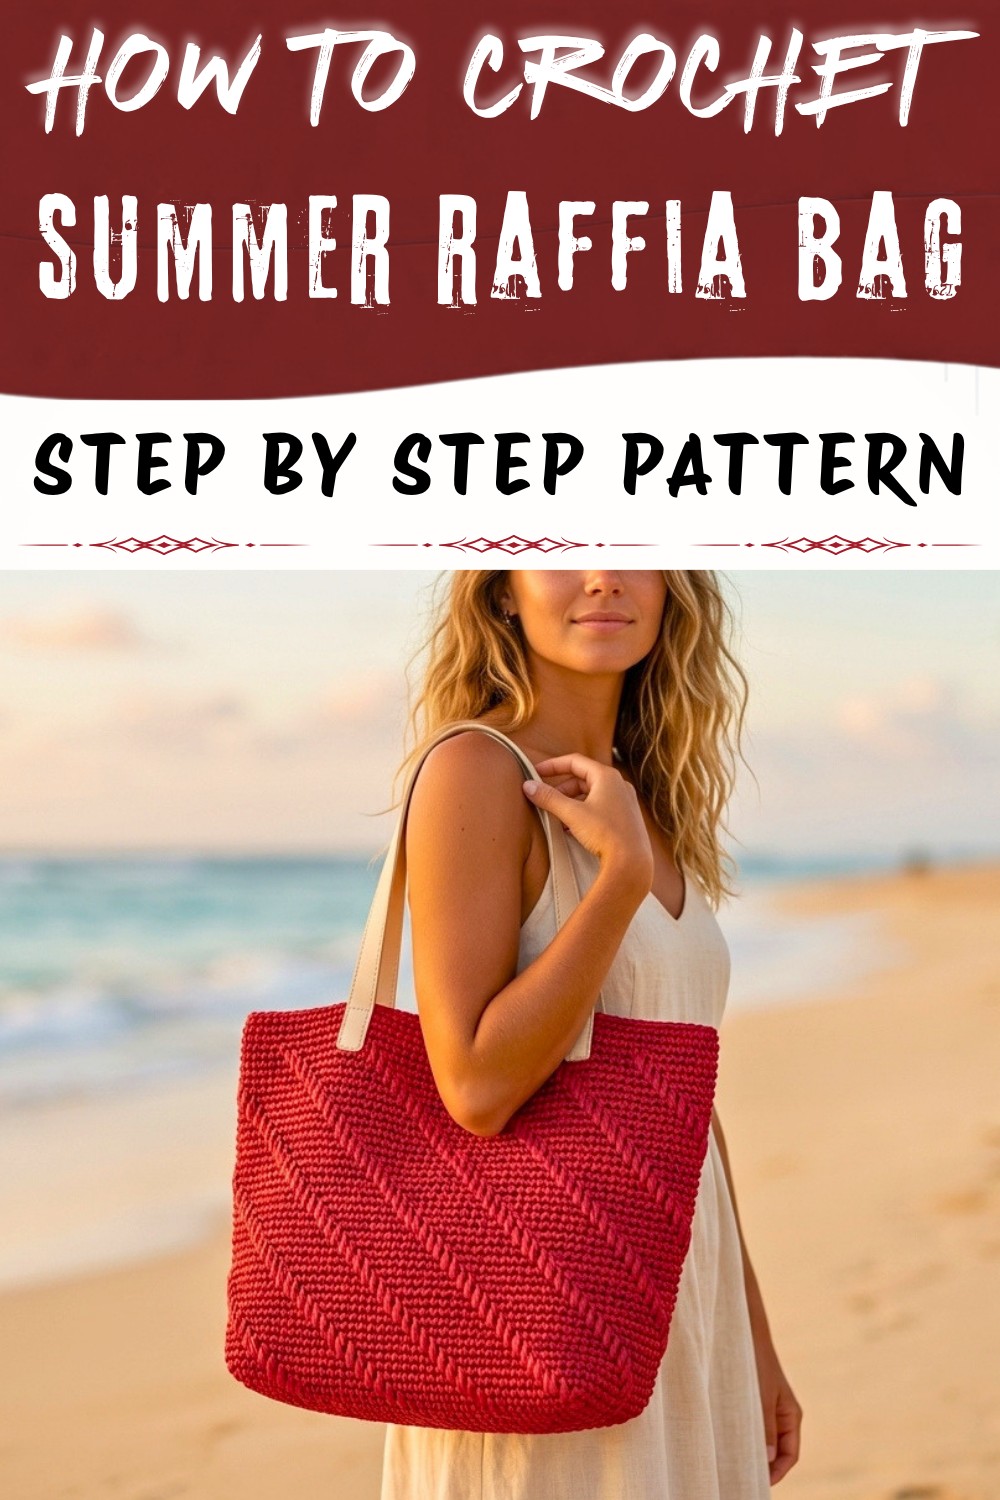
Crochet Raffia Bag - Step-by-Step Pattern
Materials
- 2 skeins of thin raffia (pre-steamed for softness)
- Crochet hook size 3 mm or 3.5 mm
- Stitch marker
- Ready-made or crocheted bag base with holes (rectangle or oval)
- Handles (button-on, sewn, or carabiner style)
- Scissors
Round 1: Covering the Base
- Start at any hole on your bag's base.
- In each hole, crochet 2 or 3 single crochets (sc).
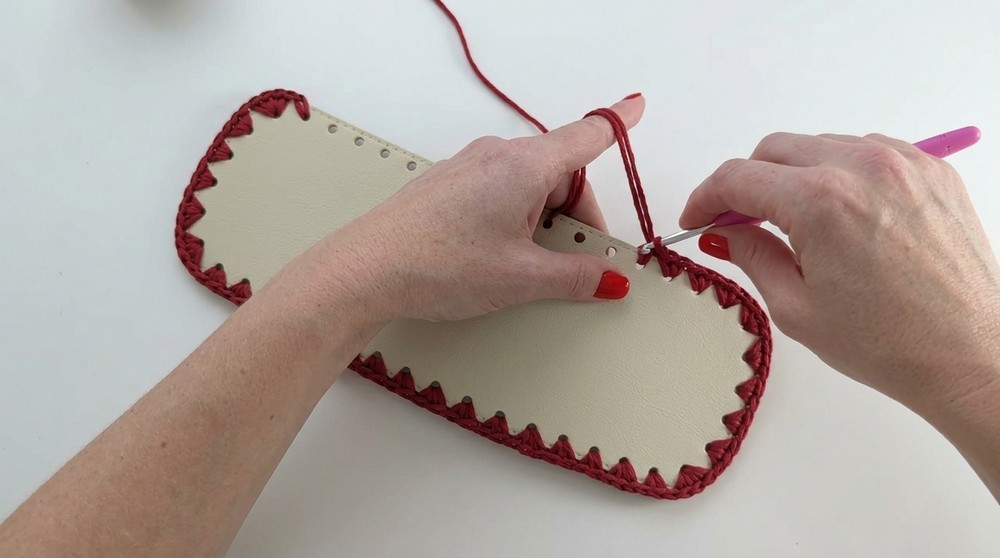
- In each corner hole, crochet 4 single crochets (sc) to help turn the corner smoothly.
- Move around the base, filling each hole with enough stitches so there are no gaps.
- Do NOT join with a slip stitch; simply keep crocheting in a spiral.
Simple Explanation:
This round secures your yarn and covers the entire edge of the base. Use more stitches in corners so the bag turns nicely. Adjust the number in each hole depending on spacing to make the base flat and neat.
Round 2: Building the Side
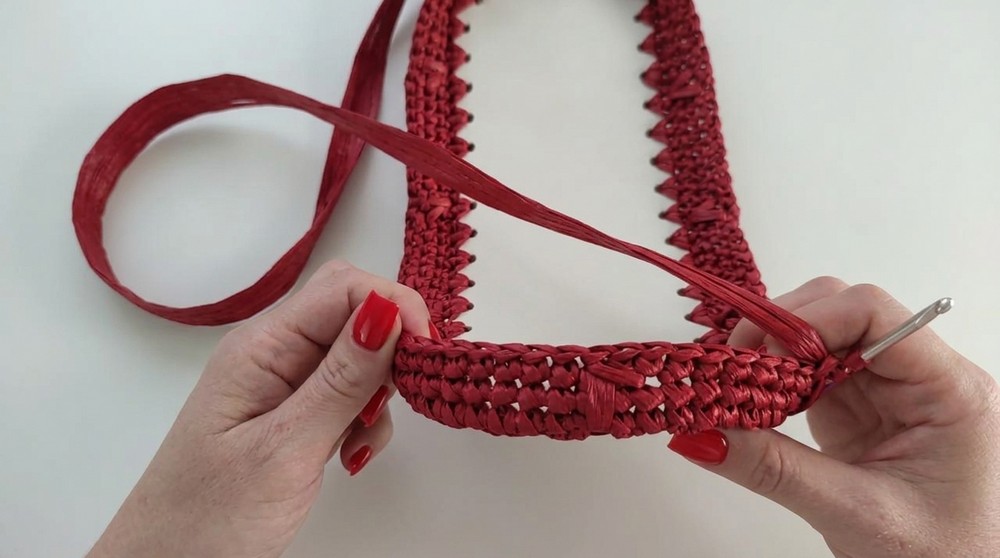
- Place your stitch marker in the first stitch of this round.
- Crochet 1 single crochet (sc) in each stitch from the previous round.
- Continue in a spiral, moving your marker up as you go.
Simple Explanation:
You're starting to build the sides of your bag. Just crochet one stitch in each stitch, making sure your work stays smooth and even.
Round 3: Evening Out the Sides
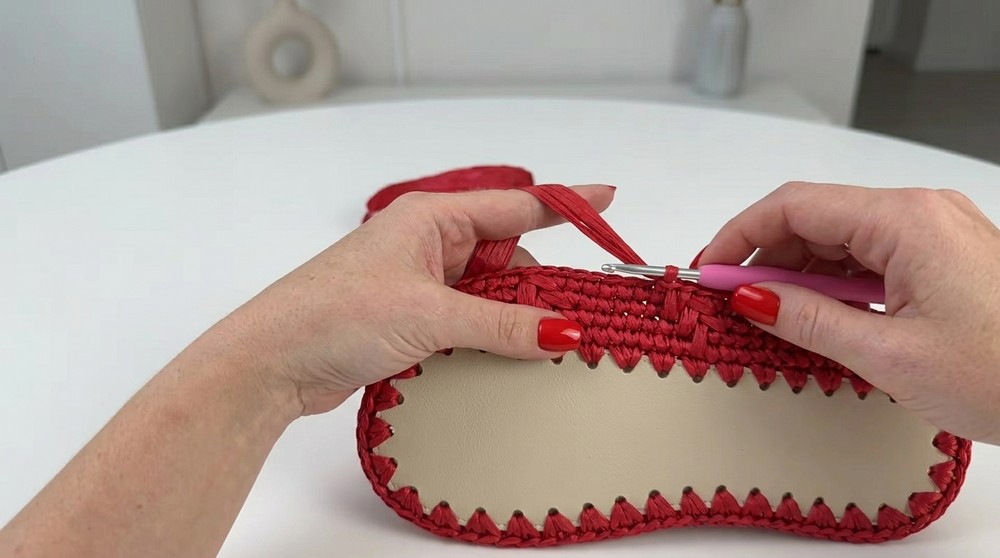
- Crochet 1 single crochet (sc) in each stitch, spiraling around.
- If you want your pattern to repeat evenly, adjust your total stitch count to be a multiple of 9 at the end of this round (you can add or remove a stitch as needed).
Simple Explanation:
This round creates a neat canvas for your pattern. If you need to add or remove a stitch to get close to a multiple of 9, do it here. Don't worry-it's easy to fix.
Rounds 4-38: Christmas Tree/Herringbone Pattern
Pattern repeat:
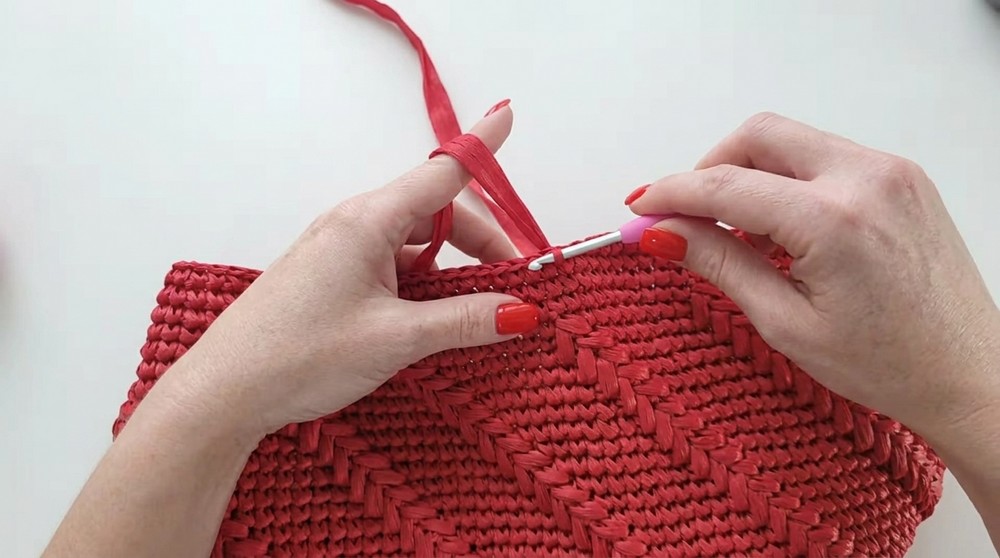
- Crochet 9 single crochets (sc).
- In the next stitch, make a Christmas tree cluster (herringbone stitch) as follows:
- Insert hook 2 stitches back and 2 rounds below, yarn over and pull up a long loop.
- Insert hook 2 rounds below in the next column, yarn over and pull up another long loop.
- Yarn over and pull through all three loops on your hook.
- Repeat: 9 sc, 1 Christmas tree cluster, around the bag in a spiral.
Simple Explanation:
This is where your decorative pattern forms. After every 9 single crochets, make a Christmas tree cluster. It's a special stitch that creates a braided "V" shape. Don't stress if you are new to this stitch; just follow the instructions and soon you'll see the rows line up automatically.
More Details on the Christmas Tree Cluster
- After your 9 sc,
- Go 2 stitches back and 2 rounds below, pull up a long loop.
- Go 2 rounds below in the next column, pull up a long loop.
- Yarn over, pull through all loops.
- Continue in this sequence all the way around, keeping your stitch marker at the beginning of the round, so your clusters line up vertically.
Rounds 39-42 (or as needed): Making Handle Holes
- Lay the bag flat and use stitch markers to find the spots for your handles; make sure they're evenly placed.
- At the marked spot:
- Chain 3 (or more for wider handles).
- Skip 3 stitches.
- Single crochet (sc) in the next stitch to make the handle opening.
- Continue the round in pattern (or just single crochet for extra firmness at the top).
- For the next 2-3 rounds, crochet 1 sc in each stitch, including over the chains (work a sc into each chain stitch).
Simple Explanation:
You're making spaces for your bag handles. The chain creates a gap; you skip stitches to leave the hole. Switch to plain single crochet in these rounds for a strong, neat edge around the handle holes.
Final Round: Edge Finishing
- As you get to the starting point, switch to slip stitches (sl st):
- Insert hook, yarn over, pull through both loops.
- Continue slip stitches around to flatten and tidy the top edge.
- Finish the round, cut the yarn, and pull the end through the last loop.
- Weave in the yarn end securely on the inside of the bag.
Simple Explanation:
Slip stitches level and reinforce the top edge. Finish off by weaving in the ends, making sure the join is smooth and nearly invisible.
Completion: Attaching Handles and Shaping
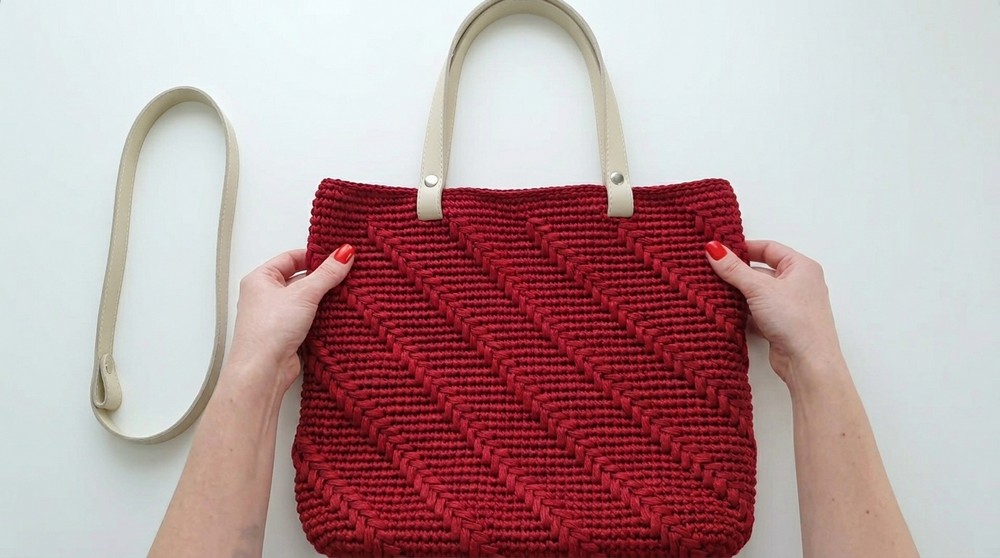
- Attach your handles to the holes (sew, button, or clip).
- Steam your bag well so the raffia softens and holds its shape.
- Let it dry fully before use.
Simple Explanation:
Once your handles are attached and the bag is steamed, it will hold its shape and look professional. You can now fill it and use it-your bag is finished.
Summary
This pattern is easy and accessible for beginners. Each step builds directly on the last, and you can always adjust as needed. The combination of single crochet and the Christmas tree cluster creates an eye-catching, practical shopper bag. Enjoy making your bag, and remember-mistakes are simple to fix, and your unique creation is sure to turn heads.