
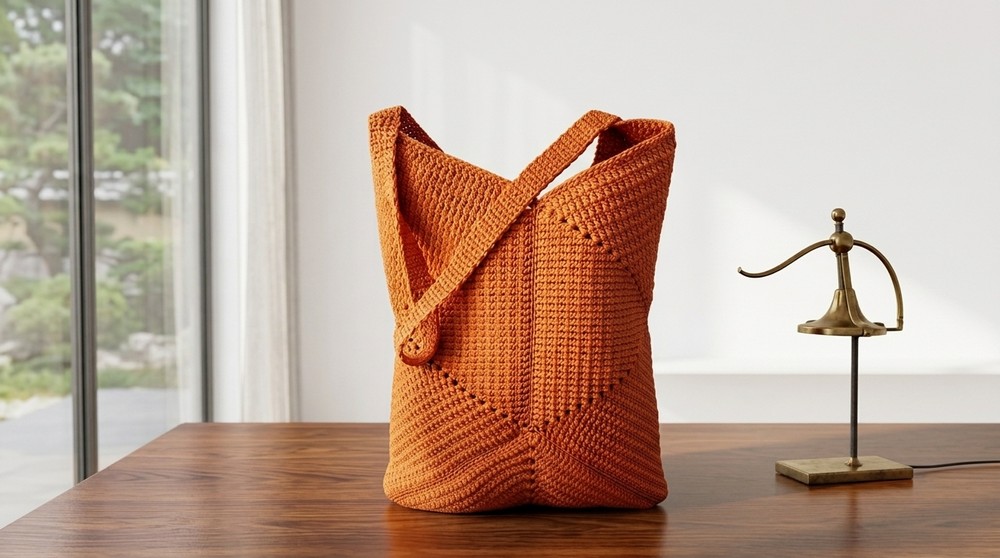
Stepping out on a sunny day, holding a bag that's not only practical but also a celebration of mathematical beauty, this is what the Free Crochet Geometry Bag Pattern delivers. Crocheted using clever geometry, this stylish bag features bold hexagons and a classic square, stitched together to form a unique accessory that stands out in any crowd.
This pattern is a wonderful invitation to express your personality through color and shape. Crochet lovers can focus on each motif, enjoy the rhythmic double crochet stitches, and master simple assembly steps, all with just yarn, a 2.5 mm hook, and creative inspiration.
Trendy Free Crochet Geometry Bag Pattern for Summer
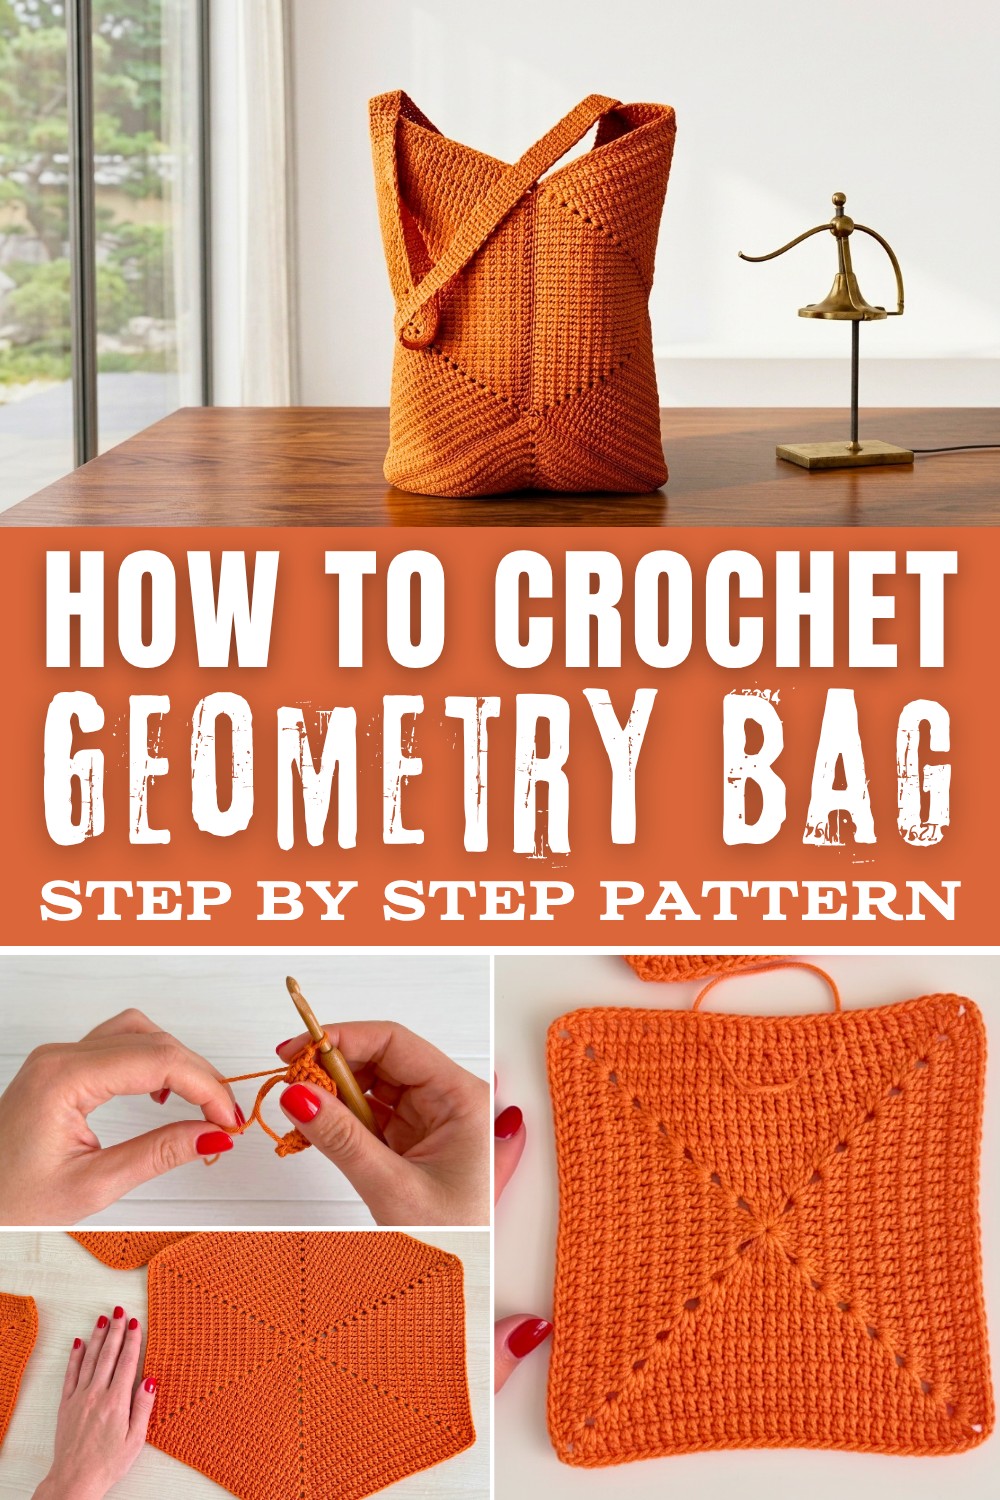
Focus Points from the Project
- Functional Shapes:
- Combine hexagons and square motifs to assemble a sturdy bag.
- These motifs can also be used to make bags, pouches, pillow covers, or other decorative items.
- Materials & Tools:
- Works beautifully with soft acrylic yarn.
- Uses a 2.5 mm crochet hook for crisp stitches and neat structure.
- Color & Customization:
- Play with pastel or vibrant hues for seasonal flair.
- Neutral or metallic shades yield a classic, everyday accessory.
- Key Features:
- Double crochet (dc) stitch forms the entire bag, ensuring both strength and flexibility.
- Assembling the motifs is straightforward-focus on connecting corners and keeping your seams smooth.
- Special Accents:
- Optional flower motif for decoration, measuring about 0.75 inches when finished.
- Crocheted handle for comfort, customizable to your preferred length.
- Finished Size:
- Hexagon motifs measure 32 cm after 16 rows, while the square measures 17 cm after 8 rows.
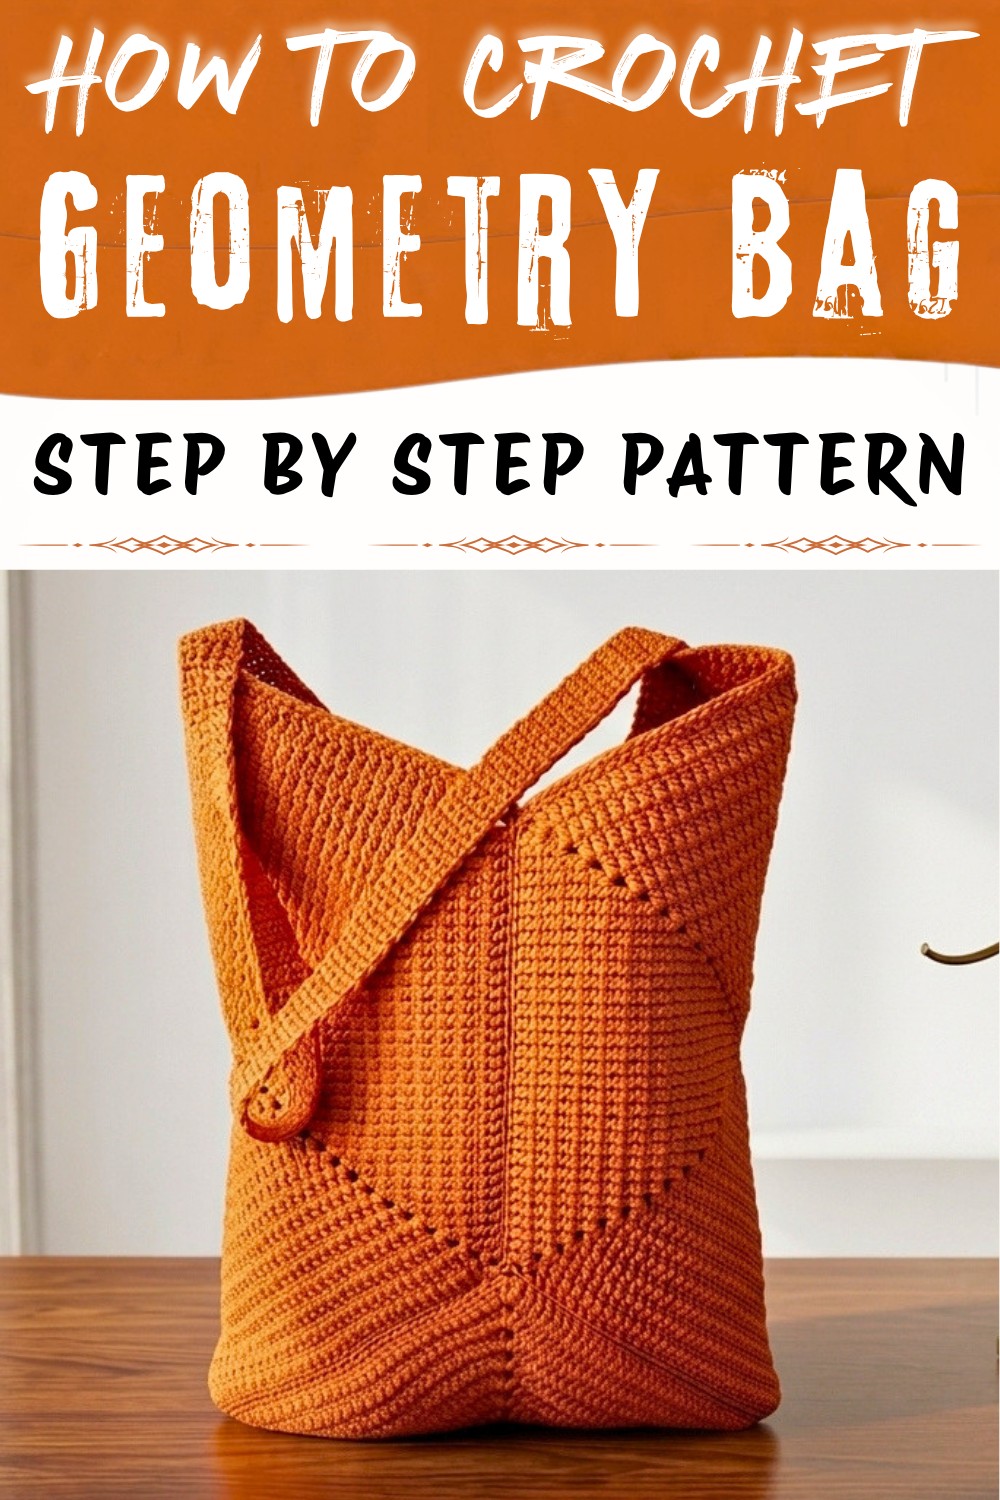
The Geometric Crochet Bag Pattern is a refreshing, modern project perfect for summer. Using simple shapes-two hexagons and one square-you'll create a unique and stylish bag. Whether you're new to crochet or a seasoned crafter, this structured, easy-to-follow pattern will guide you through every step, from forming the shapes to assembling the finished bag and attaching the handle.
Skill Level & Terminology
Skill Level: Confident Beginner
Terminology: US Crochet Terms
Materials & Tools
- Yarn: Soft acrylic or cotton yarn, sport or DK weight
- Crochet Hook: 2.5 mm
- Scissors
- Yarn needle
- Stitch markers (optional)
- Steam iron or garment steamer
- Measuring tape
- Bag handles, leather straps, or crochet straps (optional)
Gauge
It's essential to match the gauge for uniformity in bag parts:
Hexagon Gauge:
- 16 rows should measure 32 cm across.
Square Gauge:
- 8 rows should measure 17 cm across.
Make a test swatch before starting; adjust hook size if your shapes are larger or smaller.
Abbreviations List
- ch = chain
- sc = single crochet
- dc = double crochet
- sl st = slip stitch
- st(s) = stitch(es)
- yo = yarn over
Special Stitch Instructions
- Double Crochet (dc):
Yarn over, insert hook into stitch, yarn over, pull up a loop (3 loops on hook). Yarn over, pull through two loops (2 loops on hook). Yarn over, pull through last two loops (1 loop remains). - Slip Stitch (sl st):
Insert hook into stitch, yarn over, pull through both loops on hook. - Single Crochet (sc):
Insert hook into stitch, yarn over, pull up a loop (2 loops on hook), yarn over, pull through both loops.
Finished Size
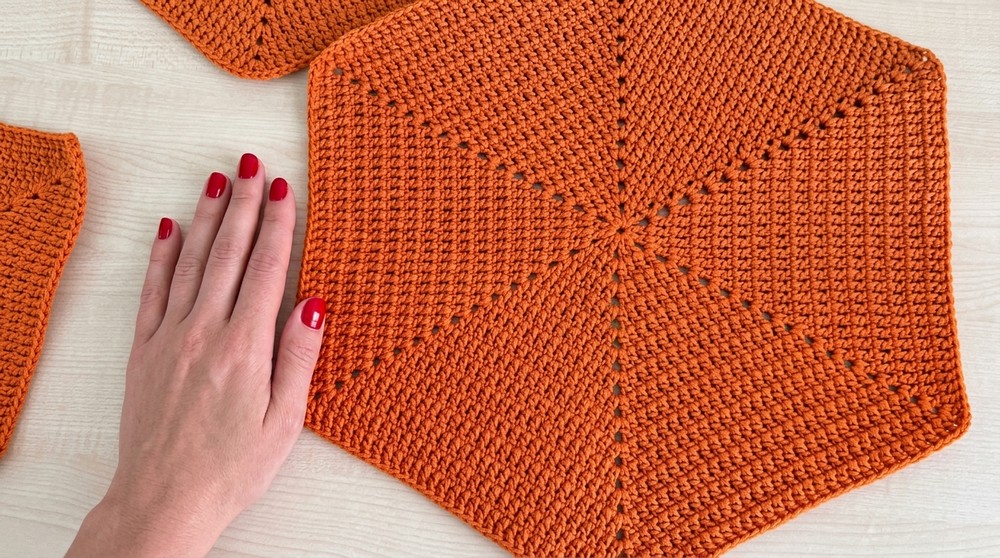
- Hexagon: About 32 cm across (after 16 rows)
- Square: About 17 cm across (after 8 rows)
- Bag Handle: About 57 cm long (adjust as desired)
The Pattern Itself
Part 1: Hexagon (Make 2)
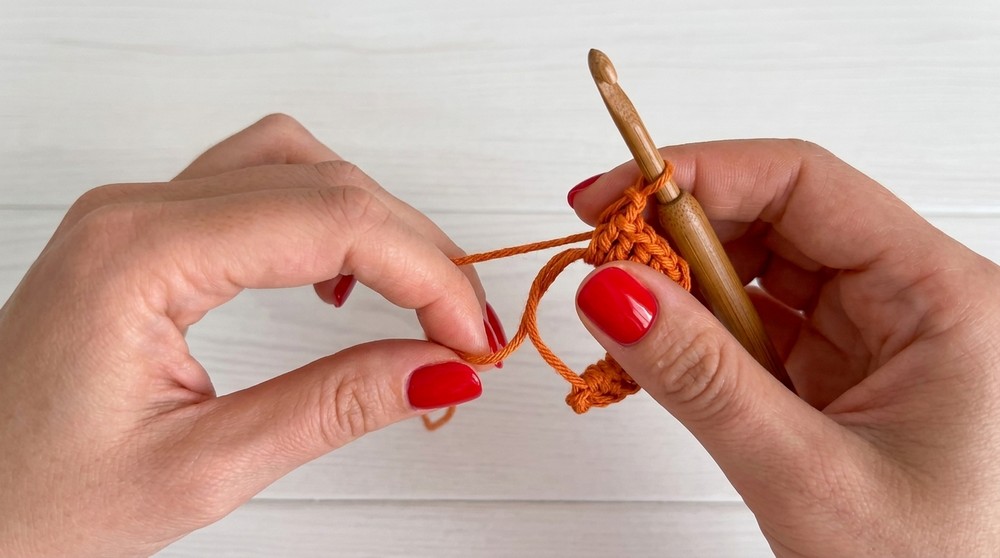
Foundation Ring:
- Wrap yarn to make a ring. Chain 3 (counts as first dc).
Row 1:
- Ch 3, dc 3 into ring (total 4 dc).
- Ch 2, dc 4 into ring.
- Repeat (ch 2, dc 4 into ring) until you have six corners (six sets of dc 4 separated by ch 2).
- Join with sl st to top of starting ch 3. Pull ring tight.
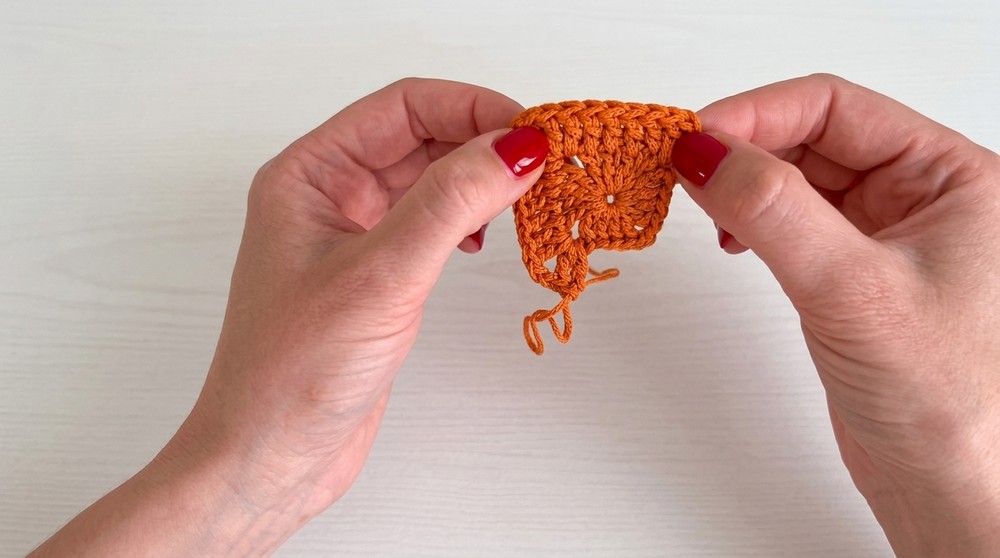
Row 2:
- Ch 3 (counts as first dc).
- In each ch-2 corner, work: (dc 2, ch 2, dc 2).
- Between corners, work dc in each dc of previous row.
- Join with sl st.
Rows 3-16:
- Continue as established: work dc in each dc, and at corners work (dc 2, ch 2, dc 2) in each ch-2 space.
- The number of dc between corners increases by 4 each row.
After completion, your hexagon should measure approximately 32 cm across.
User-Friendly Note:
You'll crochet two hexagons by starting with a center ring and expanding each round with double crochets, making sure to work the corner increases in every ch-2 space.
Part 2: Square (Make 1)
Foundation Ring:
- Create a ring, ch 3 (counts as first dc).
Row 1:
- Dc 3 into ring (total 4 dc), ch 2.
- Repeat (dc 4, ch 2) three more times (total 4 corners and 4 sides).
- Join with sl st to top of starting ch 3. Pull ring tight.
Row 2:
- Ch 3 (counts as first dc).
- Dc in each dc across side.
- In each corner ch-2 space, work (dc 2, ch 2, dc 2).
- Join with sl st.
Rows 3-8:
- Continue as established: dc in each dc, and at corners work (dc 2, ch 2, dc 2).
- The number of dc between corners increases by 4 each row.
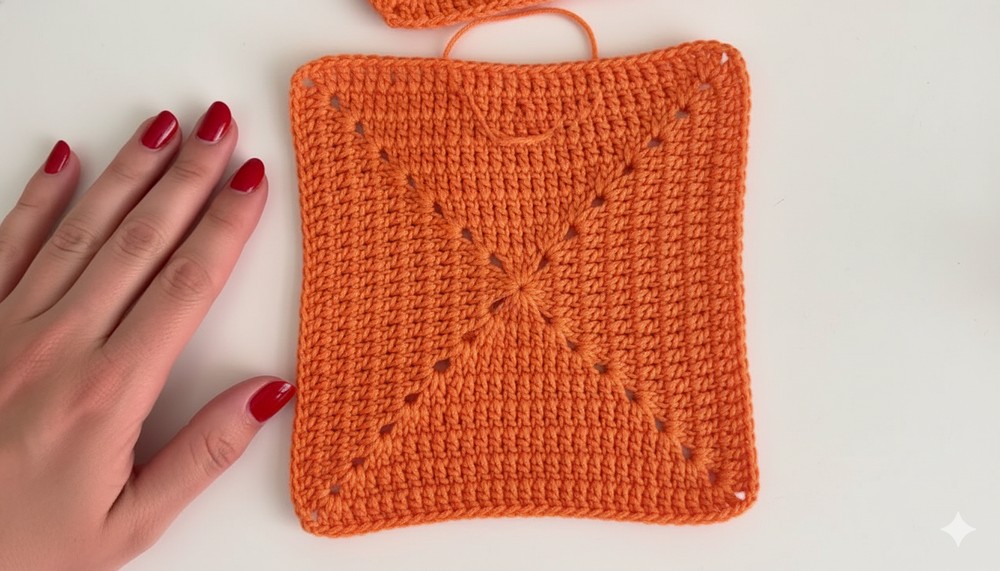
Your square will measure 17 cm after 8 rows.
User-Friendly Note:
To crochet the square, work four sets of four double crochet stitches separated by chain spaces for corners, and keep expanding row by row by adding stitches at the edges.
Part 3: Bag Assembly
Steam and Shape:
- Steam each hexagon and the square using a garment steamer or carefully with an iron (with some gauze over the pieces to protect the yarn). Let pieces dry and cool so they settle flat and even.
Sewing Sides:
- Place the two hexagons and square right sides together, wrong sides facing you.
- Sew the sides together behind the braids (outer loops), using a yarn needle and working through the portions of the stitches closest to you.
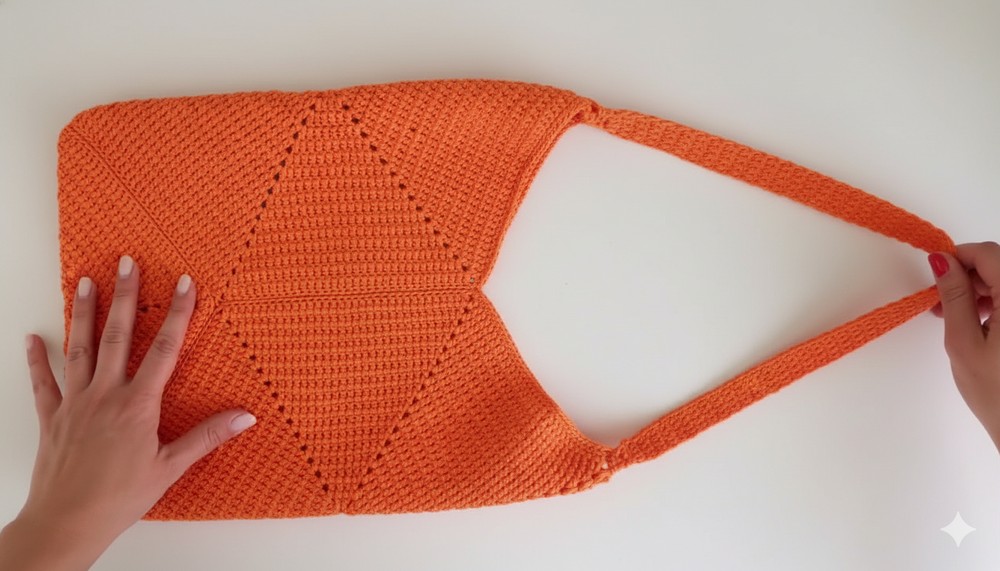
- Sew hexagons to the sides of the square and then the remaining hexagon sides to form the bag walls.
Attention Point:
Make sure not to miss air loops at corners, which preserve the shape and structure.
User-Friendly Note:
Join the two hexagons and one square like puzzle pieces, sewing along outer edges with a yarn needle, always working through the outer loops for a smooth, visible seam.
Part 4: Edge Finishing
- With the bag right-side out, use sl st or sc around the top opening for a neat, elastic edge.
- Optionally, work a round of single crochet for firmness, followed by a round of slip stitches for a decorative finish.
- Cut yarn, weave in ends.
User-Friendly Note:
To finish the top edge, simply crochet all around the opening so it stays strong, stretchy, and looks tidy-use slip stitches or single crochets.
Part 5: Handle / Strap
Simple Narrow Strap:
- Ch 3, sc in second ch from hook and next ch.
- Turn.
- Ch 1, sc across.
- Repeat for 5 rows for desired width.
Widening Strap:
- After narrow section, increase:
- In first sc, make 2 sc; In second sc, make 2 sc (total 4).
- Ch 1, sc across.
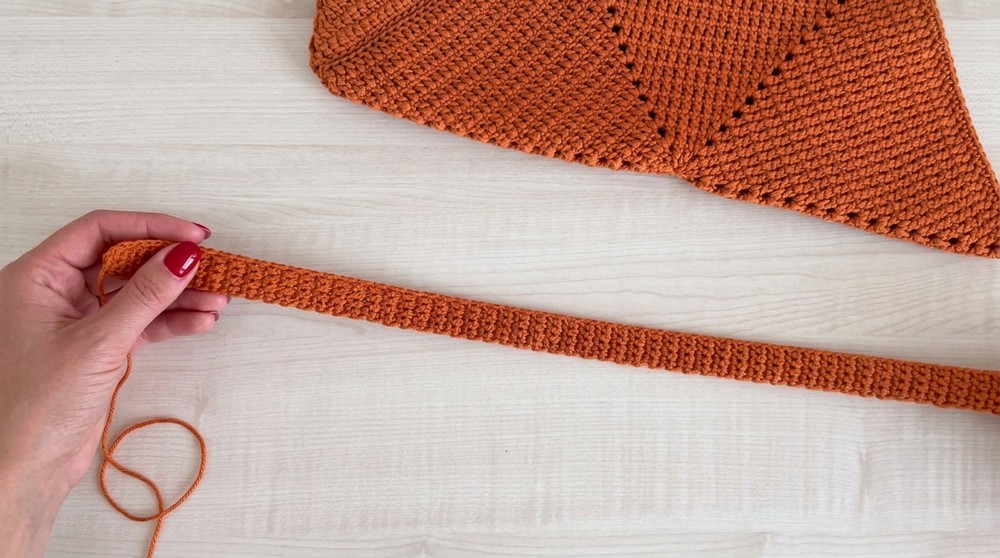
- On each row, skip the second stitch from hook, sc in next 2-3 stitches, make last sc at the side for a straight edge.
- Repeat until strap measures 57 cm or desired length.
Attach Strap:
- Align the edges of strap at bag sides and sew firmly using yarn needle.
- Weave in ends for security.
User-Friendly Note:
Make the strap starting with a small base, then widen and lengthen to your preference, finally sewing it on firmly at the bag sides.
Assembly & Finishing
- Ensure all seams and edges are secure, with no gaps.
- Steam the completed bag for final shape and smoothness-you can lay a cloth or gauze over it and press lightly.
- Add handles: sew or tie leather straps, or attach the crocheted strap.
- Hide all yarn tails inside the bag using a yarn needle.
- Your bag is ready for use!
Final Pattern Notes:
- How to Start: Begin by making two hexagons and one square using basic double crochets, chain stitches and careful increases at corners.
- Stitches Used: Double crochet, single crochet, slip stitch, chain stitch-all standard US crochet stitches.
- Assembly: Carefully sew shapes together, finish the edge, and attach a handle for a sturdy, stylish, geometric summer bag.