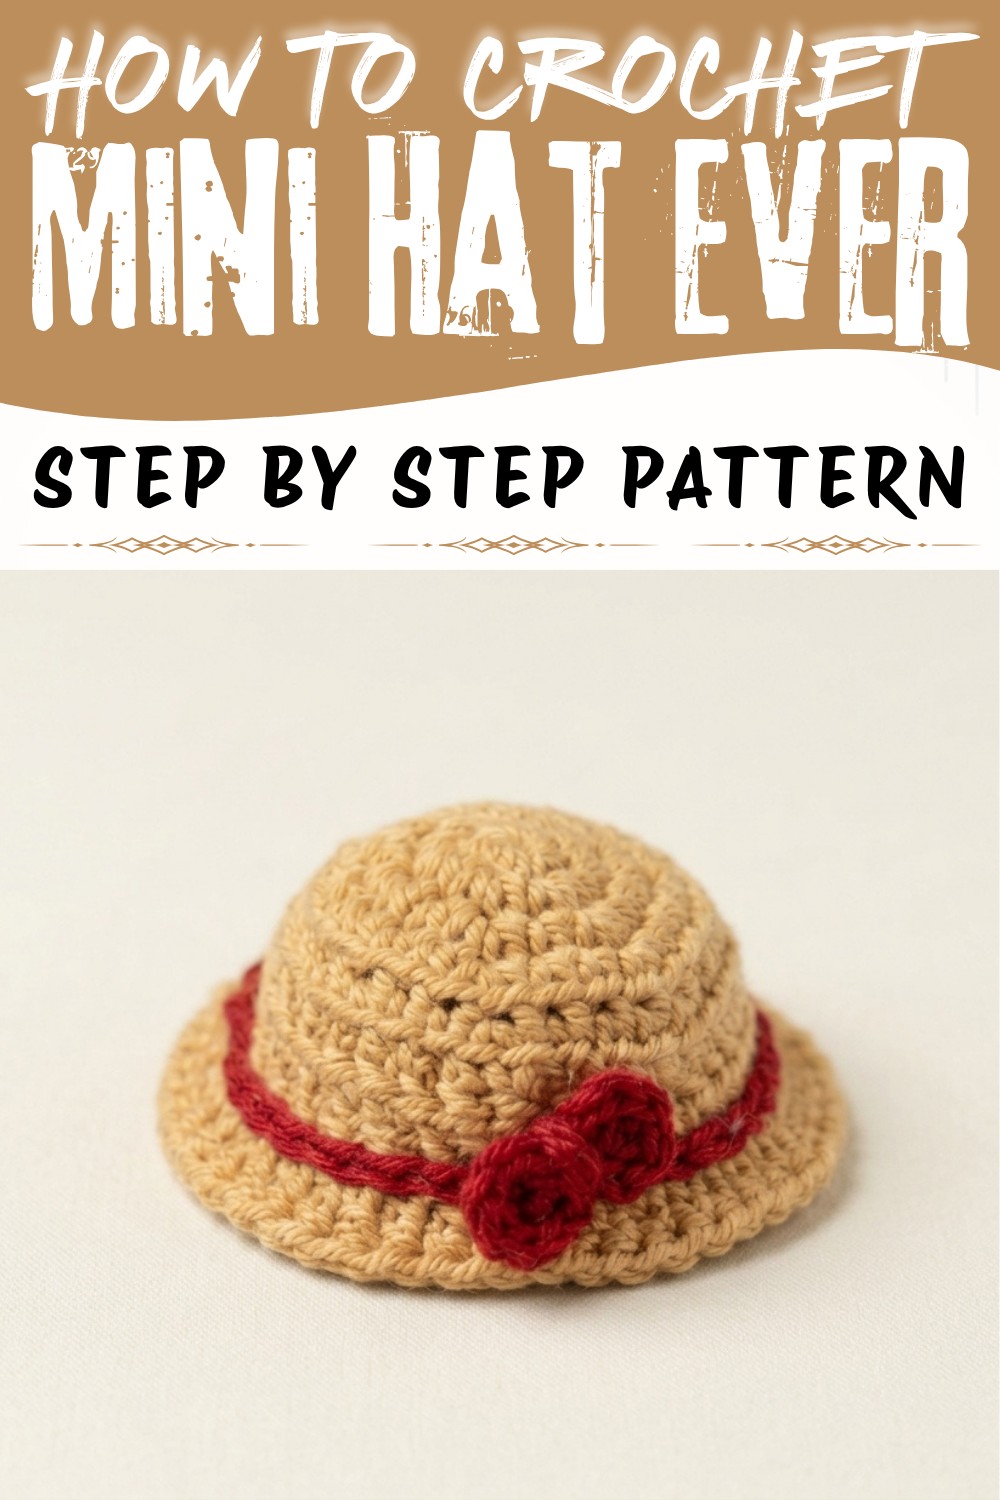
Give your doll collection a fresh look with this Crochet Mini Hat Ever Free Pattern, with a neat shape and sweet finish for little outfits.
In the world of yarn and hooks, there's always a new project waiting to bring joy and creativity to your day. One such delightful creation is a charming mini hat - a small yet impactful item that can brighten up any space or occasion. Thanks to the clear and friendly instructions from Ati Crochet's YouTube tutorial, you can easily follow along to make the Crochet Mini Hat Ever Pattern, which transforms simple stitches into an irresistibly cute accessory. This project is perfect for gifting, as its petite size and delightful design make it a thoughtful and unique present for friends, family, or even as a sweet addition to a festive gift basket.
Lovely Crochet Mini Hat Ever Free Pattern in a Miniature Style
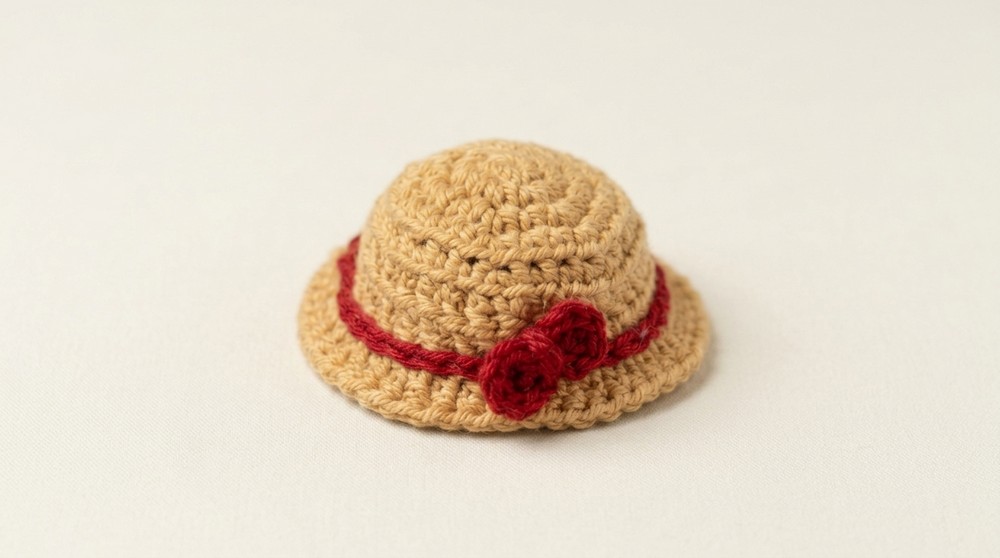
The mini hat is not just a pretty decoration; it serves as a versatile adornment that can be used to add personality to dolls, keychains, or even as a quirky ornament for your home. Its small scale and bright design bring a whimsical charm wherever it's placed, making any environment feel cozy and cheerful. The hat itself boasts a rounded shape with a gently textured surface created by working in the back loops of the stitches, which adds subtle depth and interest. The style is rounded and snug, with neat, well-spaced rows that create a tidy yet soft structure. A standout design feature is the delicate bow attached at the brim, crocheted with simple loops and chains that lend a touch of playful elegance.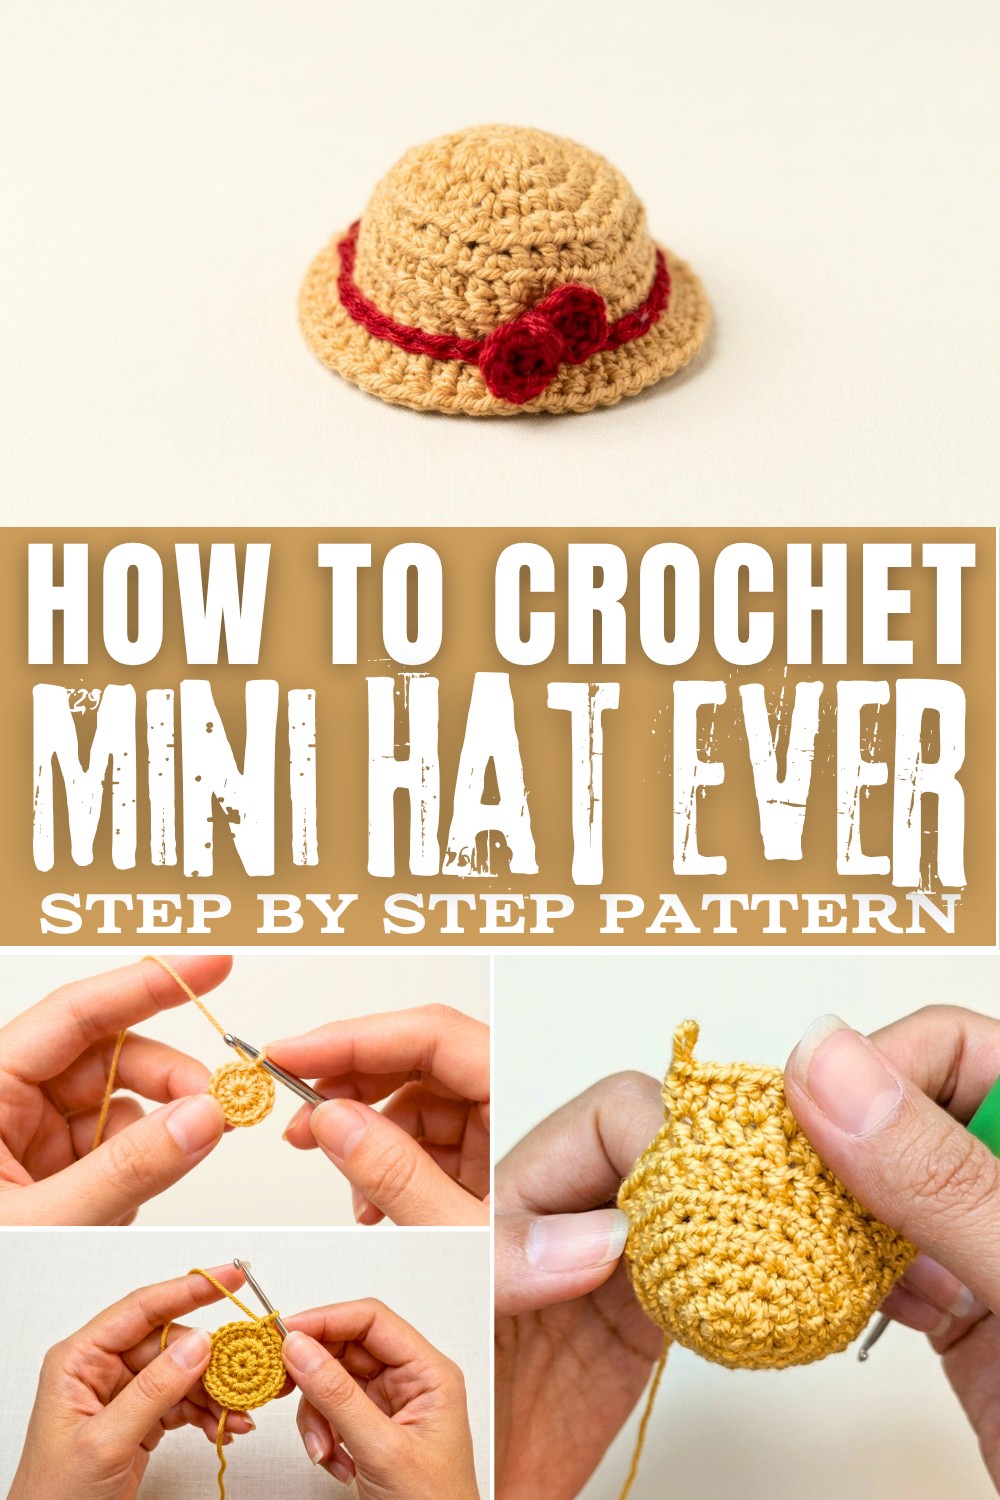
The texture has a gentle ribbing effect due to working certain rounds in back loops only, which enhances the tactile appeal without overwhelming the eye. This mini hat's sweet proportions and stylish details make it a versatile and beautiful project that anyone can enjoy using, whether as a decorative piece or a heartfelt personal gift.
Crochet Mini Hat ever - Step-by-Step Free Pattern
Small projects can be remarkably rewarding, and this mini crochet hat with a bow stands as a delightful example. The process is both approachable and satisfying, guiding you through foundational rounds, simple increases, graceful textural details, and finishing embellishments. Switching colors, creating a decorative brim, and preparing a bow all lend a playful, creative touch to a practical skill set. With basic stitches and a measured pace, the mini hat works up quickly, making it a fitting endeavor for both relaxation and skill practice. Balanced increases result in a neat circular motif, while thoughtful color placement and finishing transform a humble circle into a charming accessory. From the magic ring start to the final bow securely fastened, every stage adds definition and personality. The result is a tiny, customizable hat, perfect for ornaments, keychains, display, or even as embellishment for plushies.
Quick Overview Of Pattern
- Crown and Sides: Circular base developed through strategic increases.
- Textural Body: Back loop stitches create a distinct ridge and visual interest.
- Brim: Additional increases give a gentle flare, echoing classic hat shapes.
- Trim and Bow: Contrasting color chain and petite bow complete the design.
Notes
- Always begin each round with a clear chain for height.
- For texture, work "back loop only" when instructed; for firmness, maintain even tension.
- Each round is joined with a slip stitch to preserve a neat seam.
- This mini hat pattern is adaptable for yarn types and color changes.
- Weaving in ends promptly helps uphold a tidy result at each section's completion.
Skill Level
Beginner-Friendly (Confident Beginner):
Basic familiarity with chain, single crochet, half double crochet, increase, joining rounds, and magic ring recommended.
Materials
- Cotton yarn in two different colors (hat body, trim/bow)
- 2.5 mm crochet hook
- Scissors
- Yarn needle for weaving in ends
Measurements / Sizing
- Finished Size:
- Diameter: Approx. 4-5 cm (as gauge and yarn may vary)
- Height: Approx. 2-3 cm
- Scalable by adjusting yarn thickness or hook size
Gauge (and Stitch Pattern if applicable)
- Tension is not critical for this project
- Typical: 10 single crochet ≈ 2.5 cm (based on recommended materials)
- Half double crochets and back loop sc used for structure and texture
Stitch Abbreviations
- MR - Magic Ring
- ch - Chain
- sc - Single Crochet
- hdc - Half Double Crochet
- dc - Double Crochet
- inc - Increase (2 sc in same stitch)
- sl st - Slip Stitch
- st(s) - Stitch(es)
- BLO - Back Loop Only
Special Stitches
- Magic Ring (MR):
Form a small loop, insert the hook, draw up a loop, and work stitches into the adjustable circle. - Increase (inc):
Crochet two single crochets into the same stitch. - Back Loop Only (BLO):
Insert the hook into only the back loop (the loop further from you) instead of both loops. - Bow Assembly:
Magic ring is used; instructions below detail forming halves of the bow and wrapping the center.
The Crochet Pattern
1. Foundation Ring and Round 1 (Crown Start)
- Start with a Magic Ring (MR).
- Chain 1.
- Work 6 single crochets (6 sc) into the ring.
- Pull yarn tail tight to close the ring securely.
- Join with a slip stitch (sl st) to the first stitch.

2. Round 2: Increases
- Begin with chain 1.
- Make 6 increases (2 sc in each stitch from the previous round).
- At round's end, you should have 12 sc.
- Join to the first stitch to finish the round.
3. Round 3
- Start with chain 1.
- Work this repeat six times across the round:
- 1 single crochet (sc), then 1 increase (inc) in the next stitch.
- Total: 18 single crochets (sc).
- Join to the first stitch.

4. Round 4
- Chain 1 to start.
- Repeat six times:
- 2 single crochets (sc), then 1 increase (inc).
- At the end, you should have 24 stitches.
- Join to the first stitch.
5. Round 5: Back Loop Only (BLO) - Start the Hat Body
- This round (and the next two) will use the back loop only for each stitch, creating a defined ridge.
- Chain 1 to begin.
- Repeat six times:
- 3 single crochets (sc) in BLO, then 1 increase (inc, i.e., 2 sc in BLO)
- Total: 30 stitches.
- Join to the first stitch.
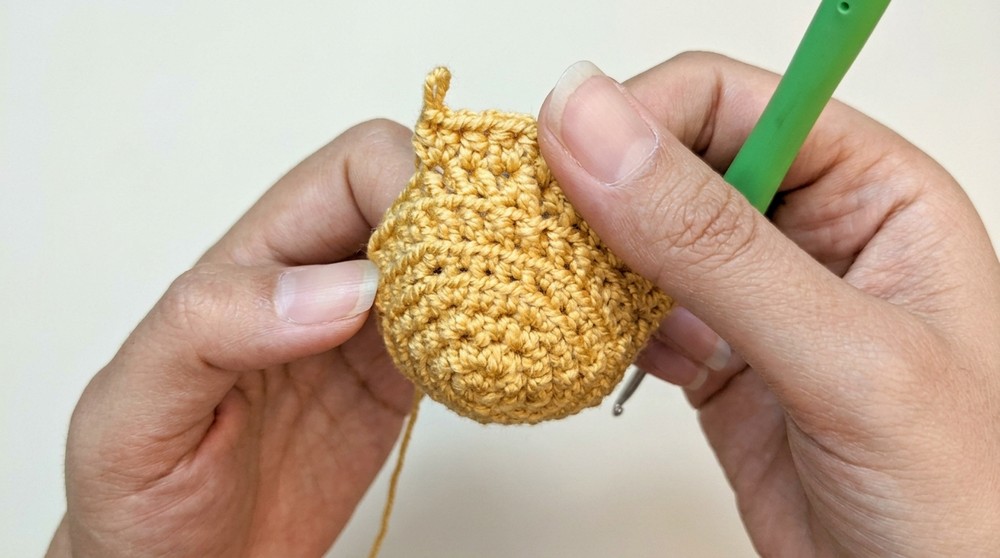
6. Rounds 6-7: Half Double Crochet Body (Back Loop Only)
- For both rounds:
- Chain 1 at the start.
- Work 1 half double crochet (hdc) in each stitch, in back loop only (BLO).
- No increases needed.
- At the end of each round, total will remain 30 hdc.
- Join to the first stitch at the end of round 7.
7. Round 8: The Brim (Both Loops)
- Now return to working in both loops.
- For the entire round:
- Repeat 15 times:
- 1 single crochet (sc), then 1 increase (inc) in next stitch
- Repeat 15 times:
- At the end, you should have 45 stitches.
- Finish: Cut the yarn and weave in ends to secure and neaten your work.
8. Adding Trim (Contrasting Color)
- Attach your second color of yarn to round 7 (the last hdc round before the brim).
- Work chains (chain stitches) around the edge of the hat, attaching onto the right side, following the visible seam or as desired for decorative effect.
9. Making and Attaching the Bow
- Begin with a Magic Ring (MR) using your trim color.
- First Half of Bow:
- Chain 2
- Work 1 double crochet (dc)
- Chain 2
- Slip stitch (sl st) into MR
- Second Half of Bow:
- Chain 2
- Work 1 double crochet (dc)
- Chain 2
- Slip stitch into MR
- To assemble:
- Pull the ring tight to close
- Wrap yarn tail several times around the center (this shapes the bow)
- Attach bow securely to the mini hat, sewing or knotting with your yarn needle.
Assembly & Finished Size
- After weaving in all ends, adjust the bow and trim for symmetry and neatness.
- Your finished mini hat should measure roughly 4-5 cm in diameter and stand about 2-3 cm tall, making it perfect for keyrings, ornaments, or plush toy accessories.
- The bow and colored trim create a highly customizable accent.
- The structure, achieved by careful BLO rounds and gradual increases, ensures the hat sits properly when displayed or attached.

Conclusion and Ending Words
Bringing this project together, each round introduces a subtle shift, building up the mini hat's form while demonstrating foundational stitch techniques. Alternating through single crochet, strategic increases, back loop shaping, and textured half double crochets fosters both skill and creativity. Selecting a contrasting color for the trim, then shaping and anchoring a simple yet effective bow, elevates the visual appeal and provides satisfying closure to the build. The sequence of steps-starting from a modest magic ring to a fully realized decorative hat-captures the joy of handmade items and the calm rhythm of repetition. Such mini hats are ideal for gifting, personalizing, or decorating, offering flexibility at every turn. Your finished piece not only highlights attention to detail, but also celebrates the broader possibilities achievable with just basic stitches, mindful increases, and thoughtful assembly.