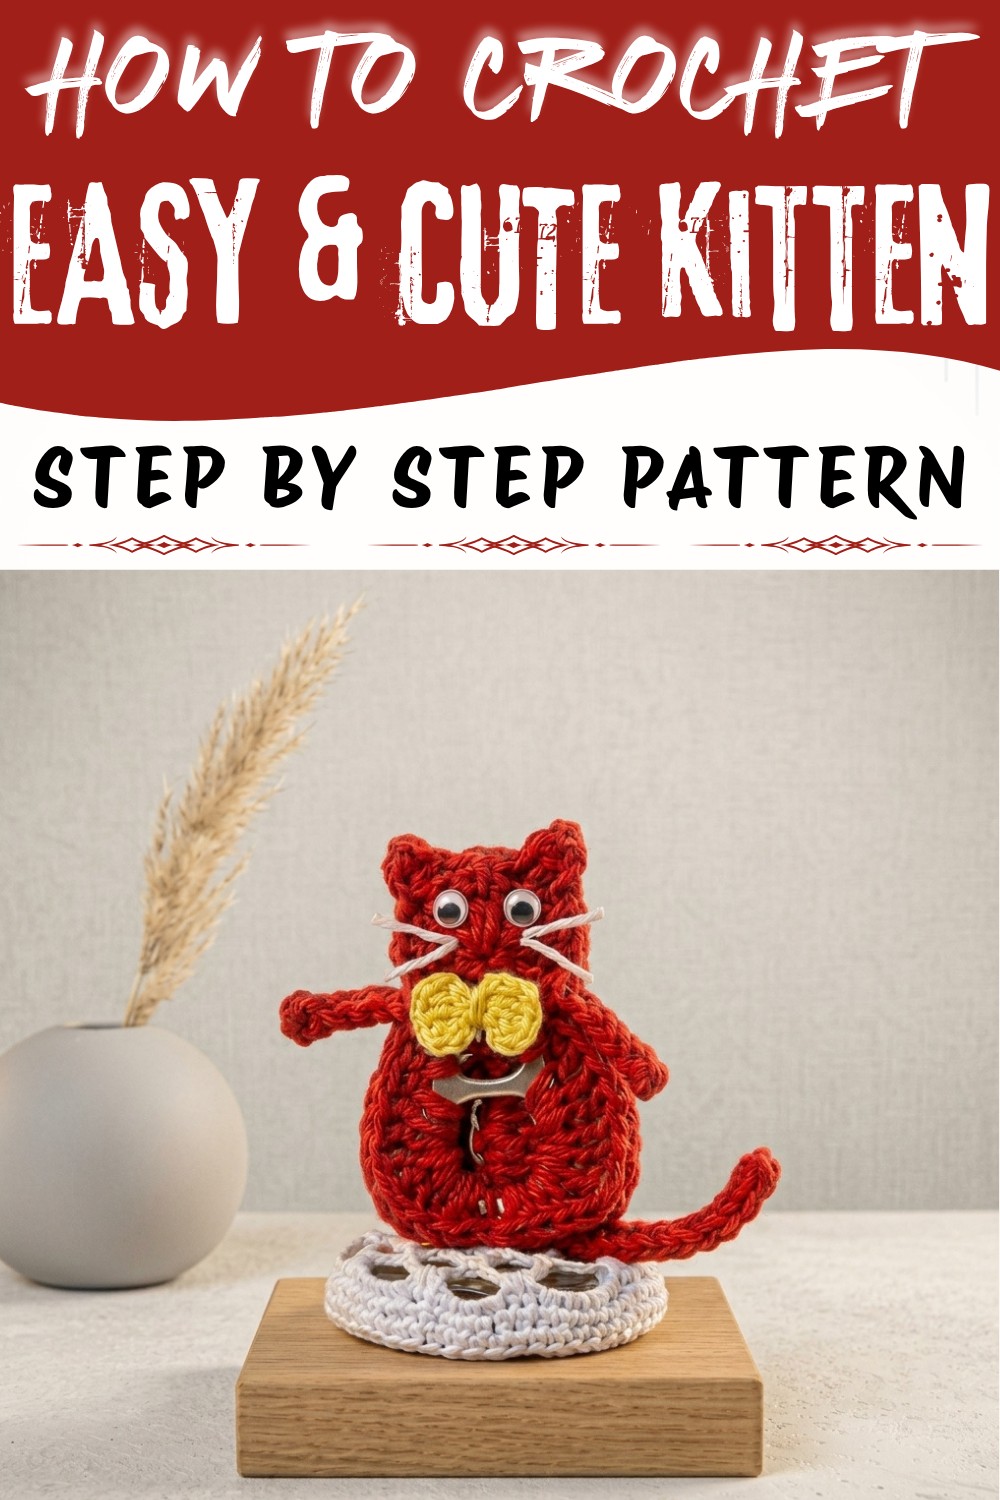
Brighten your handmade collection with this Crochet Kitten Pattern, a cute little cat with a soft shape, tiny ears, and charming details.
There's something truly charming about bringing a tiny, adorable kitten to life with just yarn and a hook. The Crochet Kitten Pattern offers just that-a sweet little feline companion that's as fun to make as it is to admire. Thanks to Nancy a crochet, who generously shares this pattern on her YouTube channel, you can create your own delightful kitten, perfect for brightening up any room or gifting to someone special.
Simple Crochet Kitten Free Pattern For A Cute Handmade Companion
This kitten isn't just cute; it's full of personality. Its rounded head and perky ears give it that unmistakable kitten look, while the soft texture of mercerized cotton thread makes it wonderfully smooth to the touch. You can even add movable eyes to make your kitten extra lively, watching them wiggle and giving your creation a playful spirit. The shape is approachable yet detailed enough to capture those subtle feline features, from tiny paws to an expressive face.
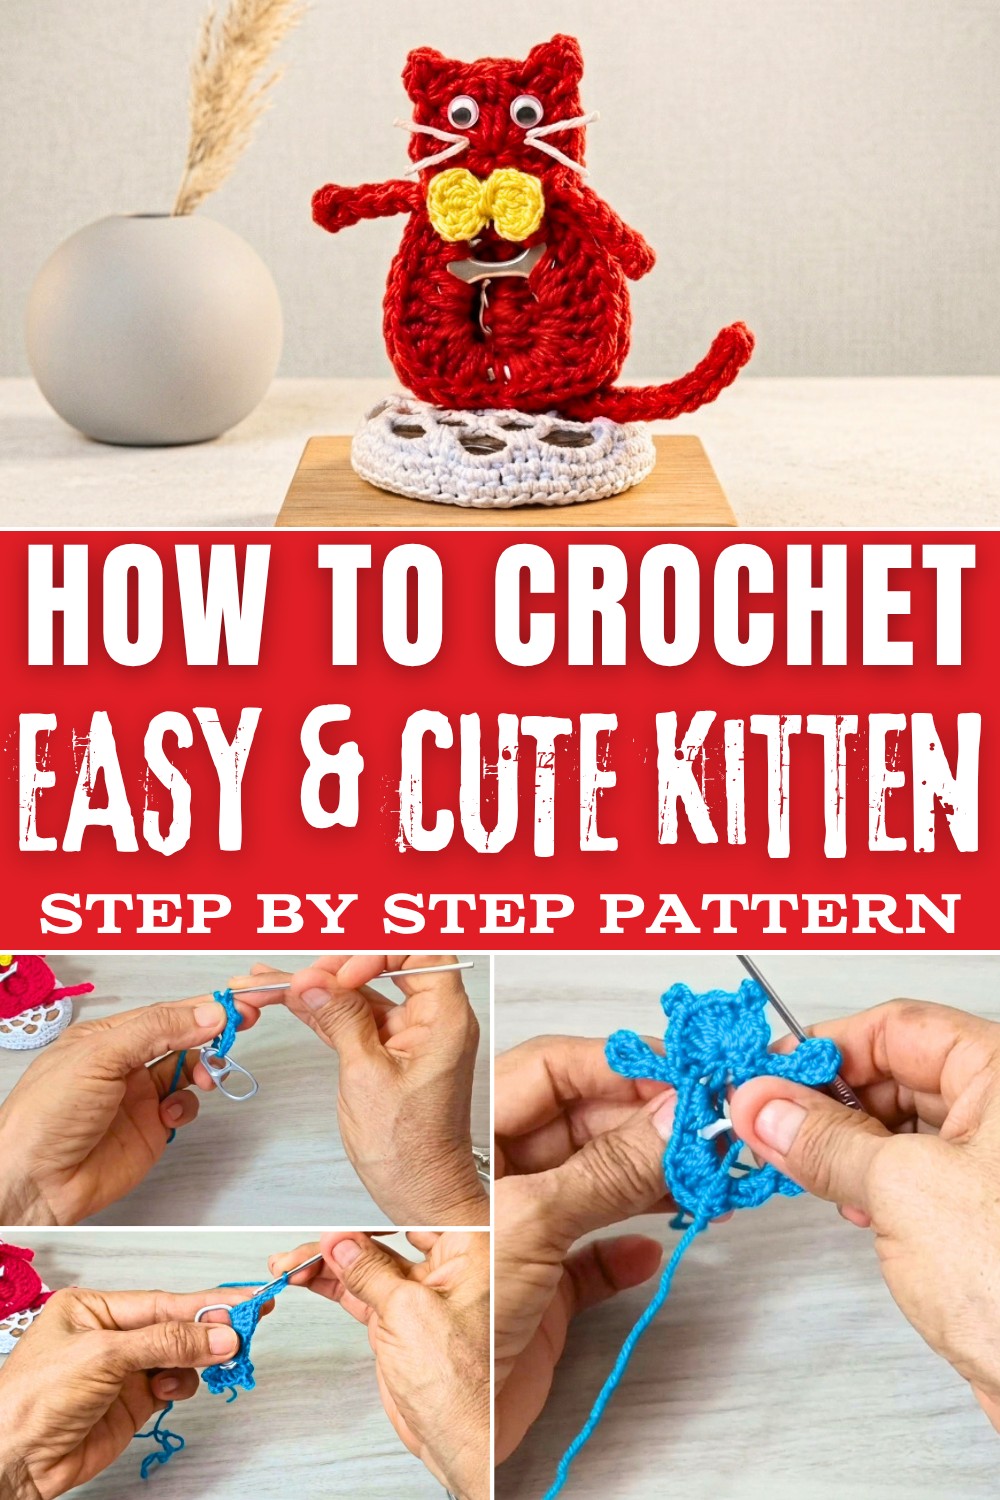
One of the best things about this project is how it encourages you to use leftover yarn or small bits you might have tucked away. It's quick to make, and the assembly allows you to play with personalization-whether it's the length of the tail, the style of the whiskers, or adding a little bow or accessory to give your kitten some flair.
This pattern suits a range of makers. If you've nailed the basics and want a sweet, manageable project, this is a wonderful choice. Along the way, you get to refine your techniques with stitches and joining methods, plus the rewarding experience of turning scraps into something delightful. If you're ready to add an irresistible crocheted buddy to your collection, the free Crochet Kitten Pattern is waiting for you. Dive in and enjoy every stitch of this heartwarming project.
Mini Crochet Kitten Free Pattern
This crochet kitten project utilizes a recycled pet food can tab as a core component for both structure and character. The process begins with the head and body, building directly onto the tab using cotton yarn and a small hook. Each round is carefully worked, producing distinct ears, body contours, arms, tail, and back layer. Details such as whiskers and movable eyes add playful expression, while a miniature bow tie supplies a charming accent beneath the kitten's head. Attention to each round's placement, color transitions, and joining technique ensures a sturdy, well-shaped result. This project uses minimal yarn and basic accessories, making it an efficient, eco-friendly option for small handmade figures.
Quick Overview of Pattern
- Head and body foundation crocheted onto a recycled can tab.
- Ears shaped with picots for a neat, pointed look.
- Body and legs formed down the sides and base of the tab.
- Arms and tail constructed individually, then bridged and attached.
- Bow tie and facial details added for character and finish.
- Back section and tail worked separately, then joined with slip stitches.
- Final assembly uses a tapestry needle or crochet hook for a seamless border.
Notes
- The can tab must be thoroughly cleaned and free of sharp edges before beginning.
- Cotton yarn is preferred for firmness and detail.
- All rounds are worked in joined rounds or direct onto the can tab for security.
- Placement of arms and tail may be adjusted for symmetry.
- Substitute thread and hook size if different proportions are desired; movable eyes are optional.
Skill Level
- Confident beginner to intermediate. Familiarity with magic ring, chains, single crochet, double crochet, half double crochet, and slip stitch is required.
Materials
- Recycled Can Tab: 1 pet food can tab (larger pull tab)
- Yarn: 1.5 mm mercerized cotton, small amount
- Crochet Hook: 2.0 mm
- Accessories: Googly or movable eyes, glue or silicone, scissors, tapestry needle, optional black yarn for whiskers
Measurements / Sizing
- Finished kitten measures approximately 5-6 cm (2-2.5") tall and wide, suitable for keychains, bag charms, or gifts.
Gauge
- Gauge is not critical, but stitches should be firm (amigurumi-style) for structure. Final size depends on tension and materials.
Stitch Abbreviations
- ch: chain
- sl st: slip stitch
- sc: single crochet
- hdc: half double crochet
- dc: double crochet
- dtr: double treble crochet
Special Stitches
- Magic Ring: Form a loop; work required stitches into this loop for a tight, adjustable center.
- Picot: Chain 3, sl st into base of chain for pointed detail (used in ears and bow).
The Crochet Pattern
1. Front Section (Head & Body with Can Tab)
Magic Ring & First Ear
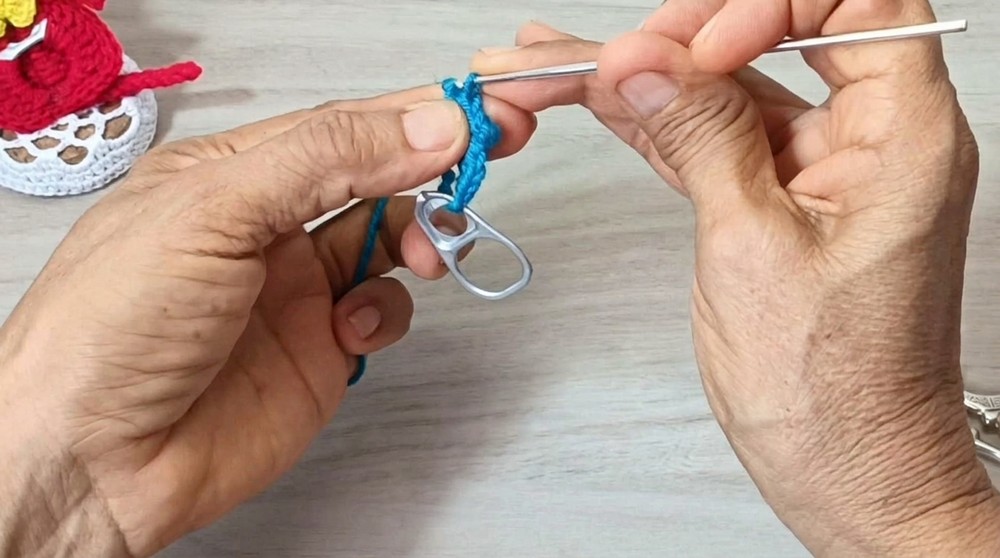
- Insert your hook through the top ring of the can tab, create a magic ring.
- 1 sc into the ring.
- Ch 2, 2 dc into the magic ring.
- For Ear Picot: Ch 3, sl st into base to form a picot.
Head Center & Second Ear
- 3 dc into the ring.
- For Second Ear Picot: Ch 3, sl st into base to form second picot.
- 2 dc, 1 sc into ring.
- Ch 2, join and sl st along side of tab ring to anchor head securely.
Body (Front Layer)
- Work down side of tab:
- 2 sc
- 2 hdc
- 4 dc
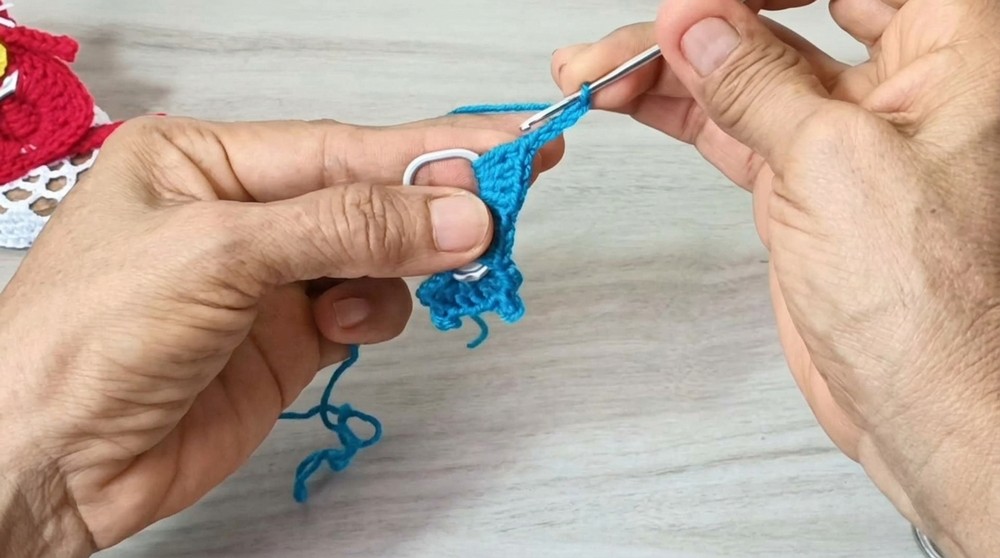
- Ch 4, sl st to complete first half of body.
- Sl st 2 across bottom center.
- Mirror on opposite side:
- Ch 4
- 4 dc
- 2 hdc
- 2 sc
- Sl st into first starting stitch inside the tab and fasten off.
2. Arms & Tail Assembly
Arms
- Ch 6.
- In 3rd ch from hook: 1 dc, ch 3, sl st into same stitch.
- Sl st back along remaining chains to tab base.
- Ch 11 to bridge and form second arm.
- In 3rd ch from hook: 1 dc, ch 3, sl st in same stitch.
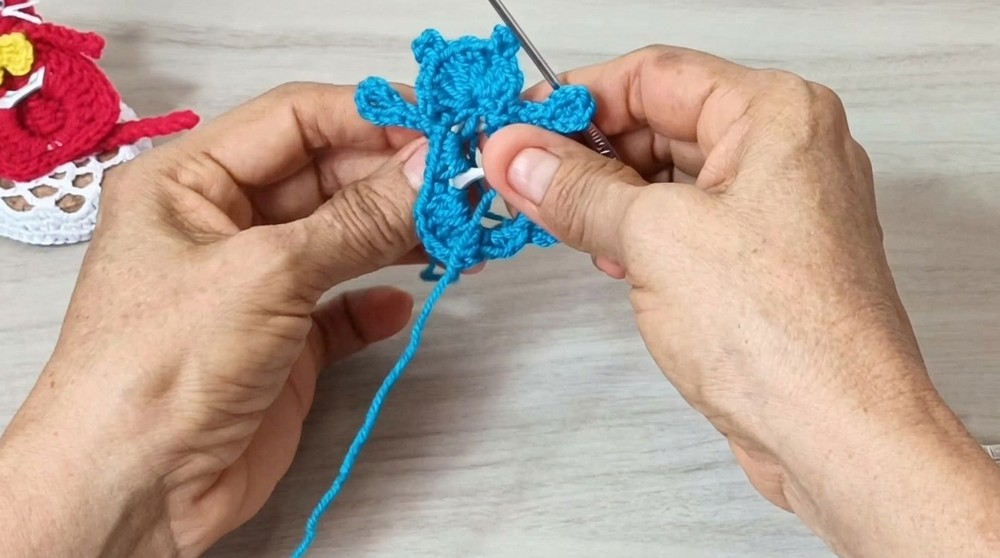
- Sl st back along chain. Position arms symmetrically, weaving in ends for tidiness.
3. Tail & Back Layer
Foundation
- Begin with a magic ring, ch 11.
Detailing
- In 7th ch from hook:
- 4 consecutive dtr
- Down remainder of chain:
- 1 dc
- 1 hdc
- 1 sc
Head Backing (Back Layer)
- Ch 2, 2 dc, ch 3 picot, 3 dc, ch 3 picot, 2 dc, ch 2, sl st.
Mirror Second Side
- Down chain:
- 1 sc
- 1 hdc
- 1 dc
- 4 dtr
- Ch 4, sl st.
- Ch 11 to form tail; sl st back along chain and fasten off.
4. Bow Tie & Finishing Details
Bow Tie
- In a magic ring:
- Ch 3, 2 dc, ch 3, sl st into ring (first side)
- Ch 3, 2 dc, ch 3, sl st (second side)
- Pull tight, wrap yarn around center, knot to shape. Attach below kitten head.
Facial Details & Assembly
- With black yarn, thread behind head to form 1-2 whiskers per side.
- Glue googly/movable eyes directly above whiskers.
- Lay front and back pieces together, align edges.
- Join around outer border (using tapestry needle or hook), working sl st all the way around for a neat seam.
- Weave in all remaining threads and secure at key points.
Assembly & Finished Size
- Place front and back body sections together, join edges evenly with slip stitch or needle.
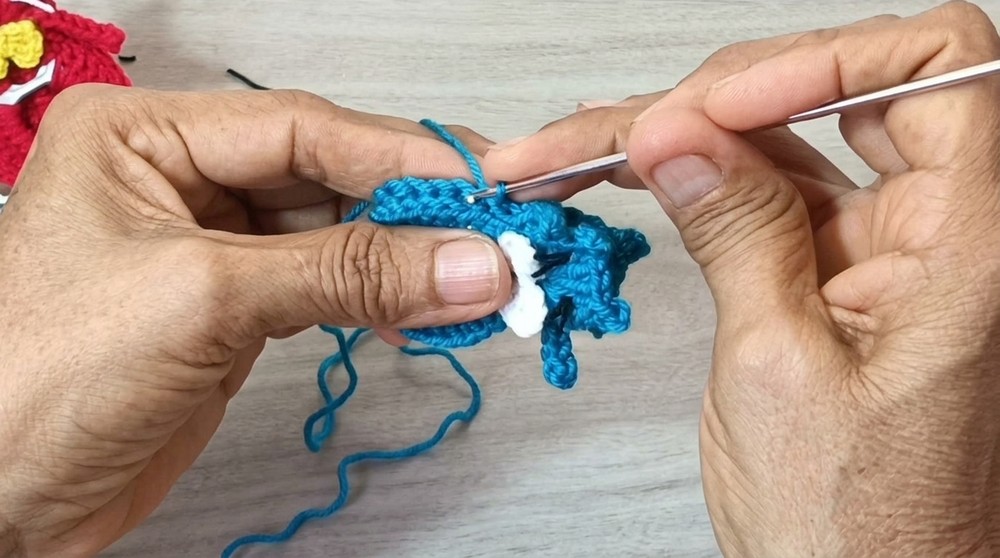
- Attach bow tie tightly under head front; position whiskers and glue eyes directly above.
- Finished kitten should be approximately 5-6 cm tall and 5 cm wide, forming a sturdy, decorative piece ready for display or gifting.
Conclusion and Ending Words
Throughout each round and section, this crochet kitten stands out for its practical use of recycled materials and thoughtful detailing. Firm stitches on both the can tab and back layer ensure stability, while pointed ears and expressive eyes bring a lively character to the completed figure. Neatly joined edges and a securely attached tail support frequent handling for use as a keychain, bag charm, or decorative gift. Small details such as whiskers and a bow tie add individuality and charm, celebrating both creativity and sustainability. Each completed stitch and assembled feature demonstrate attention to both crochetind skill and responsible reuse of everyday items, resulting in a finished kitten project with unmistakable appeal.