
Give your handmade collection a wild touch with this Crochet Gecko Lizard Pattern, a charming little reptile with detailed features.
Dive into the delightful world of amigurumi with this charming crochet lizard pattern, brought to you by Nancy a crochet. Perfect for both beginners and seasoned makers looking to add a touch of nature-inspired whimsy to their collection, this project captures the playful essence of a gecko with incredible detail and vibrant personality. Whether you're creating a unique gift or a playful decorative piece, this pattern offers endless opportunities for creativity and customization.
Mini Crochet Gecko Lizard Free Pattern with a Long Curved Tail
The Crochet Gecko Lizard Pattern is ideal for any season, effortlessly brightening up your space or accessories with its lively colors and imaginative design. Its versatile size makes it perfect to display on shelves, desks, or even as a quirky keychain, adding a splash of charm to everyday life. Pair it with botanical-themed décor or other animal figures to create a captivating display that draws attention and sparks conversation.
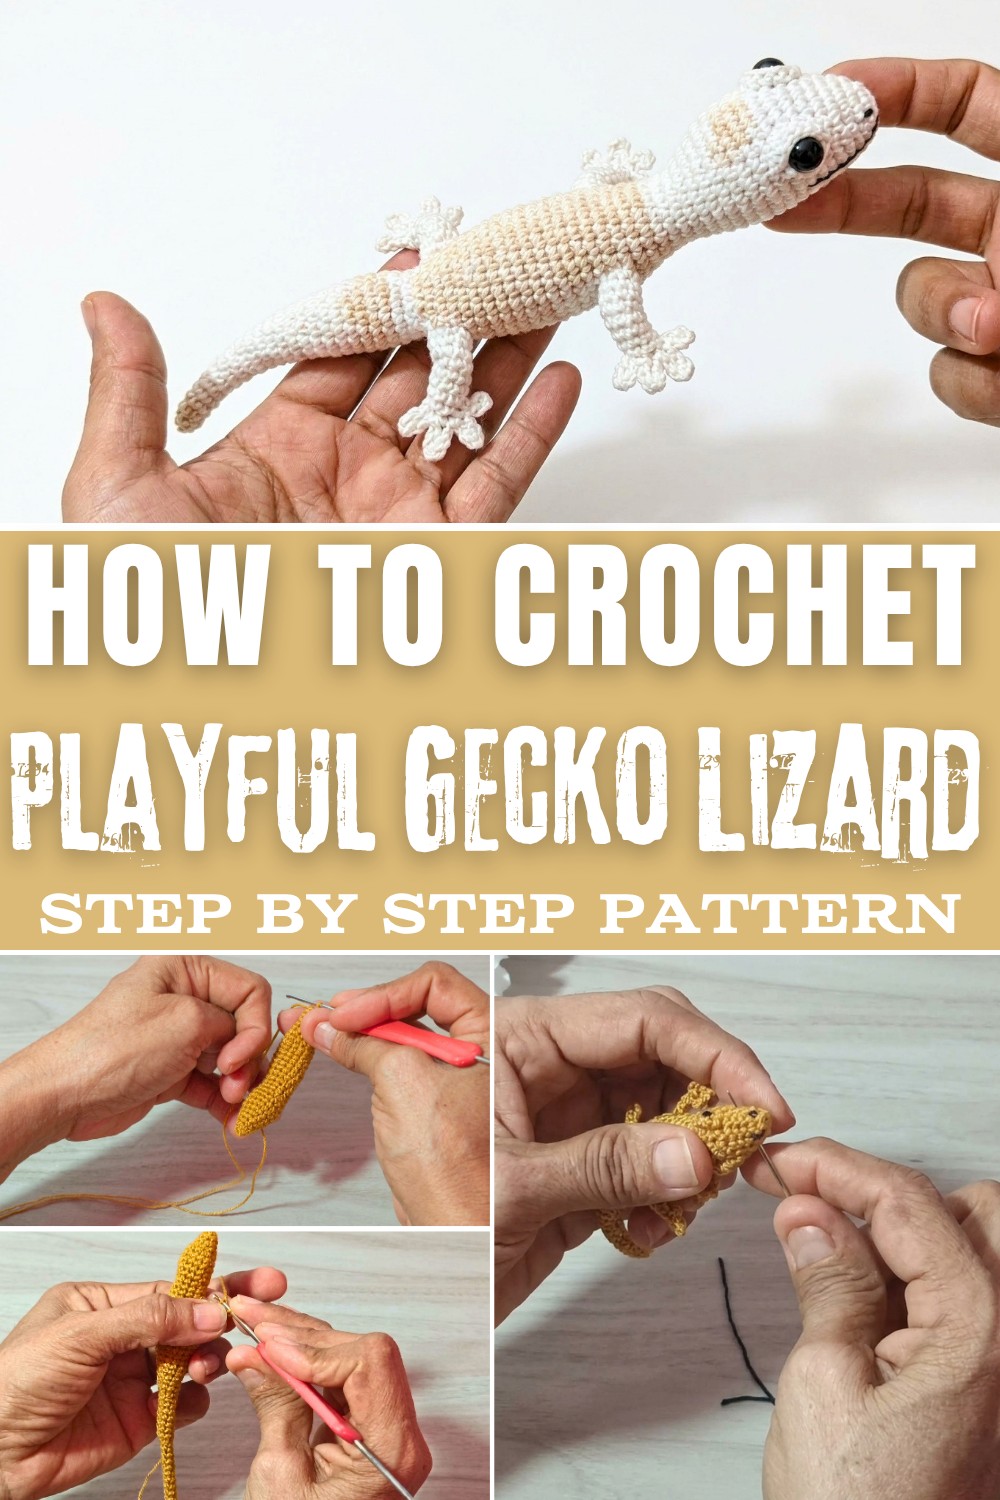
One of the standout features of this pattern is its texture, achieved through a combination of tight stitches that create a smooth yet tactile surface that mimics the lizard's natural skin. The intricate shaping, including the curled tail and expressive eyes, lends a lifelike quality while maintaining an approachable and cuddly appeal. Each detail, from the delicate toe pads to the subtle color transitions, enhances its enchanting beauty without overwhelming complexity.
Experience the joy of bringing this lively little gecko to life by following the detailed instructions. The pattern's thoughtful design ensures a satisfying project that you'll be proud to showcase or gift. Bring the charm of the Crochet Gecko Lizard Pattern and let it inspire your next creative adventure.
Action-Focused Crochet Gecko Amigurumi Pattern
This action-focused crochet gecko amigurumi guide yields a characterful lizard characterized by flexibility, realistic shaping, and appealing miniature proportions. Each section of the process prioritizes anatomical detail-including a softly stuffed head and body, posable tail insert, and delicately curved legs with well-defined toes. Strategic use of wire, fiberfill stuffing, and fine yarn results in a model that not only looks accurate but can also hold dynamic poses, offering versatility for display or functional use such as keychains and décor. Facial features such as sewn-on seed beads and embroidered brow ridges add personality and depth, while optional embroidered markings increase the tactile, lifelike feel of this small amigurumi. Careful attention to assembly and stitch technique throughout ensures a finished result with both visual impact and lasting durability.
Quick Overview Of Pattern
- Create the gecko's head, neck, and main body in the round, forming a seamless shape.
- Insert a sturdy wire or hairpin inside for a poseable effect.
- Shape, stuff, and taper the tail, encasing the wire for curl and flexibility.
- Add front and hind legs with toes directly onto the body.
- Embroider expressive features and lizard-like markings for extra realism.
- Finish with seed bead eyes, stitched nostrils, and textured brow for a sculpted look.
Notes
- Keep your stitches tight to prevent stuffing (fiberfill) from showing through the gecko's fine body.
- Insert the wire with safety loops at both ends to avoid poking through or snagging the fabric.
- Gauge is not critical, but maintaining consistency ensures a proportional and neat gecko.
- The tail and limbs are not stuffed, making the result slim and elegant.
- Embellishment with embroidery is optional, but recommended for realistic appearance.
- A stitch marker is helpful for keeping track of rounds.

Skill Level
Advanced Beginner to Intermediate:
You should be comfortable with crocheting in the round, increasing, decreasing, slip stitching, working in both loops or just front loops, simple embroidery, and basic amigurumi assembly. Some experience with inserting wire is helpful but not required.
Materials
- Yarn: 1 mm thick cotton or cotton-blend thread (color of your choice for lizard)
- Hook: 1.7 mm crochet hook
- Wire / Hairpins: 15 cm craft wire or a sturdy bobby pin/clip (for structure and flexibility)
- Stuffing: Small amount of fiberfill/polyfill
- Eyes: Small black seed beads or tiny black pearls
- Thread: Black sewing/embroidery thread for embroidery and attaching beads
- Tools: Yarn needle, embroidery needle, scissors, stitch marker
- Optional: Keychain hardware or clip if making into a keychain
Measurements / Sizing
- Finished Length: Approx. 10-13 cm (may vary by tail curl and yarn tightness)
- Body Thickness: Approximately 1.5 cm when lightly stuffed
Gauge
- Tight, even single crochets-6 sc into a magic ring measures about 1 cm across.
- Adjust hook size if your stitching is too loose (stuffing showing) or too firm (difficult to insert wire).
Stitch Abbreviations
| Abbreviation | Stitch |
|---|---|
| ch | chain |
| sc | single crochet |
| inc | increase (2 sc in same stitch) |
| dec | decrease (sc 2 together) |
| sl st | slip stitch |
| MR | magic ring / adjustable loop |
| FLO | front loops only |
Special Stitches
- Bullion (Rococo) Stitch: Wrap yarn 10 times around needle, then draw through all loops for a raised "brow" behind each eye.
- Toe Loop Structure: (sl st, ch, sl st in same ch multiple times) creates foot with curved "toes" in a single action.
The Crochet Pattern
Head & Body
Head Base
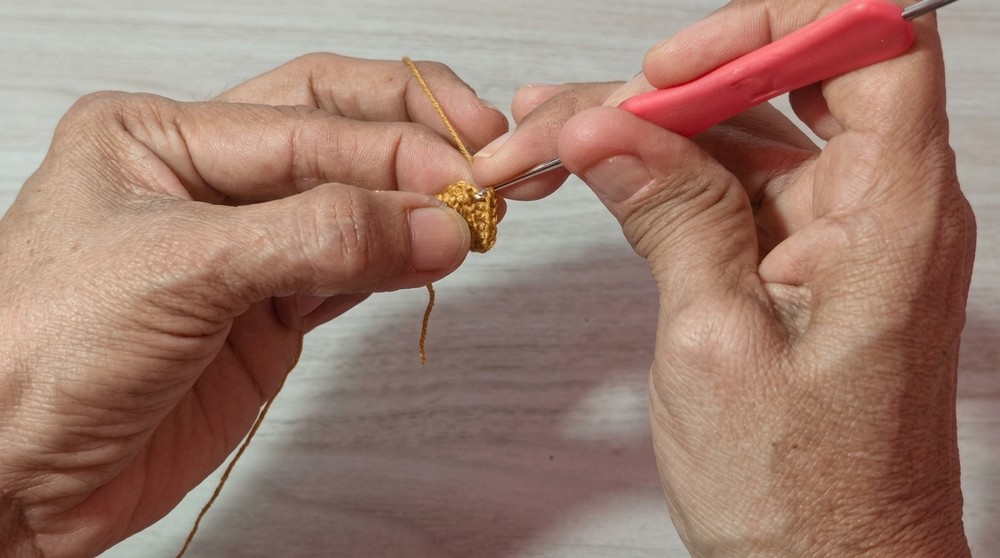
- Round 1: Work 6 sc in MR (magic ring). Sl st to join. (6 sts)
- Round 2: Turn piece inside out (if curling), sc in each st around. (6 sts)
Expansion
- Round 3: (1 sc, 1 inc) around. (9 sts)
- Round 4: 1 sc in each st around. (9 sts)
- Round 5: (2 sc, 1 inc) repeat 3 times. (12 sts)
- Round 6: (2 sc, 1 inc) repeat 3 times. (15 sts)
Head Shape & Neck
- Rounds 7-9: 1 sc in each st around. (15 sts/round)
- Round 10: (2 sc, 1 dec) repeat 3 times. (12 sts)
- Rounds 11-12: 1 sc in each st around. (12 sts/round)
Main Body Section 1
- Round 13: (2 sc, 1 inc) around. (16 sts)
- Rounds 14-21: 1 sc in each st around. (16 sts/round)
→ Now is a good time to insert your wire or hairpin for future poseability. Bend ends into small loops to avoid poking through, and begin stuffing head and neck firmly but not overstuffed.
Main Body Section 2
- Round 22: (2 sc, 1 dec) repeat 3 times. (14 sts)
- Rounds 23-24: 1 sc in each st around. (14 sts/round)
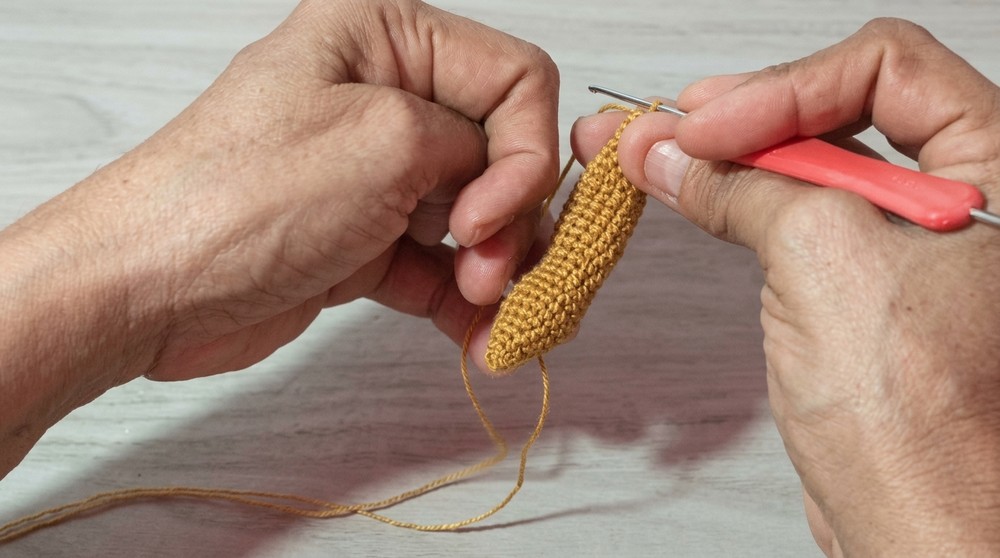
- Round 25: (3 sc, 1 dec) repeat 3 times. (11 sts)
- Rounds 26-27: 1 sc in each st around. (11 sts/round)
→ Lightly stuff as you go.Rounds 28-36: Lower Body Transition and Flanks
- Round 28: (FLO) 2 sc, 1 dec around. (9 sts)
- Rounds 29-36: 1 sc in each st around. (9 sts/round)
Tail
- Round 37: (1 sc, 1 dec) around, finishing with 6 sts total.
- Rounds 38-55: 1 sc in each st around (for the tail's full length or to your liking; ~55 rounds is standard for natural look).
Note: Do not stuff the tail. At ~tail midpoint, ensure the wire is inside for bendable shaping.
- To close: Fasten off, weave end through last 6 front loops, pull closed, and secure.
Legs
Front Legs (at Round 14, both sides):
- Attach yarn at one side of Round 14.
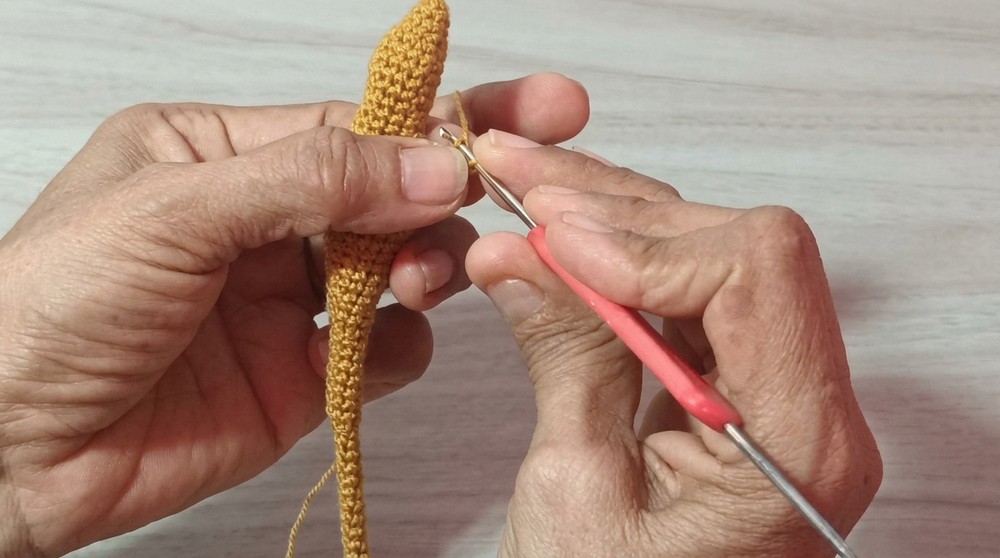
- Ch 7
- (Toes) Sl st into 3rd ch from hook, ch 3, sl st in same base ch twice (three toe loops).
-
- Sl st back down remaining chains to body. Fasten off.
- Repeat on opposite side of Round 14 for other front leg.
Back Legs (at Round 24, both sides):
- Attach as above: Work same chain, toe loops, and slip stitch sequence at both sides for symmetrical hind legs.
Facial Features & Finishing
Eyes:
- Using black thread and needle, sew one seed bead at each side of the head (approx. at Round 7).

Nostrils & Mouth:
- Embroider small black stitches at the tip of the snout for nostrils.
- Make a short straight stitch across lower part of head for mouth.
Eyebrows / Lids:
- Using main body color thread or yarn, create a 10-wrap bullion stitch directly behind each eye for raised brow/lid effect.
Body Markings (Optional):
- Use black (or darker/lighter contrast) embroidery thread to add small French knots or short straight lines for natural lizard markings on back and belly.
Assembly & Finished Size
- Shape:
After closing the tail, gently bend the wire into a dynamic S-shape or natural lizard curve. - Finishing Touches:
Secure embroidery ends, tuck in any loose yarn, and trim all excess. - Option:
Stitch or glue keychain hardware to the back or head, transforming your gecko into a playful, mobile accessory. - Finished Size:
Around 10-13 cm from snout to tail tip, depending on curl and tension.
Conclusion and Ending Words
Upon completing this flexible gecko amigurumi, a true sense of tactile satisfaction and realism emerges from the thoughtful stitch shaping and subtle detailing. The interconnected rounds build a well-proportioned lizard form, while inserted wire support sustains dramatic poses, emphasizing both strength and movement. Carefully sewn facial accents, from tiny bead eyes to sculpted brows, grant each piece a touch of individuality. The small scale and secure finishing allow for versatile uses, from whimsical home accents to practical keychain companions. Every aspect, from precise limb placement to optional textured embroidery, is aimed at producing a durable and expressive miniature reptile. With a focus on structure and finishing, this method will yield not only a playful result but a piece that will stand out as a demonstration of skill and attention to tactile details. 