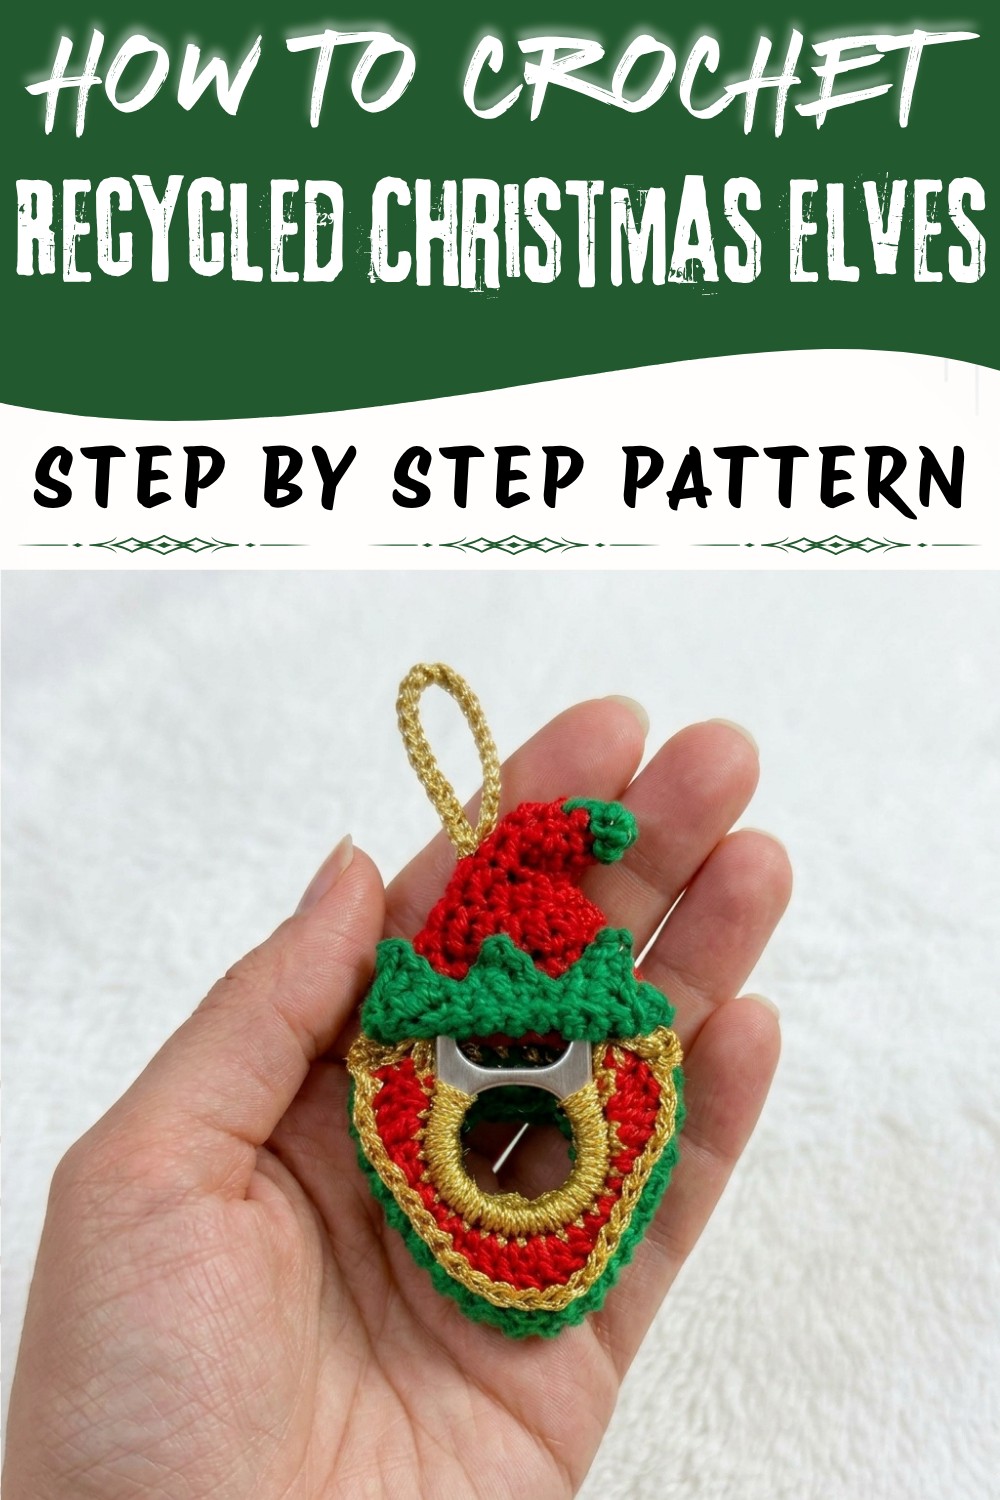
Celebrate Christmas with the Crochet Christmas Elf Free Pattern, a sweet yarn figure that looks lovely beside your tree.
There's something magical about creating little holiday figures that can brighten up your decorations or gift-giving. This Christmas, a charming elf makes a perfect addition to your seasonal décor or a heartfelt homemade present. Thanks to Nancy Crochet's original tutorial and design on her YouTube channel, you can bring this sweet character to life with her inviting guidance. The Crochet Christmas Elf Pattern is not only adorable but also uniquely uses recyclable rings as a base, making it a fun and eco-friendly project to enjoy.
Playful Crochet Christmas Elf Free Pattern That Kids Will Love
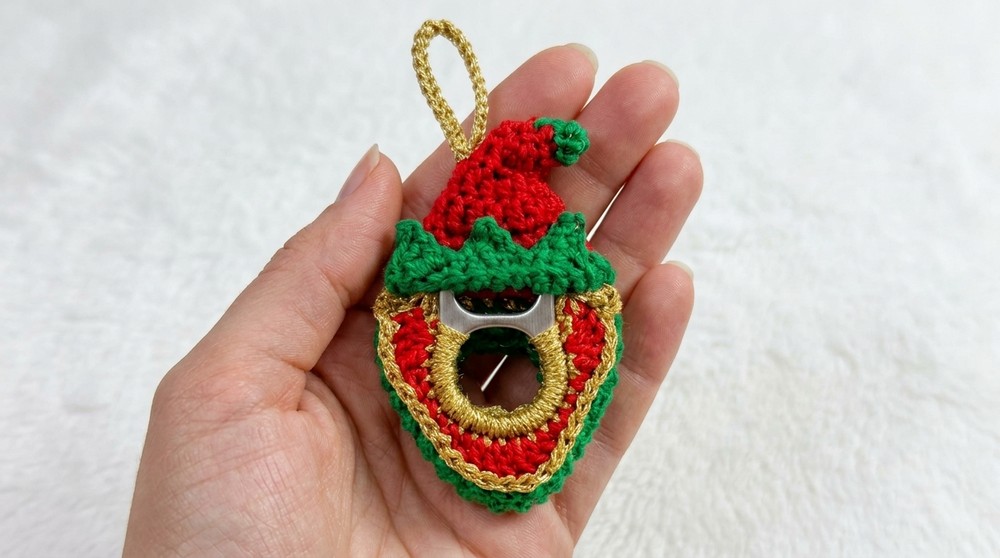
This delightful elf features a compact, rounded shape with a whimsical pointed hat in festive red and green hues. The texture is soft yet structured, thanks to the yarn tension and careful stitch placement around the ring base. What makes this project especially interesting is how the elf's little ears, hat, and charming beak come together to create personality and warmth at any holiday display. You can customize the colors or even the hat's height to match your own festive vibe or gift recipient's tastes.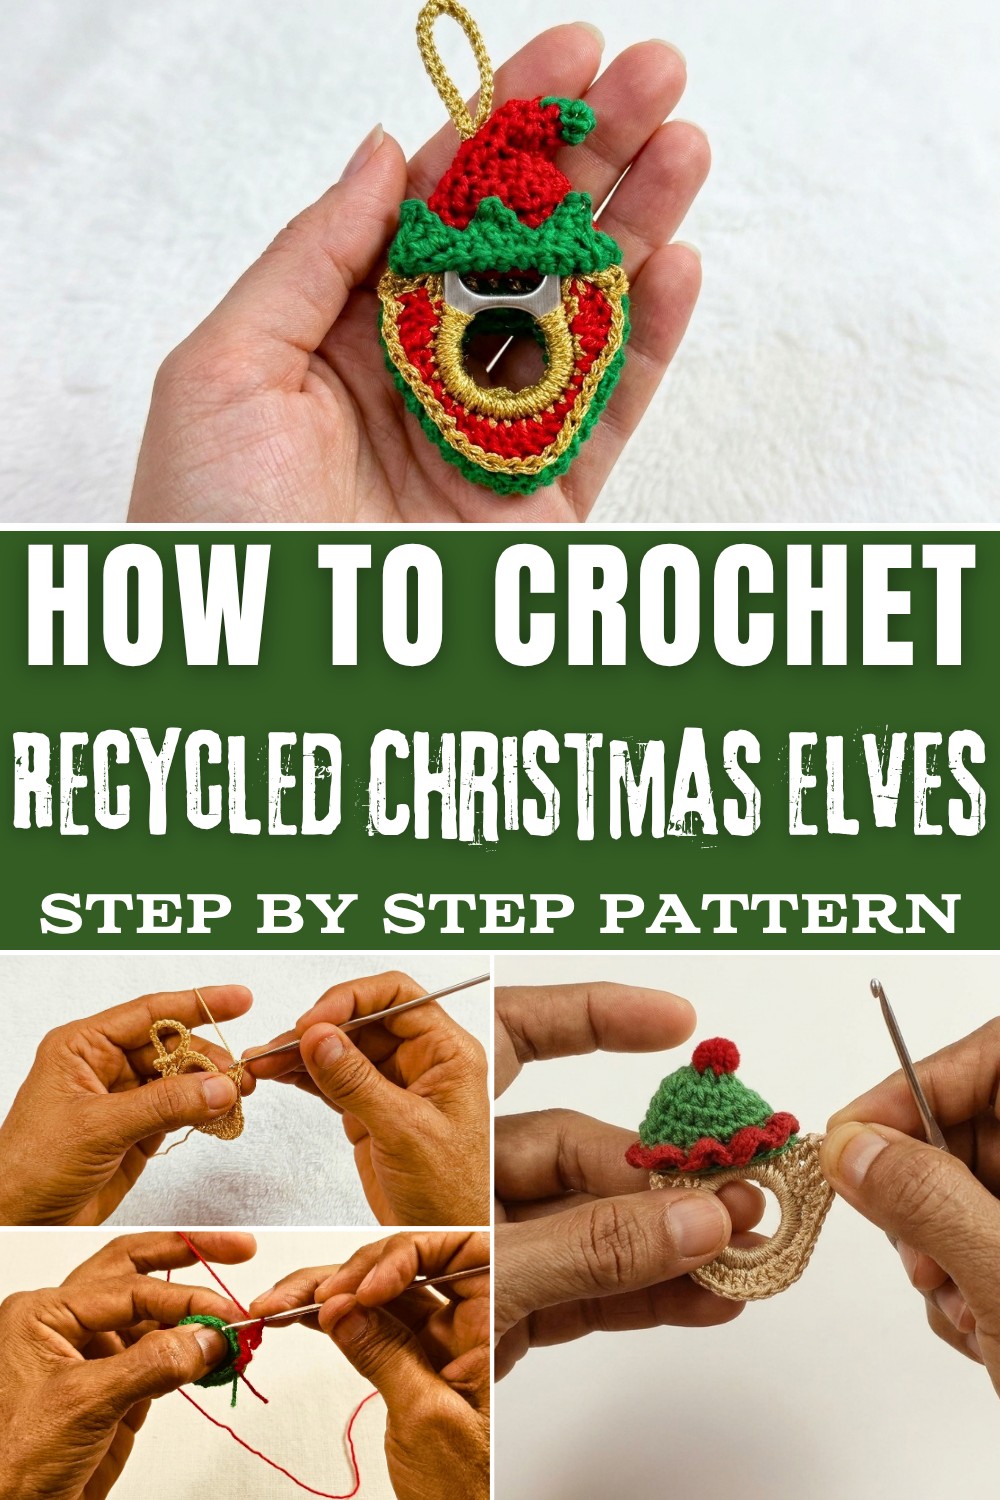
Whether you're dipping your toes into amigurumi or have some experience shaping figures, this pattern offers a fine balance. It's approachable enough to keep things enjoyable without being too tricky. Along the way, you'll get to practice slip stitches, increases, and clever placement around unusual bases, which expands your skills in both stability and detail work. Plus, it's a wonderful way to see how simple materials can be transformed into something merry and meaningful.
If you're ready to add a dash of handmade holiday joy, don't miss out on this free Crochet Christmas Elf Pattern. It's a cozy project that folds fun, creativity, and a hint of recycling all in one. Happy stitching.
Cheerful Crochet Christmas Elf Free Pattern
Recycling can offer a unique opportunity to add personality and sustainability to festive decorations. This step-by-step crochet tutorial reimagines an everyday object-a common pull tab or can ring-giving it new life as a charming holiday elf ornament. Working with mercerized cotton and a fine crochet hook, this project emphasizes both attention to detail and environmental mindfulness. The process involves skillfully covering the ring's surface, shaping distinctive elf features, and completing a creatively textured hat. Clear, accessible instructions help enthusiasts of all levels produce a thoughtfully finished ornament. Whether used to enhance a tree, brighten up a workspace, or serve as a memorable gift, this small project illustrates resourcefulness combined with artistic flair. By following each sequence, you'll develop a deeper appreciation for upcycled crafts and discover how simple materials can become meaningful seasonal treasures.
Quick Overview of Pattern
- Crochet half double crochets all around a recycled ring to form the head and base.
- Add ears and face details using increases, picots, and slip stitches.
- Work a separate magic ring and rounds for the elf's hat; decorate with colorwork and textured edges.
- Attach hat securely and finish by organizing all yarn ends for a neat look.
Notes
- Take care when joining and ending each section to avoid visible knots or loose ends.
- Always check tension to ensure your stitches are snug around the ring and hat holds its shape.
- Adjust the length of the hanging chain or strap to your preference.
- Pay close attention when executing picots and increase rounds for symmetrical shaping.
- Safety note: Use clean, smooth-edged recycled rings to avoid snags or sharp bits.
Skill Level
Advanced Beginner to Intermediate
Must be comfortable with magic rings, working around rings, increases, basic seaming, color changes, and simple surface texture stitches.
Materials
- Large recycled ring (pull tab from canned food, etc.)
- Mercerized cotton yarn (approx. 1 mm thick) in face/body color, red, and green
- Size 1 crochet hook
- Yarn needle for weaving in ends
- Scissors
- Glue (optional, for attaching hat)
Measurements / Sizing
- Final elf ornament: Approximately 6-7 cm diameter (ring size dependent), hat approximately 3-4 cm tall.
- Strap length: Adjustable (suggested 25-30 chains).
Gauge & Stitch Pattern
- Gauge: Not critical; ensure stitches are dense enough to cover hardware.
- Stitch pattern: Primarily half double crochet (hdc), double crochet (dc), and slip stitch.
Stitch Abbreviations
- ch: chain
- sl st: slip stitch
- sc: single crochet
- hdc: half double crochet
- dc: double crochet
- tr: treble crochet
- inc: increase (2 sts in one stitch)
- st: stitch
Special Stitches
- Magic Ring: Wrap yarn to form a loop, crochet into the adjustable center.
- Picot: Ch 2, sl st into first chain to make a small peak.
- Unfinished dc/tr: Yarn over, insert into stitch, pull through two loops, leave last loop(s) on hook until all are gathered and closed together (used for hat point).
The Crochet Pattern
Preparing the Base and Body
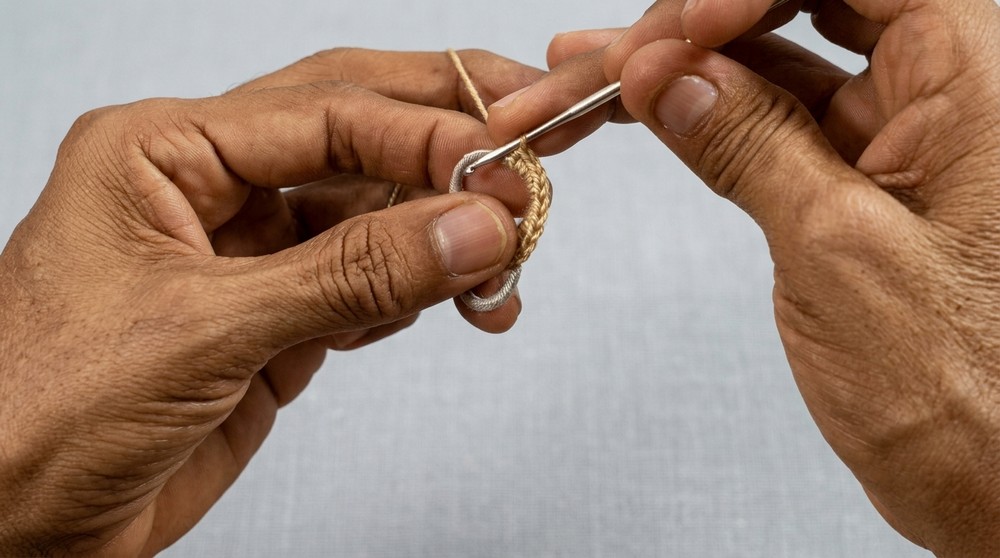
- Begin with a security stitch (attach yarn to ring, ch 1 to secure).
- Work 24 single crochet (sc) evenly around the main space of the large ring.
-
- Keep stitches close together so the ring is fully covered.
- Continue working sc smoothly along the other side of the ring until the circumference is complete.
- To create a hanging loop:
- When you reach your starting side, drop 2 stitches (leave these unworked to anchor strap at the ring's edge).
- Chain 25-30 (make longer if you wish).
- Return by reattaching and work hdc into the 2 dropped stitches to complete the ring base.
- Secure with a slip stitch.
Crocheting the Face and Ears
Left Ear:
- Skip one stitch, then into the next:
- Work 1 dc/tr (high point).
- Ch 2, return, sl st into closest chain to create a picot (small peak).
- In the same base, work additional high points so there are 4 stitches total, including the picot section (dc/tr - picot - dc/tr - dc/tr).
- Skip one stitch, sl st into the next to anchor the ear.
Chin/Face Structure:
- Work 4 sc.
- In the next stitches for the chin:
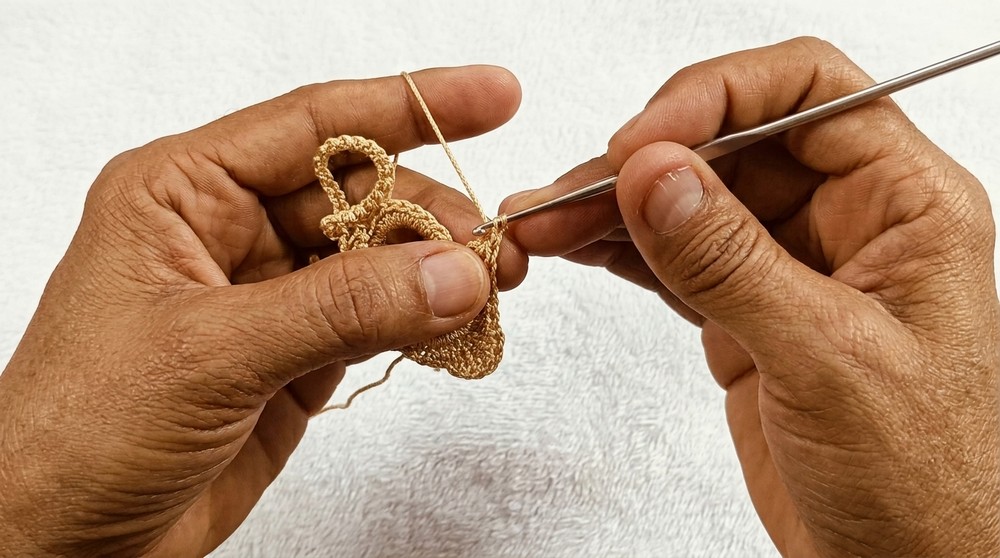
- Work a dc/tr inc (2 dc/tr in one stitch).
- Repeat: Next st, dc/tr inc (2 dc/tr in one stitch).
-
- Repeat once more: Next st, dc/tr inc (for pronounced chin).
- Continue across bottom of the ring by working hdc into the next 4 stitches.
Right Ear:
- Skip 1 st, enter next:
- Work 1 dc/tr, then 3 more high points (dc/tr) in the same section.
- Ch 2, make a picot (peak), return, sl st.
- Slip stitch, cut thread to finish ear section.
Check symmetry, adjust if necessary. Proceed to the hat section.
Crocheting the Elf Hat
Hat Base (Magic Ring):
- Create a magic ring, leave a long tail.
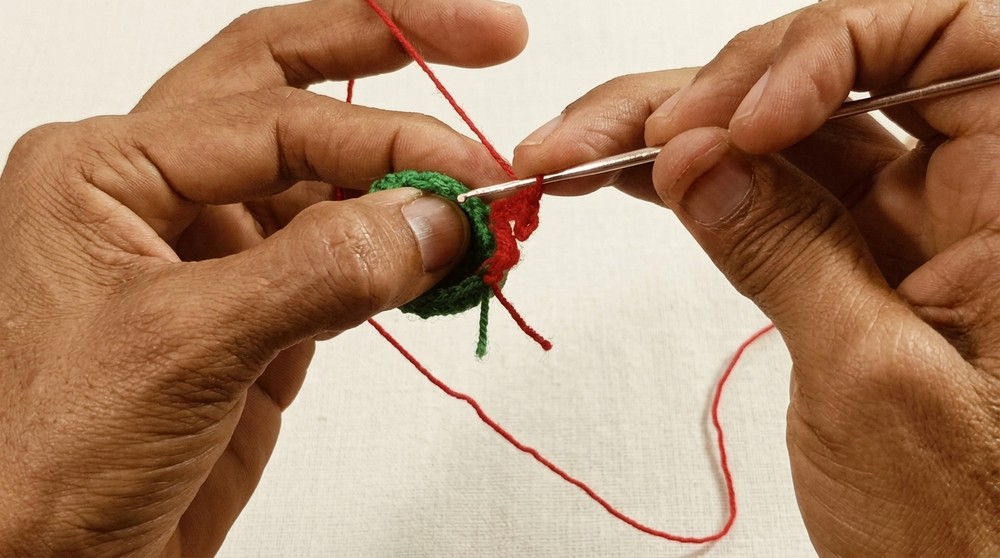
- Round 1: Ch 2, work 6 hdc into ring, pull tight, sl st to join. (6 sts)
- Round 2: Ch 2, work 2 hdc into each stitch around (increase in each), sl st to join. (12 sts)
- Round 3:
- (1 hdc, 1 inc) repeat around, sl st to join. (18 sts)
- Round 4:
- (2 hdc, 1 inc) repeat around, sl st to join. (24 sts)
- Round 5:
- 1 hdc in every stitch around (no increases), sl st to join. (24 sts)
- Cut yarn, weave in ends.
Tip (Peak):
- Attach yarn to the top center of hat, ch 3.
- Work 1 unfinished dc/tr in each of the next 6 stitches.
- Yarn over and pull through all loops on hook to close peak.
- Ch 1, cut yarn, and weave tail inward to secure the point.
Edge Details (Contrast Color, e.g., Red):
- Join new color yarn in the back loop only of any hat stitch (right side facing).
- Per repeat:
- Sl st, ch 4.
- Go back and sl st into first chain for a spike/point.
- In next st, work hdc; then in following st, work dc.
- Skip a stitch, sl st into back loop of next.
- Continue this spiked trim/texture pattern all the way around the hat edge.
- Fasten off; weave in ends.
Assembly & Finishing
- Fold hat points upwards for a playful, whimsical look.
- Position the hat on the elf's head (over the ring and ear section).
- Sew or glue hat in place as preferred.
- Turn the work inside out if needed; tuft/weave all loose yarn strands neatly inside the head and hat.
- Adjust ears and hanging chain for symmetry and finish.
- Shape the hat tip and spikes for desired effect.
Assembly & Finished Size
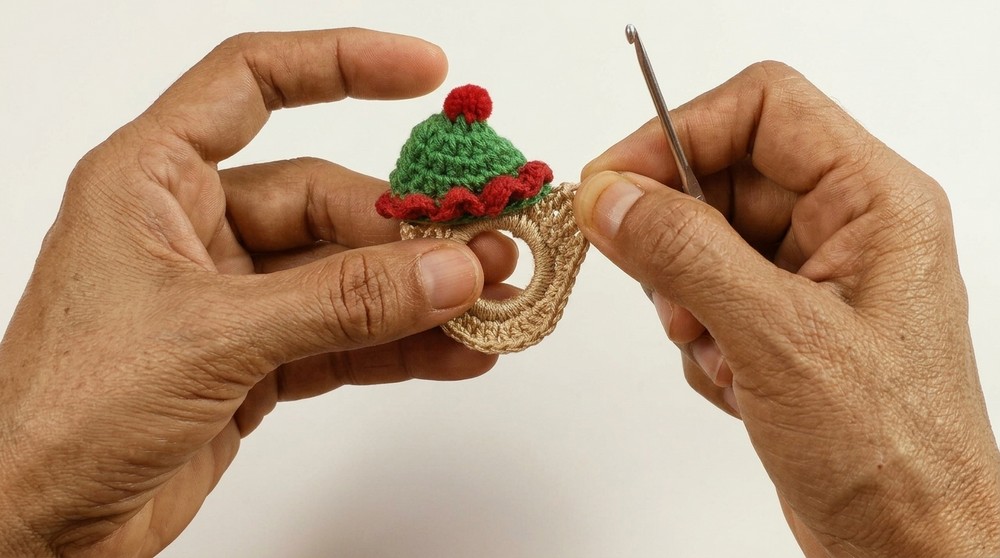
- Ensure the hat is centered and securely fastened.
- Hide all yarn ends inside the work for a tidy appearance.
- The finished elf ornament will measure approximately 6-7 cm across and 3-4 cm tall (not including hanging chain).
- Strap or hanging loop can be custom-sized.
Conclusion
Finishing this festive elf ornament reflects an investment of time, creativity, and sustainable intent. Using only a handful of materials and concise crochet techniques, the ornament achieves a polished look with visual charm and personal significance. The recycled ring, now completely transformed, stands as a miniature symbol of both holiday spirit and thoughtful reuse. Its sturdy structure, whimsical ears, and colorful, textured hat present well in any decorative display. Careful weaving of yarn ends and secure assembly ensure lasting durability for repeated seasonal use. This project also presents an invitation to personalize-vary yarn colors, embellish with beads, or size up for a distinct twist. Whether kept or gifted, the finished piece serves as a celebration of skill, resourcefulness, and festive creativity.