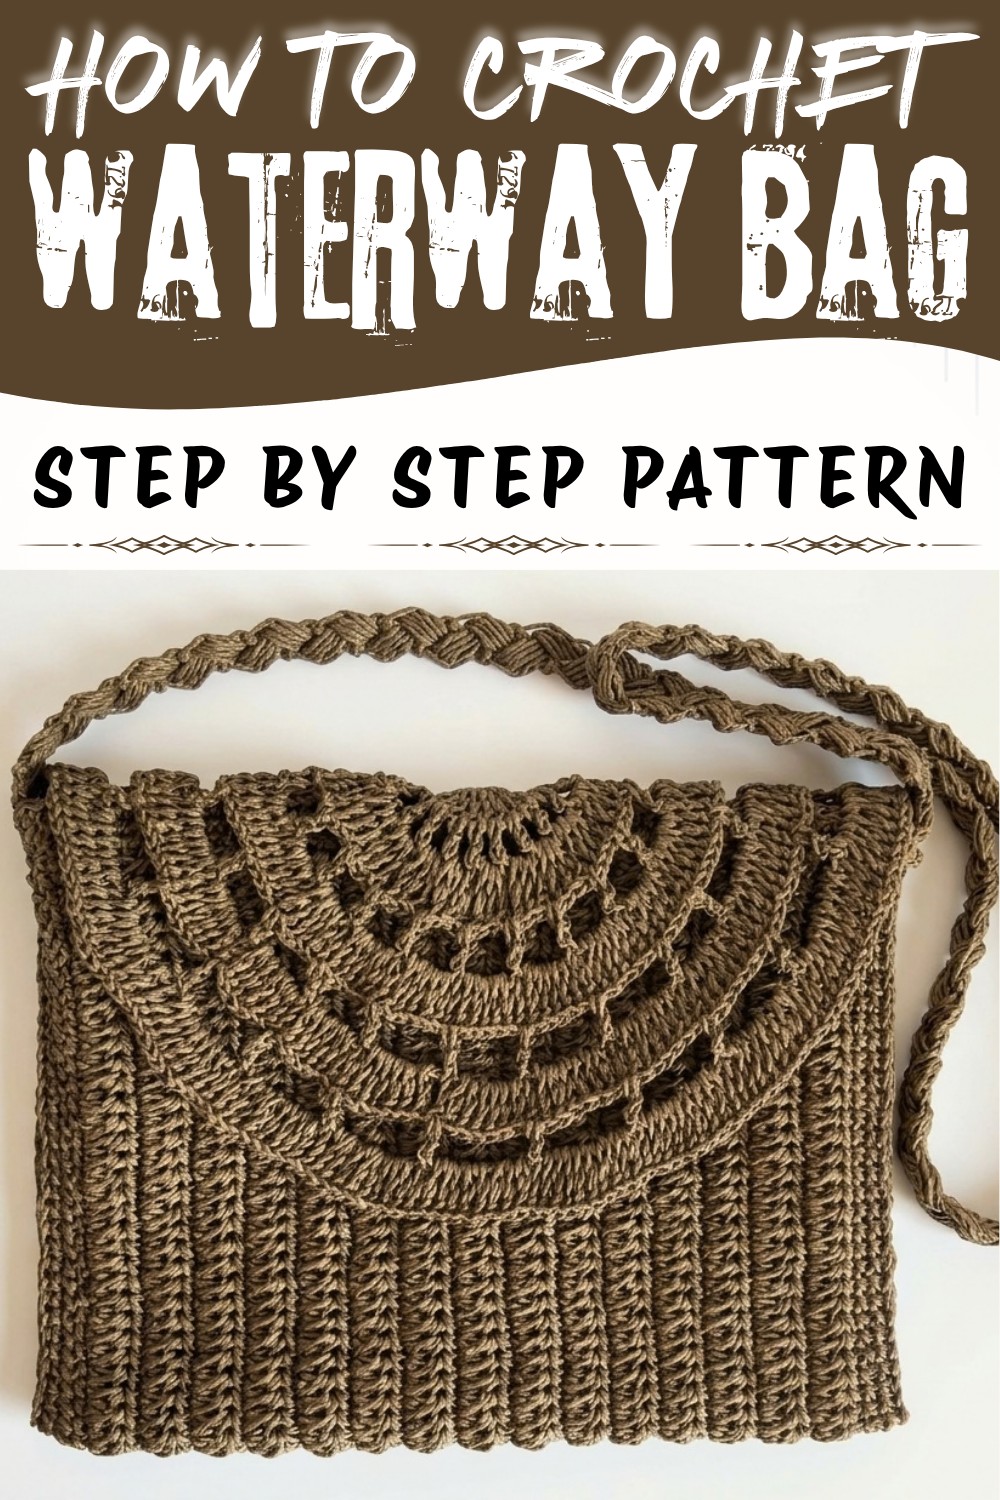
Refresh your wardrobe with the Crochet Waterway Bag Free Pattern, a lovely bag that pairs nicely with casual clothes for sunny outings.
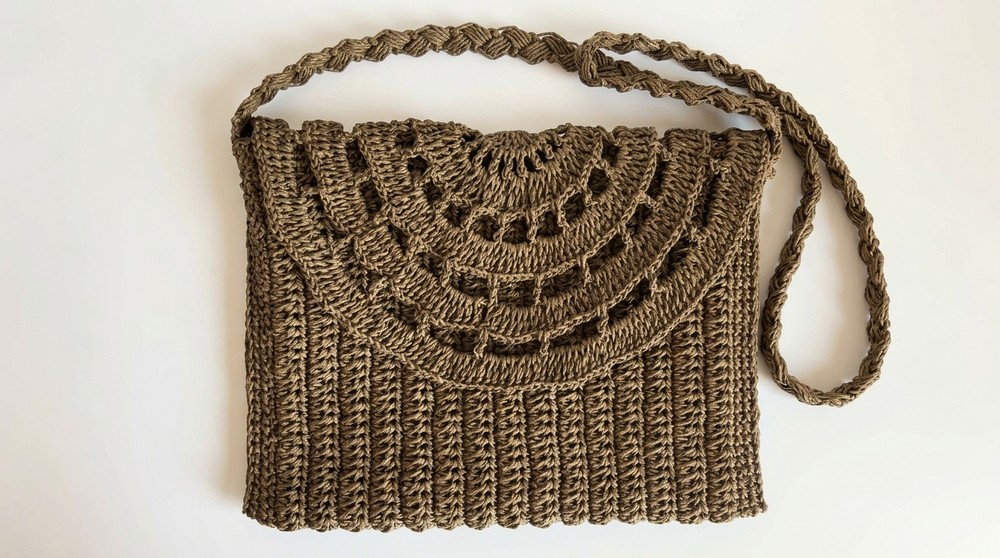
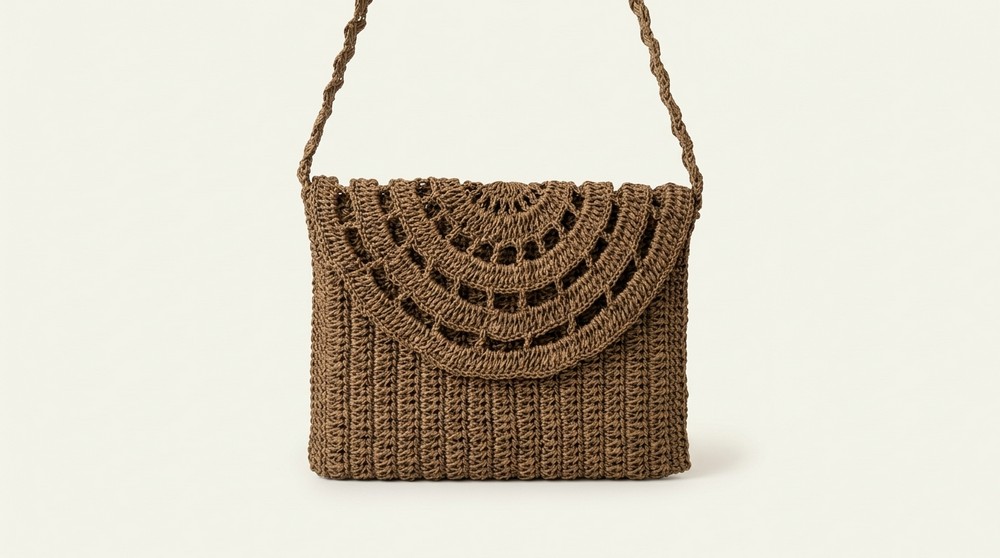
Have you ever seen a bag that is both stylish and practical at the same time? This beautiful bag is exactly that! The bag shows off a lovely pattern called the "waterway," which gives it texture and charm. It looks elegant and fresh, perfect for daily use or a casual outing. The Crochet Waterway Bag has a neat flap and a simple snap closure that keeps your things safe inside. The handle is designed to be comfy and fits nicely in your hand or on your shoulder.
Simple Crochet Waterway Bag Free Pattern To Try At Home
Kadriye designed this wonderful bag, sharing her step-by-step tutorial on the YouTube channel GÖKTÜRK AİLESİ. We give full credit for this creative idea and detailed video lesson that helps everyone join in on making this unique accessory. The Crochet Waterway Bag Pattern brings together simplicity and beauty to create something special. Its solid shape and detailed stitches make it stand out from other bags and add a personal touch to your style.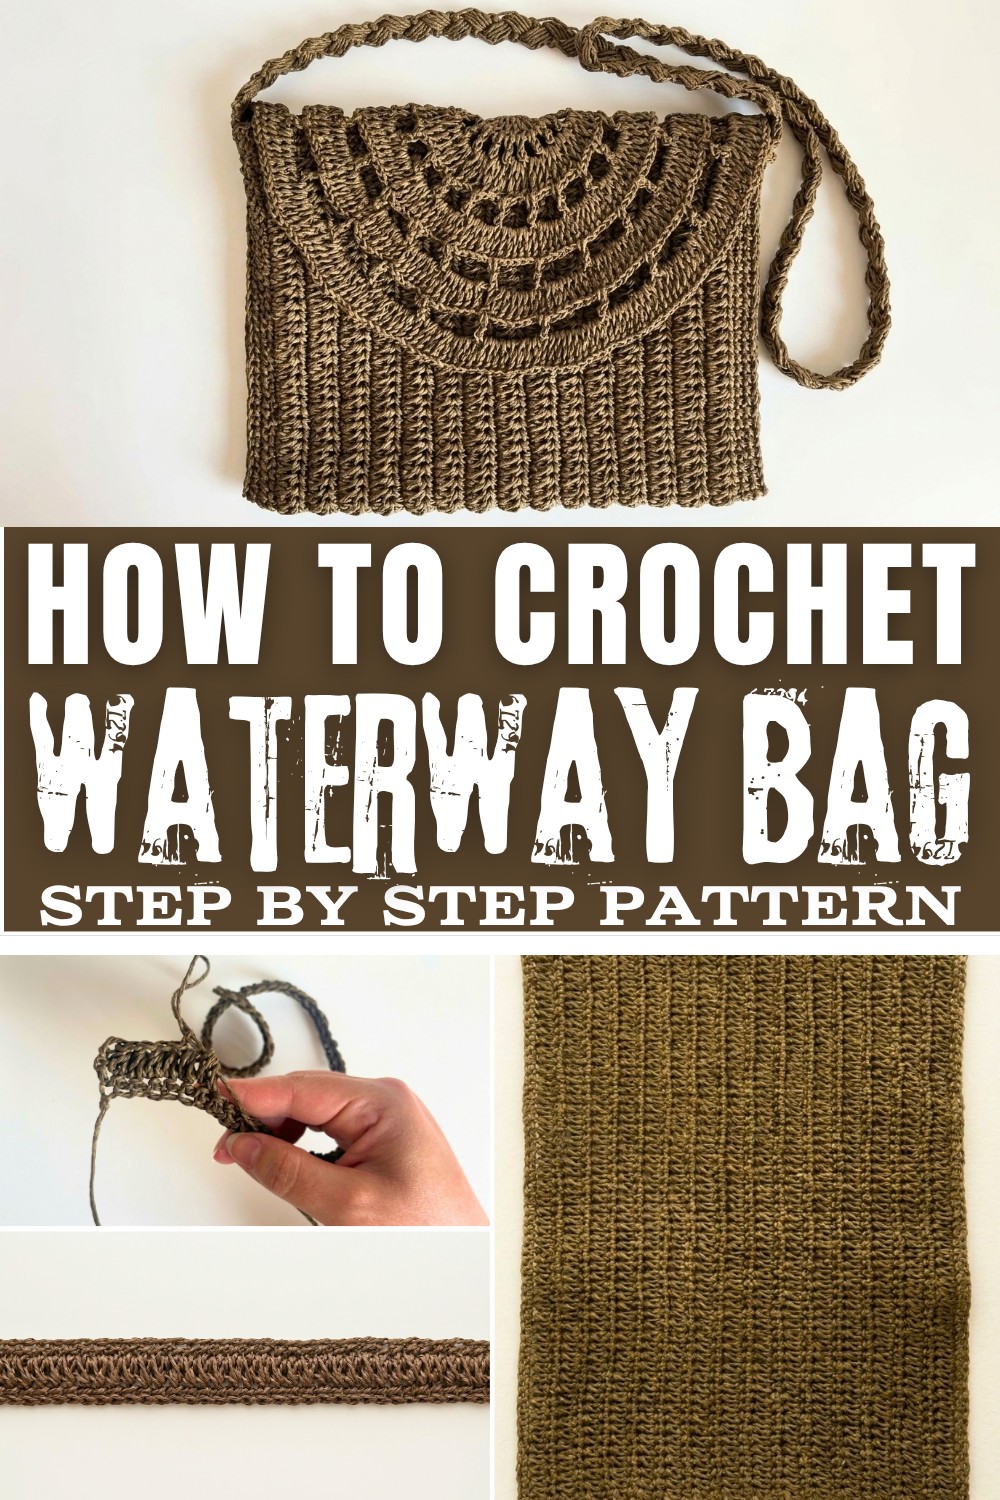
You can carry this bag to school, to the market, or even when you visit friends. Its size is just right for your daily essentials, yet it looks neat and tidy. The waterway design adds a cool effect that's fun to show off and easy to match with different outfits. If you want to make your own beautiful bag and impress your friends, take a look at the free Crochet Waterway Bag Pattern. You'll find all the help you need in Kadriye's original video tutorial. Give it a try and enjoy making this lovely bag just for you!
Summer Crochet Waterway Bag Free Pattern
A green paper yarn clutch bag stands out for its unique structure, eco-friendly appeal, and eye-catching texture. This piece seamlessly unites contemporary aesthetics with practical function through the interplay of sturdy single crochet foundations and decorative waterway stitches. The addition of a shell-inspired flap introduces both style and closure security, while a sturdy puff stitch handle offers comfortable carrying and durability. Rich brown lining inside the bag enhances both visual warmth and usability, giving every accessory essential a dedicated space. The following instructions carefully guide each segment, ensuring that every technique - from clean starting chains and layered borders to the architectural approach of the flap and the robust handle - results in a bag resilient enough for everyday use and elegant enough for special gatherings. Achieve a distinctive, long-lasting accessory by following each step in methodical detail.
Quick Overview Of Pattern
- Begin with a sturdy foundation chain worked in single crochet.
- Alternate rows of the waterway (spike) pattern and single crochet for a tactile, geometric effect.
- Border and reinforce edges with extra rounds of single crochet.
- Shape and build the decorative bag flap from the central top edge using triple treble crochets, mesh, and shell rows.
- Fully line the bag, construct and attach the magnetic snap closure.
- Crochet a long handle using puff stitches and sew securely to bag corners.
Notes
- Take care to keep foundation and border stitches even for straight sides.
- During flap construction, always ensure you're working from the precise center for symmetry.
- If your paper yarn is stiff, gently elongate loops for easier stitch completion.
- Use strong, matching thread for hand-sewing lining and snap to withstand wear.
- Always leave tails long enough for secure joining and hide them neatly on the wrong side.
Skill Level
Advanced Beginner to Intermediate: Must be comfortable with basic crochet stitches, simple increases, working in the round, tall stitches (triple treble), puff stitches, turning work, and basic sewing for lining and assembly.
Materials
- Green Paper Yarn: 500 grams
- Crochet Hook: Size 3 mm (or 3.5 mm as preferred)
- Magnetic Snap Closure
- Brown Lining Fabric
- Sewing Supplies: Needle, matching thread, scissors
Measurements / Sizing
- Finished Bag Width: 31 cm
- Finished Bag Height: 25 cm
- Handle (Strap) Length: 123 cm
- Schematic: Rectangle for bag body; semi-circular/flared flap at top center; long handle attached to upper outer corners
Gauge & Stitch Pattern
- Row Gauge: Not critical, but aim for straight, non-buckling sides and crisp corners.
- Primary Stitch Patterns:
- Single Crochet (sc): Standard dense stitch.
- Waterway (spike) stitch: Worked across for dramatic texture.
- Triple Treble Crochet: Used for flap's flare.
Stitch Abbreviations
- ch - chain
- sc - single crochet
- sl st - slip stitch
- trtr - triple treble crochet (yarn over three times)
- st(s) - stitch(es)
Special Stitches
- Waterway (Spike) Stitch: Yarn over, insert hook into the base of the prior row's stitch, pull up a loop, yarn over, insert into the top braid of the next st, pull up a loop (5 loops on hook). Elongate slightly and pull through all at once.
- Puff Stitch Handle: Yarn over, insert hook into base, draw up a loop; repeat for a total of 4 loops. Pull through all except last two, then through the last two (creates a fat "puff ball").
The Crochet Pattern
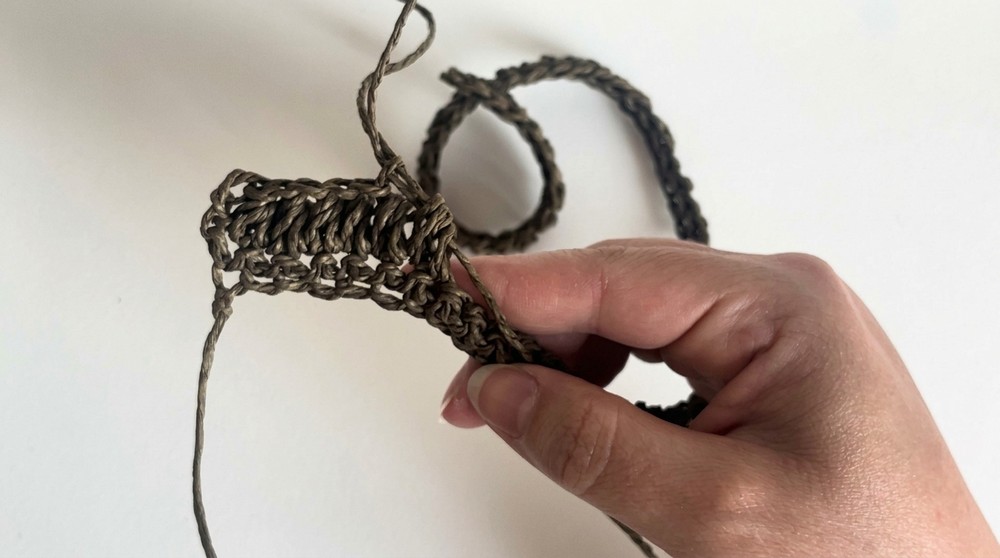
1. Foundation Chain & Base Row
- Begin by leaving a long tail for finishing.
- Work a slip knot, then ch 65 with medium tension.
- Add 1 extra chain for turning.
- Row 1: sc into each of the 65 foundation chains (through the back loop for a crisp edge). Turn.
2. Waterway Pattern & Single Crochet Alternation
- Row 2 (Waterway/Spike Pattern):
- Ch 2, turn.
- Yarn over, insert hook into the very first base space (base of prior row), pull up loop.
- Yarn over, insert into the next stitch's top (the "braid"), pull up another loop (total 5 loops on hook).
- Elongate loops, yarn over, pull through all 5 loops at once.
- Repeat: Insert hook first into last space used, then into the next new stitch. Always maintain 5 loops before drawing through.
- At row's end, work 1 double crochet (dc) into the top of the turning chain from the previous row.
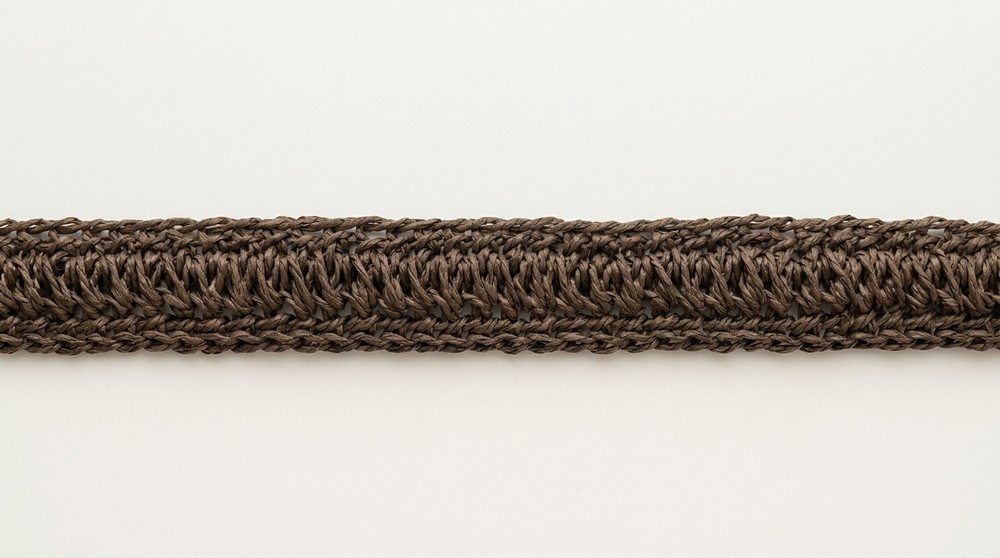
- Row 3 (Single Crochet):
- Ch 1, turn.
- sc across, inserting hook into the top of each waterway/spike/cluster.
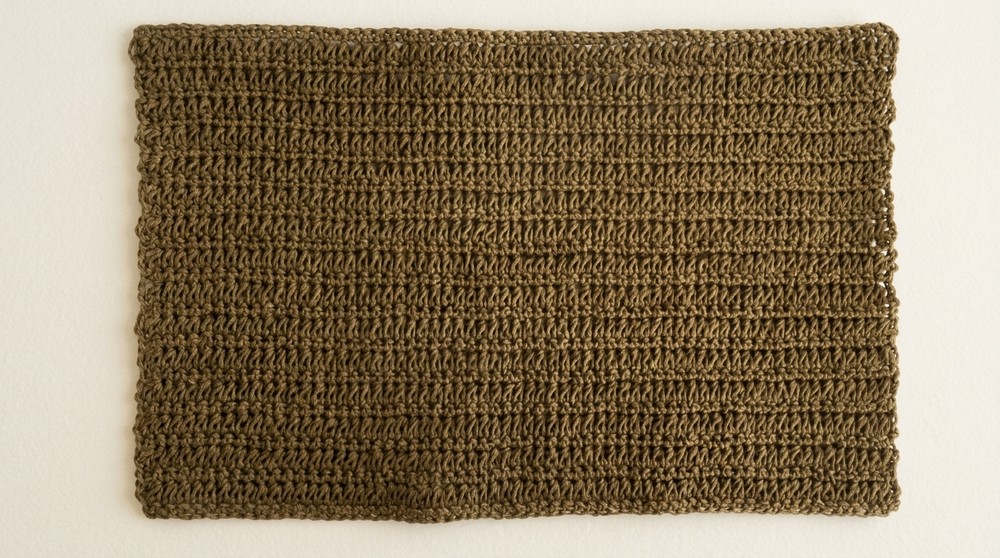
- Continue: Alternate one Waterway Pattern row and one sc row until you have completed 15 Waterway rows (always finishing with a sc row).
3. Edging the Main Panel Sides
- Work single crochets evenly along both short sides of the rectangle (the "short edges").
- Place 2-3 sc into each corner for a smooth, non-curling turn.
- Fasten off, weave in tails.
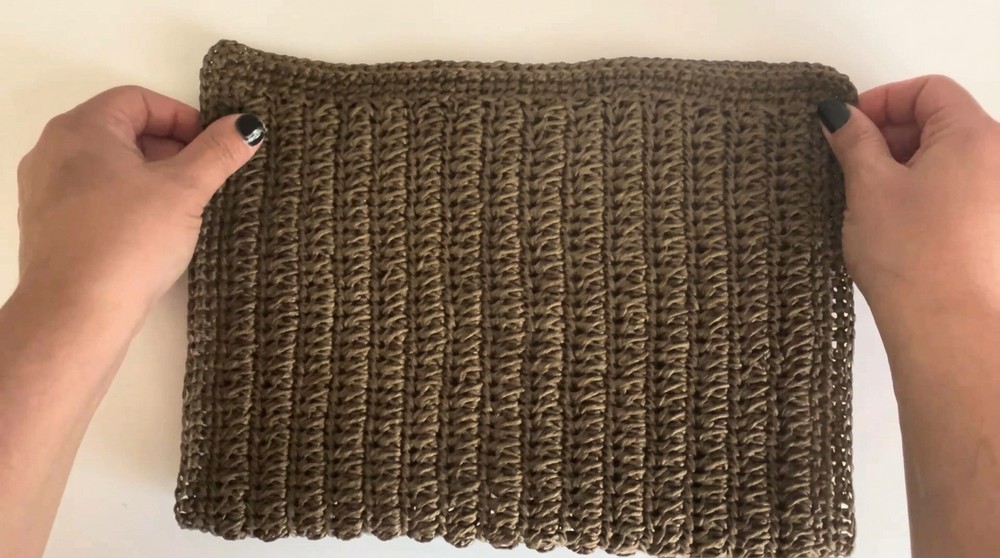
- Join yarn and work 2 additional rounds of single crochet all around the rectangle (total: 3 border rounds).
- Finish off, hiding all loose ends on the inside.
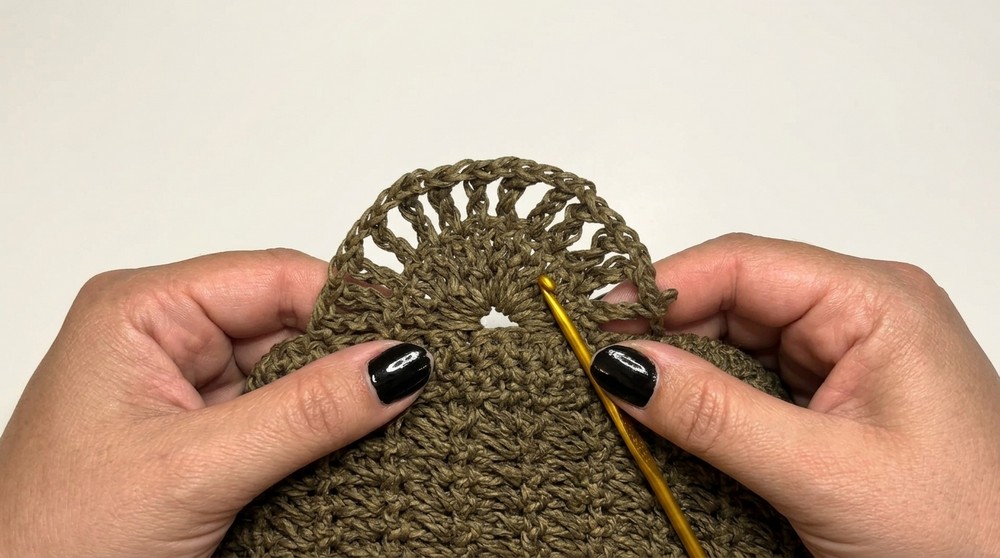
4. Flap Construction
- Locate Center: Find the center along the top (long side). Pinpoint the middle 3 sc.
- Flap Base: Attach yarn just to the left of center group.
- Ch 4, skip 2 sts, sl st in next to form a loop.
- Ch 3, sl st into next stitch, turn to face right side.
- Flap Row 1 (Solid Shells):
- Ch 1, 12 trtr (triple treble) in the 4-ch loop, sl st to anchor.
- Flap Row 2 (Grid/Mesh):
- Ch 3, sl st at base, turn.
- Work trtr into each trtr from previous row, with 1 ch separating each.
- Sl st to join at edge.
- Flap Row 3 (Solid Rows):
- Ch 3, turn.
- Into every chain-space, work 3 trtr separated by 1 ch.
- Sl st at edge.
- Flap Row 4 (Mesh Squares):
- Ch 2, trtr in top of previous trtr, ch 2, trtr in next, repeat for squares.
- Sl st to close.
- Flap Row 5 (Filled Shells):
- Turn, in each square space work 5 trtr. Sl st end.
- Flap Row 6 (Grid):
- Ch 4, turn, trtr above each cluster.
- Flap Row 7 (Medium Shells):
- Turn, 7 trtr in each space, sl st end.
- Flap Row 8 (Expanded Grid):
- Ch 5, turn, trtr in tops as before.
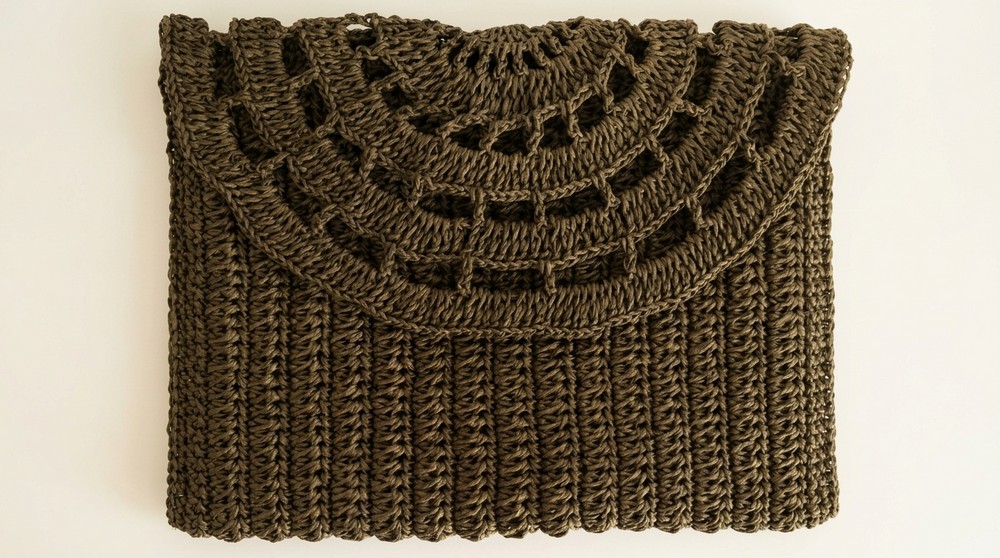
- Flap Row 9 (Final Solid Edge):
- Turn, in each grid/square, 10 trtr to create expanded outer curve.
- Fasten off, leaving a long tail for sewing the flap later.
5. Lining and Assembly
- Cut lining to fit panel with a 1 cm seam allowance on all sides.
- Pin lining in place inside bag.
- Using a hand needle and matching thread, work an invisible ladder stitch, taking a tiny bite from the bag fold and the lining edge.
- Carefully sew flap edges and entire lining down, keeping stitches hidden.
- Snap Closure: Attach male and female halves of snap to flap edge and body, sewing through provided holes with several tight passes of strong thread.
6. Bag Handle Construction (Puff Stitch Strap)
- Leave a long tail, make slip knot, ch 4.
- For puff stitch:
- Yarn over, insert hook into 4th chain from hook and draw up loop; repeat four times in same place (4 loops).
- Yarn over, draw through all but last two loops, yarn over again, through last two.
- Ch 2, turn; repeat puff stitch into chain-2 gap.
- Continue forming puff stitches row by row, always chaining 2 at turn, until strap is 123 cm long.
- Cut yarn, attach each end with a yarn needle to upper corners of the clutch. Sew multiple passes and knot inside for strength. Hide all ends in bag lining.
Assembly & Finished Size
- Dimensions: Approximately 31 cm wide and 25 cm high when folded.
- Strap: 123 cm, fits as a cross-body or shoulder strap.
- Finishing: Iron gently from the back for a crisp silhouette.
Conclusion and Ending Words
A thoughtfully made green paper yarn clutch delivers both style and reliability, offering ample opportunity to focus on technique and thoughtful construction. So much more than a simple accessory, this project brings together intricate stitchwork and structural details for a finished piece that holds its shape and stands up to repeated use. The interplay of crisp borders, the flowing contour of the flap, and a strong puff stitch strap highlight attention to detail at every stage. Attention to lining and strong attachment points further reinforce durability, ensuring this clutch will be both functional and visually captivating for seasons to come. Each segment contributes to the overall look and feel, inviting admiration whether carried during daytime outings or evening events. With every finishing touch in place, this clutch adds personality and confidence to any personal collection.