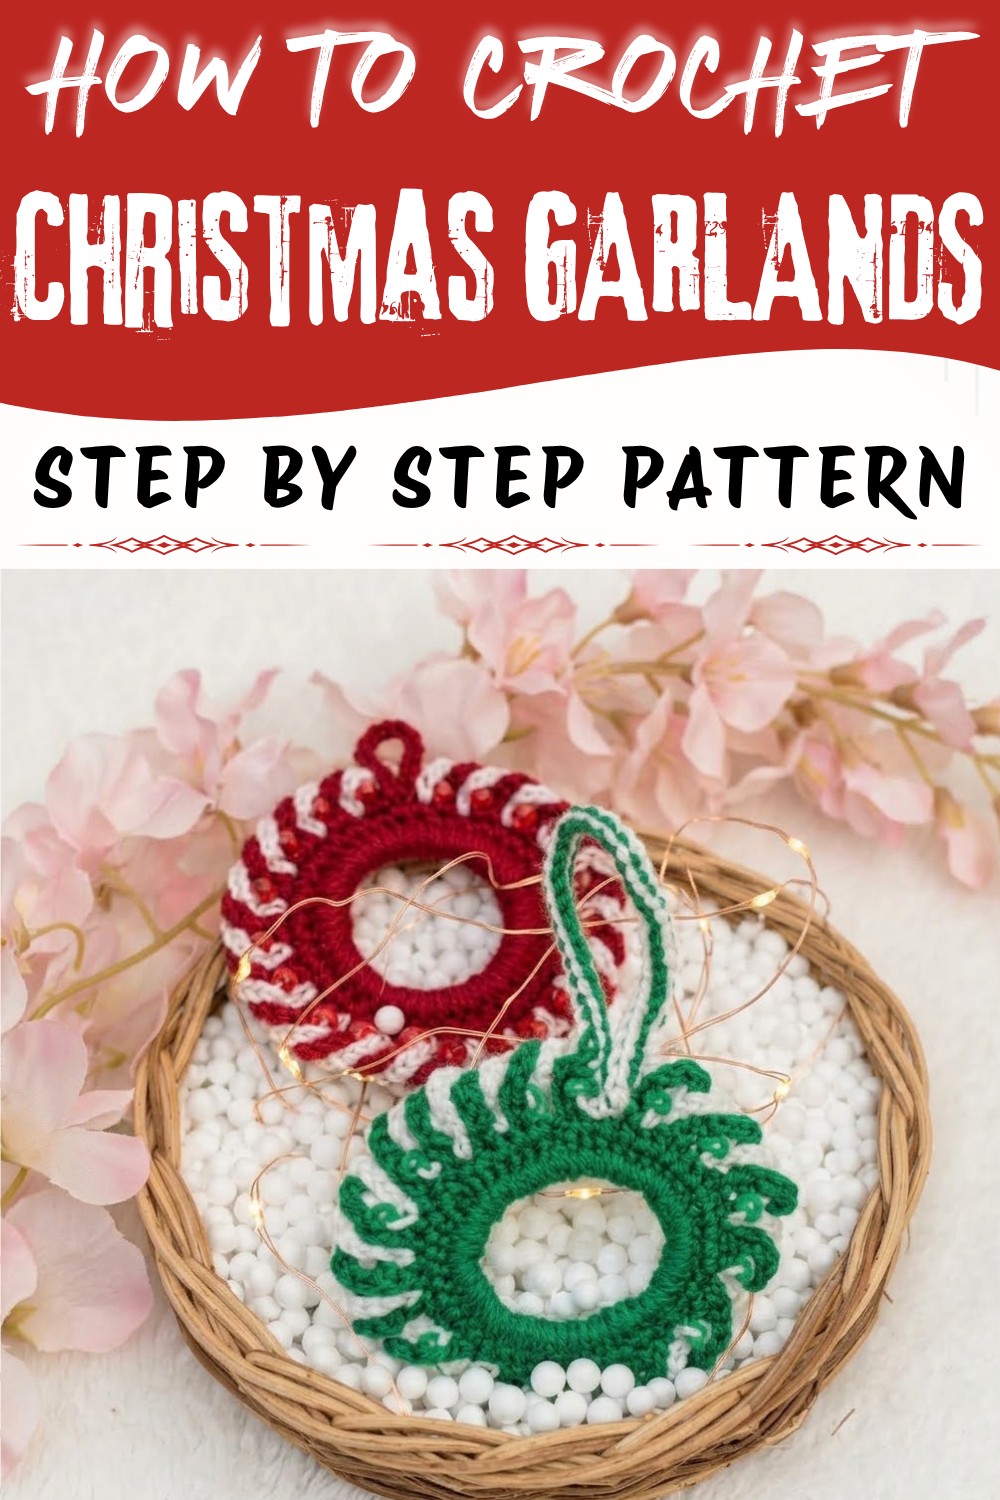
Hang cheerful holiday decorations with the Crochet Christmas Garland Free Pattern, a sweet way to decorate your tree or living room.
Add a touch of festive charm to your home with the delightful crochet pattern, generously shared by Nancy a Crochet on YouTube. This inspiring project is perfect for anyone looking to infuse warm, cozy vibes into their holiday décor. Designed to create a sense of comfort and nostalgia, it effortlessly blends classic winter aesthetics with a playful, whimsical style that's ideal for the Christmas season and winter celebrations.
Beautiful Crochet Christmas Garland Free Pattern To Decorate Your Home
The Crochet Christmas Garlands Pattern is a versatile decoration that enhances any setting, be it adorning your mantel, twining around stair railings, or draped gracefully over doorways and windows. Its charming appearance pairs beautifully with twinkling fairy lights, rustic wood accents, or elegant holiday table settings, adding depth and personality to your festive ambiance.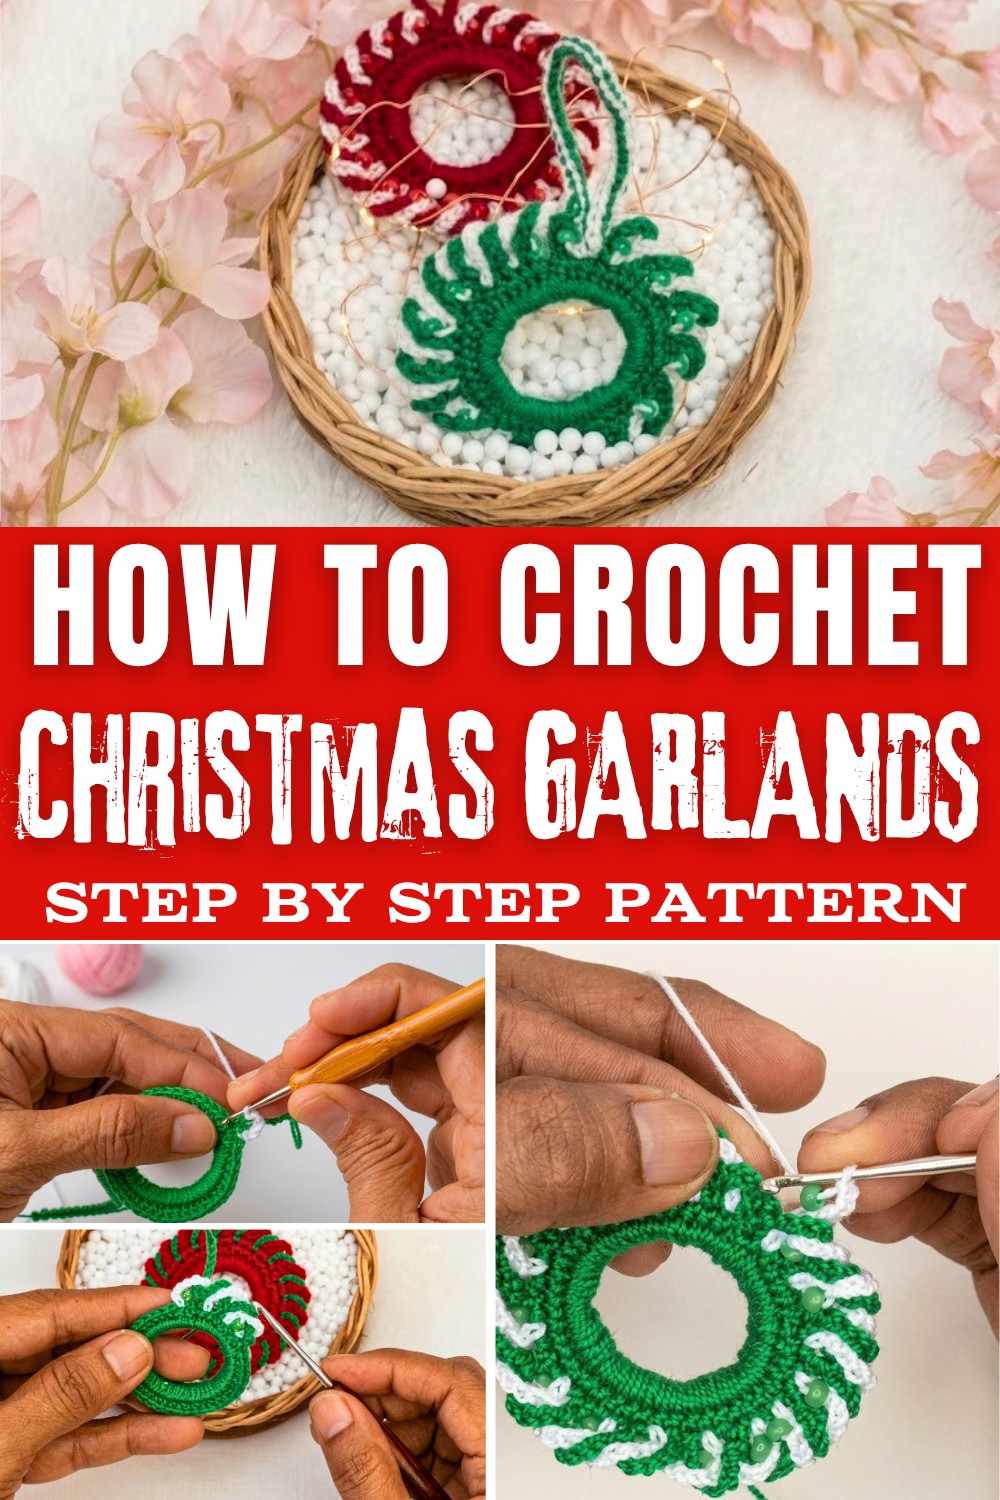
When it comes to texture, this garland offers a delightful combination of softness and structure. The yarn creates a cozy, tactile experience reminiscent of traditional holiday warmth, while the openwork elements introduce a light and airy feel, ensuring it doesn't overwhelm your space. The standout design features include intricately shaped motifs and balanced spacing that give the garland a rhythmic, eye-catching flow. Delicate details highlight the festive theme without being overly ornate, making it a timeless piece you'll want to display year after year.
Whether you're a seasoned maker or a holiday enthusiast seeking a fresh décor idea, this Crochet Christmas Garlands Pattern invites you to create something truly special. Dive into the full pattern to find how to bring this beautiful design to life and elevate your seasonal decorations with handmade warmth and style.
Handmade Crochet Christmas Garland Free Pattern
For those looking to combine sustainability and festivity, this holiday garland offers a unique way to repurpose everyday materials into eye-catching decorations. Using simple techniques and widely available supplies, you can transform humble recycled bottle rings into vibrant crochet ornaments that add a cheerful, personal touch to any space. The process involves covering each ring in colorful stitches, incorporating beads or pearls for a touch of refinement, and finishing with a coordinated hanging loop for effortless placement on the tree, mantle, or doorway. The pattern is approachable and flexible, allowing for endless customization depending on your color choices or bead style. With careful attention to detail, the result is a cohesive, beautiful garland that celebrates creativity, resourcefulness, and the spirit of the season.
Quick Overview of Pattern
- Cover plastic bottle rings thoroughly using yarn and a crochet hook.
- Add a secondary round in a contrasting color with bead-embellished loops for festive flair.
- Use a unique crossed chain method to alternate yarns and beads around the ring.
- Finish each ornament with a strong, tidy cord for hanging or stringing into a full garland.
- Hide all loose ends for a polished look.
Notes
- Pre-thread beads onto yarn before beginning the beadwork stage.
- Use sturdy, smooth plastic rings; clean and dry them before use.
- Maintain even tension while coating the ring's surface for a flawless finish.
- If making a garland, repeat the process for each ring and string finished ornaments as desired.
- Color and embellishment choices can be adapted for any season or event.
- Ensure all ends are securely woven in to prevent unraveling during use or storage.
Skill Level
Beginner to Intermediate: This project only requires basic crochet stitches but does involve switching yarns and working with beads, making it suitable for adventurous beginners and comfortable for intermediate crafters.
Materials
- Recycled plastic bottle rings (from juice, soda, or similar bottles)
- 1 mm thick yarn in primary Christmas colors (green, white, red, etc.)
- 1.75 mm crochet hook
- Small beads, seed beads, or pearls (pre-threaded for beaded loops)
- Yarn needle
- Scissors
Measurements / Sizing
- Each ornament: Approximately 4-5 cm (1.5-2 in) outer diameter depending on the original plastic ring size.
- Garland: Total length depends on number of ornaments created and length of connecting cord.
Gauge & Stitch Pattern
- Gauge: Not critical; stitches should be tight enough to conceal the ring and support the beads.
- Stitch Pattern: Main ring - Single Crochet (sc), Half Double Crochet (hdc). Decorative finish - Chain (ch), Single Crochet (sc).
Stitch Abbreviations
- ch - chain
- sc - single crochet
- hdc - half double crochet
- sl st - slip stitch
Special Stitches
- Slip Stitch Join: Used to close rounds cleanly.
- Beaded Single Crochet: Slide one bead/pearl close to hook, then make a single crochet to lock bead into place.
- Crossed Chain Technique: Alternating chains in two colors, forming overlapping "crosses" on the ring front and back.
The Crochet Pattern
Covering the Base Ring
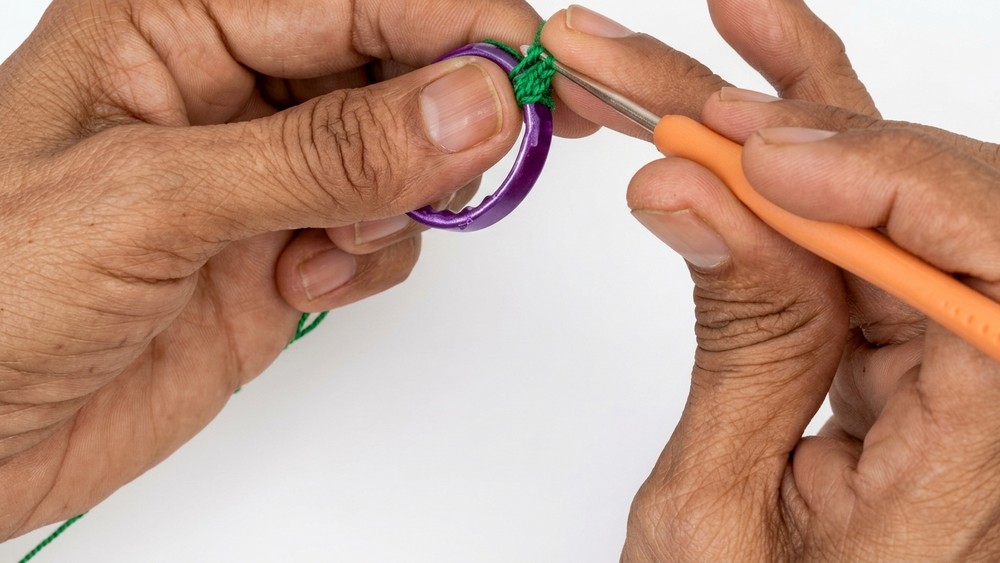
- Take your recycled plastic bottle ring and 1 mm yarn in your primary color (e.g., green).
- Attach yarn to the ring with a slip knot.
- Round 1:
- Work continuous single crochet (sc) stitches all the way around the ring.
-
- Continue to push stitches close together as you progress to ensure there are no gaps.
- Add more stitches as needed for the ring to be densely covered and maintain a smooth look.
- Once full coverage is achieved, work 1 sl st to join to the first stitch.
- Chain 1 to begin the next round.
- Round 2:
- Work one half double crochet (hdc) into every sc around the edge of the ring, making sure stitches sit evenly and closely together.
- Finish with a sl st to join and secure the ring's cover.
Creating the Crossed Chain Technique and Adding Beads
- With the base ring now fully covered, do not fasten off yet.
- With your working yarn (primary color, e.g. green), chain 7. Leave this chain hanging or "in suspense."
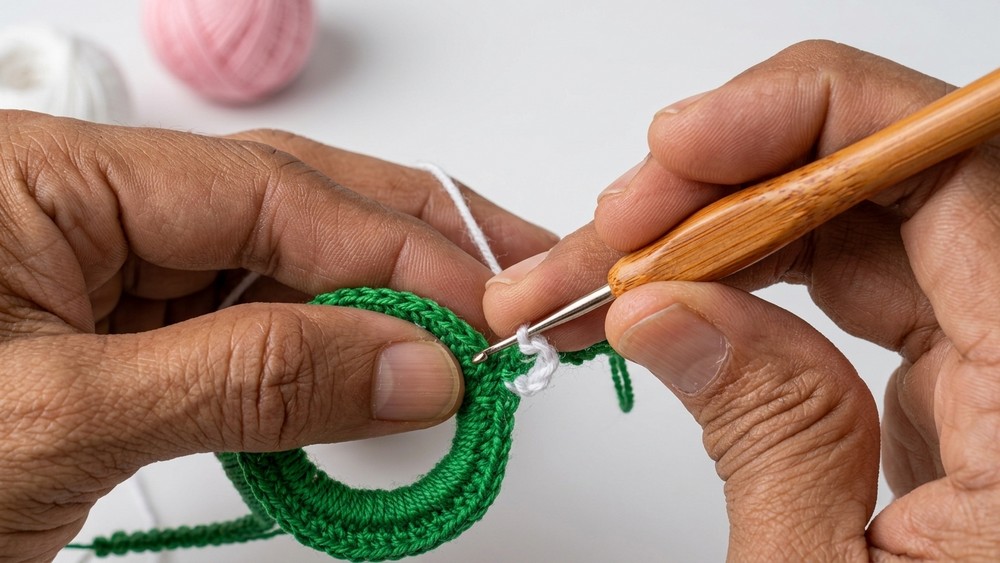
- Set this yarn aside briefly, keeping it attached.
- Take your second color yarn (e.g., white), pre-thread with beads.
- Attach the second yarn color to the base ring with a secure knot or slip stitch in the stitch just in front of your previously worked green chain.
- Using white/beaded yarn:
- Slide a bead close to the hook, and work one single crochet (sc) into the ring, anchoring the bead against the ring's edge.
- Chain 7 in white, again leaving this chain in suspense along the ring's edge.
- Return to your green working yarn:
- Bring the green working strand over the white, positioning it in front.
- Work one sc into the next stitch on the ring, securing the previous white chain in place.
- Chain 7 in green, suspend.
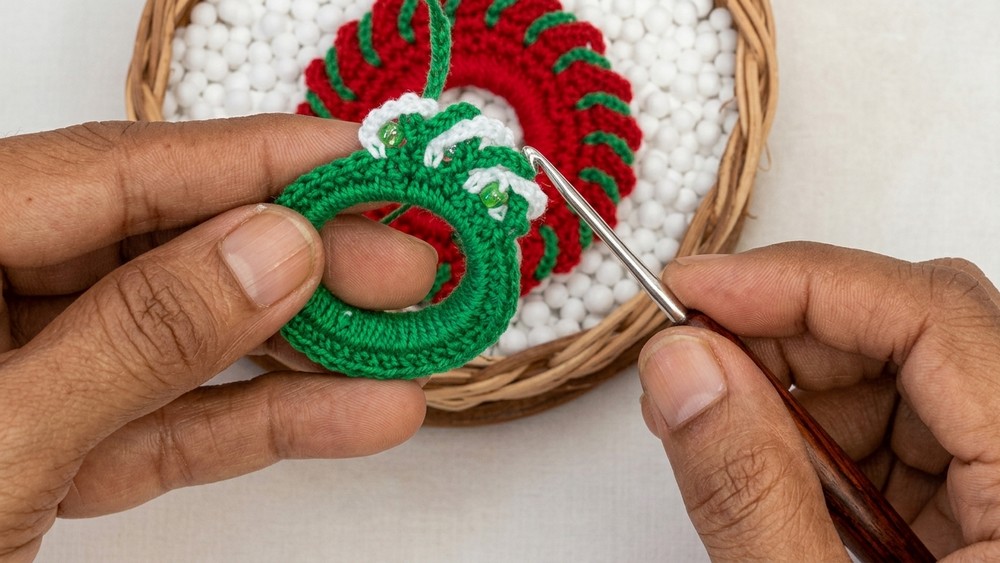
- Alternate between green and beaded white, always working the next single crochet into the stitch directly in front of the last chain.
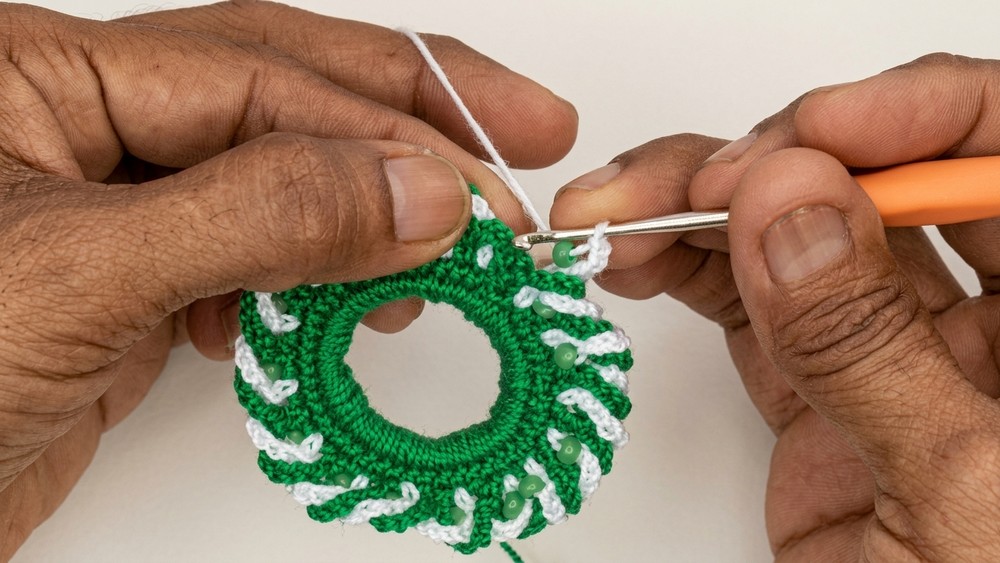
- Repeat this sequence around the ring:
- Green: sc, ch 7, suspend
- White with bead: sc (with bead), ch 7, suspend
- This crossing creates a lattice pattern with the loops predominately displayed on the ring's front.
- When you return to the starting point, make one final single crochet and slip stitch to finish and join both yarns. Pull yarns tight and secure.
Making the Hanging Cord
- Once you have completed the crossed chain technique, gather both yarns (green and white) together at the top of the ornament.
- Using both strands held together, make a sturdy chain (ch) to the desired hanging length (usually 12-18 chains depending on where the garland will be displayed).
- Slip stitch to the top of your ornament to form a closed loop.
Finishing and Securing
- Tie off both yarns with a firm double knot near the base of the hanging loop.
- With the yarn needle, bury each yarn end back through the thick stitches of your ring, completely hiding all ends and knots for a seamless finish.
- Shape the loops and beadwork gently by hand to ensure even appearance all the way around both the front and back.
- Repeat from the beginning for each desired garland ring.
Assembly & Finished Size
- String finished ornaments onto a main yarn, cord, or decorative ribbon to form a garland, spacing evenly.
- Each completed ring measures approximately 4-5 cm in diameter.
- Arrange garland as needed-drape, hang vertically, or wrap as you wish.
- Secure ends of main cord or ribbon for a professional presentation, and trim any excess.
Conclusion and Ending Words
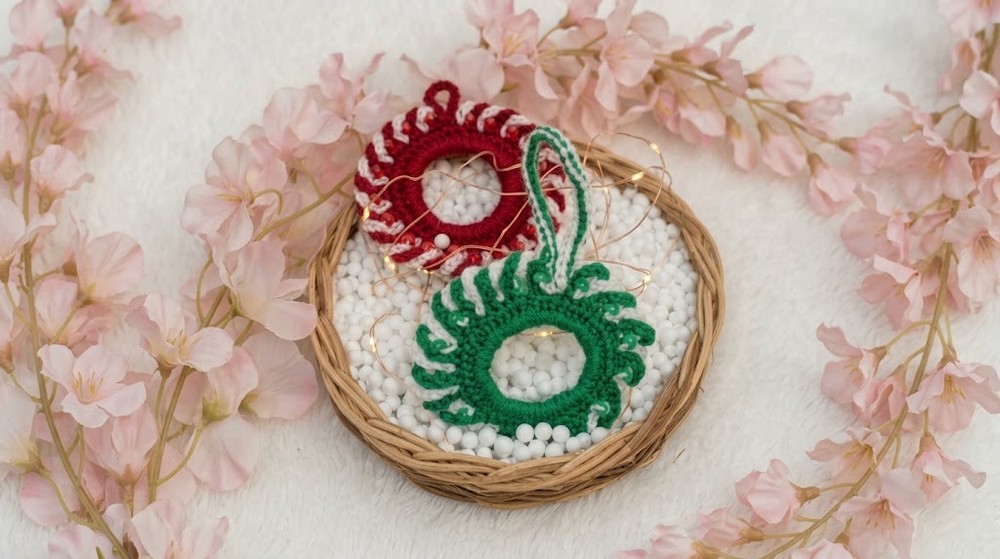
Constructing this festive garland combines creative reuse and crochet skill, resulting in a meaningful, elegant decoration. The process is straightforward-cover each bottle ring, embellish with color and beadwork, and attach a custom hanging loop. Alternating chains and beads form an eye-catching lattice, balanced on both the front and back of the design, and each finished ring connects seamlessly to form a cohesive strand. This pattern adapts well to any chosen color palette, and its modular nature encourages creativity and flexibility for any celebration beyond the holidays. Secure finishing ensures your handiwork will shine year after year, offering both visual delight and a sense of accomplishment. Handcrafted garlands, made from recycled materials and your own careful stitches, reflect a charming approach to festive decor that guests and family will surely admire.