
Treat your feet instantly to warmth and charm using the Free Crochet Home Slippers Pattern for a perfect everyday fit.
There's something so special about cozying up in handmade, soft slippers after a long day. These crochet house slippers are practical for keeping your feet warm and wonderfully stylish. The beauty of this pattern lies in the textured front post and back post double crochets, giving the slippers a snug fit and unique design that feels like it's straight out of a boutique. Yarn choice also brings this project to life-depending on your preferences, you can choose warm wool-based yarns for extra coziness or opt for colorful acrylics for playful, vibrant vibes.
Free Crochet Home Slippers Pattern for Beginners Cozy Comfort
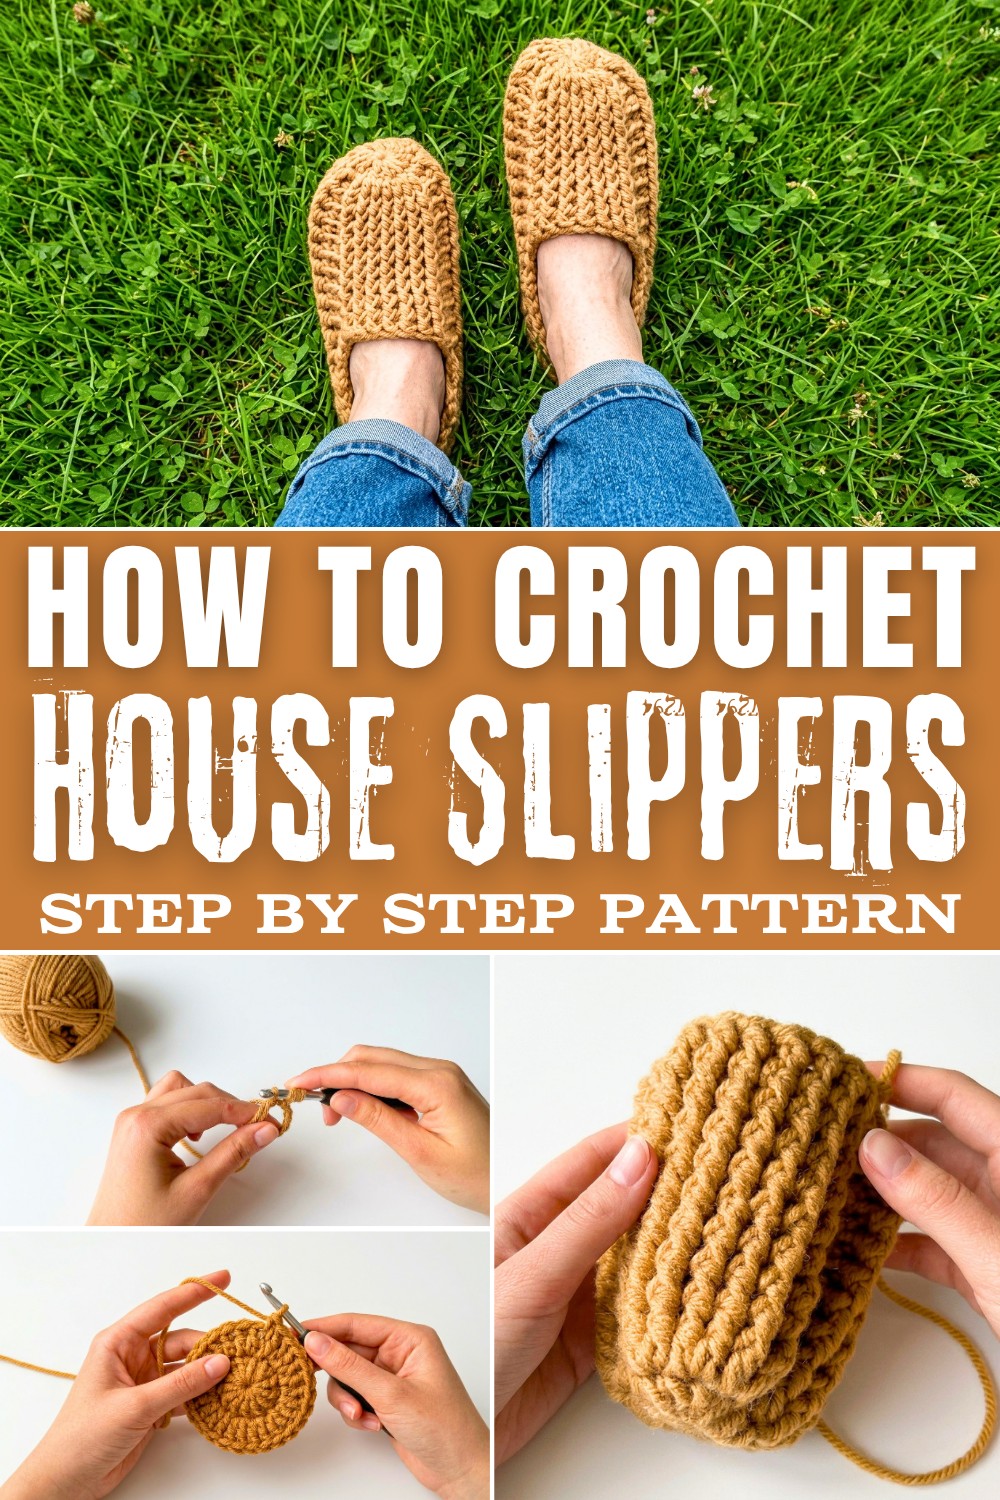
The process starts with creating the sole using simple stitches like the magic ring and double crochet, making it beginner-friendly yet engaging. The midsection introduces front and back post double crochets, adding beautiful texture and stretch to the slippers. If you're someone who loves experimenting with color, this pattern encourages creativity. You can mix complementary shades to match your wardrobe or combine bright hues for a cheerful design.
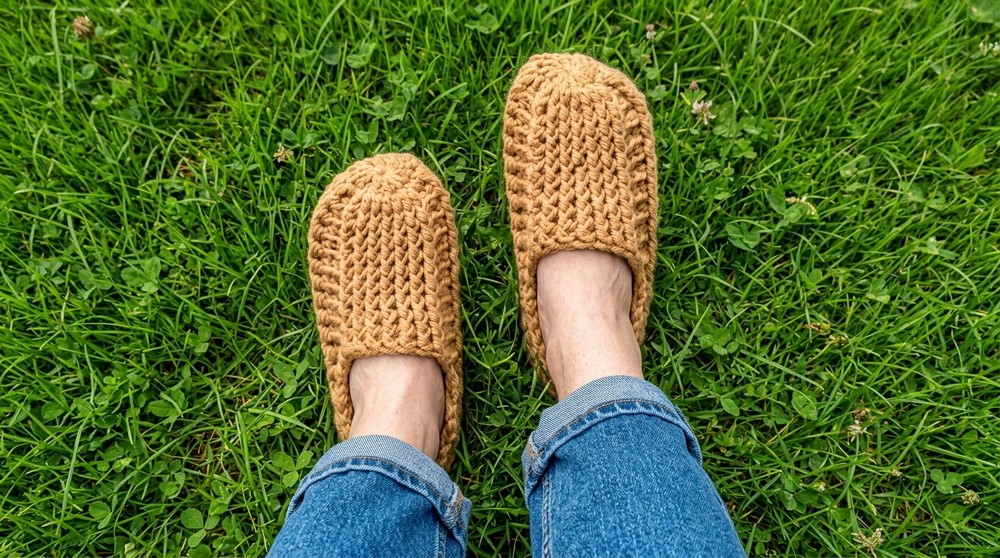
By working through this pattern, you'll learn how to shape a slipper, add detailed textures, and create a fitted design using simple decreases. Front post/back post techniques are the true highlight, teaching you skills that can be applied to many other crochet projects. These stitches add dimension and flexibility to the design, and they can easily be incorporated into blankets, hats, or even bags.
What You Can Make With These Skills
- Cozy Socks with textured patterns for colder days
- Textured blankets that add depth to your living space
- Stylish beanies or headbands with durable ribbing
- Home décor items like basket edges or pillow covers
- Giftable crochet items such as personalized slippers for family and friends
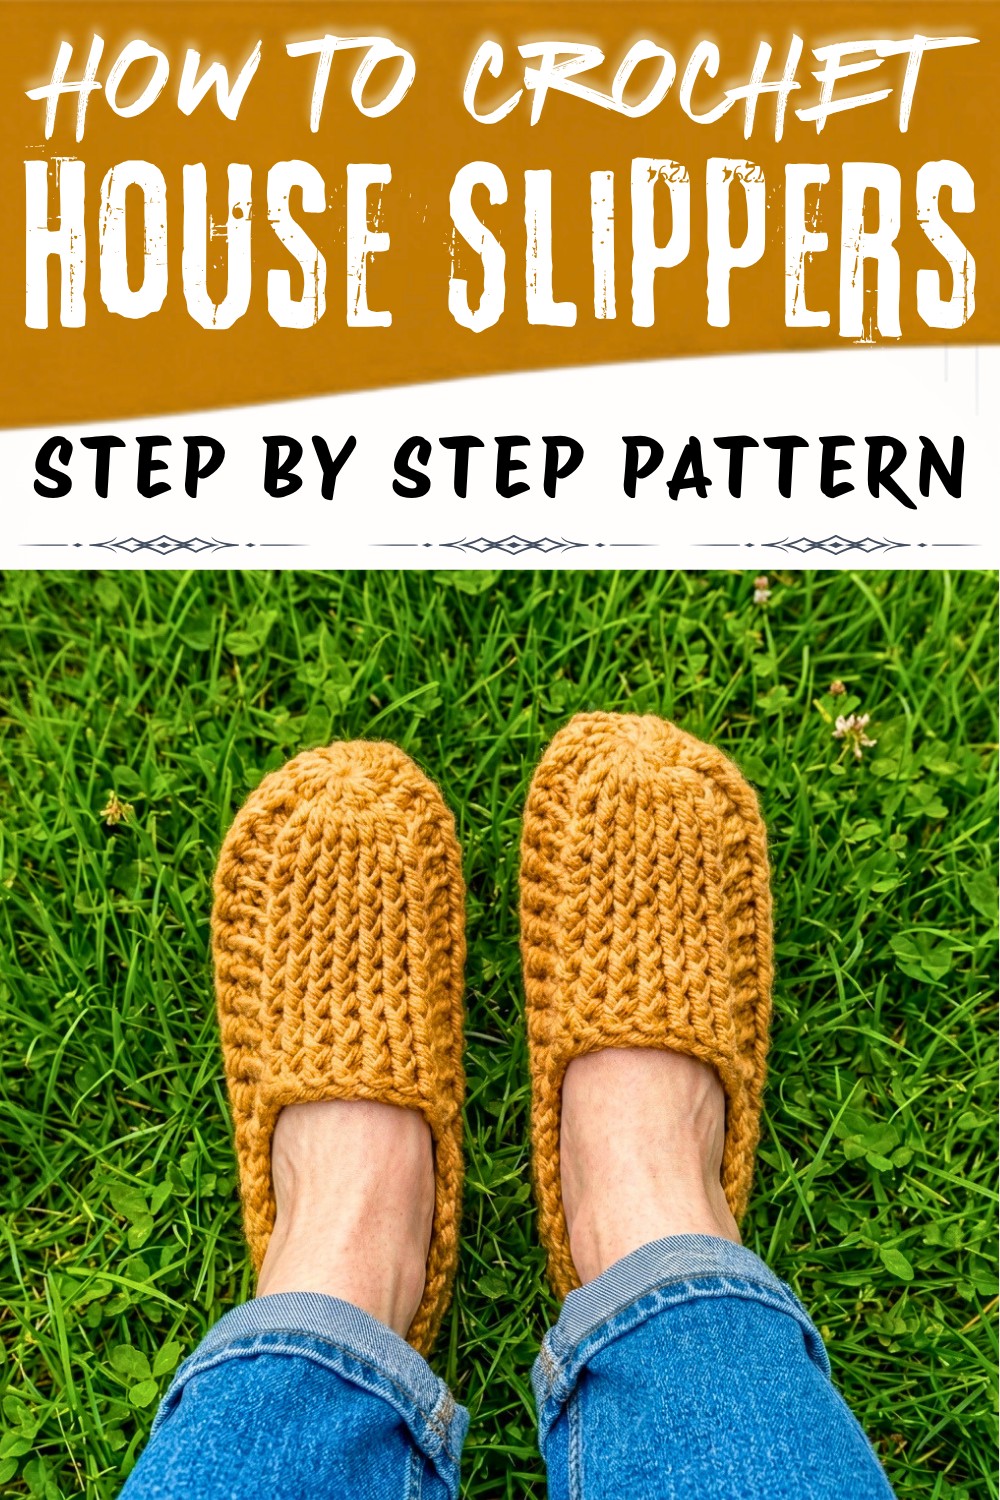
Crochet Home Slippers Pattern
Materials Needed
- Yarn: 100g yarn (100 meters) with a small percentage of wool for warmth in Camel color(or any yarn with a similar weight).
- Hook Size: 6 mm crochet hook.
- Extras:
- Scissors
- Yarn needle for sewing
- Optional Yarn Tip: If the exact yarn is unavailable, look for a similar one, preferably with some wool content for added warmth.
Gauge
- Gauge is not explicitly stated, but ensure your stitches are tight yet soft enough for comfort. If unsure, crochet a small swatch.
Finished Size
- Fits approximately a 24.4 cm (9.6 inches) foot size. Adjustments can be made by adding or reducing rows.
Special Techniques
- Magic Ring: Used to start the base of the slipper.
- Front Post Double Crochet (FPDC): Crochets around the post from the front.
- Back Post Double Crochet (BPDC): Crochets around the post from the back.
- Decreases: Two stitches are joined into one for shaping.
Customization Ideas
- Fit: Add or reduce rows in the body of the slipper to fit different foot sizes.
- Depth: Create a deeper slipper by crocheting additional rows at the top.
- Design Variation: Use multi colored yarn for a unique look or embellish with buttons or ribbons.
Pattern Instructions
Step 1: Start the Base
Row 1: Create the Magic Ring and Double Crochets
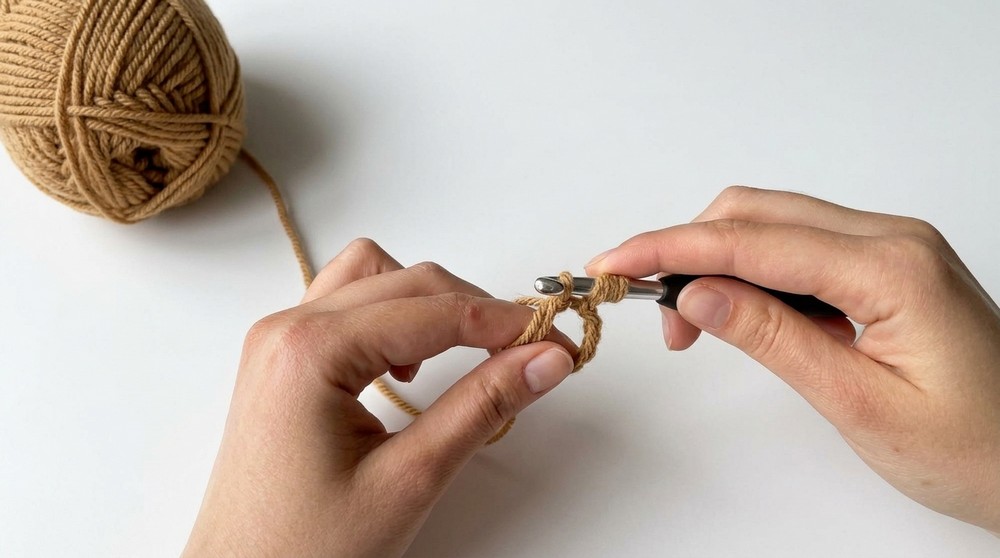
- Take your yarn and wrap the short end around your fingers to form a ring. Insert the hook under the first loop, grab the second loop, and pull through to form a magic ring.
- Make 13 double crochets into the ring.
- How to make a double crochet:
- Yarn over, insert the hook into the ring, pull up a loop (3 loops on the hook).
- Yarn over, pull through the first two loops, and then yarn over again to pull through the last two loops.
- Repeat until you have 13 double crochets in total.
- How to make a double crochet:
- Pull the short yarn end to close the ring tightly.
- Join the row into a circle using a slip stitch: Insert the hook into the first stitch, pull up the yarn, then pull it through the loop on your hook.
- Chain 1. This completes the first row.
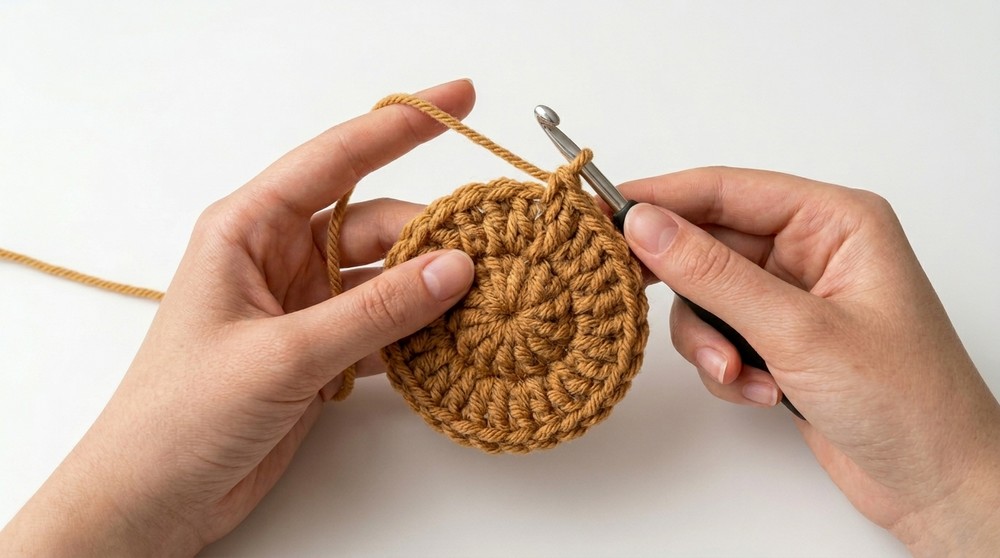
Step 2: Build the Sole
Row 2: Increase Row
- Crochet 2 double crochets in each stitch from the previous row. (You'll have 26 stitches by the end of this row.)
- Join the row with a slip stitch in the first stitch.
- Chain 1.
Step 3: Shape the Top of the Slipper
Row 3: Front Post and Back Post Double Crochets
- Crochet 7 front post double crochets (FPDC):
- Yarn over, insert the hook from the front around the post of the next stitch, pull through yarn, and finish as a regular double crochet.
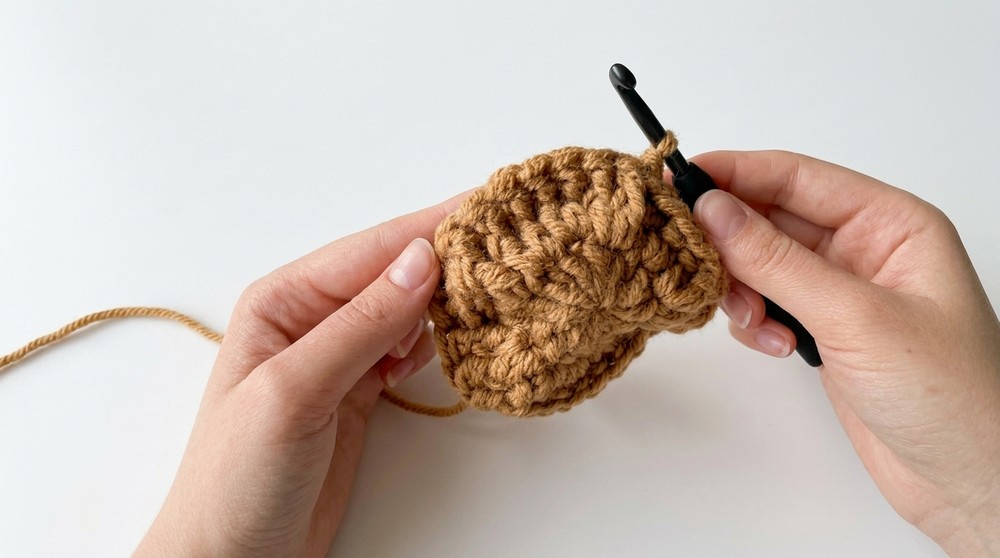
- Yarn over, insert the hook from the front around the post of the next stitch, pull through yarn, and finish as a regular double crochet.
- Next, make 3 back post double crochets (BPDC):
- Yarn over, insert the hook from the back around the post of the next stitch, pull through yarn, and finish as a regular double crochet.
- Alternate FPDC and BPDC following this order:
- 7 FPDC, 3 BPDC, 3 FPDC, 7 BPDC, 3 FPDC, 3 BPDC.
- Join the row with a slip stitch and chain 1.
Step 4: Repeat Front and Back Post Rows
- Repeat Row 3 until you've completed a total of 11 rows.
- This creates the top and base thickness of the slippers.
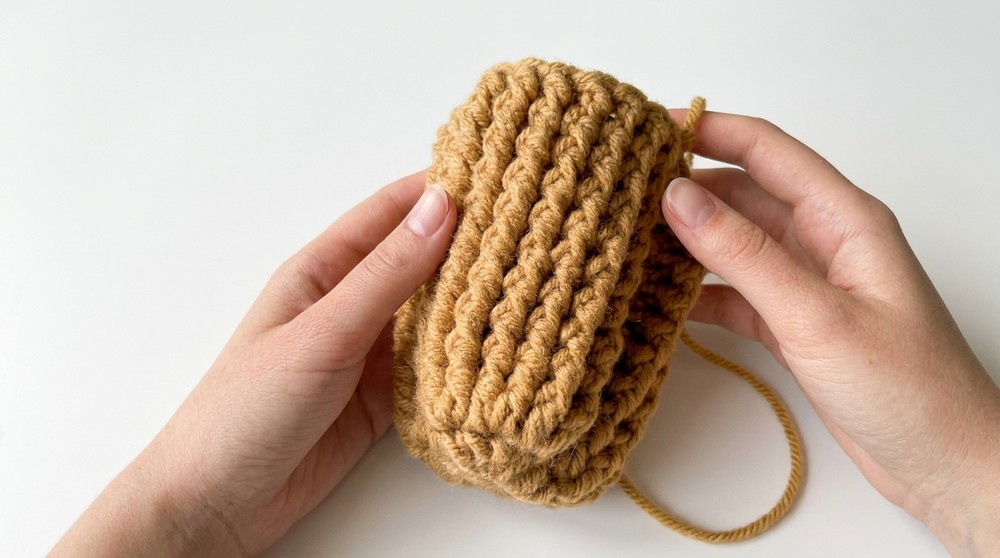
Step 5: Try On and Adjust
- At this point, try on the slipper to ensure it fits. For greater foot coverage, add extra rows using the same FPDC/BPDC pattern.
Step 6: Start Turning Rows for the Heel
Turning Rows: Work across one side of the slipper to create the heel:
- Row 12:
- Chain 1, turn your work, and start by crocheting FPDC or BPDC based on the stitch pattern.
- Stop halfway and turn the work to crochet in the opposite direction.
- Crochet 5 turning rows total using the same pattern at each turn.
Step 7: Decrease for Shaping
Decreases (Rows 13-14): Shape the slipper heel by reducing stitches:
- Crochet normally until you reach the bottom cluster of stitches.
- Make the first decrease:
- Yarn over, insert the hook into the next stitch and pull up a loop.
- Yarn over, insert your hook into the following stitch. Pull up the yarn and work through all loops on the hook.
- Continue crocheting according to the pattern and repeat decreases at the other edge.
- Remember to decrease for 2 rows.
Step 8: Sew the Heel
- Leave a yarn tail for sewing. Thread this tail onto a yarn needle.
- Fold the slipper, right side inward, and sew the heel using a neat whipstitch or a seam method of your choice.
- Reinforce the stitches by sewing back and forth.
Finishing Touches
- Weave in all loose yarn tails neatly into the stitches to hide them.
- Trim any excess yarn.
- Turn the slipper right-side out and try it on to check the fit and comfort.
Important Remarks
- Versatility: This pattern creates a unisex slipper, and there's no differentiation between left and right.
- Yarn Choice: Wool yarn helps retain warmth for cold seasons, while cotton-blend yarns are ideal for warmer months.
- Care Tip: Handwash your slippers gently to maintain their shape and softness
Conclusion
Congratulations, You've successfully crocheted cozy house slippers. Whether for personal use or gifting, this easy beginner-friendly project ensures a beautiful and practical result. Feel free to inject your creativity into variations, like changing yarn colors or embellishing with details.