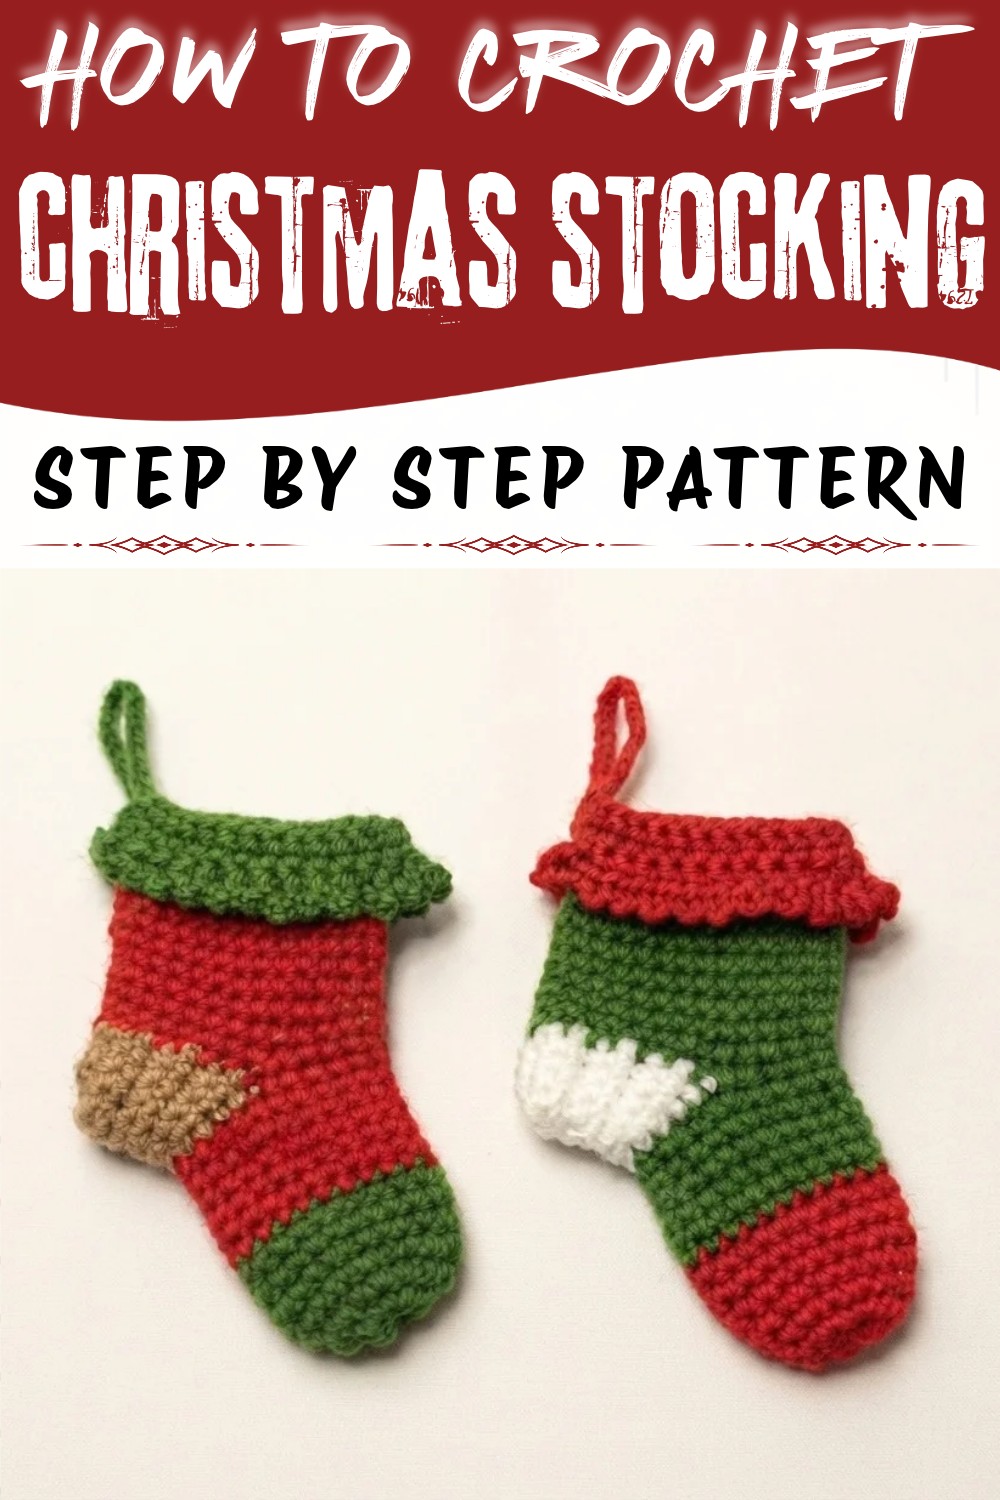
Hang festive charm on your mantel with this Crochet Christmas Stocking Free Pattern featuring a cozy shape and cheerful holiday details.
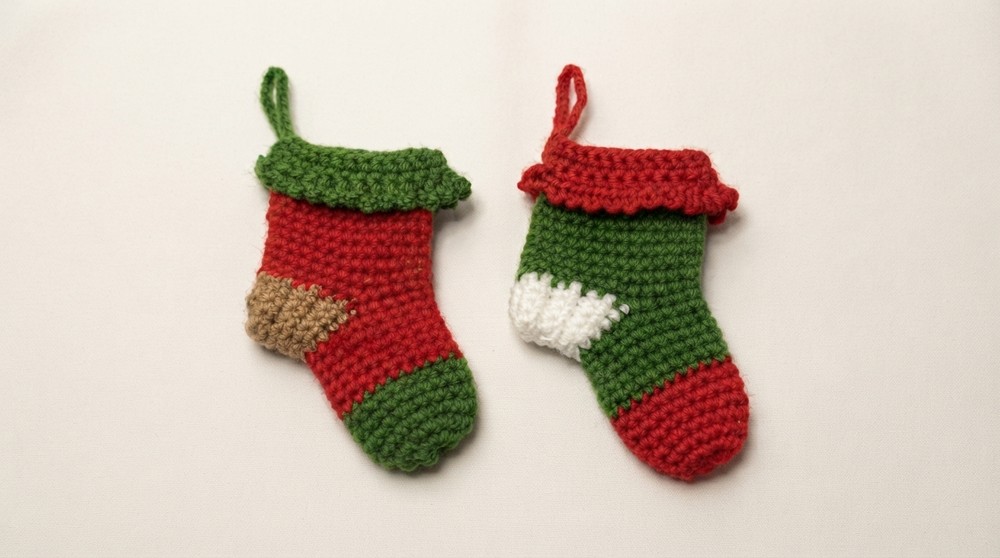
A festive Christmas mantel decorated with a bright, colorful stocking that instantly brings holiday cheer to the room. This handcrafted stocking shines with stripes of red, green, white, and brown, creating a warm and inviting feel perfect for cozy winter mornings. Its simple yet charming style makes it an ideal piece to hold small gifts or candy treats. Full credit for this beautiful Crochet Christmas Stocking Pattern goes to GÖKTÜRK AİLESİ, whose detailed tutorial and design are featured on the her YouTube channel.
Cute Crochet Christmas Stocking Free Pattern That Adds Christmas Cheer
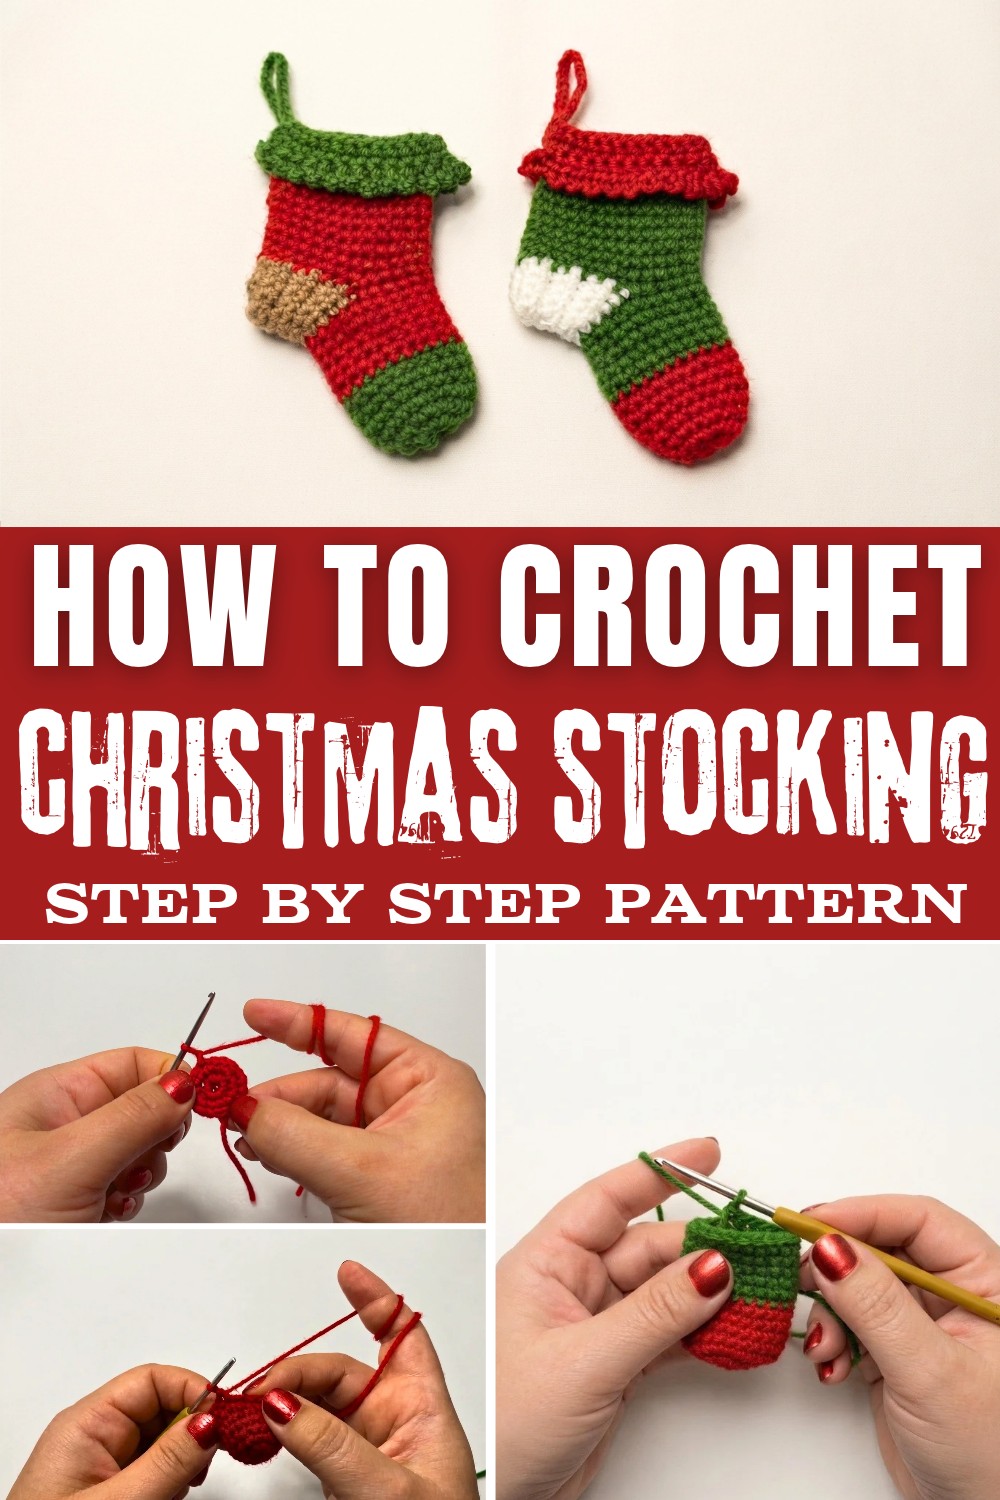
This cozy stocking offers both a classic holiday look and practical use. The clean color bands and sturdy shape make it easy to hang and enjoy year after year. Whether you're decorating your own fireplace or gifting someone a heartfelt holiday surprise, this stocking adds a personal, joyful touch to the season. If you're looking for a festive project that's easy to follow and results in a lovely decoration, this pattern is a wonderful choice. Check out the free Crochet Christmas Stocking Pattern linked above and start making your own holiday magic today.
Festive Crochet Christmas Stocking Free Pattern
This festive mini Christmas sock utilizes basic and decorative crochet techniques to achieve a colorful, classic shape suitable for holiday displays and small gifts. Step-by-step instructions highlight the progression of toe, foot, heel, leg, cuff, and decorative edges. Straightforward rounds and rows combine with color changes to give a traditional striped look, while sturdy seams and finishing steps enhance durability and neatness. The sock features a picot edge and a hanging loop for display, and guidance for attaching and securing each section ensures a tidy result that showcases the value of clean finishing and functional form.
Quick Overview Of Pattern
- Simple, round-based amigurumi construction for the toe and foot of the sock.
- Heel created with rows of single crochet and seamed for strength.
- Ankle and leg shaped by working evenly around raw edges and the front stitches of the foot.
- Colorwork easily achieved through slip stitch joins and smooth transitions.
- Upper cuff is worked flat, completed with a picot edge and folded for classic detail.
- Hanging loop is built directly into the cuff for easy display.
Notes
- Always begin color changes at the end of a slip stitch to ensure clean transitions.
- Use a stitch marker if preferred for tracking rounds, especially for the foot and ankle sections.
- Tuck in and weave yarn tails between color transitions to avoid bulk and unraveling.
- If you want to customize the size, add more rounds to the foot and leg or increase chain length for the hanging loop.
- For heel seaming, use single crochet or slip stitches; avoid tight pulls for easier folding.
- Picot decorative edge is formed by chaining and anchoring single crochets, resulting in a neat finish.
Skill Level
- Confident Beginner / Intermediate
- This project requires comfort with working in rounds, turning rows, basic seaming, color changes, and edging techniques.
Materials
- Yarn: Medium/DK weight, three or four colors (red, green, white, or brown)
- Crochet Hook: Size 2.0 mm or 2.5 mm
- Scissors
Measurements / Sizing
- Finished Size: Approx. 8-11 cm tall, 3-5 cm wide (depending on yarn and hook)
- Schematic: Elongated sock with a gathered toe, defined heel, classic cuff, and hanging loop.
Gauge
- Gauge for 10 sc in round: approx. 2-2.5 cm diameter.
- Gauge is not critical; tight stitches will give clear shape and structure.
Stitch Abbreviations
| Abbreviation | Stitch |
|---|---|
| sc | single crochet |
| inc | increase (2 sc in same st) |
| sl st | slip stitch |
| ch | chain |
| FLO | front loop only |
| MR | magic ring |
| Rnd | round |
Special Stitches
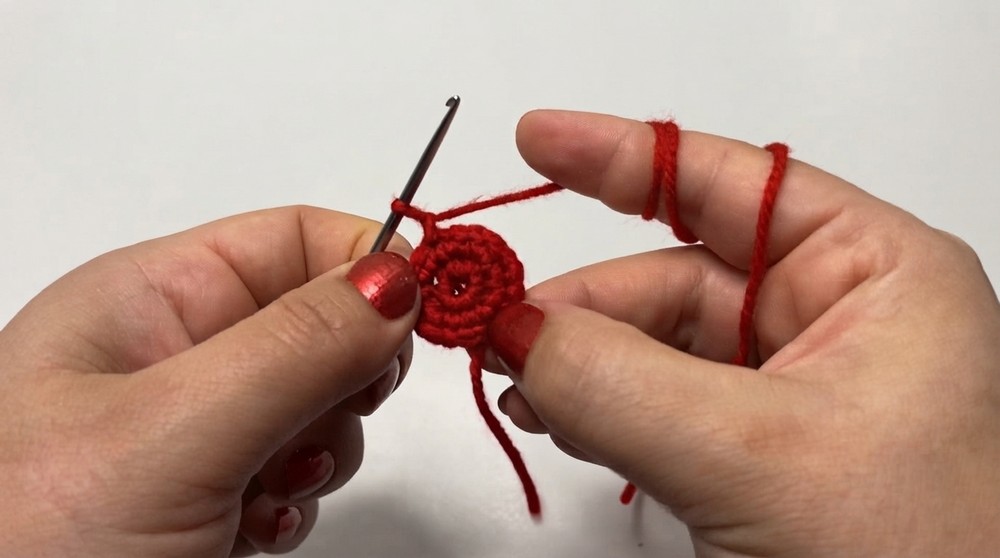
- Magic ring (MR): Wrap yarn around finger, insert hook, pull up loop, secure with chain.
- Picot edge: Chain 3, single crochet in next stitch to anchor.
- Front loop only (FLO): Insert hook only through front part of stitch; leaves line for decorative fold.
The Crochet Pattern
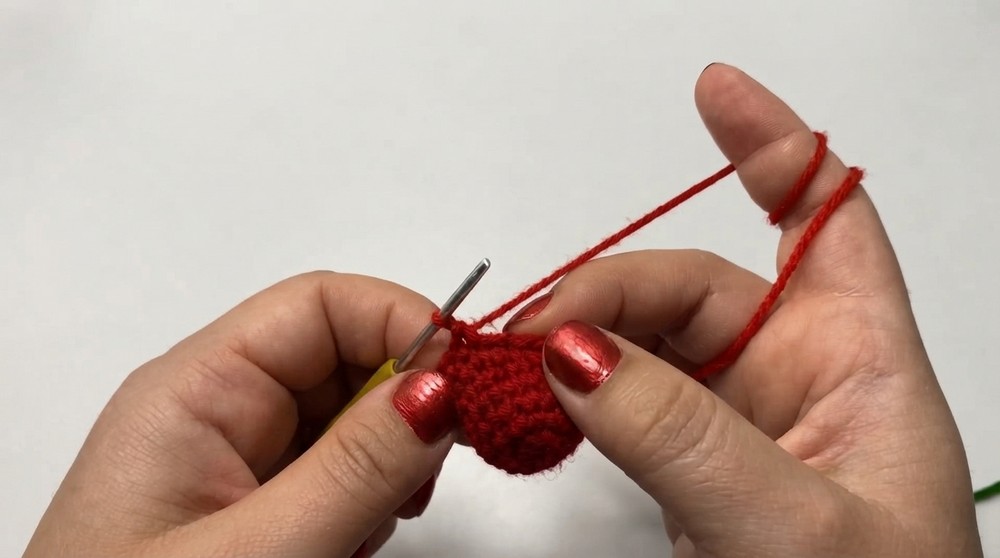
Toe (Red Yarn)
- Rnd 1: Form a magic ring, secure with 1 chain, and work 10 single crochets (sc) inside the ring. Join to first stitch with a slip stitch (sl st), pull ring tight, and chain 1. [10 sts]
- Rnd 2: Work 2 sc (inc) into every stitch around. Join with a sl st to the first stitch and chain 1. [20 sts]
- Rnds 3-6: Work 1 sc in each stitch around for 4 total rounds. No increases or decreases. On the final stitch of round 6, finish the slip stitch using green yarn to change color. Fasten off red, knot tails inside. [20 sts]
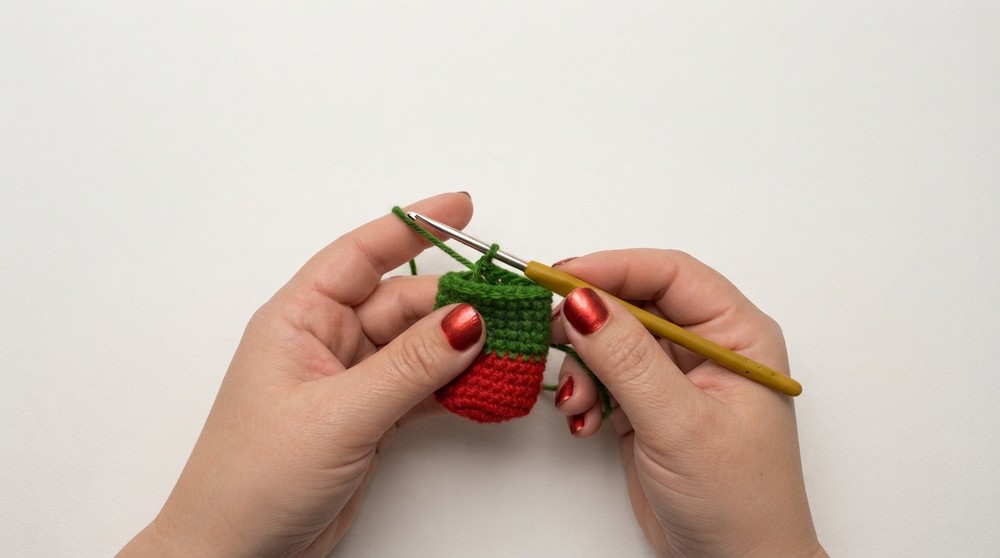
Foot (Green Yarn)
- Rnds 7-11: Work 1 sc in each stitch around for 5 total rounds. No increases/decreases. On the final stitch of round 11, slip stitch using white yarn to change color. Fasten off green, knot ends securely. [20 sts]
Heel (White Yarn)
- Row 1: Work 1 sc in each of the first 10 stitches across, leaving the remaining 10 stitches unworked. Chain 1 and turn. [10 sts]
- Rows 2-6: Work 1 sc in each of 10 stitches across. Chain 1 and turn at end of each row. Repeat for a total of 6 rows, forming a flat heel tab.
Seaming the Heel
- Turn piece inside out so tail ends are hidden.
- Fold heel tab in half, aligning edges.
- Join the two sides across the top using 5 to 6 sc or slip stitches.
- Fasten off and cut white yarn.
Ankle & Leg (Green Yarn)
- Attach green yarn with a chain to the center back of heel seam.
- Work sc evenly around the raw edges of heel rows (approx. 7 stitches per edge) and across the front foot stitches (10 stitches). [20-24 stitches depending on spacing]
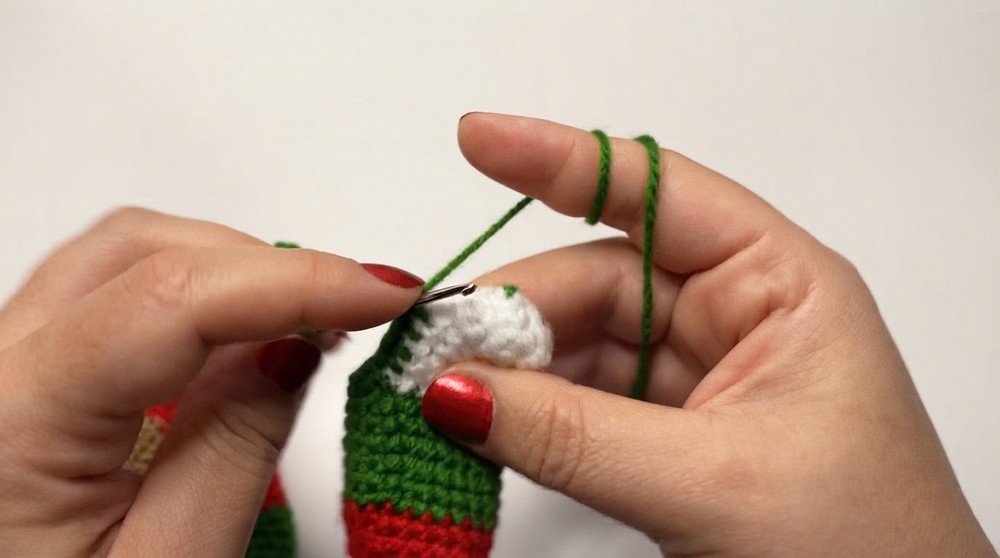
- Join with sl st to starting stitch, chain 1.
- Rnds 1-10: Work 1 sc in each stitch for 10 total rounds. On the final stitch of round 10, slip stitch using red yarn to change color.
Upper Cuff & Hanging Loop (Red Yarn)
- Loop Row: Work sc up to the back fold of stocking. For hanging loop, chain 20 (or longer), and sc into the base of same stitch to anchor. Continue sc across remaining stitches to close round.
- FLO Round: Chain 1. Work 1 sc into the front loop only (FLO) of every stitch around the top edge; leave hanging loop behind. Turn at end of round.
Body Rows
- Chain 1, turn item. Work sc using both loops across all stitches.
- Repeat for 3 flat rows back and forth along the top rim.
Picot Decorative Edge & Finishing
- Edging: Chain 3, then sc into the base of the next stitch-forms a small decorative picot.
- Continue: [Chain 3, sc in next stitch] across entire rim.
- At end, pull yarn through last loop and tighten.
Seaming the Cuff
- Fold finished cuff down over the front loop line.
- Join overlapping side edges at the top corner near the hanging loop with sl st or sc to secure and complete fold.
Final Finishing
- Cut yarn, pull through last loop, and weave in all loose ends inside stocking to finish.
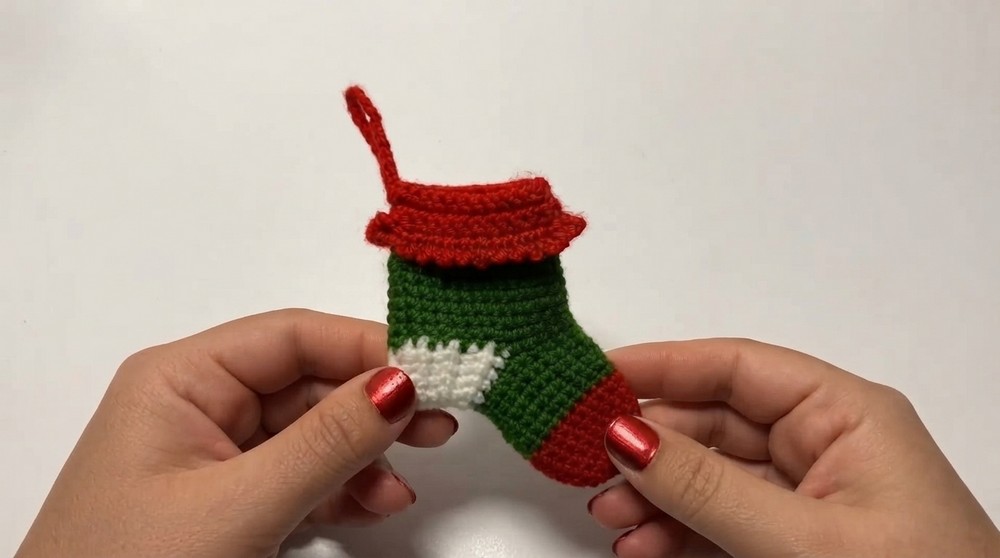
Assembly & Finished Size
- Carefully shape stocking, ensuring toe and heel are rounded and seams lie flat.
- Fold cuff down over top, keeping picot edge visible and hanging loop free.
- Finished size: Approx. 8-11 cm tall, 3-5 cm wide, depending on yarn/hook choice.
- Makes a standout ornament, small gift pouch, or element of festive décor.
Conclusion
Following a straightforward progression of rounds and rows, this mini Christmas sock achieves a cheerful, traditional look suitable for holiday use. Color changes and seamless joins produce crisp stripes, while the picot edge and sturdy hanging loop elevate the design. Attention to evenly spaced stitches, gentle seaming, and thoughtful finishing produce a well-balanced stocking ready to be displayed or filled with small surprises. This project emphasizes methodical construction, neat color transitions, and decorative details, delivering a lasting seasonal accessory that showcases the value of careful assembly and finishing for both beauty and durability. Tucking in all ends and folding the cuff over completes the classic appearance, providing a touch of festive charm for any setting.