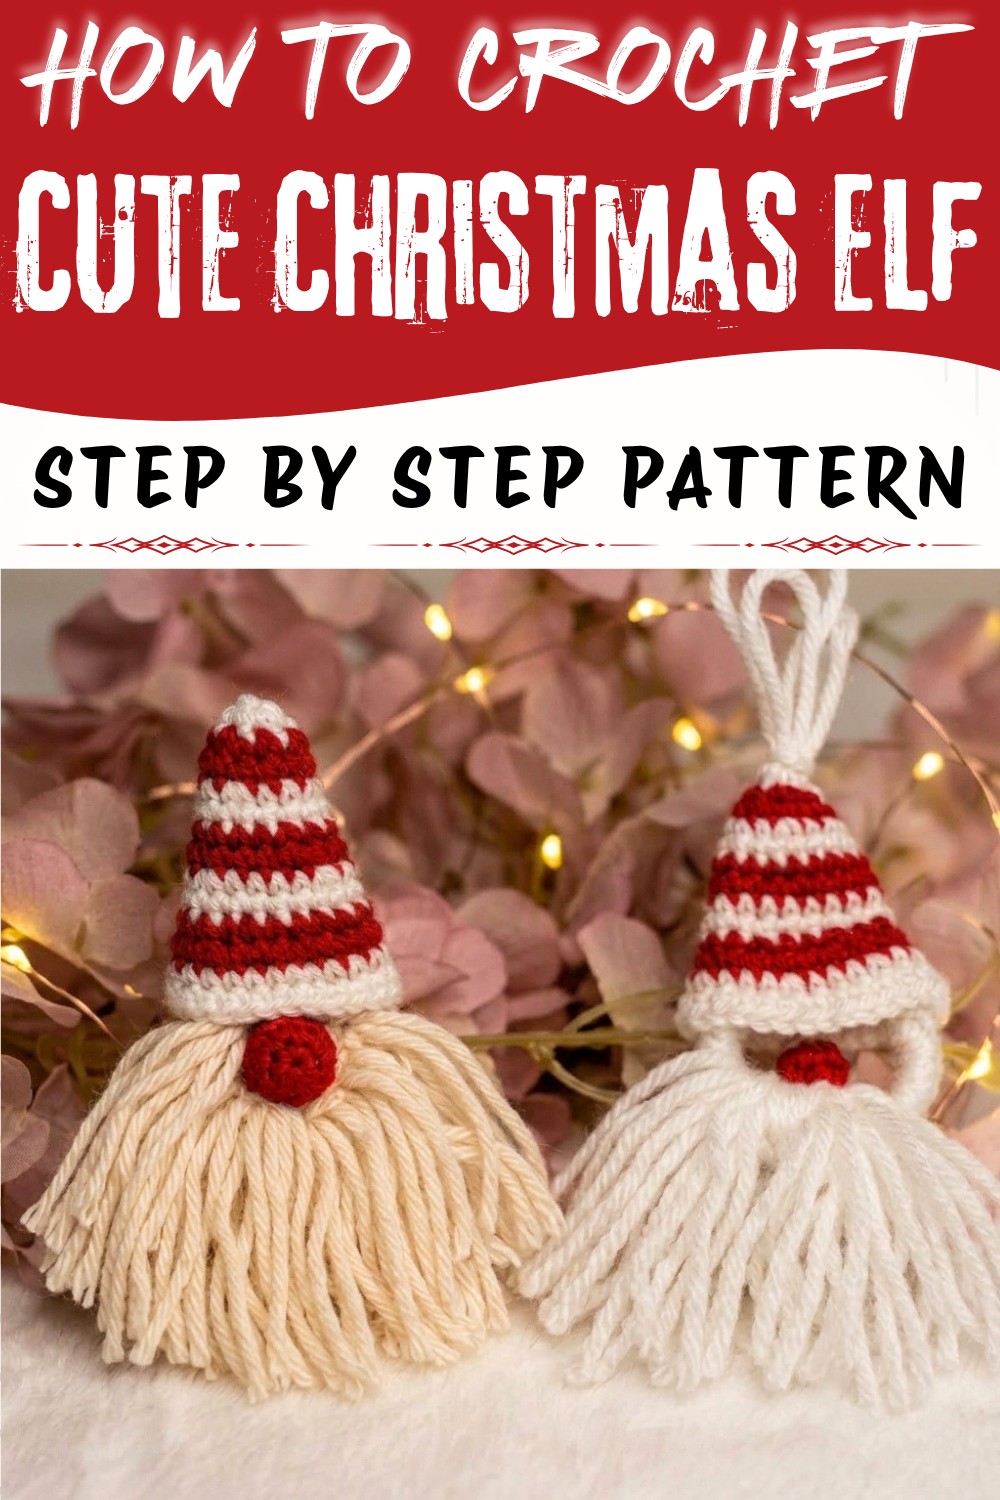
Fill your holiday display with cheer using this Crochet Christmas Elf Pattern and add a playful little character to your festive decor.
A tiny elf dressed in bright red and green, complete with a playful smile and sparkling eyes, brings instant holiday magic to any room. This charming figure adds a cheerful and cozy touch to your Christmas decorations, perfect for shelves, tabletops, or even hanging on the tree. The Crochet Christmas Elf Pattern from Nancy a crochet offers an easy way to create this festive friend, blending traditional colors with a joyful design that captures the spirit of the season.
Colorful Crochet Christmas Elf Free Pattern for Seasonal Decor
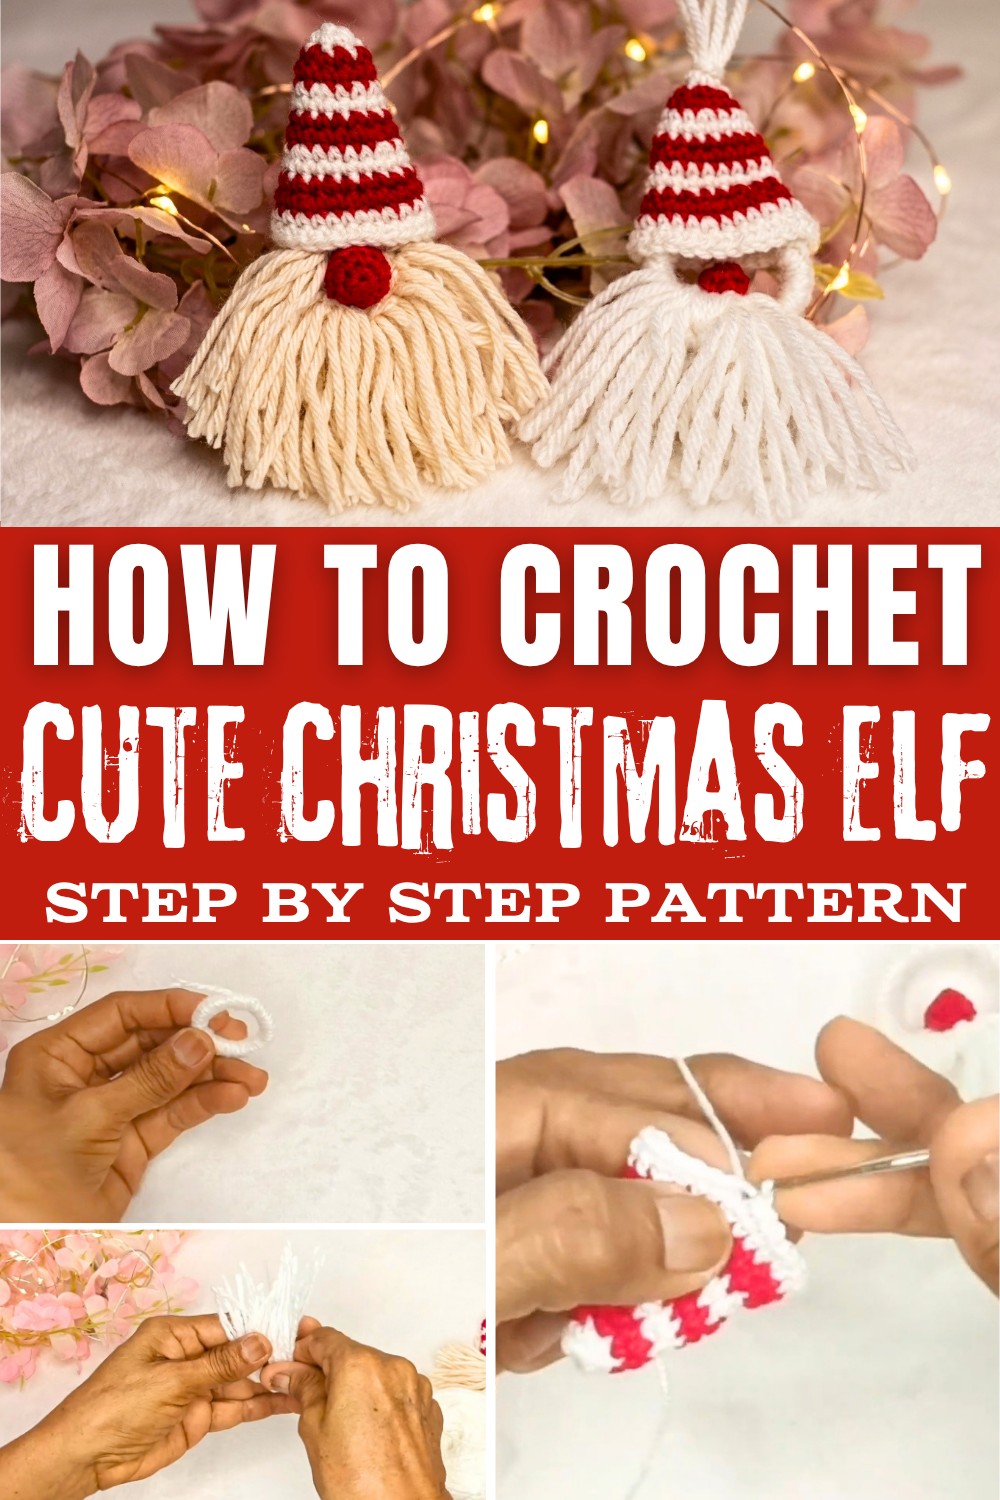
The finished elf has a striped hat, a soft fluffy beard, and rosy cheeks that make it truly lovable. Its compact size means it can brighten up any space without taking up much room. Whether used as a decoration or given as a gift, this elf adds a personal and heartwarming detail to holiday celebrations.
This pattern invites crocheters of all levels to enjoy making their own crochet elf, turning yarn into a meaningful symbol of Christmas joy. It's a fun and rewarding project that fits perfectly with festive traditions and adds a handmade touch to your holiday decor. Celebrate the season with this delightful Crochet Christmas Elf Pattern. Check out the free pattern and bring a little extra happiness to your home this Christmas.
Recycled Ring Gnome/Elf Ornament Crochet Pattern
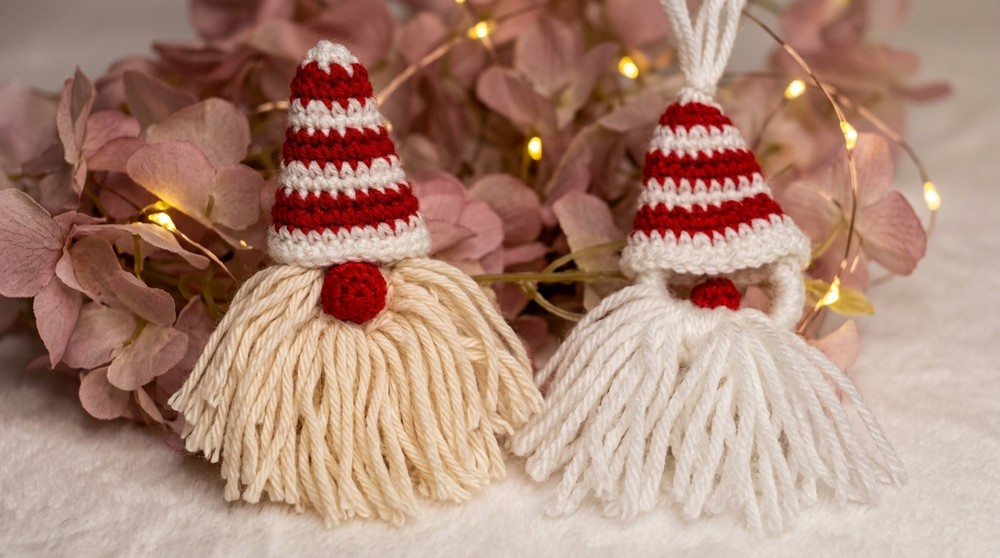
This festive gnome ornament merges sustainability and tradition, utilizing everyday materials and straightforward crochet techniques you're already familiar with. By repurposing a small plastic ring and leftover yarn in classic red and white, you add a unique touch to holiday decor while reducing waste. Each element-the fluffy beard, striped hat, and cheerful nose-draws on basic skills such as wrapping, increasing, and working in rounds. Precision isn't critical; the whimsical expression and playful beard are shaped by hand, making each ornament distinctive. The assembly steps rely on common tools like scissors, a crochet hook, and yarn needle, ensuring accessibility for crocheters at any level. Whether hanging on the tree or gifting to friends, this gnome accentuates the warmth and nostalgia of the season, encouraging the reuse of simple materials in decorative ways.
Quick Overview Of Pattern
- Cover a recycled plastic ring with thick yarn to form the base.
- Crochet a small cone for the nose using red yarn, worked in three short rounds.
- Prepare a fringe beard using loops of white yarn, then trim for shaping.
- Crochet a multi-colored, striped hat worked in the round, alternating white and red yarns for stripes.
- Assemble the ornament by sewing or gluing the beard, nose, and hat onto the covered ring.
Notes
- Adjust the yarn colors or ring size for a custom look.
- Tension need not be precise, but a firm fabric helps the ornament maintain its shape.
- If thicker yarn is unavailable, double up strands to achieve desired coverage for the base and beard.
- Secure all knots well, especially if the ornament will be handled by children.
- Yarn tails from color changes can be woven inside the hat for tidiness.
- Optional: use a mini pom-pom, tassel, or additional yarn strands on the hat tip.
Skill Level
- Advanced Beginner
- This is suitable for crocheters comfortable with basic rounds, increases, decreases, working with small pieces, and some sewing/assembly. Familiarity with color changes and reading instructions is recommended.
Materials
- Recycled Plastic Ring/Hoop: 1 small plastic ring (e.g., bottle cap ring or other sturdy ring, 4-5 cm diameter suggested)
- Yarn:
- Thick white wool/yarn (for ring cover and beard)
- Red yarn (for nose and hat)
- White yarn (for hat stripe)
- Crochet Hook: Size compatible with chosen yarn (e.g., 1.75 mm-2.5 mm)
- Other Tools: Scissors, stitch marker, yarn needle, glue or silicone (optional for assembly)
Measurements / Sizing (Optional Schematic)
- Finished Diameter: Approximately 6-8 cm (including the beard fringing)
- Hat Length: About 5-6 cm, depending on your stitch tension and yarn thickness
- Nose Diameter: 1-1.2 cm
Gauge (and Stitch Pattern if applicable)
- Gauge: Not critical
- Main Stitches: Single crochet (sc), slip stitch (sl st), increase and decrease in sc
Stitch Abbreviations
- ch - chain
- sc - single crochet
- sl st - slip stitch
- inc - increase (2 sc in one stitch)
- dec - decrease (sc two stitches together)
- st(s) - stitch(es)
Special Stitches
- Magic Ring: Begin with an adjustable loop in which you crochet the first round, then pull the ring tight.
- Increase: Work two single crochet stitches in the same base stitch.
- Decrease: Single crochet two stitches together.
The Crochet Pattern
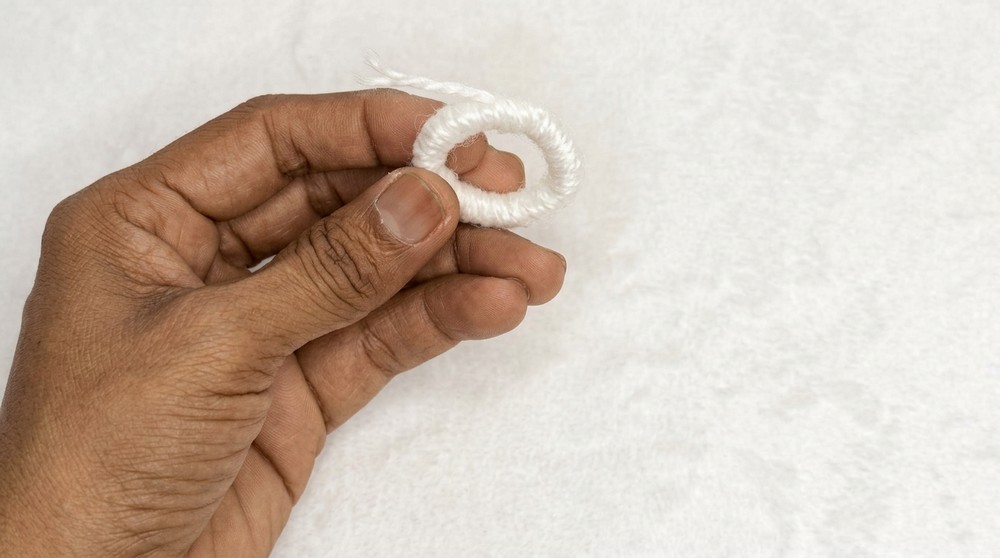
1. Covered Plastic Ring Base
- Step 1: Cut a long strand of thick white yarn/wool.
- Step 2: Wrap the yarn around the plastic ring tightly, ensuring there are no gaps. Give it two full turns around the ring for density.
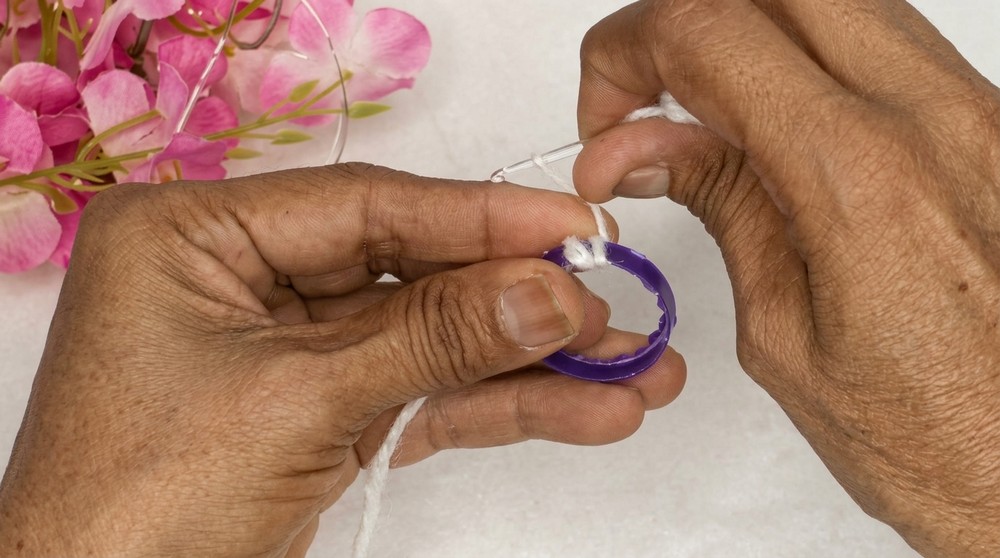
- Step 3: Once the ring is completely covered, bring the yarn tail through the wrapped yarn with a yarn needle.
- Step 4: Weave in the end securely-tuck it neatly out of sight inside the covered ring.
- Step 5: Trim off any excess yarn.
2. Carrot Nose
- Round 1: Using red yarn, make a magic ring.
- Work 5 sc into the ring.
- Pull the loop tight and join with a sl st (5 sts total).
- Round 2: Ch 1 (place a stitch marker).
- Work [1 sc, 1 inc] around.
- This sequence means you work 1 sc in the next stitch, 2 sc in the following stitch, repeated until you complete the round (7 sts).
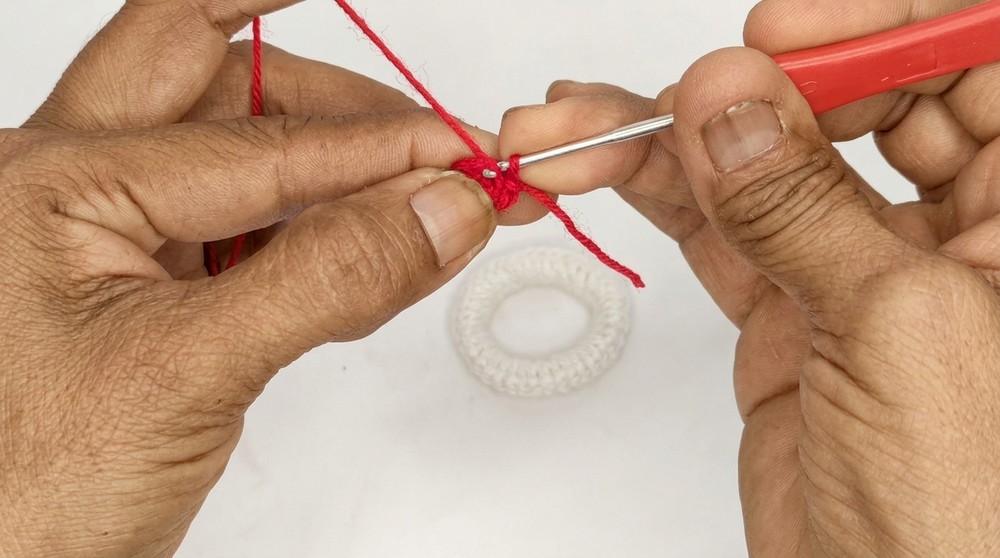
- Round 3: Work 1 sc and 1 decrease (dec) around, finishing with 5 sc.
- This round reduces the nose's size-[1 sc, 1 dec].
- Finishing: Fasten off, leaving a long tail for sewing. There's no need to stuff the nose.
3. Beard Strand Fringe
- Step 1: Wrap thick white yarn around three fingers (or around a piece of cardboard approx. 8-9 cm wide) 15 times to create loops.
- Step 2: Cut a separate long strand of white yarn.
- Step 3: Thread this strand through the center of the loops, pulling tightly, and tie several secure knots to bind the loops together.
- Step 4: Cut all the bottom loops open, creating a thick fringe.
- Step 5: Trim the bottom edge of the beard with scissors to achieve an even and rounded or pointed shape.
4. Striped Gnome/Elf Hat
- Round 1: With white yarn, make a magic ring.
- Work 6 sc into the ring, pull tightly, and join with a sl st (6 sts).
- Round 2: Ch 1 (place a stitch marker).
- Work 1 sc in each stitch around (6 sts).
- On the last stitch, change to red yarn.
- Round 3 (Red):
- Work 1 increase in every stitch around (12 sc).
- Round 4 (Red):
- Work 1 sc in each stitch around (12 sts). On last stitch, switch to white yarn.
- Round 5 (White):
- Work [1 sc, 1 inc] around (that is, 1 sc in one stitch, 2 sc in the next)-repeat.
- You'll have 18 sts at the end of this round.
- Round 6 (White):
- Work 1 sc in each stitch around (18 sts). Change to red yarn on the last stitch.
- Rounds 7-10:
- Continue in the established pattern:
- Alternate colors every 2 rounds (e.g., red for two, then white for two, and so forth).
- Always maintain the established stitch count.
- Continue in the established pattern:
- Round 11 (Red):
- Work [2 sc, 1 inc] around (24 sts).
- Round 12 (Red):
- Work 1 sc in each stitch around (24 sts). Switch to white yarn on the last stitch.
- Round 13 (White):
- Work [3 sc, 1 inc] around, ending with 30 sts.
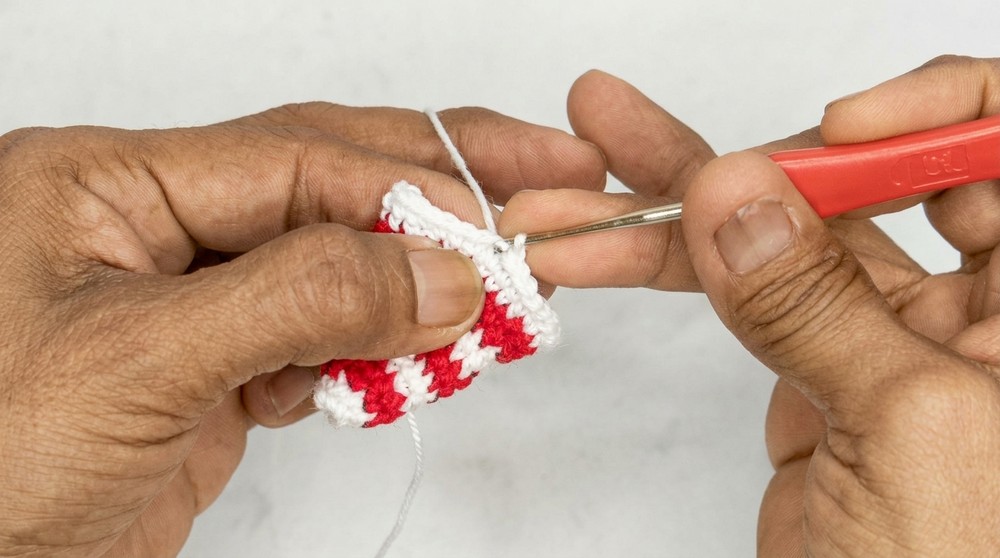
- Edging:
- Ch 1, sl st in next stitch.
- Repeat [ch 1, sl st] around the brim for a neat, decorative edge.
- Fasten off and weave in ends.
Optional: Attach a small pom-pom or a bundle of yarn strands to the tip of the hat.
Assembly & Finished Size
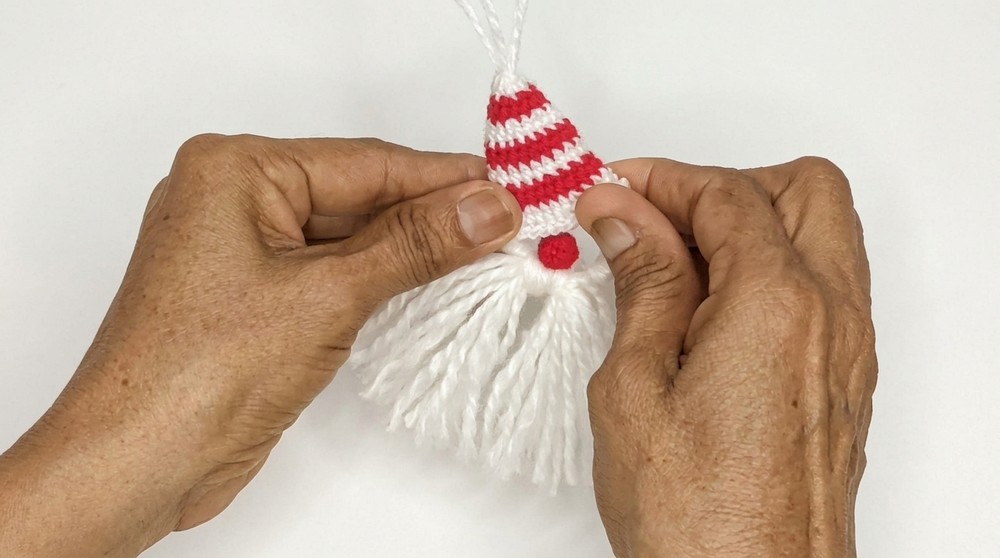
- Attach Beard:
- Place the beard along the bottom curve of the covered ring and sew or use glue/silicone to secure it firmly.
- Attach Nose:
- Position the carrot nose directly above the beard, slightly inside the ring for a 3D effect. Sew or glue securely.
- Attach Hat:
- Place the hat over the top of the ring, overlapping the top of the nose slightly. Adjust the tilt or position as preferred. Sew or glue into place.
- Optional Finishes:
- Add decorative details such as a hat pom-pom, or embroider eyes if desired.
- Expected Dimensions:
- Finished ornament measures about 7-8 cm in diameter and 12-13 cm in full length, though this will vary with yarn and ring size.
Conclusion and Ending Words
Holiday décor takes on renewed character with this gnome ornament, combining familiar stitches and recycled elements for an eco-conscious display. Simple assembly methods ensure that even beginners can produce results they can proudly share. Using thick yarn for the beard and hat, plus a pop of red for the nose, the finished piece captures the jovial spirit associated with festive traditions. The project's construction encourages experimentation with color and embellishment, allowing for variations such as pom-poms or alternative hat styles. Practical aspects-like weaving in ends and securing each piece-promote durability so the ornament lasts year after year. With minimal supplies and easy-to-follow assembly, this approach highlights both creativity and resourcefulness, bringing a cheerful presence to homes throughout the holidays.