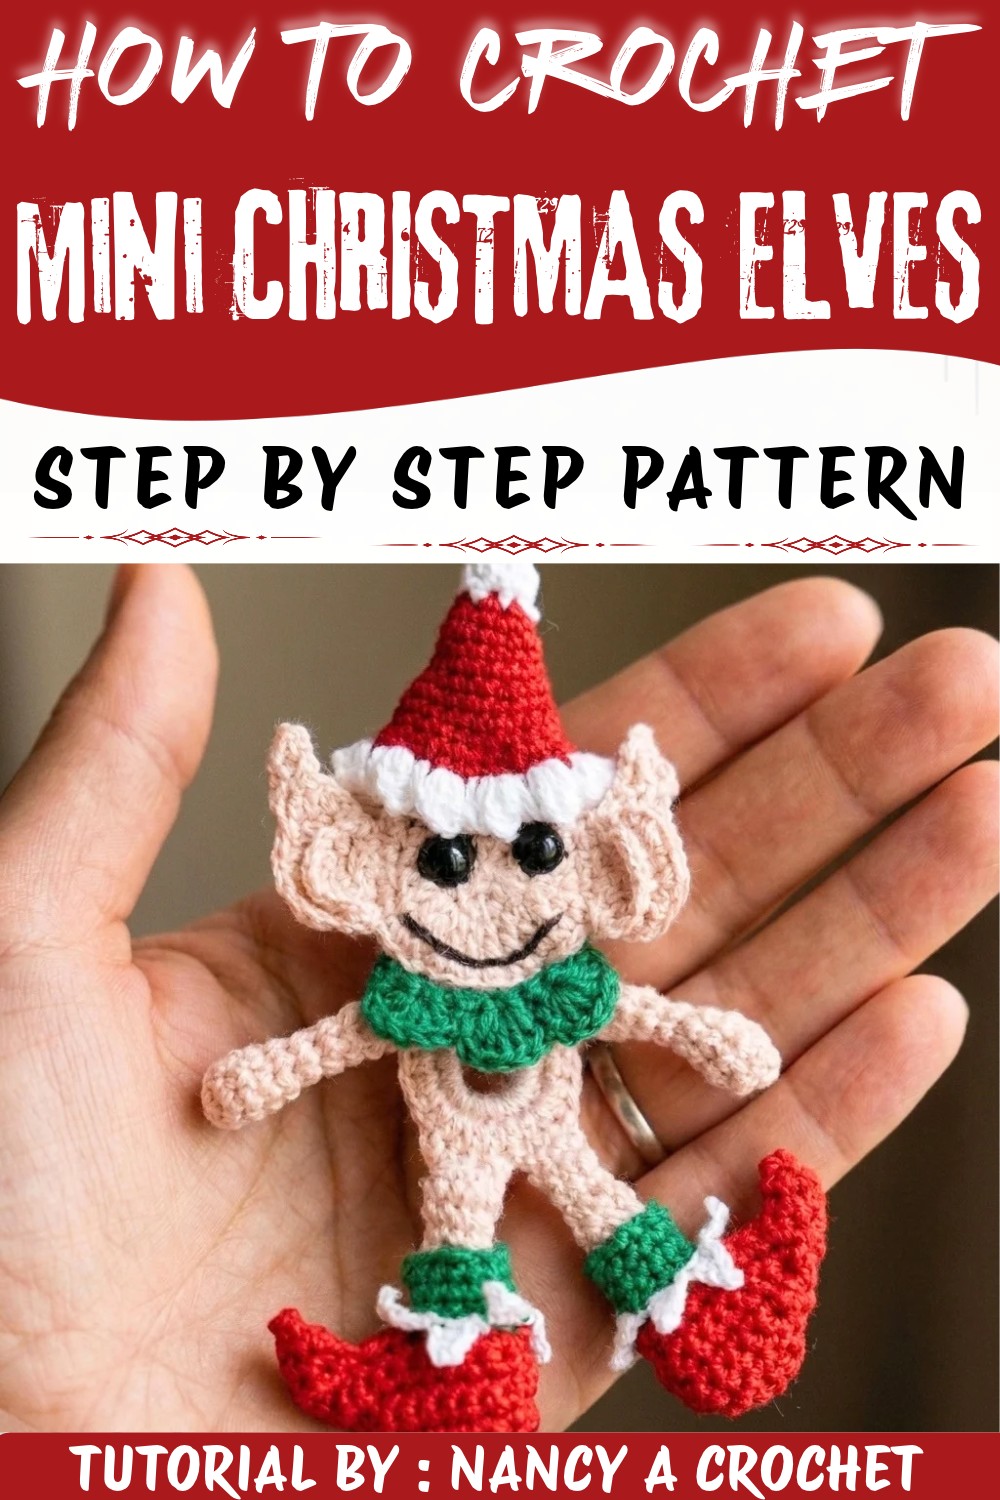
Cheer up your holiday home with the Crochet Christmas Elf Free Pattern, featuring tiny helper with mini hat for festive decorations.
There's something truly magical about bringing a whimsical holiday figure to life with yarn and a hook. When you finish a single, charming elf that's ready to perch on a mantel or peek out from under the Christmas tree, it adds a cozy, joyful touch to your seasonal décor. This delightful project, featuring enchanting elf-like details and an irresistibly cheerful look, is both charming and heartwarming. The Crochet Christmas Elves Pattern - generously shared by Nancy from the YouTube channel Nancy a crochet - offers a simple way to create your own merry helper, perfect for gifting or keeping as a festive companion.
Merry Crochet Christmas Elf Free Pattern With Cute Hats
This little elf is a joy to hold, thanks to its soft, textured yarn and padded shape that gives it a cuddly, handmade feel. Its petite size makes it wonderfully versatile as an ornament, a tabletop decoration, or a unique stocking stuffer. The design highlights classic Christmas colors, but there's plenty of room to experiment - swap out the hat hues or mix yarn types to suit your style. The cheerful face and pointed hat come together smoothly, making this project approachable for crocheters who have some basic experience and want to try a fun seasonal project.
Following this pattern, you'll get comfortable with shaping techniques and small-scale details that really bring amigurumi to life. It's a rewarding way to refine your skills in creating 3D forms, play with color changes, and add personality through facial features. Whether you're making this elf for yourself or as a gift, you'll enjoy how this tiny friend brightens up the holiday vibe.
If you're ready to add some joyful stitching to your winter days, be sure to check out the free pattern linked in the original tutorial by Nancy. It's a cozy, creative way to welcome holiday cheer.
Whimsical Crochet Christmas Elves Free Pattern
Festive decorations hold a special place in seasonal traditions, and this delightful crochet elf is a charming addition to any home or holiday display. Meticulously built from fine cotton yarn in classic Christmas shades, this elf features whimsical pointed ears, a cheerful face, sturdy little boots, and an iconic elf hat. While construction is based on detailed component work, each step rewards patience and attention with a thoroughly delightful finished piece ready to grace mantels, trees, or be gifted as a handmade treasure. Careful shaping, color changes, and secure assembly result in an ornament both robust and full of character, ensuring it remains a highlight of holiday décor for years to come.
Quick Overview Of Pattern
- Crochet two shaped ears, mirroring for left and right.
- Build the body and torso using rounds and strategic increases.
- Sculpt a separate head, joining securely to the torso.
- Directly shape arms and legs with careful attention to symmetry and neat finish.
- Add all facial features (ears, eyes, nose, mouth) with embroidery and small motifs.
- Construct and attach boots in two layers per foot.
- Add a green trim for the elf's collar/body outfit.
- Finish with a classic elf hat, adding a decorative border and optional embellishments.
- Assemble all pieces for a cohesive, poseable holiday mascot.
Notes
- Use fine yarn held single or double to achieve the desired firmness.
- Stuff lightly as you assemble, but ensure stitches are tight to prevent fiberfill from showing.
- Pay special attention to directions for mirroring ears, as subtle details add character.
- Seam all parts securely to withstand handling.
- Keep color changes neat; weave in tails meticulously as you go for a professional result.
- Small bells or ribbons can be added for extra holiday cheer.

Skill Level
Intermediate
Requires familiarity with basic amigurumi techniques, working in the round, increases/decreases, color changes, and assembling small pieces.
Materials
- Fine cotton yarn (0.5 mm or 1 mm thickness):
- Green
- Red
- White
- Skin color / Beige
- Crochet hooks: 1.0 mm & 1.7 mm
- Tapestry/yarn needle
- Scissors
- Synthetic stuffing/fiberfill
- Small bells or ribbons (optional)
Measurements / Sizing
- Height of finished elf: Approximately 12-15 cm (varies with yarn thickness and stuffing density)
- Ear length: ~2 cm
- Hat height: ~4 cm
- Boot sole: ~2.5 cm
Gauge (and Stitch Pattern)
- Gauge is not critical; however, a firm fabric is essential for structure.
- Primary stitches: Magic ring, single crochet (sc), half double crochet (hdc), double crochet (dc), slip stitch (sl st), chain (ch), increase (inc), decrease (dec), crab stitch.
Stitch Abbreviations
- ch - chain
- sc - single crochet
- hdc - half double crochet
- dc - double crochet
- sl st - slip stitch
- inc - increase (2 sts in one)
- dec - decrease (sc2tog or hdc2tog)
- st/sts - stitch/stitches
- MR - magic ring
Special Stitches
- Magic Ring (MR): Begin with an adjustable loop, working the initial round into it and pulling tight.
- Crab Stitch: Reverse single crochet; insert hook from back to front and work backward for a decorative border.
- Invisible Decrease: Insert hook into next two stitches, yarn over, pull through both, yarn over, and pull through three loops.
The Crochet Pattern
Ears (Make 2: Right and Left)
- Base Ring:
- Using thin yarn and a small hook, MR, ch 2, 5 hdc in ring, pull tight, ch 2.
- Round 1 (Increases):
- Turn; inc in each st across; finish with 10 hdc.
- Round 2 (Shaping):
- Ch 2, turn.
- Alternate hdc and inc; for right ear, work in back loops only; for left ear, work in front loops only.
- At the tip, 2 sl st; continue sl st along the contour for shaping.
- Base Edge & Assembly:
- Ch 2, 4 hdc, ch 2, turn, decrease across to shape base.

-
- Reattach yarn to unworked edge, work a round of hdc along outer contour. Fold and shape ear; weave in all ends.
Body and Torso
- Base Ring:
- With thicker yarn and 1.7 mm hook, MR, 6 sc into ring.
- On one side, 12 sc, then 12 sc on the other-24 sts. Sl st to join.
- Round 1 (Shaping):
- Ch 1.
- Upper section: Alternate sc and inc;
- Lower section: Use hdc and inc.
- 36 sts total; sl st to close.
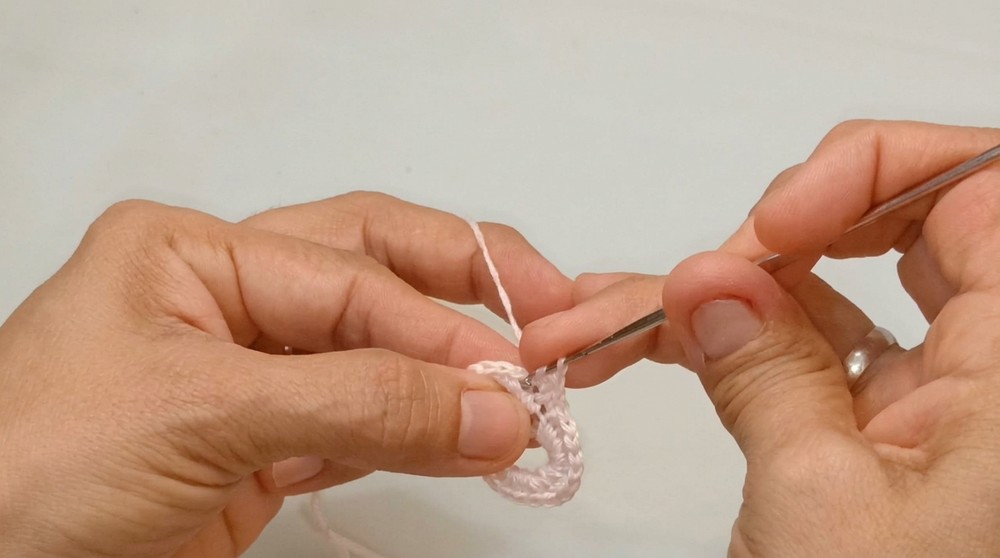
Head
- Base Ring:
- Ch 3, join with sl st, 12 dc in ring (ch counts as dc). Sl st to close.
- Round 1 (Increases):
- Ch 2, 12 inc (2 dc in each st)-24 dc; sl st.
- Round 2 (Expansion):
- Ch 1, alternate hdc, inc all around-finish with 42 sts total.
- Sl st, position and attach head to torso with sl st.
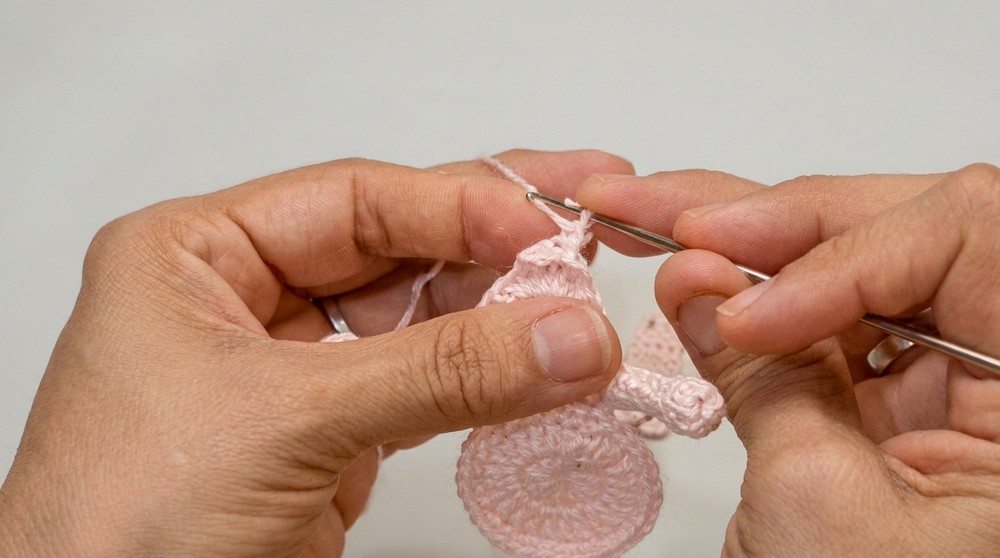
Arms (Make 2)
- Attachment & Length:
- Attach yarn at body, pick up 3 sts (in front loops).
- Turn and continue for 7 rounds (hdc in each).
- Shaping & Closing:
- Work 1 hdc & 1 inc-9 sts total.
- 1 round regular; finally, 1 hdc & 1 dec around-fill lightly, close, sew.
Legs/Boot Base (Make 2)
- Base:
- Turn body upside down, pick up 8 sts at lower base; ch 1.
- Work 8 hdc in front loops around continuously for 6 rounds. Repeat for second leg.
Facial Features & Assembly
- Ears: Attach to each side of the head.
- Eyes: MR, 5 hdc, close, and secure to face.
- Nose: Embroider a small nose with satin stitches until plump and centered.
- Mouth: Using red or black, stitch a smiling mouth.
Boots (Make 4 pieces, 2 per boot)
- Sole & Upper:
- Ch 5, turn, 5 hdc; ch 1, turn.
- Add increases at edges in following rows to build up to 10 sts.
- Create 4 flat pieces.

- Joining & Assembly:
- Pair up pieces, sl st around contour, leave an opening.
- Turn right side out, attach to leg base with sl st, decrease to 3 sts to close top. Embellish with bell/ribbon if desired.
Body Outfit Trim (Green)
- Collar/Trim:
- Attach green at lower edge of torso.
- Work sc in each st around.
- Next, sc in back loops only for first round.
- Work 4 rounds; optionally, add decorative border with crab or cluster stitches.
Hat
- Tip/Top Section:
- MR, 5 hdc in ring, close.
- Inc in each st-10 hdc.
- Work even to Round 4.
- Widening:
- Rejoin red, inc in each st to 10 sts.
- (Next round) 1 hdc and 1 inc around-15 sts; work 3 rounds straight.
- (Following round) 2 hdc and 1 inc-20 sts; work 3 rounds straight.
- Widen more with another increase if needed.
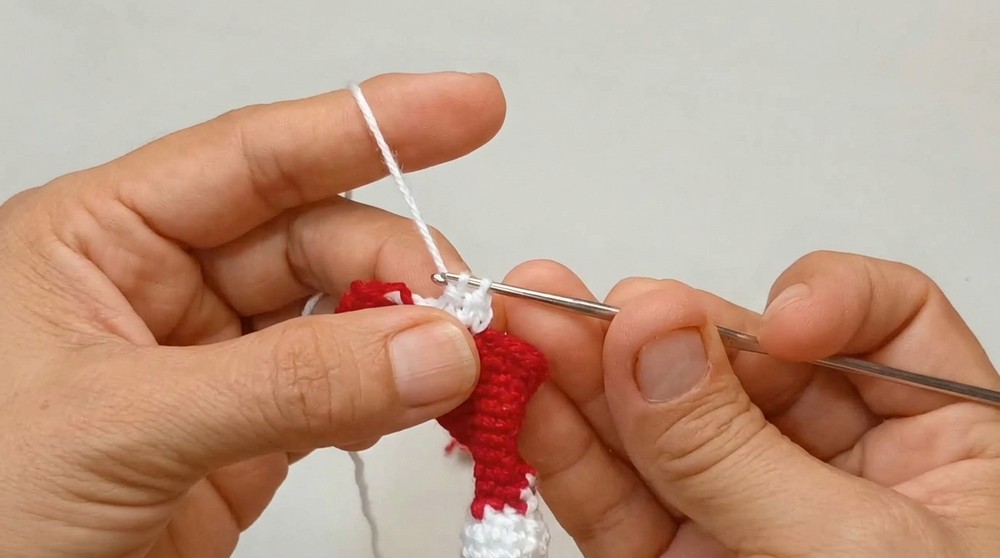
- Hat Border:
- Add clusters/crab stitch around lower edge.
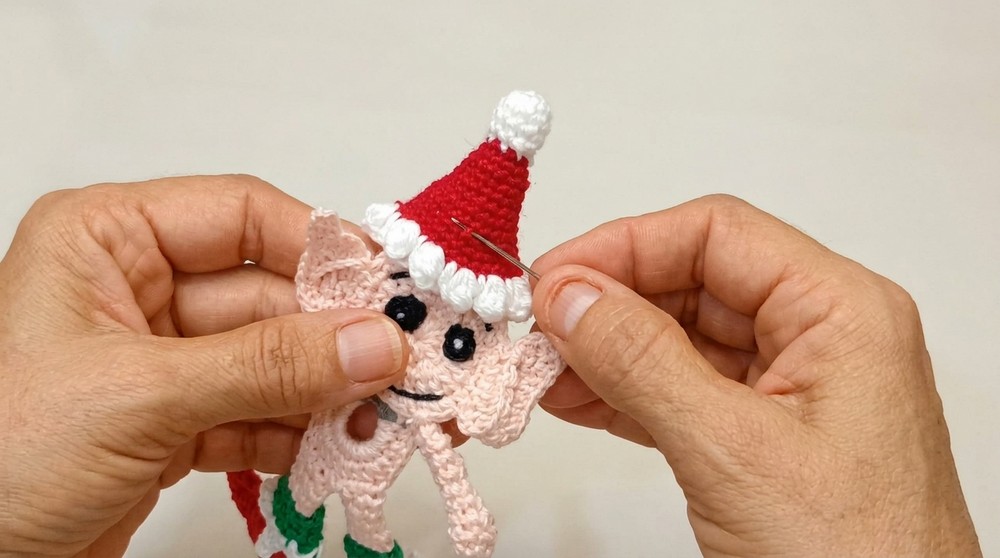
- Final Assembly:
- Place and sew hat onto elf's head. Sew or glue on ribbons, bows, or bells.
Assembly & Finished Size
- Firmly sew all pieces: ears, arms, and legs in symmetrical alignment.
- Place and sew facial features securely.
- Slip boots onto feet and stitch in place if desired.
- Add a dash of stuffing to the body or hat if needed.
- Attach hat to head and decorate as you desire.

Final elf stands about 12-15 cm tall, with classic Christmas flair and lasting holiday appeal.
Conclusion and Ending Words
Thoughtful shaping, assembly, and finishing lend this crochet elf both durability and charm, giving it a standout presence among festive ornaments. Time dedicated to careful joining, precise embroidery, and tidy edges ensures a result that delights from every angle. With purposeful structure and personality in each stitched detail, this decorative elf easily claims its spot in cherished holiday displays-ready to evoke smiles and offer cheer throughout many celebrations to come. Make it the centerpiece of a seasonal gathering or a memorable handmade gift; its crafted character promises to brighten the heart of the holidays with enduring style.