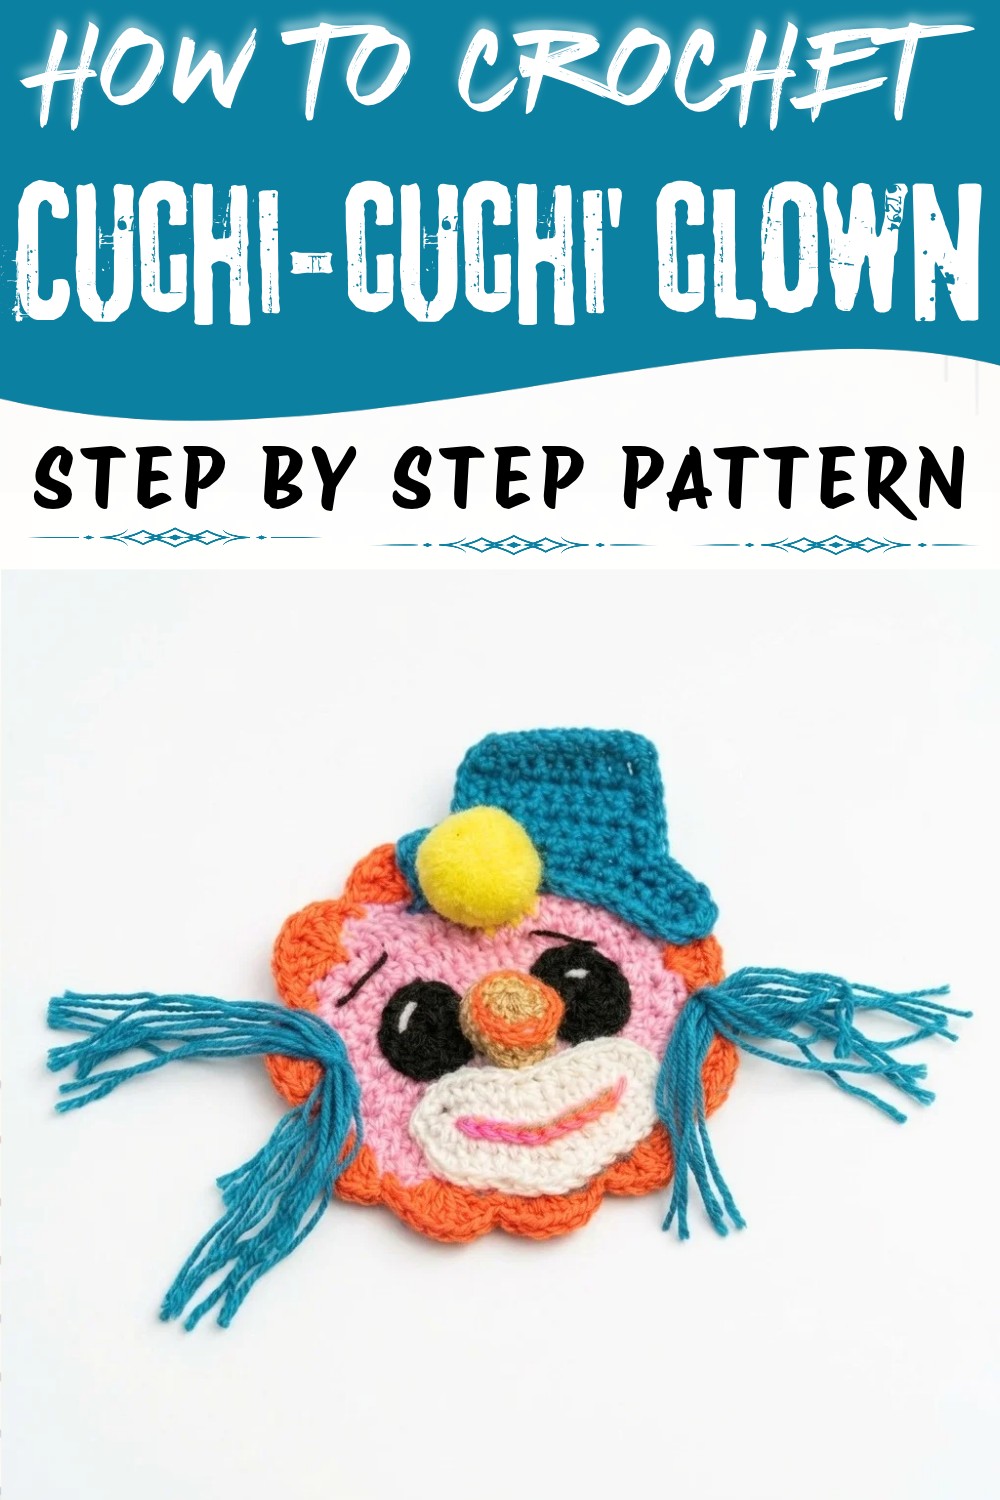
Stitch a playful character with this Crochet Cuchi-Cuchi' Clown Free Pattern and use cheerful colors to give a toy shelf a lively, fun touch.
Handmade items that bring a touch of whimsy and joy into living spaces often become treasured keepsakes. One such delightful creation is a charming little clown figure made entirely from yarn. This playful piece is known as the Crochet Cuchi-Cuchi' Clown Pattern, expertly designed and shared by Nancy a Crochet on her YouTube channel. Full credit is due to Nancy for providing a clear tutorial and creative design that invites everyone to bring this unique character to life. The Crochet Cuchi-Cuchi' Clown Pattern is a small, colorful yarn figure that adds cheer and creativity to any collection.
Fun Crochet Cuchi-Cuchi' Clown Free Pattern That Kids Will Love
This clown figure is more than just a decorative object; it offers widespread gifting potential, perfect for children or anyone who enjoys vibrant décor. It can brighten up nursery shelves, desks, or any cozy corner of the home, making it a joyful accent piece. The soft, textured yarn construction gives it a comforting, tactile quality, ideal for holding or displaying. Its rounded face, topped with a miniature hat and accented by little pom-poms on the ears, creates a lovable shape that easily catches the eye.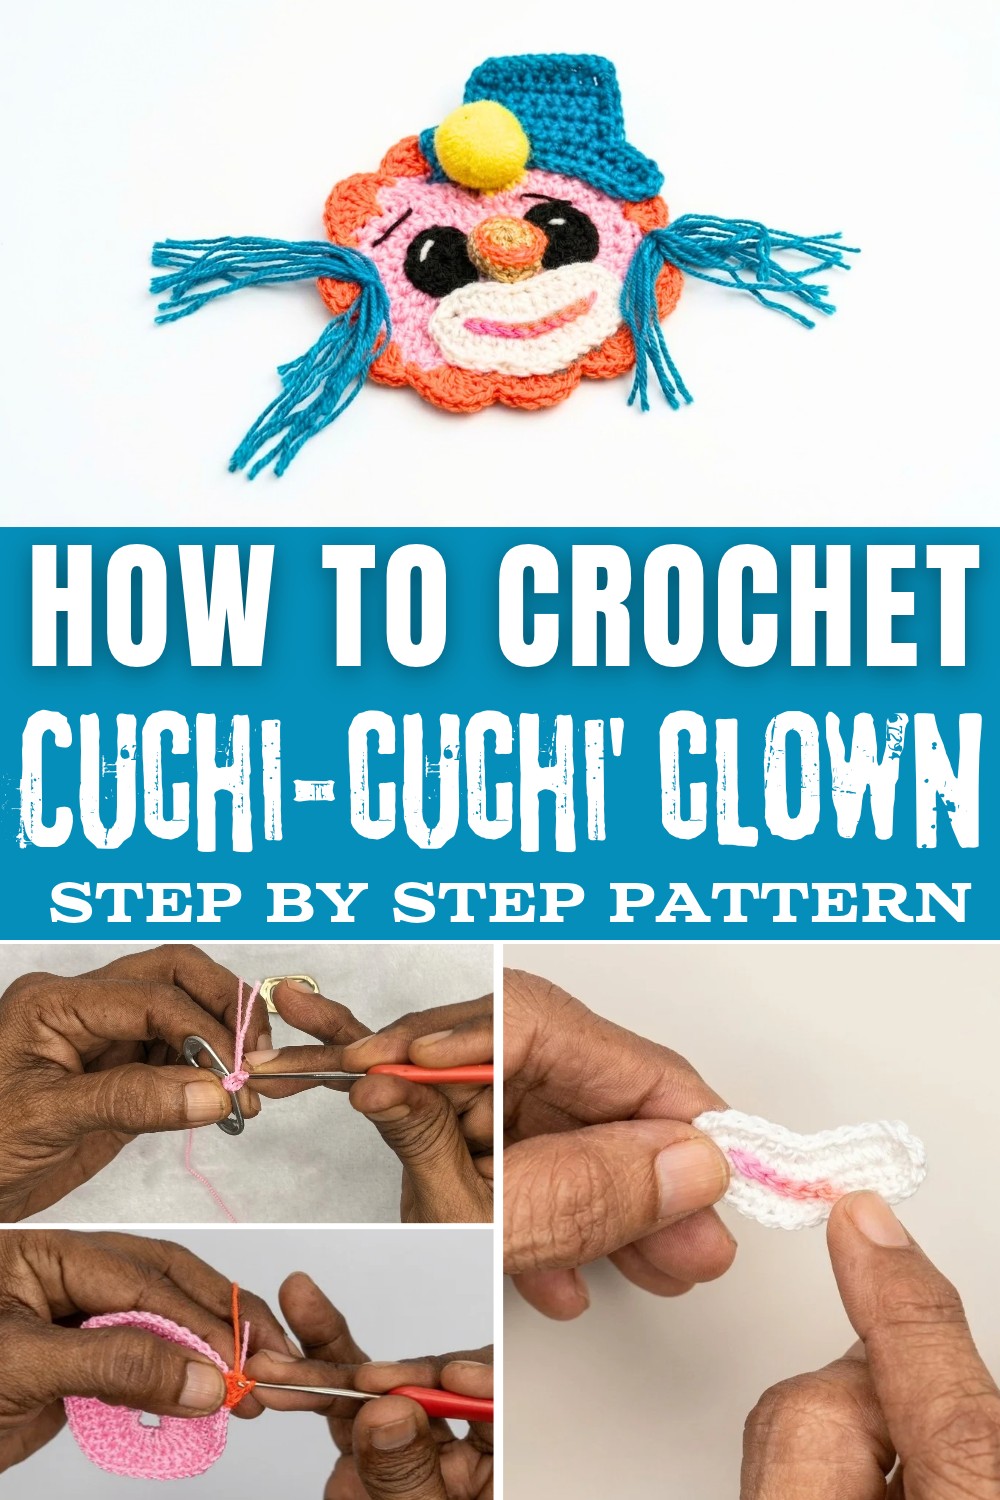
Distinctive features of this design include expressive eyes that bring the clown to life, a curving smile resembling a heart, and a carefully shaped hat that lends character. The bright color palette combined with detailed stitch work presents a sophisticated yet approachable style. Overall, the Crochet Cuchi-Cuchi' Clown Pattern stands out for its blend of playful charm and cozy texture, making it a perfect project for anyone looking to add a touch of warmth and personality to their space.
Adorable Crochet Cuchi-Cuchi' Clown Free Pattern
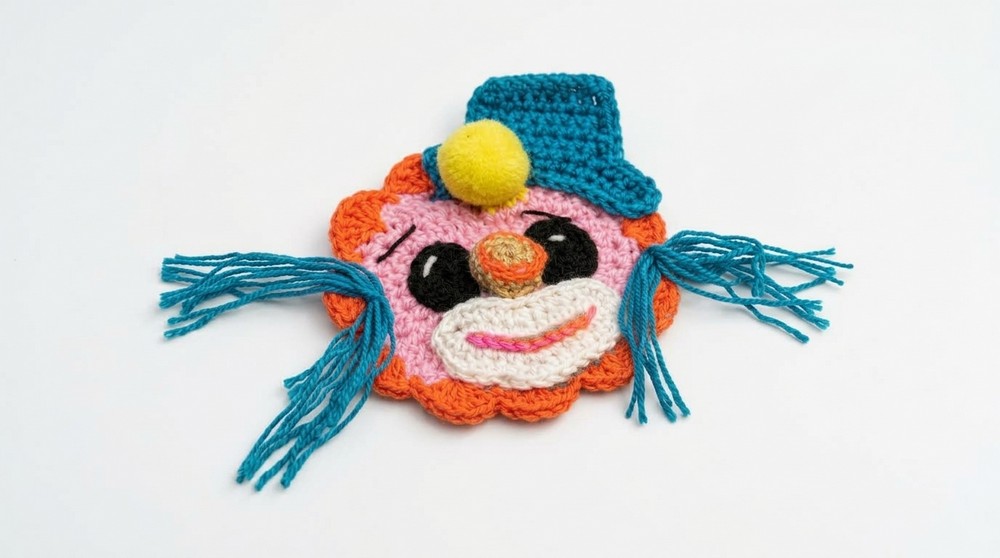
This cheerful clown uses recycled can tabs as a creative foundation, transforming yarn scraps into a playful decorative piece. The step-by-step process covers every detail of assembling the clown-from building the sturdy body and outlining with color, to crafting the whimsical face and accessories. Each section is directly guided by the tutorial, ensuring an accurate, enjoyable result.
Quick Overview Of Pattern
- Cover a clean can tab with half double crochets to form the foundation.
- Add an outline round and shape the body using slip stitches and increases.
- Attach a colorful, curved outer edging using elongated stitches in a skip-stitch pattern.
- Make a shaped clown hat, adding a pom-pom as the finishing touch.
- Crochet separate components for the eyes, nose, and mouth, emphasizing facial features.
- Assemble and stitch everything securely; create and attach yarn pom-poms for "ears".
- Weave in ends and tidy details for a professional look.
Notes
- Select bright, contrasting colors for a lively appearance.
- Small can tabs (aluminum or plastic) can be used interchangeably.
- Safety is key: smooth or file sharp edges of can tabs before using.
- Use a strong thread or yarn for joining and attaching pieces.
- Adjust the size of each part by simply increasing or decreasing stitches as needed.
- All loose ends should be woven in for durability and neatness.
Skill Level
Confident Beginner - Intermediate:
Requires basic crochet skills including chaining, single crochet, half double crochet, slip stitch, basic increases, magic ring, and sewing small parts.
Materials
- Can tabs (can rings): 1 per clown
- Yarn: Leftover scraps in bright colors, small amounts of black, white, red/orange (for facial details)
- Crochet hook: Size suitable for your chosen yarn (typically 2.0-3.5 mm)
- Tapestry needle: For sewing and weaving in ends
- Scissors
- Hot glue gun or glue: For attaching pom-poms and embellishments
- Small buttons/beads: (Optional, for eyes or buttons)
- Stitch markers: (Optional, for nose increases)
Measurements / Sizing
- Finished Clown: Approximately 8-10 cm tall (3-4 inches), depending on yarn and hook size.
- Can Tab Base: Standard soft drink can tab, approx. 3 cm long.
Gauge
Gauge is not critical for this project. Ensure stitches are snugly placed for a solid covering and proportional fit of features.
Stitch Abbreviations
| Abbreviation | Meaning |
|---|---|
| ch | chain |
| sl st | slip stitch |
| sc | single crochet |
| hdc | half double crochet |
| dc | double crochet |
| MR | magic ring |
| inc | increase (2 stitches in same base stitch) |
Special Stitches
- Magic Ring (MR): Create a loop, insert hook, work the specified number of stitches in the loop, pull tight to close.
- Elongated Double Crochet: Yarn over, insert in stitch, pull up a loop, yarn over, pull through one, then yarn over, pull through two, yarn over, pull through two.
- Back Loop Only (BLO): Work stitch only into the back loop for raised edge.
The Crochet Pattern
Base and Body Foundation
Round 1: Covering the Can Tab
- Insert hook through main opening of a clean can tab.
- Make a slip knot and pull up a loop to begin.
- Ch 1 to secure.
- Working into the largest opening, work 15 hdc evenly distributed around the inner edge.
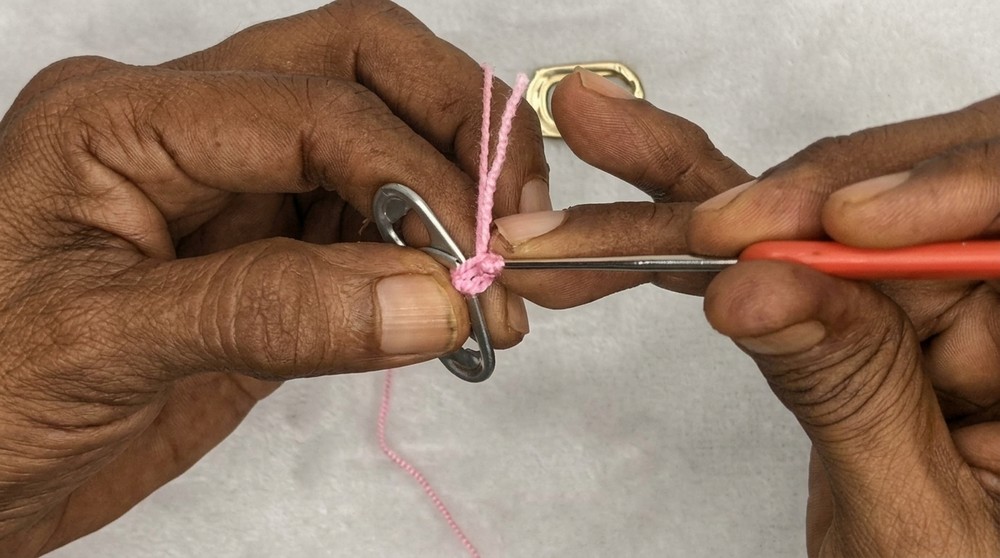
- Turn, work 3 hdc into the upper smaller space.
- Proceed to the opposite long edge, work 15 hdc around.
- Work the remaining 3 hdc into the final space to complete the loop.
- Sl st to join at the beginning.
Round 2: Outlining the Body
- Ch 1 or 2.
- Working in every base hdc, make 1 hdc into each stitch around.
- On each tip (corners or end points), work 2 hdc to form gentle curves at the base structure.
- Continue working around to maintain a total of approx. 36 stitches.
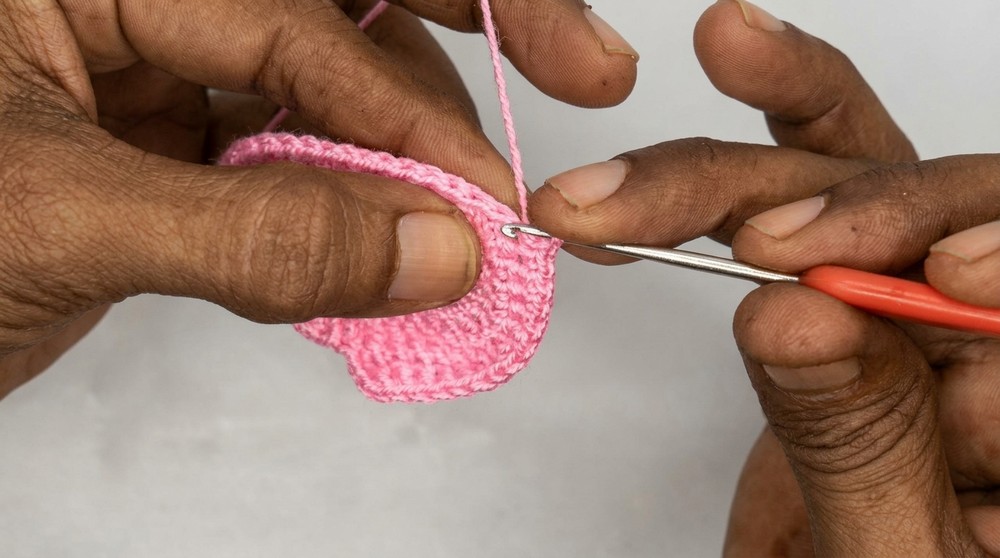
- Sl st to join at end of round.
Body Outline and Outer Edging
Color Change & Edging
- Fasten off the base color by chaining and cutting yarn; weave in end inside.
- Attach new outline color (e.g., orange or pink) by pulling through a slip knot.
- Ch 3 to start.
Round 3: Outline with Elongated Stitches
- Skip one stitch, then in the next, work 1 elongated dc (yarn over, pull up, pull through one, two, two).
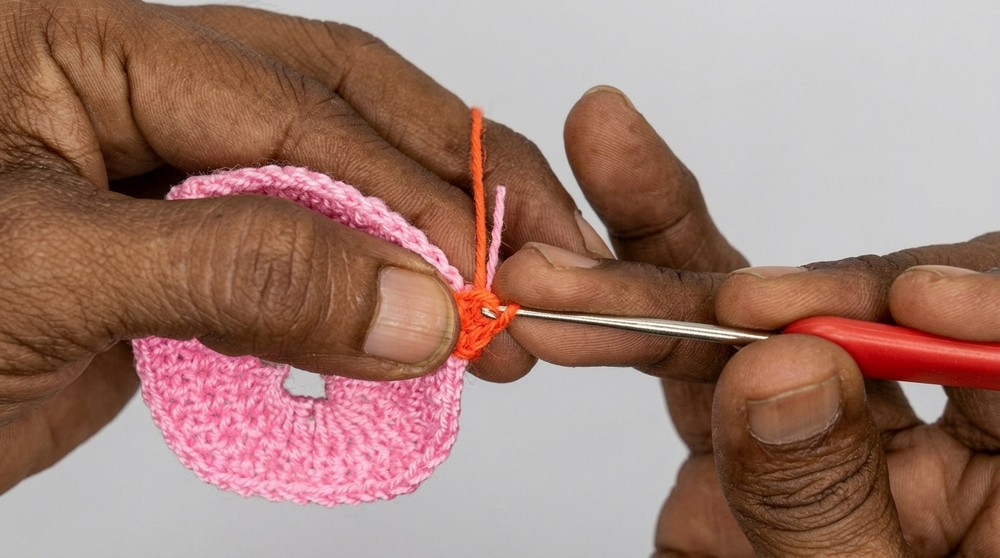
- Repeat: Skip one, elongated dc in next, working all around the body edge.
- On each corner or tip, work a sc inc (2 sc in one stitch) to form points.
- Sl st to join and finish the outline.
- Cut yarn and weave in the end.
Making the Clown's Hat
Hat Foundation
- With chosen hat color, make a slip knot.
- Ch 14-15 for desired width.
Hat Rows
- Row 1: Work sc in each chain (14).
- Row 2: Ch 1, turn, sl st at row end to shape.
- Rows 3-8: Repeat as follows:
- Ch 1, work sc in 8 center sts, leaving 3 at each end unworked for shaping the slant.
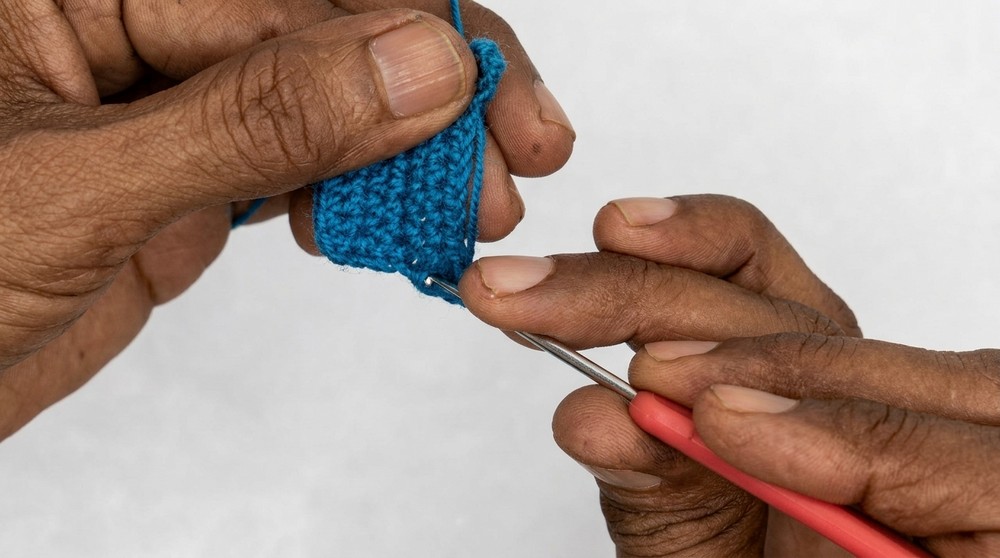
- Continue for a total of 6 rows (or as needed for desired hat height).
- At crown tip and brim, work an inc (2 sc in one st) at curve points for shaping.
Finish and Edge
- At the brim, sl st along edge for clean finish.
- Fasten off and hide ends inside.
- Attach a small yarn pom-pom (made with hot glue) to hat tip.
Making the Eyes
Each Eye
- With white yarn, make a magic ring.
- Ch 1-2 to start.
- Work 10 hdc into the MR.
- Pull ring tight to close.
- Optionally, embroider a small white "sparkle" spot on each eye for personality.
Assembly
- Sew each eye onto face section with neat stitches from behind.
Crocheting the Nose
Nose Rounds
- Begin with a magic ring.
- Work 6 sc into the ring, pull tight.
- Sl st to join the round.
- Ch 1, place (optional) stitch marker.
- Round 2: (1 sc, 1 inc) repeat around-ending with 9 sc.
Edge and Fold
- For a cone effect, continue one more round in back loop only with 9 sc.
- Fold work; with a contrasting nose color, sl st around the edge for a defined shape.
- Attach to clown's face using thread or (optionally) glue.
Crocheting the Mouth
Foundation & Shaping
- Ch 12 with your mouth color.
- Work sc in first 5 stitches.
- In 6th stitch, work 2 sc (increase).
- Continue sc across the next 5.
- At the last, work 3 sc in same stitch for a smooth curve.
- Work back along the opposite side in sc.
- As you reach the ends, make loose decreases at the curve to mimic a smile.
- Sl st around the outer edge with contrasting color for painted lip effect.
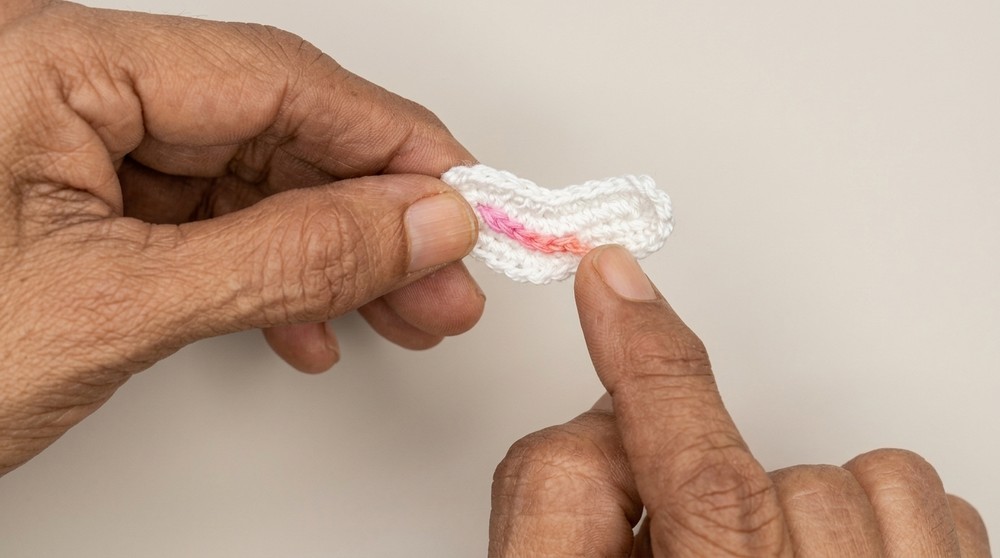
- Fasten off and hide all ends.
Ear Pom-Poms
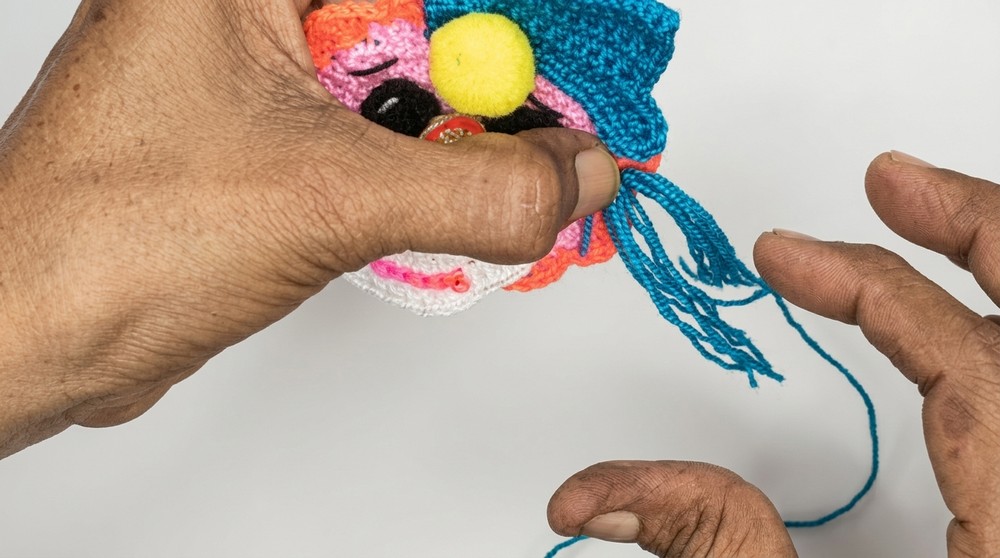
- For each "ear," wrap yarn around two fingers 10 times.
- Tie tightly at the center, slide off hand.
- Cut loops and trim for round shape.
- Hot glue or sew a pom-pom to each head side (below the hat).
Assembly & Finished Size
- Securely stitch or glue all completed elements (hat, eyes, nose, mouth, pom-poms) to the main can tab body.
- Make sure all parts are strongly attached, ends woven in, and shapes balanced.
- Your clown should measure approximately 8-10 cm tall (3-4 inches), ready for playful display.
Conclusion and Ending Words
Using recycled can tabs as a foundation, this project showcases bright, cheerful character and sustainable creativity. The combination of detailed body shaping, expressive face, and vibrant accessories ensures your clown captures joyful energy and charm. Each part builds naturally on the last, encouraging careful attention to form and fit. With thoughtful finishing-such as neat edges, securely attached features, and carefully shaped pom-poms-the result is both eye-catching and durable. This design offers unlimited opportunity for color variation and personalization, making it fun for gifting or lively decoration. Taking time to weave in all ends and securing every element means the clown will hold up to handling and bring continued delight.