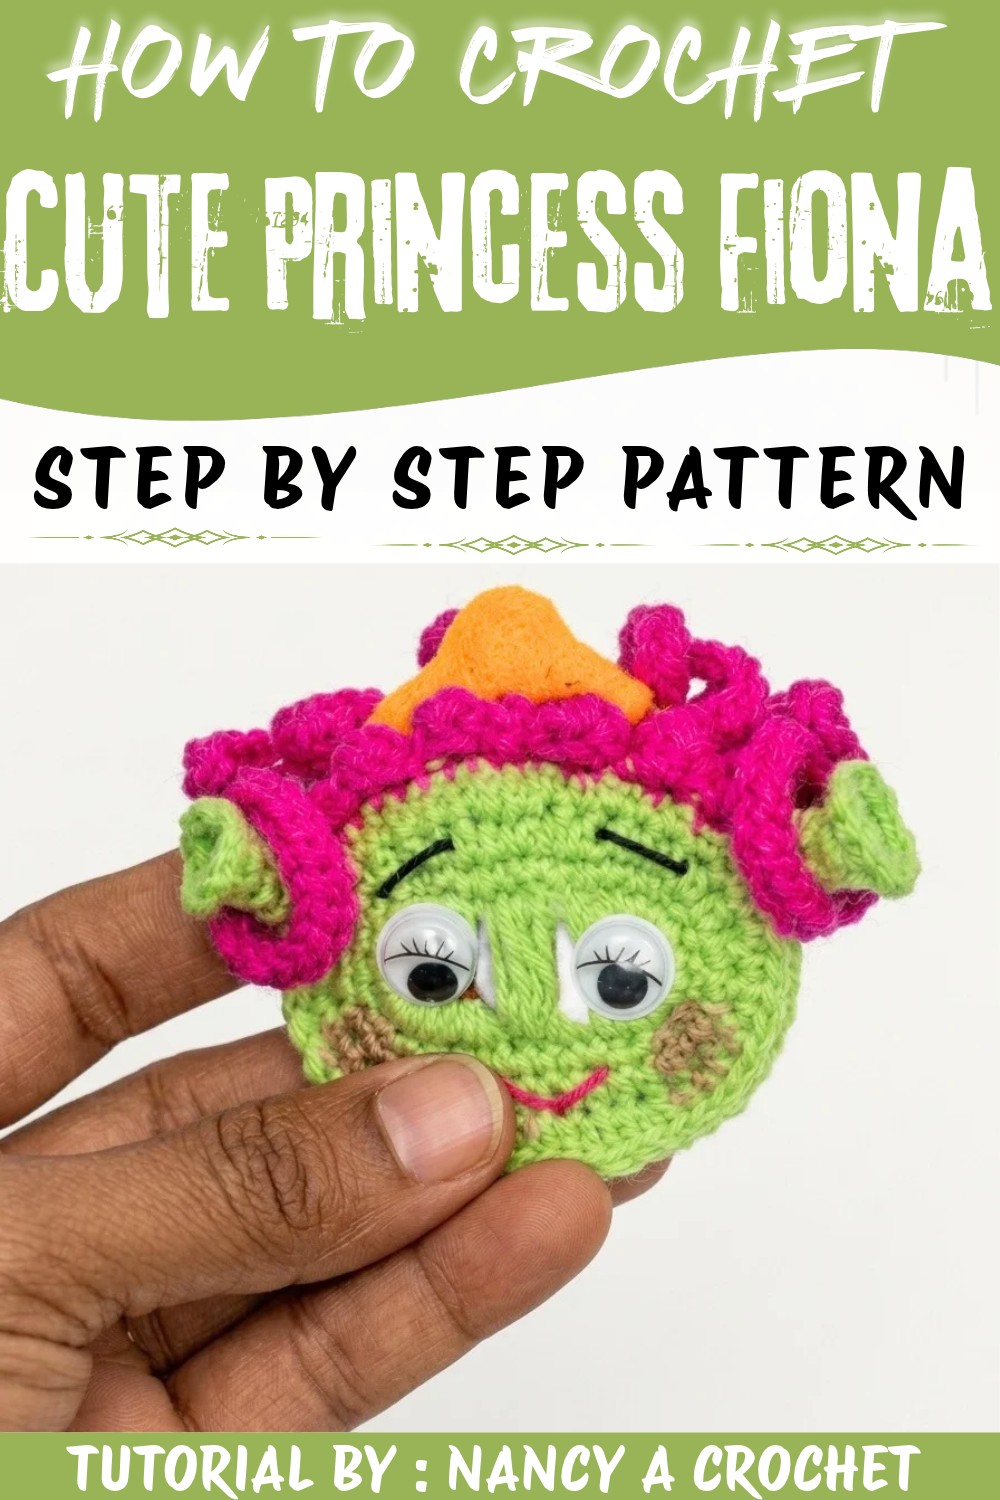
Celebrate a movie character with this Crochet Princess Fiona Free Pattern and work on a doll for birthdays, displays, or a toy collection.
Find the enchanting world of crochet with the beautiful design wonderfully brought to life by Nancy a Crochet on YouTube. This delightful creation captures the charm and whimsy of a beloved fairy-tale character in a way that feels both inviting and inspiring. Perfect for those who appreciate unique, handmade-style pieces, it offers a wonderful blend of style and comfort that suits a variety of occasions. The Crochet Princess Fiona Pattern presents an opportunity to crochet a charming and stylish figure that resonates with warmth and personality.
Fairytale Crochet Princess Fiona Free Pattern For Cute Doll Gifts
The Crochet Princess Fiona Pattern creates an eye-catching piece that is ideal for adding a touch of fairy-tale magic to your home décor or gifting to a loved one. Its versatile design fits comfortably into any setting, whether displayed on a shelf, nestled among your favorite collectibles, or used as a charming accent during themed events or cozy evenings. Pair it with light, pastel-colored accessories or bold, playful elements to highlight its vibrant personality and regal flair.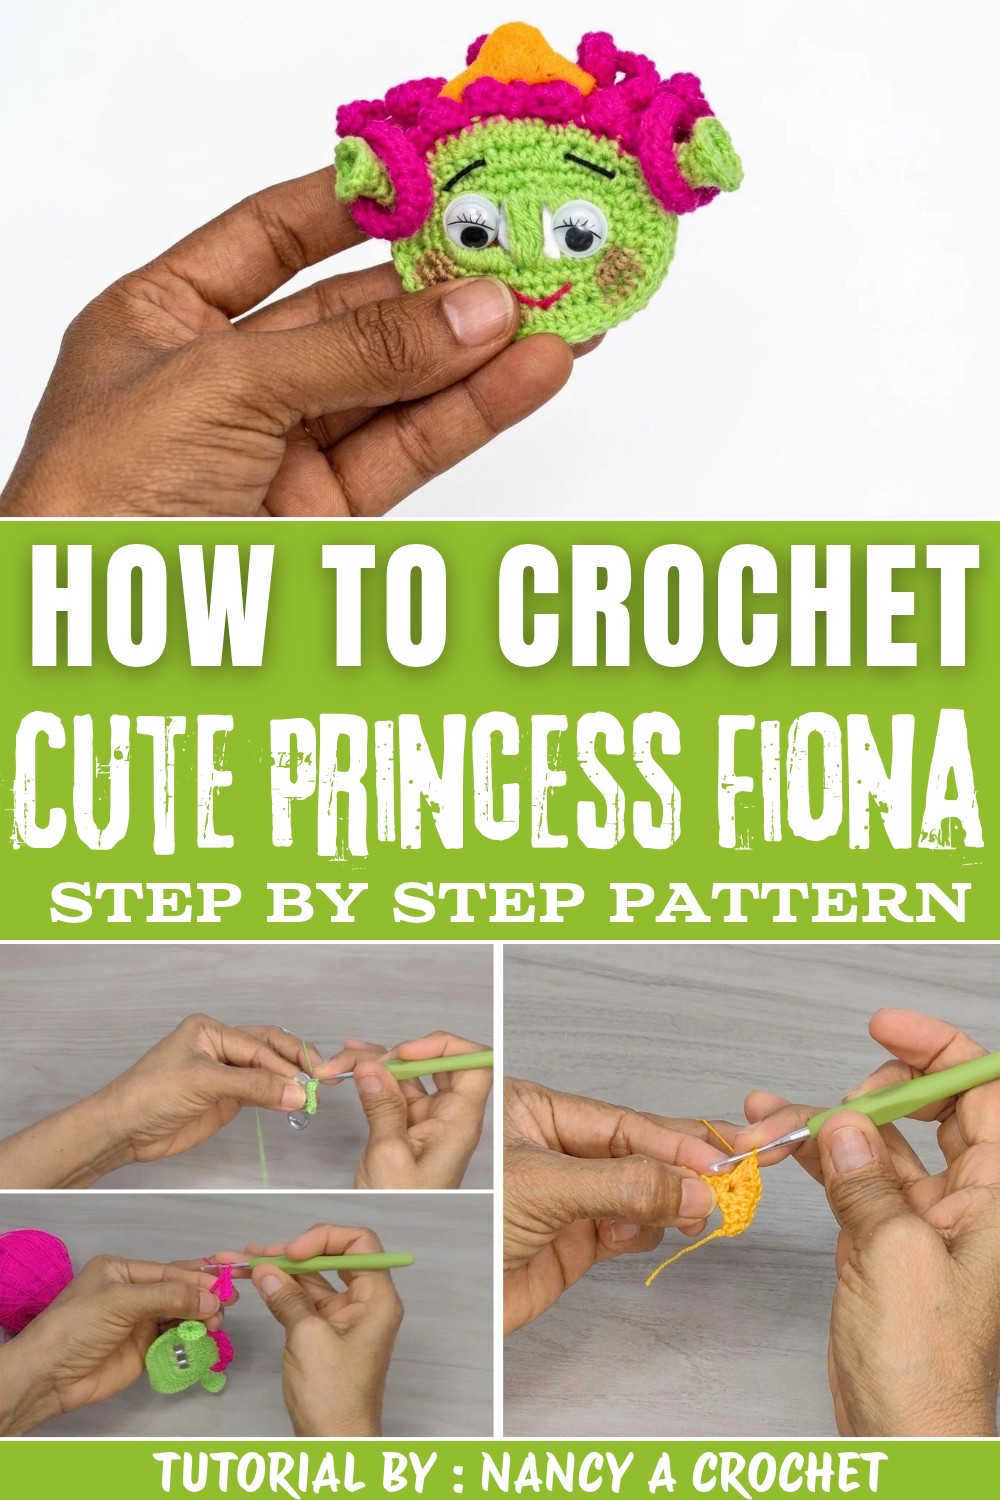
Texturally, this pattern boasts a wonderfully tactile experience, combining smooth half double crochet stitches with carefully layered details that bring Princess Fiona's iconic features to life. Standout design elements include her expressive eyes, delicately formed ears, and the distinctive crown that crowns this creation with a royal finish. The pattern thoughtfully incorporates subtle variations in stitch height and density to emulate hair and facial features, adding depth and dimension without overwhelming complexity.
This inviting project beckons crocheters and admirers alike to dive deeper and explore the full pattern tutorial. With clear instructions and insightful tips, you'll be empowered to recreate this charming piece and add a splash of artistic wonder to your handmade collection. Embrace the joy of making something truly special with the Crochet Princess Fiona Pattern.
Adorable Crochet Princess Fiona Free Pattern
This pattern details the process for constructing a charming Princess Fiona head using recycled can tabs, crochet, and simple assembly. Following the video guide by Nancy a Crochet, you'll connect can tabs into a base, then crochet green "skin," build ears unique to Fiona, crochet her signature scalloped hair, and embellish her face with embroidered or glued-on features. Each section is organized for clarity, making it accessible and enjoyable for anyone interested in creative, sustainable crochet projects.
Quick Overview of Pattern
- Can tabs form a stable, eco-friendly base for Fiona's face and head.
- Circular rows of crochet define the head's size and shape.
- Ears are built with short rows and increases, shaped and secured with a neat slip stitch edge.
- Decorative hair and hair buns are worked with scallop stitches and optional long strands.
- A golden crown and a small crochet nose are fashioned and stitched in place.
- Embroidered or glued features finish the design for maximum character.
Notes
- The pattern is written in US terminology.
- Adjust yarn and hook size slightly if using slightly different can tab sizes.
- Invisible joins and careful weaving of ends lead to a more polished result.
- A tapestry needle is key for seamless sewing and assembly.
- Movable safety eyes are optional; details can be fully embroidered for a child-safe option.
- Tension should be comfortable but consistent for a tidy finish.
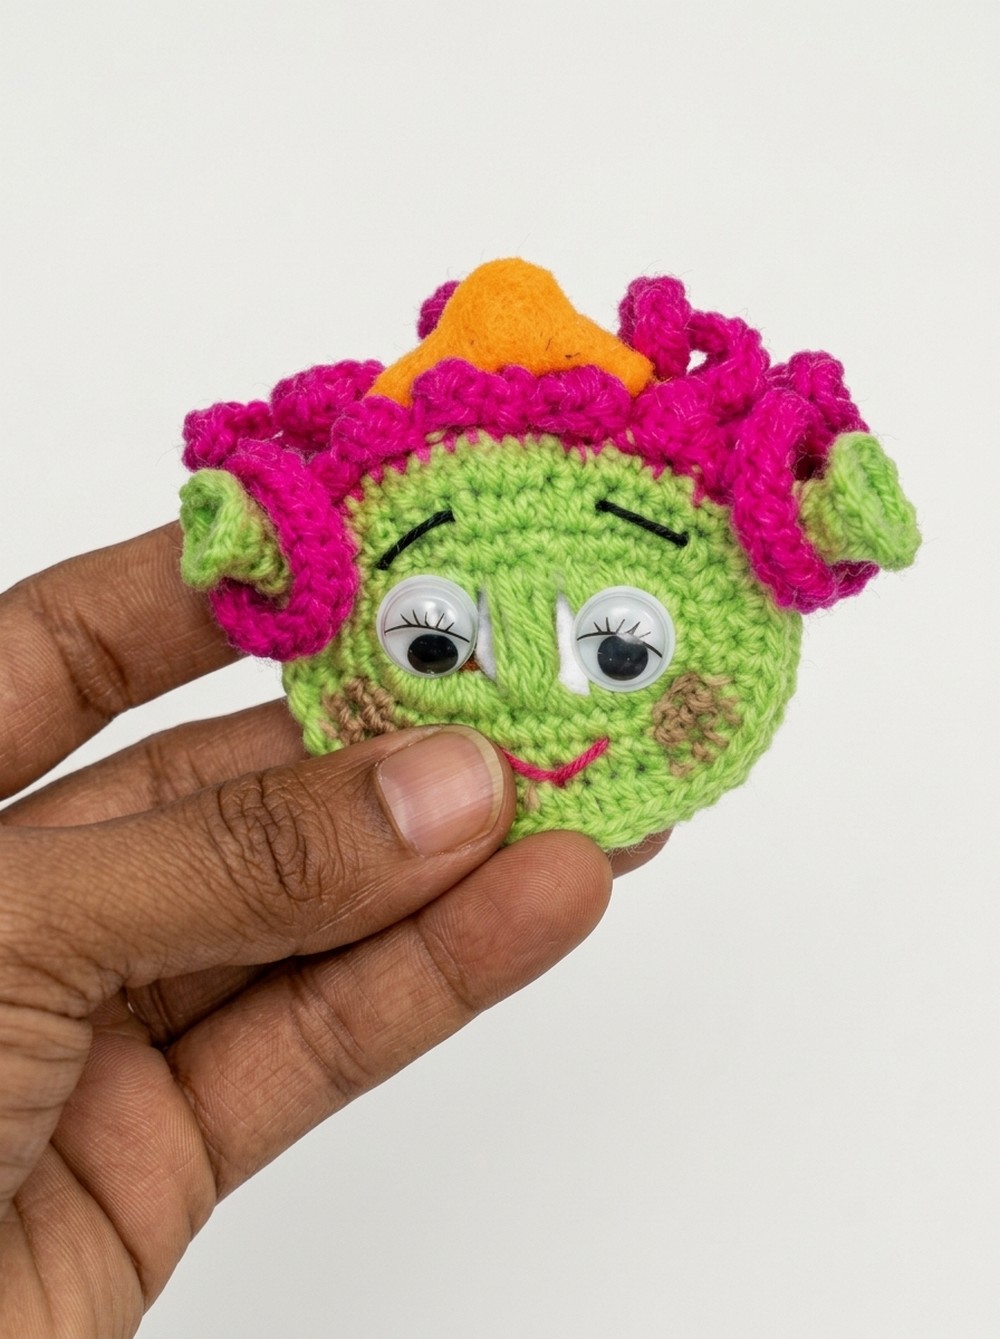
Skill Level
- Advanced Beginner
- Familiarity with working in the round, basic increases, simple sewing, and crocheting into spaces between can tabs required.
Materials
- Recycled can tabs: Cleaned and free of sharp edges.
- 1 mm yarn or sturdy thread: Green (skin), yellow/gold (crown), brown or orange (hair), and accents as desired.
- Crochet hook: Size 2 mm.
- Safety eyes or embroidery thread: For facial details.
- Silicone glue or tapestry needle: For secure assembly.
- Scissors & stitch markers
Measurements / Sizing
- Head (base): Approx. 6-7 cm wide (varies with tab size and yarn).
- Ears: Each approx. 2.5-3 cm long.
- Hair buns (optional): Length/volume adjustable to preference.
- Crown: Sized to fit between hair buns at center top.
Gauge (and Stitch Pattern if applicable)
- Gauge is not critical.
- Main stitch: Half double crochet (hdc) throughout, with single (sc) and double crochet (dc) where noted.
- Most rounds will total 36 stitches around the base, with ears and other pieces built atop the outline.
Stitch Abbreviations
| Abbreviation | Definition |
|---|---|
| ch | Chain |
| sl st | Slip stitch |
| sc | Single crochet |
| hdc | Half double crochet |
| dc | Double crochet |
| inc | Increase (2 in 1) |
| MR | Magic ring |
| BLO | Back loop only |
Special Stitches
- Magic Ring (MR): Make an adjustable loop; work stitches into it, then pull tight.
- Increase (inc): Two stitches into same stitch from previous round.
- Scallop: A sequence of different stitches into a single space (e.g., sc, hdc, dc, hdc, sc).
The Crochet Pattern
Preparing the Can Tab Base
- Arrange can tabs in a 6x6 or 6x7 template. The tabs overlay with holes staggered for even spacing.
- Join yarn at a starting point by inserting hook under tab edge.
- Work 3 sc into the first space between tabs.
- Proceed around the base: Insert hook into each space and work 3 hdc in each, for a total of 36 sc (adjust if you have more/less tabs).
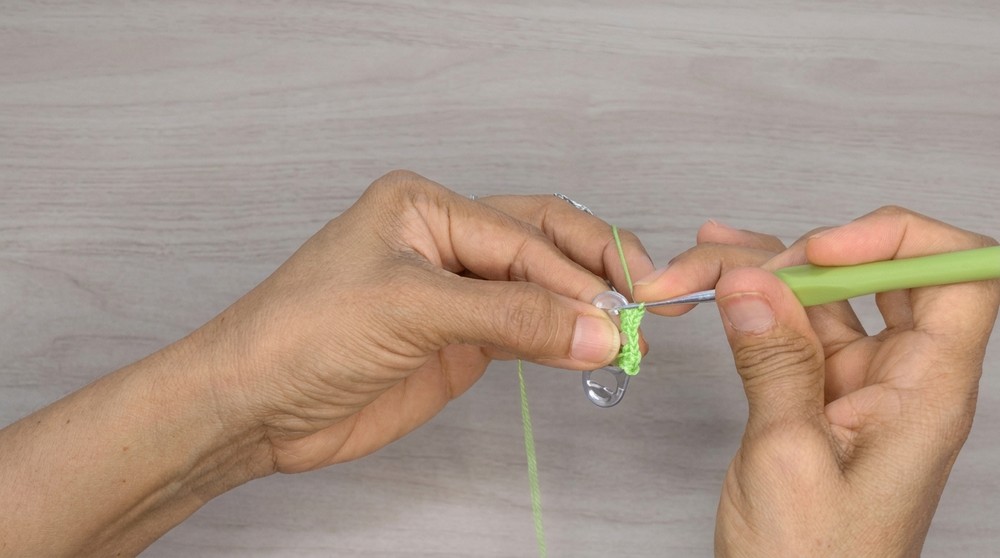
- Close round with a sl st.
Shaping Dress and Body Outline
- Round 1 (Single Crochets)
- Ch 1 for height, then sc in each stitch around (36 sc).
- Finish with sl st to beginning.
- Round 2 (Half Double Crochets)
- Ch 2 for height, hdc in each stitch around (36 hdc).
- Join with sl st.
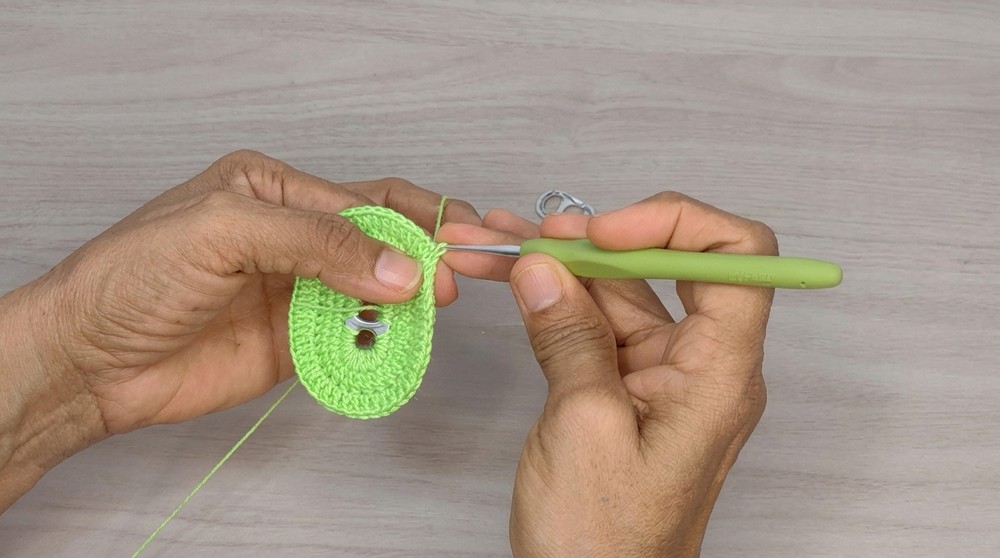
- Round 3 (Double Crochets and Increases)
- Ch 2, repeat: 1 dc, 1 inc (2 dc in next stitch) - continue alternating around.
- Join with sl st. You now have your head/body plantilla base.
Making Princess Ears
- Along the top section of the circle, count and skip about 10 stitches (these will be for the eyes).
- Ear Base:
- Attach yarn in next stitch after 10th.
- Ch 3, turn; crochet into BLO (leaving front loops free for later).
- Work 3 hdc, turn and repeat into the back loops.
- Rows 1-4:
- Maintain 6 hdc per row for 4 rows.
- Use a stitch marker for clarity.
- Increase Rounds:
- Round 5: (1 hdc, 1 inc) around (to 9 stitches).
- Round 6: (2 hdc, 1 inc) around (to 12 stitches).
- Finish:
- Cut a long tail.
- Thread it on a needle and slip stitch around ear's edge back to base.
- Repeat entire process for the other ear on opposite side of head.
Crocheting the Hair
- Attach green or brown yarn near upper section.
- Scallop pattern: In one point, work sc, hdc, dc, hdc, sc, all in same space; then sl st in next stitch.
- Repeat this scallop/wave around the hairline.
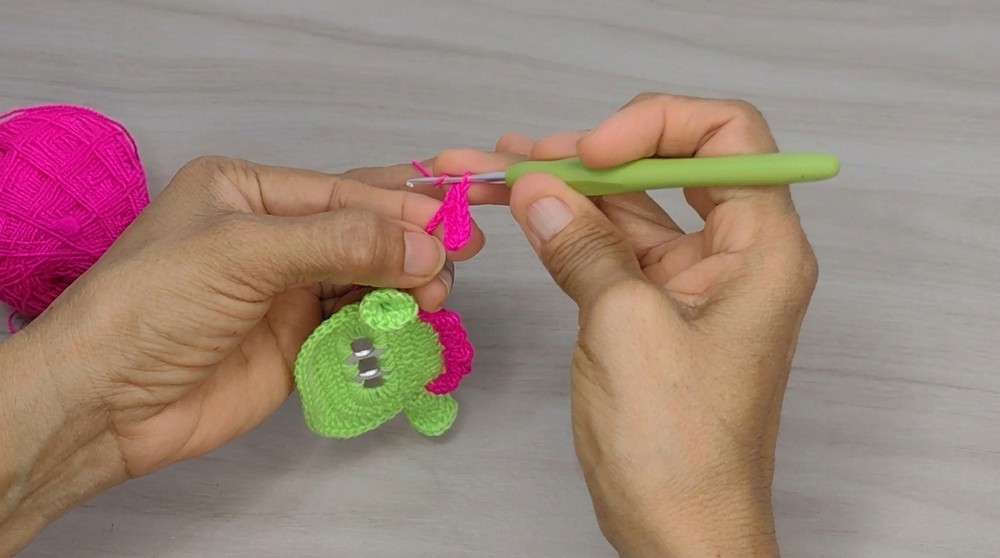
- Hair Strands/Buns:
- Ch 14 (or longer, for desired length).
- Turn, hdc down the chain.
-
- Attach to side of head or arrange into classic Fiona-style buns.
- Optional: Add more strands for fuller effect; leave loose or braid and tack as desired.
Crocheting the Crown
- Make a slip knot, then ch 10.
- Row 1: Work 4 sc, then (dc, ch 1, dc) in next chain, then 4 sc.
- Row 2: Ch 1, turn, 4 sc, then in the space between dcs: 2 dc, ch 1, 2 dc, finish with 4 sc, ch 1 and fasten off.
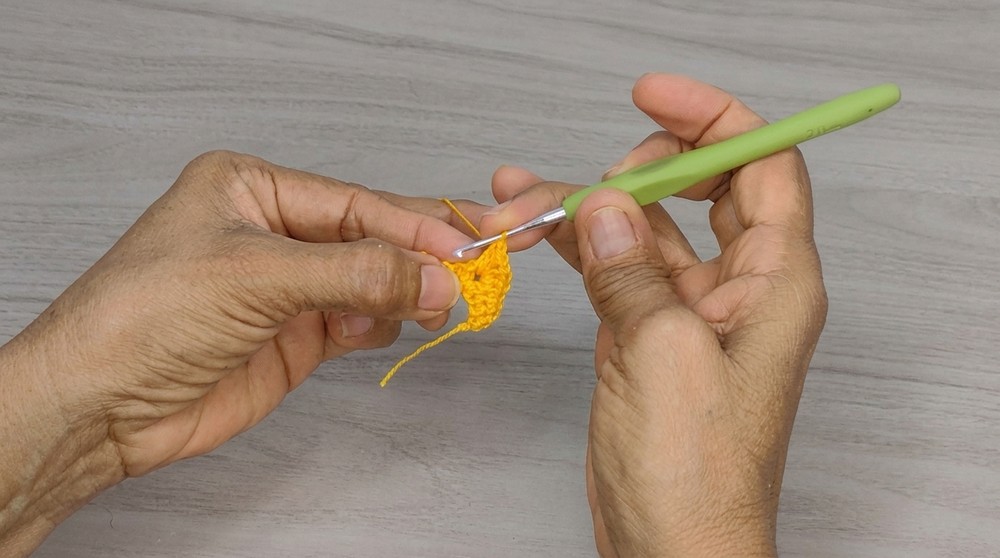
- Leave a long tail for sewing.
- Sew crown at center-top of Fiona's head, between the hair buns.
Making the Nose
- Magic ring, 6 sc in ring, pull tight, close with sl st.
- Round 2: (1 sc, 1 inc) around, finish with 9 sc.
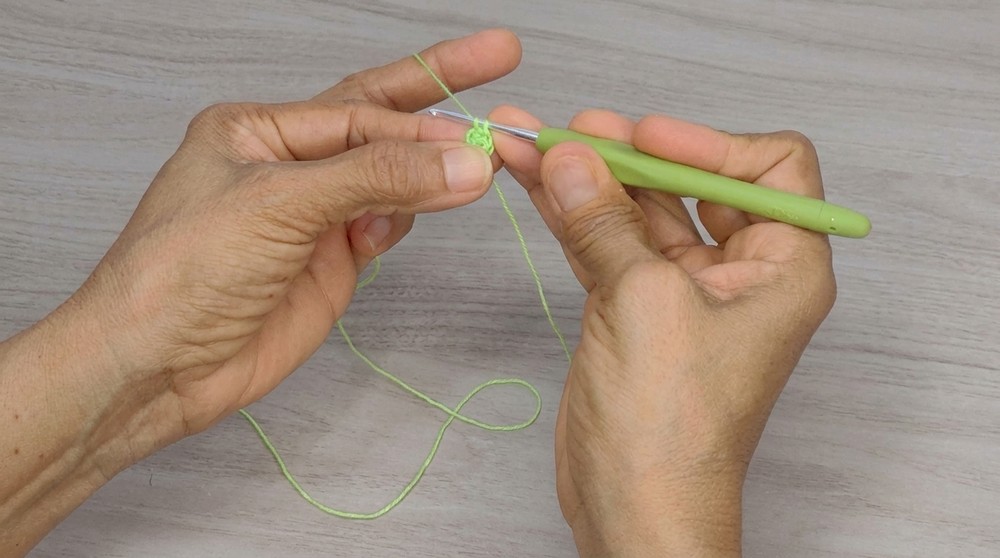
- Round 3: 1 sc in each stitch (9 sc).
- Fasten off. Attach to center of face.
Facial Features & Final Assembly
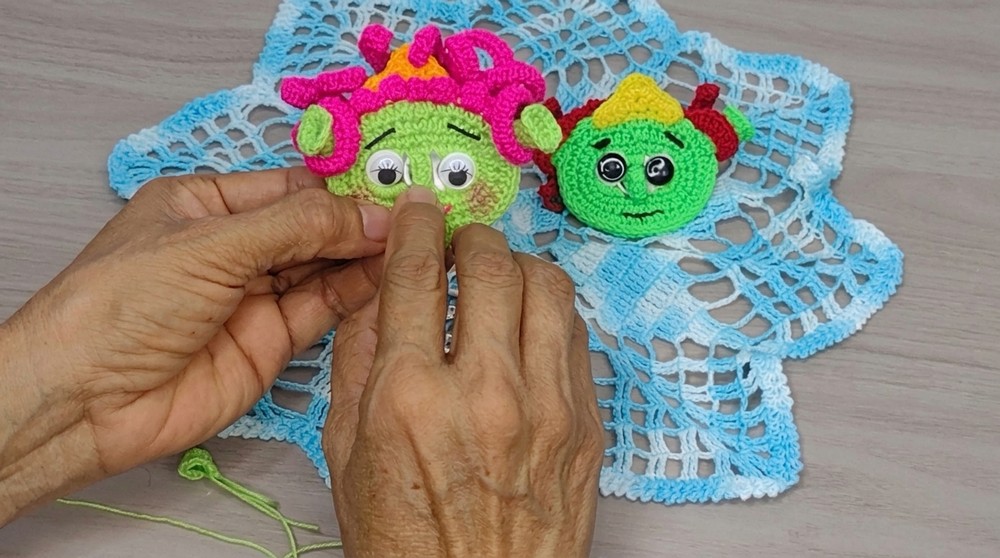
- Eyes: Attach movable safety eyes with silicone glue, or embroider with black thread at reserved positions between the ears.
- Mouth and Eyebrows: Embroider a wide, smiling mouth, expressive eyebrows, and a few lashes for added personality.
- Neaten all ends: Weave in any remaining yarn tidily for best appearance.
- Flatten or curl ears and style hair as desired.
Assembly & Finished Size
- Check all knots and joins for security.
- Sew or glue all pieces as required.
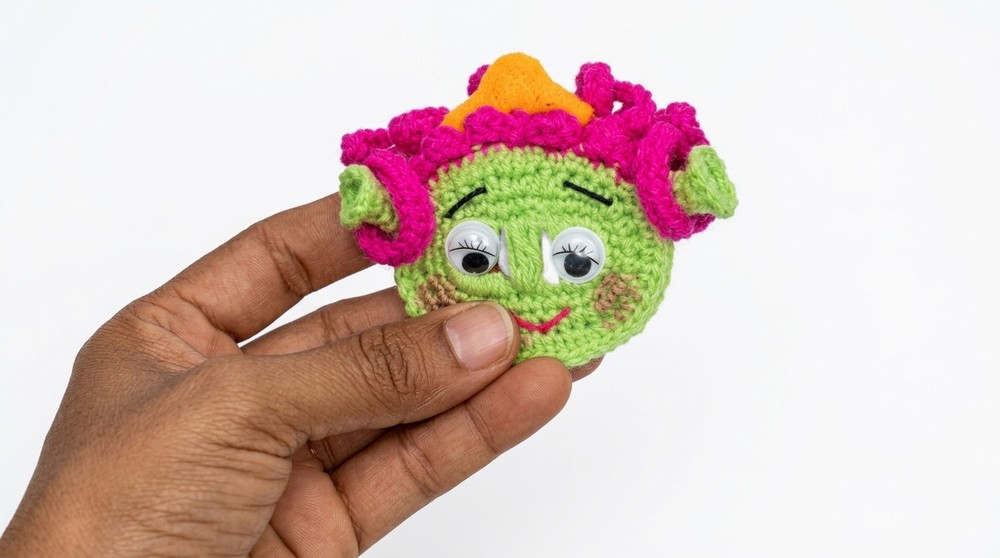
- Final piece measures about 7-8 cm wide and 10-12 cm tall (with extended hair).
- Add optional accessories or string for display if desired.
Conclusion and Ending Words
By following this in-depth guide, a playful, eco-conscious Princess Fiona emerges from humble can tabs and yarn. Every round adds definition-while the finely shaped ears, expressive face, and characteristic hair endow your piece with immediate recognizability. Customize further with different facial expressions, accessory colors, or by varying hair strand placement. Use safety eyes for a bright toy feel or stick with embroidery for a rustic touch. Careful attention to finishing, especially at joins and edges, elevates the overall look. The result serves not just as a crocheted figure but as a testament to creative reuse and the charm of character-inspired crochet-work. Display your finished Fiona with pride, share her story, or adapt these techniques for other unique crochet figurines.