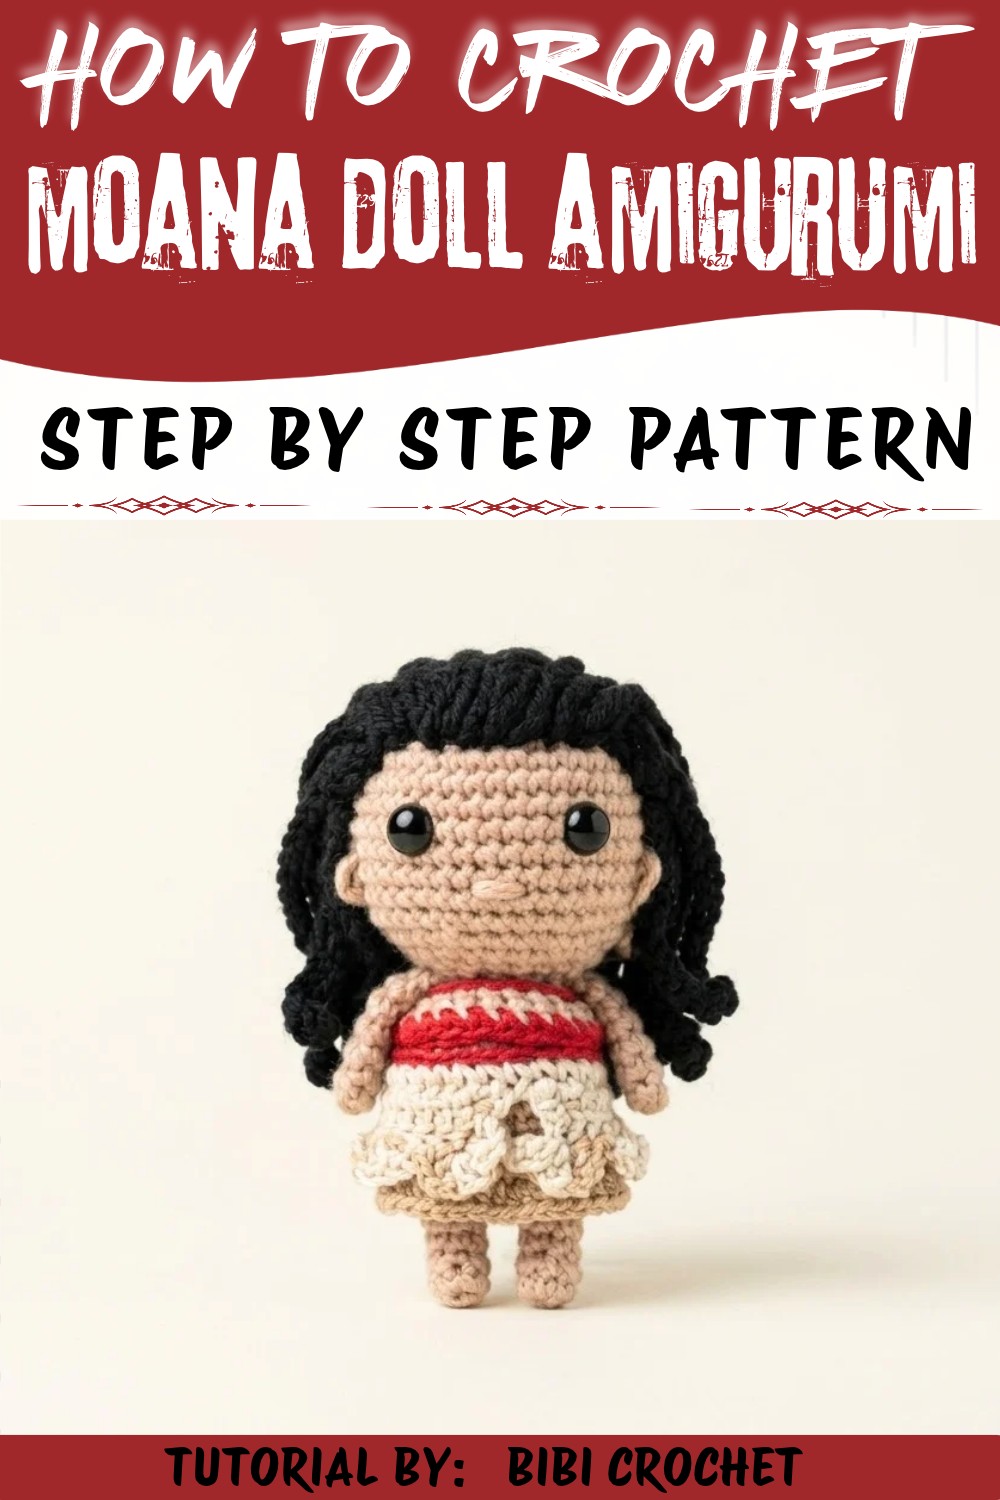
Enjoy a fun character project with this Crochet Moana Doll Amigurumi Free Pattern and bring its expressive face and colorful outfit to life.
If you're looking to create a treasured keepsake that captures imagination and charm, this delightful amigurumi doll is the perfect project. The Crochet Moana Doll Amigurumi Pattern, designed and beautifully demonstrated by Bibi Crochet, offers an engaging tutorial that brings the beloved character to life stitch by stitch. This handmade doll is not only a fun and rewarding endeavor but also an ideal gift for fans of the adventurous Moana, children, or collectors of unique handmade items.
Mini Crochet Moana Doll Amigurumi Free Pattern for Your Collection
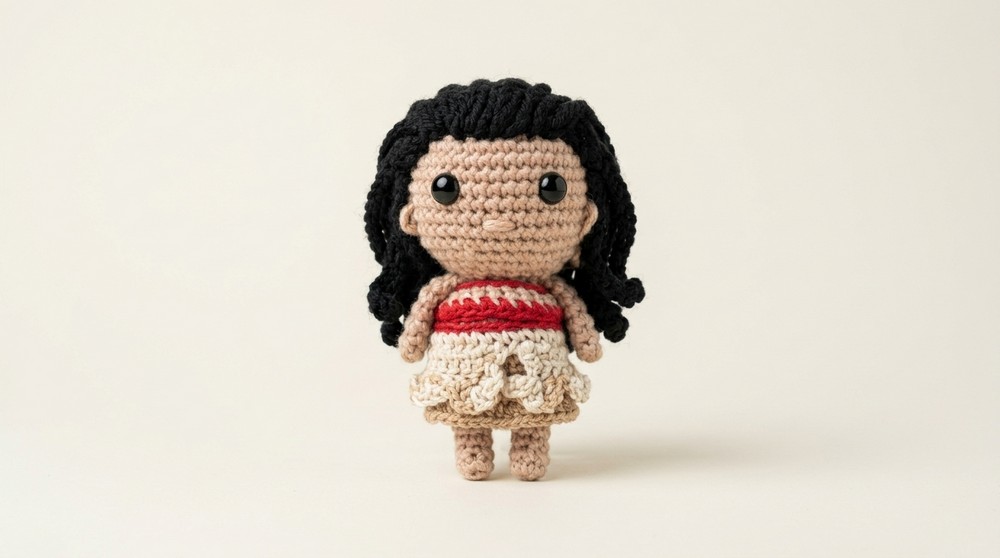
This pattern results in a doll that is both enchanting and sturdy, showcasing elegant details that reflect Moana's distinctive look. From her flowing black hair and iconic outfit to her sweet facial expressions, each element is thoughtfully shaped and textured to provide depth and authenticity. The body features a smooth yet tactile finish, achieved through careful stitching, offering a pleasant feel that's perfect for little hands or as a decorative piece.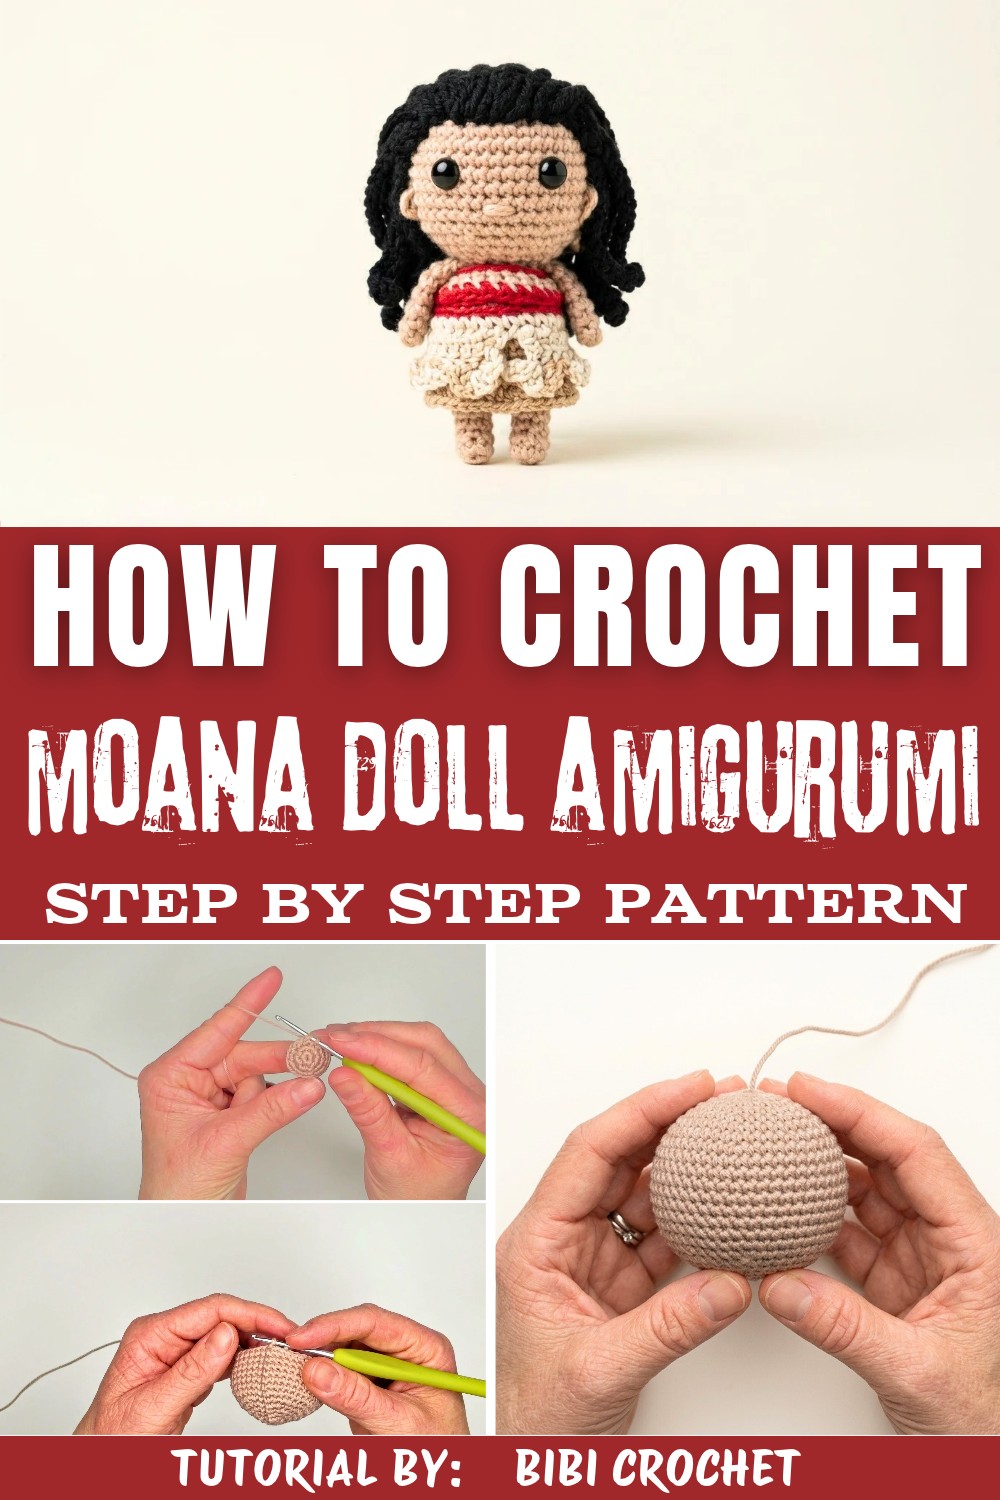
Beyond its visual appeal, the doll serves as a charming decoration for nurseries, playrooms, or display shelves, adding a touch of whimsy and storytelling to any space. Its amigurumi style lends a soft and squishy form without sacrificing structure, making it ideal for cuddling or standing as a showcase item. The standout design features include meticulous shaping of limbs, an expertly formed dress with delicate color transitions, and the cleverly attached hair that captures the flow and volume that fans will recognize instantly.
Overall, this Crochet Moana Doll Amigurumi Pattern is a wonderful way to bring a favorite character into your home, offering joy through both the making and the finished piece itself. Whether as a heartfelt present or a personal treasure, this project celebrates creativity and the magic of handmade artistry.
Playful Crochet Moana Doll Amigurumi Free Pattern
A charming small amigurumi Moana offers a delightful opportunity to practice foundational and intermediate crochet skills. This project guides you through each section using clear, round-by-round instructions, resulting in a sturdy and beautifully finished figurine. Techniques such as the classic magic ring, precise increases and decreases, color changes, and secure assembly underpin every part, reflecting attention to both process and appearance. The design incorporates facial embroidery and uniquely textured hair, offering a well-rounded learning experience. Throughout, careful color placement and finishing touches provide a classic, collectible look reminiscent of the beloved character.
Quick Overview Of Pattern
- The head and body are worked in continuous rounds for a seamless effect.
- Arms and legs are created separately and sewn securely in place.
- Amigurumi increases and decreases form the character's gentle curves.
- The outfit consists of a removable top and ruffled skirt with color changes.
- Hair is composed of a detailed cap with individual long strands.
- Embroidered features and safety eyes complete the expressive face.
Notes
- For the cleanest result, use a stitch marker to indicate the start of each round.
- Maintain consistent tension for an even surface and firmly stuff the head/body.
- Make color changes at the end of a round for clear transitions.
- Weave in yarn tails discreetly inside the piece to avoid visible knots.
- Assemble in order: dress the body before sewing on the limbs or head.
- Attach the hair strands before sewing the hair cap in place.
- The project suits adventurous beginners and up.
Skill Level
- Confident Beginner to Intermediate.
- Requires experience with crocheting in the round, magic ring, increases, decreases, simple color changes, and basic hand sewing.
Materials
- Yarn: Size #3 DK/Light Worsted in beige/skin tone, red, black.
- Crochet Hook: 2.0 mm.
- Stuffing: Fiberfill or polyester stuffing.
- Safety Eyes or Googly/Glue-on Eyes
- Silicone glue (for glue-on eyes)
- Stitch Marker
- Yarn Needle
- Pins
- Scissors
Measurements / Sizing
- Finished Height: About 12-14 cm (4.7-5.5 in), depending on yarn and tension.
- Proportions: Head slightly larger than body for a classic "kawaii" silhouette.
Gauge (and Stitch Pattern)
- Gauge: Tight amigurumi-stitches close enough that stuffing does not show through.
- Stitch: Main stitch used is the single crochet (sc), with increases, decreases, and slip stitches for shaping.
Stitch Abbreviations
| Abbreviation | Meaning |
|---|---|
| st(s) | stitch(es) |
| sc | single crochet |
| inc | increase (2 sc in same st) |
| dec | decrease (sc 2 together) |
| sl st | slip stitch |
| MR | magic ring |
| ch | chain |
| BLO | back loop only |
Special Stitches
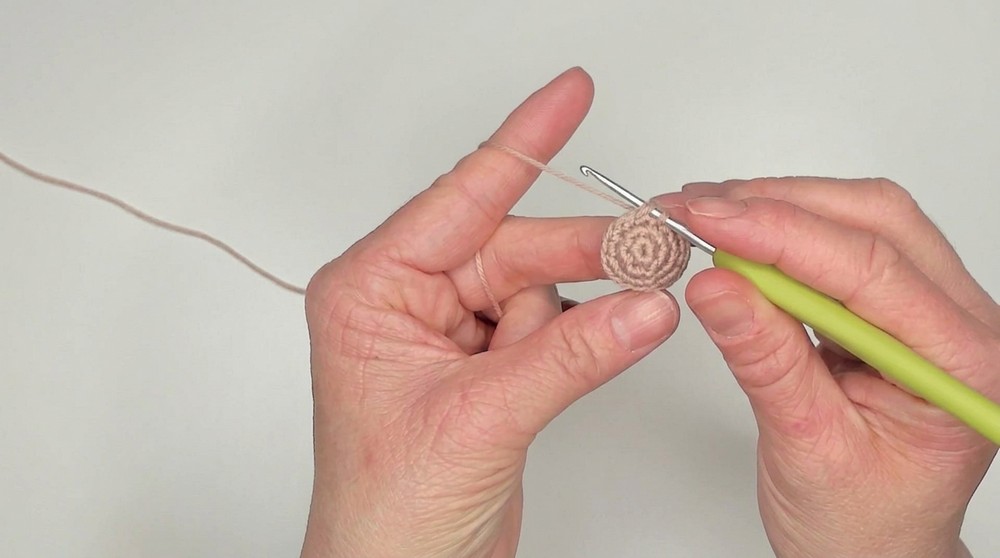
- Magic Ring (MR): Form a loop and crochet first stitches inside, tightening to close.
- Increase (inc): Two single crochets in the same stitch.
- Decrease (dec): Single crochet two stitches together (for invisible dec, use front loops only).
- Back Loop Only (BLO): Insert hook in back loop of the stitch only.
The Crochet Pattern
Head
- Round 1: MR, 6 sc into ring [6].
- Round 2: 6 inc (2 sc in each st) [12].
- Round 3: (1 sc, 1 inc) x6 [18].
- Round 4: 1 sc, 1 inc, (2 sc, 1 inc) x5, 1 sc [24].
- Round 5: (3 sc, 1 inc) x6 [30].
- Round 6: 2 sc, 1 inc, (4 sc, 1 inc) x5, 2 sc [36].
- Round 7: (5 sc, 1 inc) x6 [42].
- Rounds 8-13: 1 sc in each st around (6 rounds) [42].
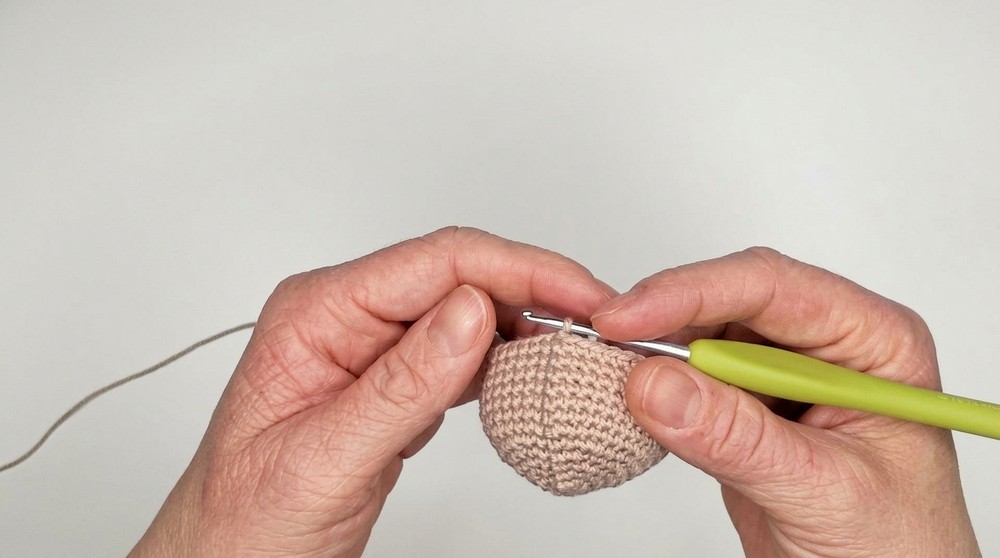
- Round 14: (5 sc, 1 dec) x6 [36].
- Round 15: 2 sc, 1 dec, (4 sc, 1 dec) x5, 2 sc [30].
- Round 16: (3 sc, 1 dec) x6 [24].
- Round 17: 1 sc, 1 dec, (2 sc, 1 dec) x5, 1 sc [18].
- Round 18: (1 sc, 1 dec) x6 [12].
- Stuff the head very firmly at this point.
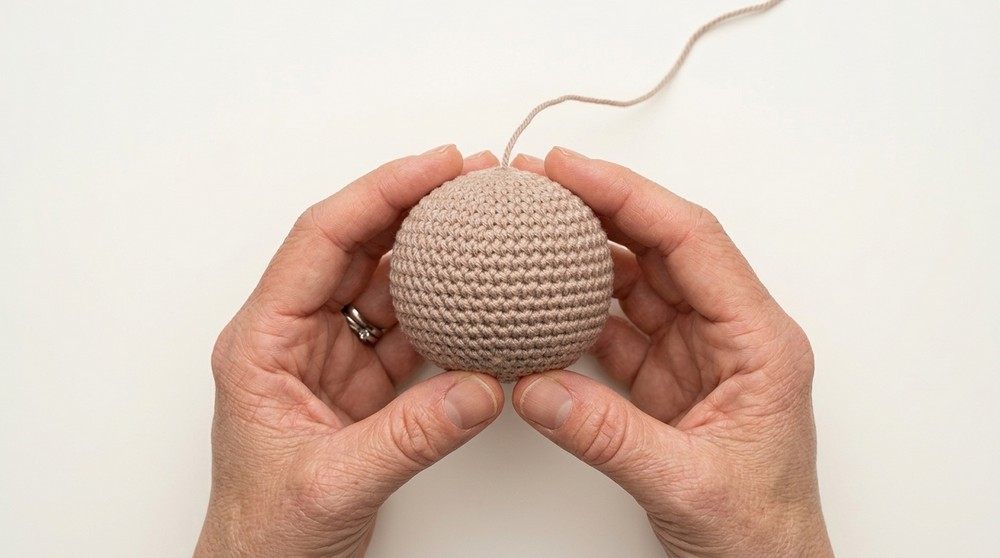
- Round 19: 6 dec (sc2tog across) [6].
- Finishing: Fasten off; with a yarn needle, weave through the front loops of all 6 remaining sts and pull tightly to close. Hide yarn inside head.
Body
- Round 1: MR, 8 sc [8].
- Round 2: 8 inc (2 sc in each st) [16].
- Round 3: (1 sc, 1 inc) x8 [24].
- Rounds 4-8: 1 sc in each st around (5 rounds) [24].
- Round 9: 1 sc, 1 dec, (2 sc, 1 dec) x5, 1 sc [18].
- Round 10: 1 sc in each st around [18].
- Finishing: Fasten off, leaving a long tail for sewing. Stuff body firmly.
Outfit
Top (Shirt)
- Foundation: With Red yarn, ch 22.
- Row 1: Join the last ch to the first with a sl st, switching to beige at the join.
- Row 2: In Beige, 1 sc in each ch around [22]. Before finishing the last stitch, pick up Red to change color.
- Row 3: In Red, 1 sc in each st around [22].
- Finishing: Fasten off, weave in ends.
Skirt
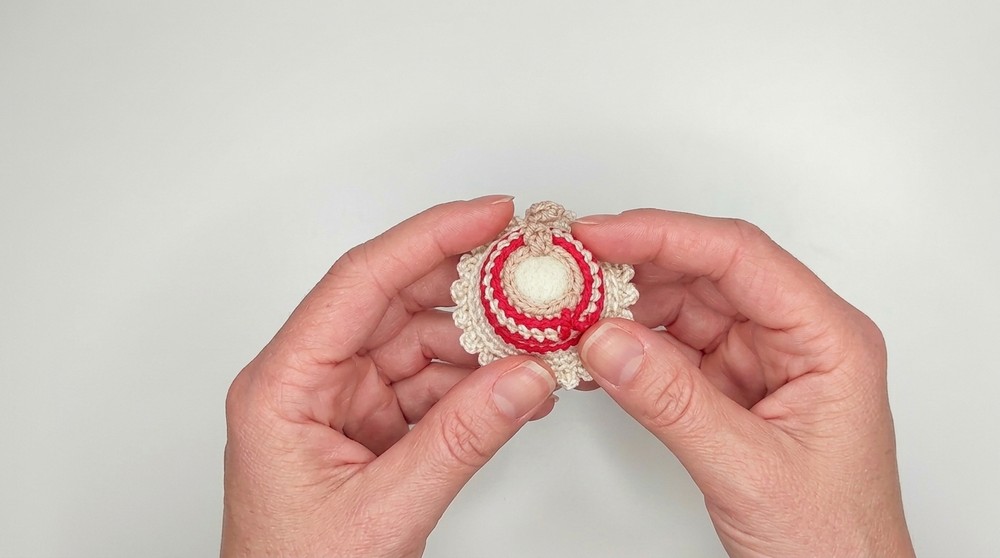
- Foundation: In Red, ch 24, join with a sl st to first ch, switching to Beige at join.
- Row 1: 1 sc in each ch around [24].
- Row 2: Turn, 1 dec, sc in next 20, 1 dec [22].
- Row 3: Turn, ch 1, 1 dec, (1 sc, 1 inc) across, end with 1 dec.
- Row 4 (Ruffle): Turn.
- Ruffle sequence: ch 3, skip 1 st, sl st in next st, BLO sl st in following st, repeat across for flounced edge.
- Finishing: Fasten off leaving tail for sewing the skirt onto the body.
Arms (Make 2)
- Round 1: MR, 4 sc [4].
- Rounds 2-6: 1 sc in each st around (5 rounds) [4].
- Finishing: Fasten off, leaving long tail for sewing.
Legs (Make 2)
- Round 1: MR, 5 sc [5].
- Rounds 2-3: 1 sc in each st around (2 rounds) [5].
- Finishing: Fasten off, leaving a tail for sewing.
Hair
Hair Cap Base
- Round 1: With Black, MR, 6 sc [6].
- Round 2: 6 inc [12].
- Round 3: (1 sc, 1 inc) x6 [18].
- Round 4: 1 sc, 1 inc, (2 sc, 1 inc) x5, 1 sc [24].
- Round 5: (3 sc, 1 inc) x6 [30].
- Round 6: 2 sc, 1 inc, (4 sc, 1 inc) x5, 2 sc [36].
- Round 7: (5 sc, 1 inc) x6 [42].
- Row 8: 26 sc, turn work [26].
- Rows 9-14: ch 1, turn, 26 sc across each row [26].
- Row 15: ch 1, turn, 1 dec, sc to last 2 sts, 1 dec [24].
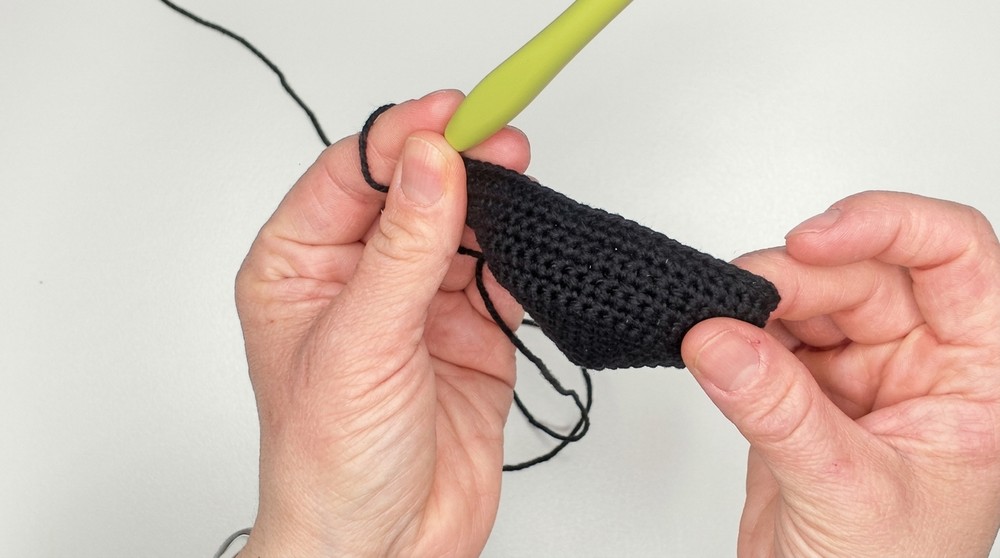
- Row 16: ch 1, turn, 2 sc, 1 dec, (4 sc, 1 dec) x3, 2 sc [20].
- Row 17: ch 1, turn, 1 dec, 3 sc, 1 dec, 6 sc, 1 dec, 3 sc, 1 dec [16].
Strands
- Attach yarn to edge of cap, ch 1 to secure.
- For each strand: ch 36, sl st in each ch back to cap (35 sl st), sl st into the next st on the cap edge.
- Repeat for all around the cap perimeter.
- Fasten off, leaving a tail for sewing.
Assembly & Finished Size
- Dress the Body: Slide shirt and skirt into position. Secure with a few sewing stitches.
- Sew Arms: Pin to each side of the body; sew in place with the long yarn tail and fasten invisibly inside.
- Join Head to Body: Align the back seam; using the body's yarn tail, sew together one stitch at a time for a seamless join.
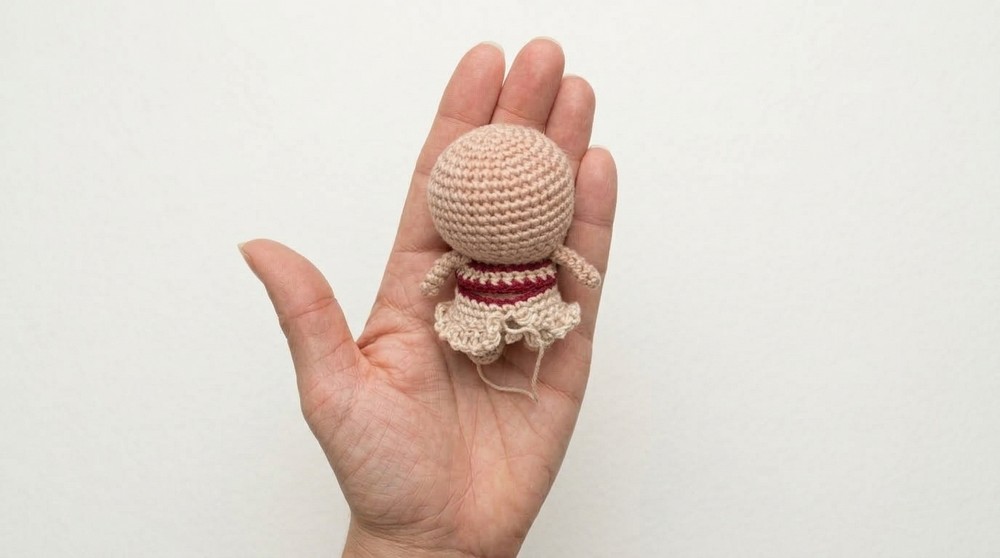
- Attach Legs: Pin and sew on the bottom of the body, one on each side.
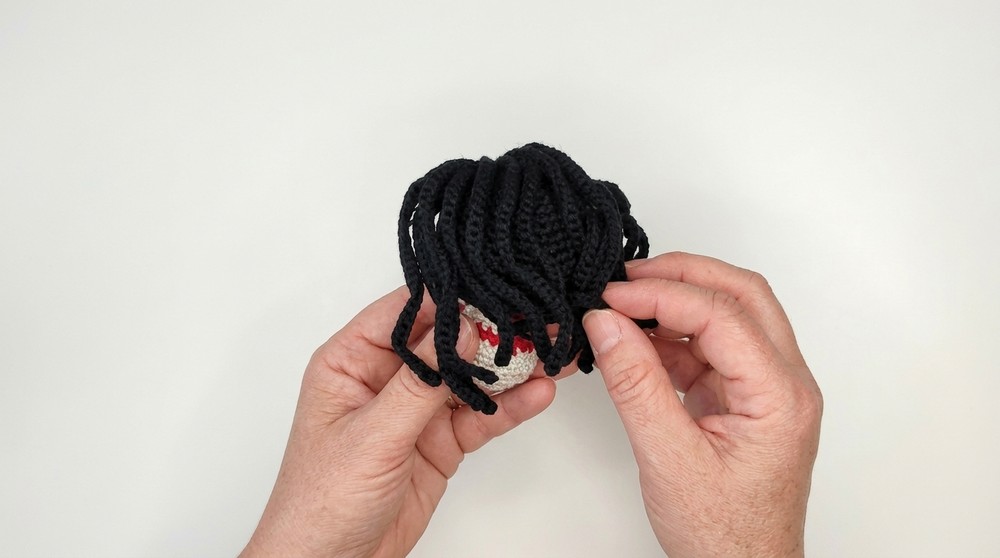
- Position and Sew Hair Cap: Place on head, align the open section along the nape, pin, and sew neatly around the edge and through the roots of several strands for security.
- Add Facial Features:
- Nose: Pass a strand of beige yarn horizontally over 2-3 stitches, wrapping to build volume.
- Ears: Using the same yarn, embroider a round loop on each side in line with the nose.
- Eyes: Place safety eyes between rounds 10-12 or glue-on eyes as preferred.
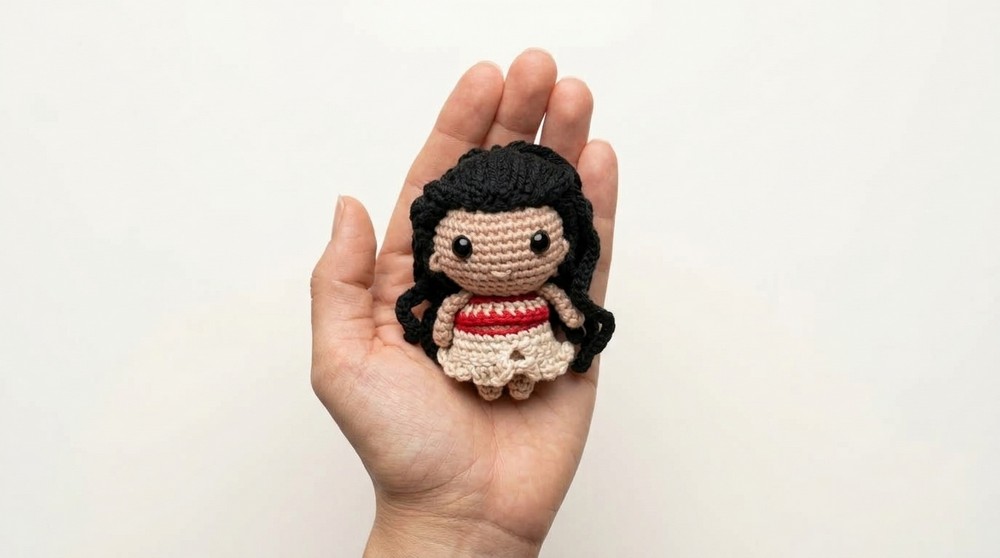
- Final Size: Approximately 12-14 cm tall.
Conclusion and Ending Words
Completing this Moana-inspired amigurumi illustrates the effectiveness of working in tight, even rounds, balancing forms through calculated increases and decreases, and taking care with assembly for a tidy finish. Technical detail in the hair, skirt, and facial embroidery conveys expressiveness and personality in miniature. The piece is sturdy enough for gentle play and serves well as a memorable token, gift, or collection centerpiece. Attending to details such as color changes and invisible stitching elevates the result; patience during assembly rewards with a neat, professional appearance. With just a few supplies and consistent technique, the final Moana amigurumi stands as a testament to thoughtful construction and reliable amigurumi methods.