
Find a simple way to upgrade your toy collection with the Free Crochet Plushie Bunny Pattern for soft, lovable adventures.
When I first tried making a little stuffed animal, I wanted something soft, simple and comforting, and this plushie bunny pattern is exactly that kind of project. Using cozy yarn in gentle colors like soft white or cream for the body and a sweet pink for the dress, you can create a bunny that looks like it came straight out of a storybook. The tiny dress with fluffy skirt and straps, the long folded ears, and the embroidered nose and mouth give it so much personality. It makes a perfect gift for children, a cute desk buddy, or a lovely nursery decoration.
Learn this Easy Crochet Plushie Bunny Pattern for Lovely Result
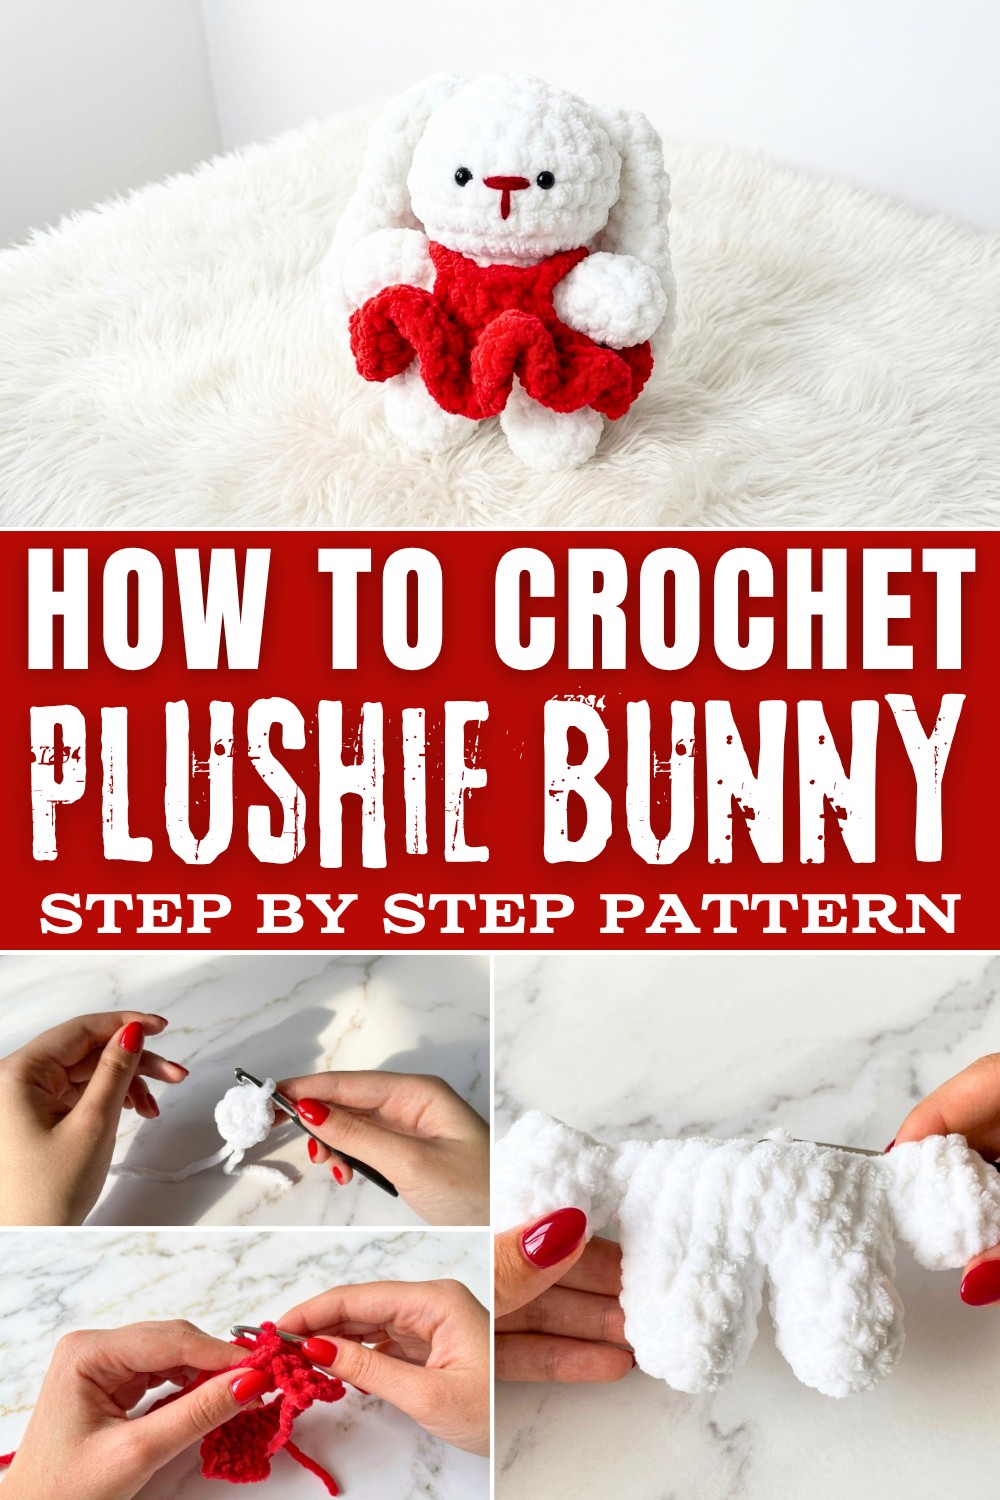
This pattern is worked mostly with single crochet stitches using the magic ring to start the arms, legs, body, head and ears, so it feels very friendly for beginners. You will also use increases and decreases, including front loop only decreases, to shape the bunny's body and create smooth curves. The dress uses half double crochet to make a ruffled, fluffy skirt that looks full and playful. Once you are comfortable with these stitches, you can also make things like amigurumi animals, keychains, mini dolls, and small toys.

From this pattern you will learn how to start with a magic ring, work in joined rounds, use stitch markers, attach arms and legs neatly, and shape a head that looks cute and round. You will practice stuffing your plushie evenly, adding safety eyes, and embroidering a simple face. The dress teaches you how to crochet in panels, join them into a circle, create ruffles, and add straps. After finishing this bunny pattern, you can easily adapt the same steps to crochet other plushies, tiny bears, cats or even seasonal characters just by changing colors and ear shapes.
What You Can Make With These Skills
- Cute amigurumi animals like bunnies, bears, cats and dogs
- Small plush toys and keychains for gifts or markets
- Custom dolls with removable dresses and accessories
- Ruffled skirts, simple tops and outfits for other crochet toys

Crochet Plushie Bunny Pattern Step by Step Guide
Materials Required
- Yarn:
- Main Color (for bunny's body, arms, legs, head, and ears)
- Contrasting Color red color (for dress)
- Pink Yarn (for nose and mouth embroidery)
- Hook: Use the recommended hook size for your selected yarn (e.g., 3.5 mm).
- Stuffing: Polyester fiberfill for stuffing the bunny.
- Safety Eyes (optional): Small size appropriate for the bunny (between rows 14-15).
- Scissors: For cutting yarn.
- Yarn Needle: For sewing parts together and weaving in ends.
- Stitch Markers: Essential to mark the beginning of each row.
Special Techniques Used
- Magic Ring: A technique to start crocheting in the round. It creates a tight, neat center.
- Single Crochet (SC): Basic crochet stitch.
- Decreases (SC2TOG): Crocheting two stitches together through the front loops.
- Increases: Two SC in the same stitch to expand your work.
- Slip Stitch (SL ST): Used for joining rows and seamless finishing.
- Embroidery Techniques: Used for creating facial details.
Pattern Instructions
Arms (Make Two)
- Row 1:
- Start with a Magic Ring.
- Inside the ring, make 7 single crochets (SC).
- Pull the short yarn tail tight to close the ring.
- Join the row with a slip stitch (SL ST) into the first single crochet.
- Row 2:
- Start with 1 SC in the same stitch where you made the SL ST.
- Place a stitch marker for the first stitch.
- Make 1 SC in each stitch around (7 SC in total).
- Join the row with a SL ST into the first SC.
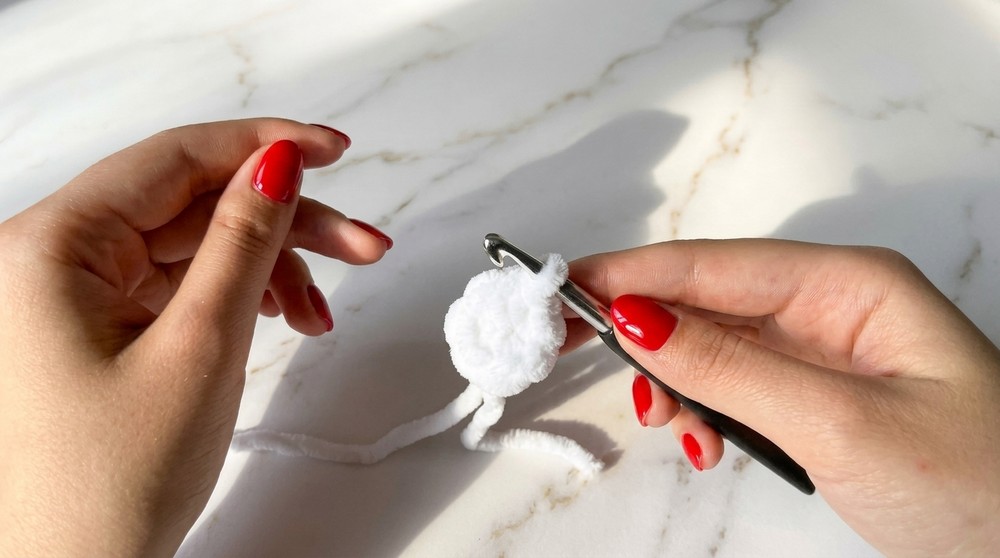
- Row 3:
- Repeat Row 2.
- Finishing the Arms:
- Chain 1, cut the yarn, and leave a short tail.
- Pull tight to secure.
- Tighten and hide the short yarn tail from the magic ring inside the arm.
Legs (Make Two)
- Row 1:
- Start with a Magic Ring and make 4 SC into the ring.
- Pull the short yarn tail to close the ring.
- Join the row with a SL ST into the first SC.
- Row 2:
- Start with 1 SC in the same stitch as the SL ST.
- Place a stitch marker in your first stitch.
- Increase in each stitch by making 2 SC in each stitch (8 SC in total).
- Join the row with a SL ST.

- Rows 3-4:
- Make 8 SC in each row, working evenly around.
- Finish the first leg: After the SL ST, chain 1, cut the yarn, and leave a small tail.
- For the second leg, don't cut the yarn after finishing Row 4.
Joining the Legs and Starting the Body
- Row 5:
- Chain 1 from the second leg.
- Make 1 SC into any stitch on the first leg.
- Place a stitch marker in this SC (first stitch of Row 5).
- Work 8 SC around the first leg, then 1 SC into the chain between the legs.
- Work 8 SC around the second leg, then 1 SC into the chain between the legs (total: 18 SC).
- Join the round with a SL ST into the first SC.
- Row 6:
- Make 1 SC in each of the 18 stitches around.
Adding the Arms
- Row 7:
- Make 4 SC, one in each stitch.
- Attach the first arm:
- Insert the hook into any stitch on the arm from the inside.
- Insert the hook into the next stitch on the body.
- Pull up the yarn and finish 1 SC.

- Work 8 SC across the body, then repeat the attachment process for the second arm.
- Finish with 4 SC to complete the row.
Head and Shaping
- Rows 8-19:
- Crochet according to the video's detailed transcript instructions:
- Increase and decrease as directed to shape the head, arms, and transition smoothly (Rows 12-19 instructions above).
- Stuff the bunny's body and head as you work, ensuring the toy is firm yet soft to the touch.
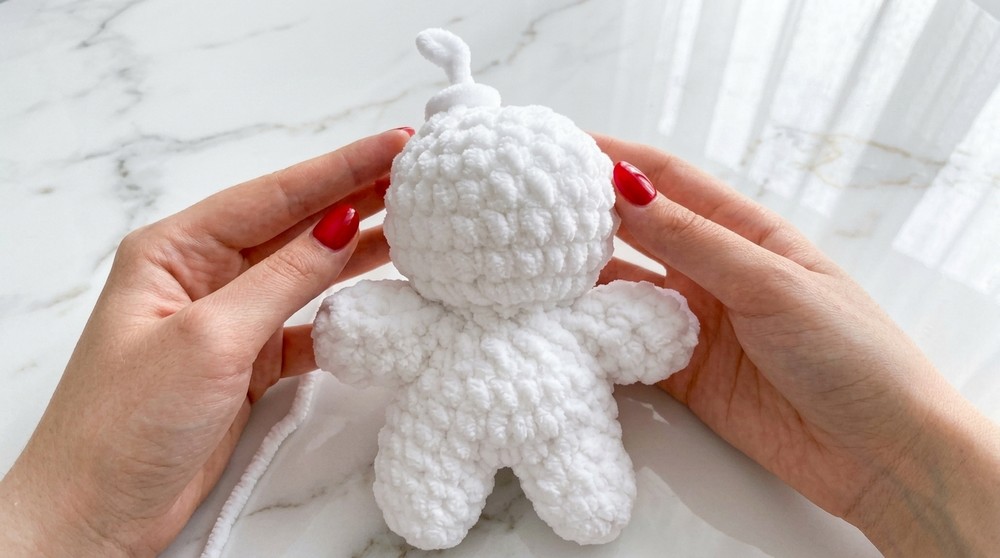
- Crochet according to the video's detailed transcript instructions:
Ears (Make Two)
- Follow rows as written under the Ear Section (Rows 1-15).
- Create the ears by shaping them through decreases.
- Close the openings by sewing or slip stitching.
Dress and Straps
- Follow the instructions in the Dress Section:
- Work the body of the dress in rows.
- Create the skirt using half double crochets (HDC).
- Attach the straps to the desired position on the bunny.
- Ensure the dress fits before sewing the straps.
- Finish by weaving in all loose ends and adjusting the fit.

Finishing and Assembling
- Attaching Ears to the Head:
- Fold the ears and position them at the back of the head.
- Sew securely with a yarn needle.
- Facial Features:
- Use pink yarn to embroider the nose and mouth. Follow the steps in the transcript for placement and technique.
- Final Touches:
- Add safety eyes securely (optional).
- Adjust stuffing as needed.
Final Words and Tips
- Yarn Selection: Choose soft, plush yarn for a cuddly finish.
- Tight Stitches: Keep stitches snug to prevent stuffing from showing.
- Count Stitches: Use stitch markers to track rows and ensure accuracy.
- Practice Sewing: Take your time when attaching parts like ears for symmetry.
- Cleaning: Wash the bunny gently if dirty and let it air dry.
Difficulties and Simple Solutions
Some parts of this plushie bunny pattern might feel a little tricky at first, especially if you are new to amigurumi. Working with a magic ring and tight single crochets can make your hands feel tense, so try to crochet slowly and relax your grip to avoid hand pain. Shaping the head and body with increases and decreases can also be confusing, but counting your stitches carefully and using stitch markers will help you stay on track. Attaching the arms, legs and ears evenly is another common challenge, so it helps to pin them in place first to check the position before sewing. If the face embroidery looks uneven or crooked, simply remove the yarn and try again until you are happy with the expression. With patience, careful counting and a bit of practice, each step becomes easier and your bunny will turn out cuter every time.