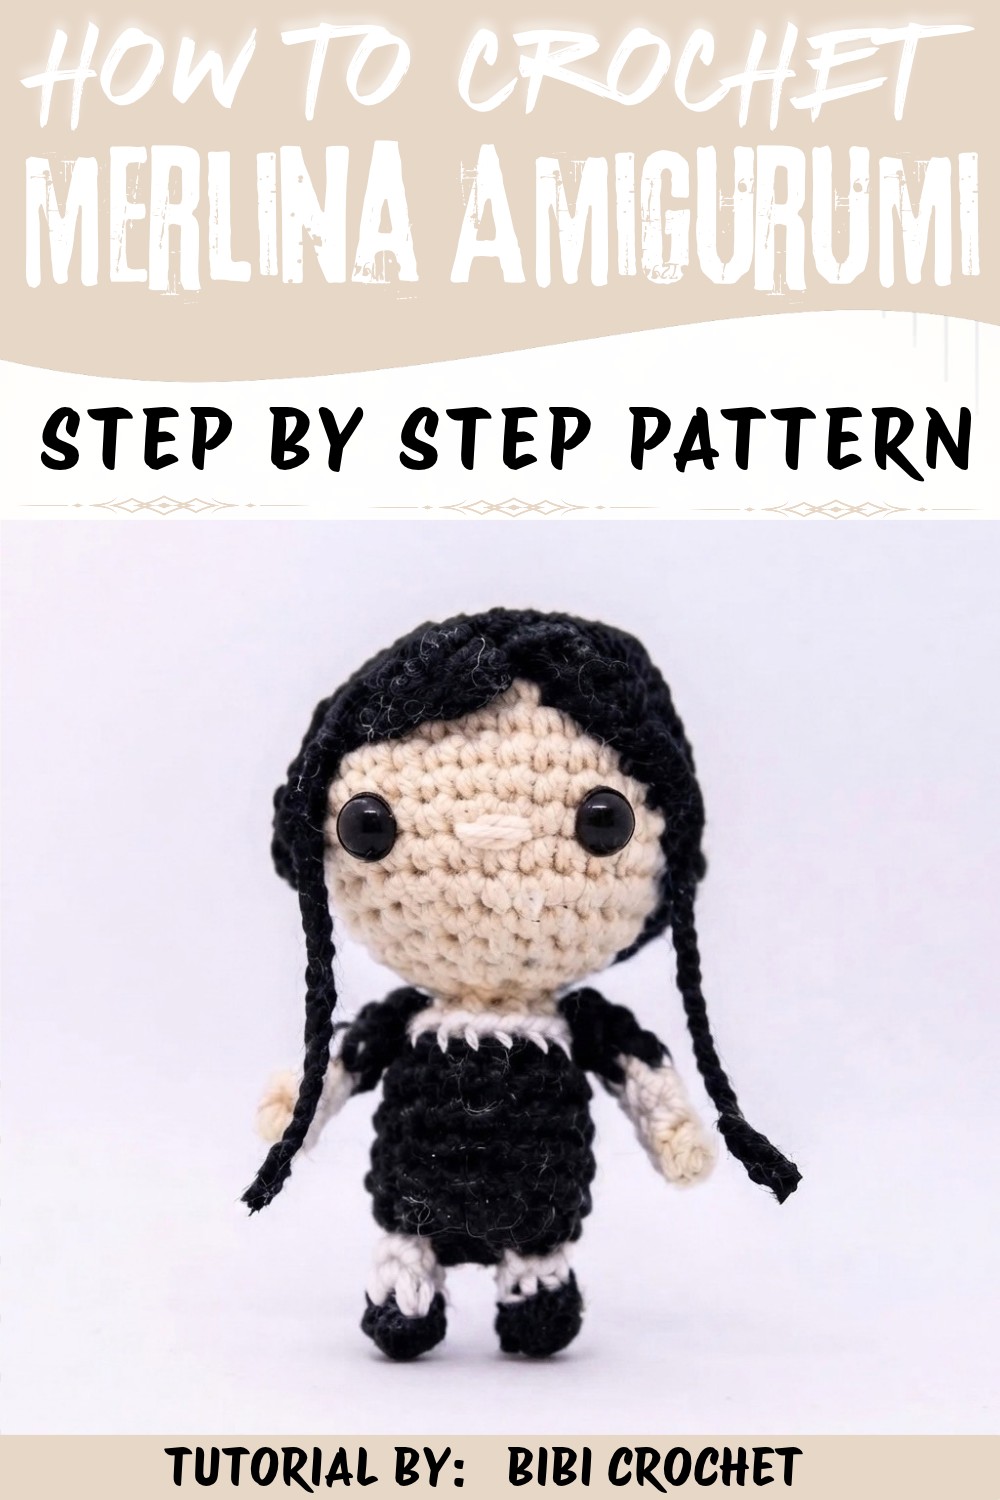
Keep gothic charm on your shelf with this Crochet Merlina Amigurumi Pattern featuring her classic outfit, dark style, and signature braids.
If you love cute and magical crochet projects, you'll really enjoy making this charming little doll inspired by Merlina. The pattern comes from Bibi Crochet, a talented creator who shares her work on YouTube. For your convenience, there's an easy-to-follow written version included to guide you through each step. The Crochet Merlina Amigurumi Pattern is perfect for crocheters who enjoy clear instructions and adorable results.
Stylish Crochet Merlina Amigurumi Free Pattern with Classic Outfit
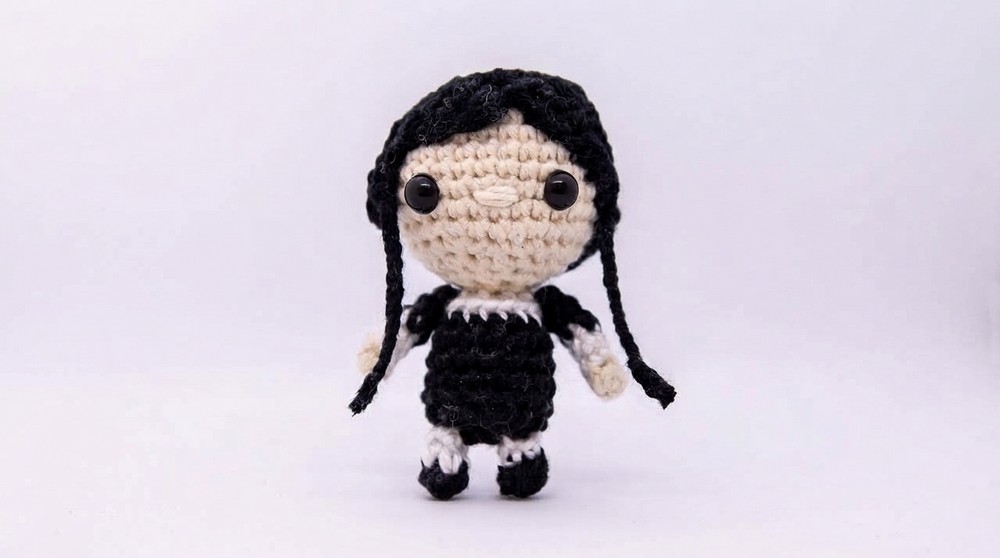
This amigurumi stands out with its neat little details. It's not too big, making it a perfect size to hold or place on your bookshelf. The doll has smooth, rounded shapes that show just how much care has gone into creating the design. Its textures come from soft yarn, which gives it a nice, cuddle-friendly feel. The colors are simple but striking-mostly dark tones with eye-catching highlights-that really bring Merlina's look to life.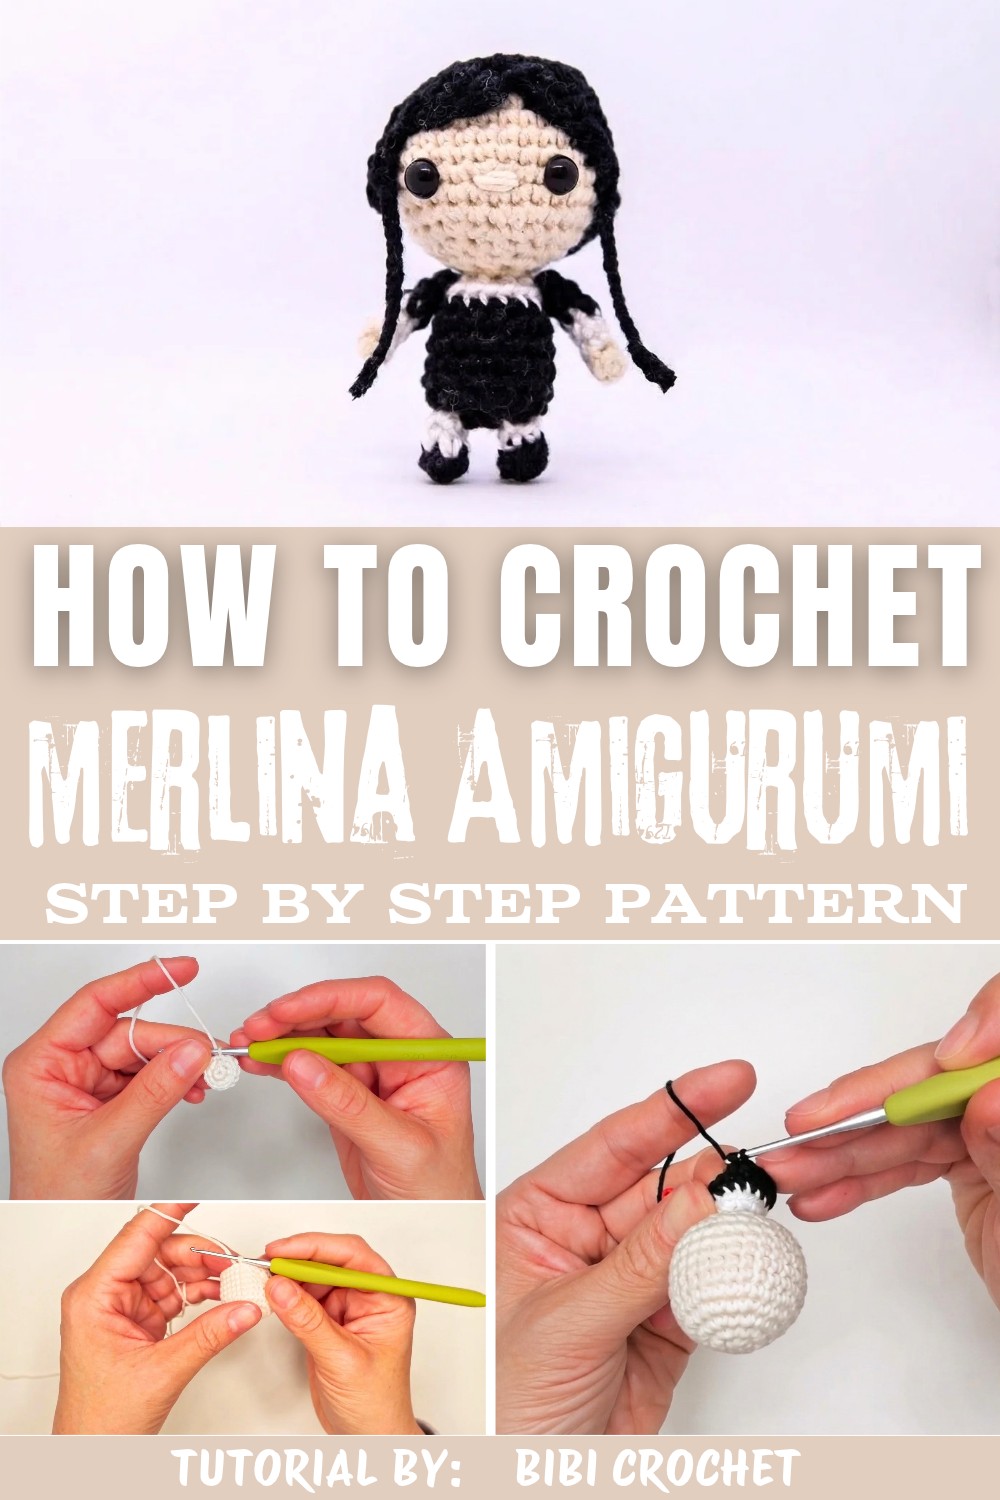
Making this amigurumi is a lovely way to practice your crochet skills because it mixes basic stitches with some gentle shaping techniques. You'll just need common materials like yarn, a crochet hook, stuffing, and a few finishing touches like safety eyes or embroidery thread for the face. Once finished, it's a wonderful addition to your collection of handmade toys or a thoughtful gift for someone who loves magical stories and cozy crochets.
Crochet Merlina Amigurumi Free Pattern
This step-by-step design guides the creation of Wednesday Addams-known as Merlina in Spanish-in amigurumi form, using structured rounds, intentional color transitions, and detailed assembly. Each stage carefully replicates the character's signature features, from her classic braided hair and monochrome dress to the seamless integration of collar and accessories. Clear stitch instructions and logical part construction ensure an orderly process from foundation to final detail, resulting in a doll that strongly resembles the original iconic look. The sequence of instructions emphasizes clarity, allowing for an efficient and accurate completion of every section, all while capturing the unique spirit of Wednesday's instantly recognizable style.
Quick Overview Of Pattern
- Head, neck, and body worked continuously in rounds
- Dress incorporates clear color changes for collar and skirt
- Safety eyes or alternate crochet eyes added for facial expression
- Signature hair features assembled separately, including detailed braids and bangs
- Arms and legs constructed for secure fastening and proportionate placement
- Final assembly brings all components together, with finishing touches for facial details
Notes
- Place a stitch marker at the start of each round for accurate counting
- Ensure color changes are completed in the last yarn-over of the previous stitch
- Stuff pieces as you go, using even amounts to retain shape and structure
- Use a tapestry needle for sewing, attaching, and weaving in yarn ends securely
- Safety eyes should be inserted before closing the head to avoid difficulty later; otherwise, glue eyes after assembly
- When forming braids, use three-strand technique for authentic style
Skill Level
- Advanced Beginner / Intermediate
- Experience with working in the round, color changes, basic increases and decreases, and simple embroidery is recommended.
Materials
- Yarn: Size 3 (light worsted) yarn in Beige (Skin), White, and Black
- Crochet Hook: Size 2 mm
- Stuffing: Fiberfill or cotton stuffing
- Notions: Safety eyes or crochet eyes, stitch marker, tapestry/yarn needle, scissors
Measurements / Sizing
- Finished Height: Approximately 13-15 cm, depending on yarn, tension, and stuffing
- Width: About 5 cm at the widest part (dress)
Gauge (and Stitch Pattern if applicable)
- Gauge is not critical for this amigurumi, but for reference: 8 sc x 8 rows = 2.5 cm square.
- All main sections use single crochet in the round; additional stitches detailed in special stitch section.
Stitch Abbreviations
| Abbreviation | Meaning |
|---|---|
| MR | Magic Ring |
| sc | Single crochet |
| inc | Increase (2 sc in same stitch) |
| dec | Decrease (sc 2 together) |
| hdc | Half double crochet |
| dc | Double crochet |
| sl st | Slip stitch |
| BLO | Back loop only |
| ch | Chain |
Special Stitches
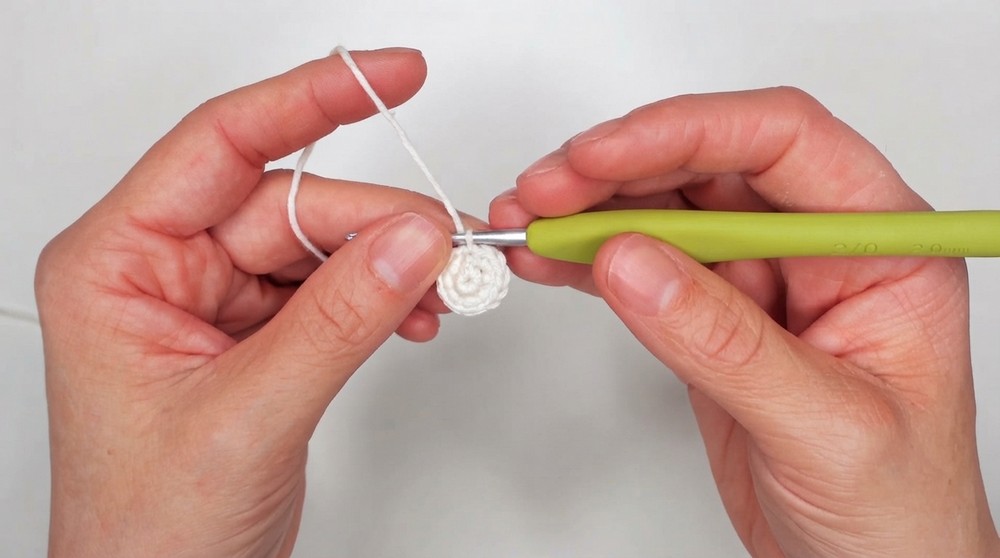
- Magic Ring (MR): Start with yarn loop, hold in place, insert hook, pull yarn through, chain one, work specified stitches into ring, pull tight.
- Increase (inc): Work two single crochets in the same stitch.
- Decrease (dec): Insert hook in next stitch, yarn over, pull through, insert in following stitch, yarn over, pull through, yarn over again and pull through all loops.
- Back Loop Only (BLO): Single crochet worked into only the back loop of each stitch.
- Color Change: Complete the last yarn-over of previous stitch using the new color.
The Crochet Pattern
Head
- Round 1: Start with a magic ring of 7 sc [7]
- Round 2: Ch 1, 7 inc around [14]
- Round 3: Ch 1, (1 sc, 1 inc) repeat around [21]
- Round 4: Ch 1, (2 sc, 1 inc) repeat around [28]
- Rounds 5-10: Ch 1, 1 sc in each stitch around [28 each round]
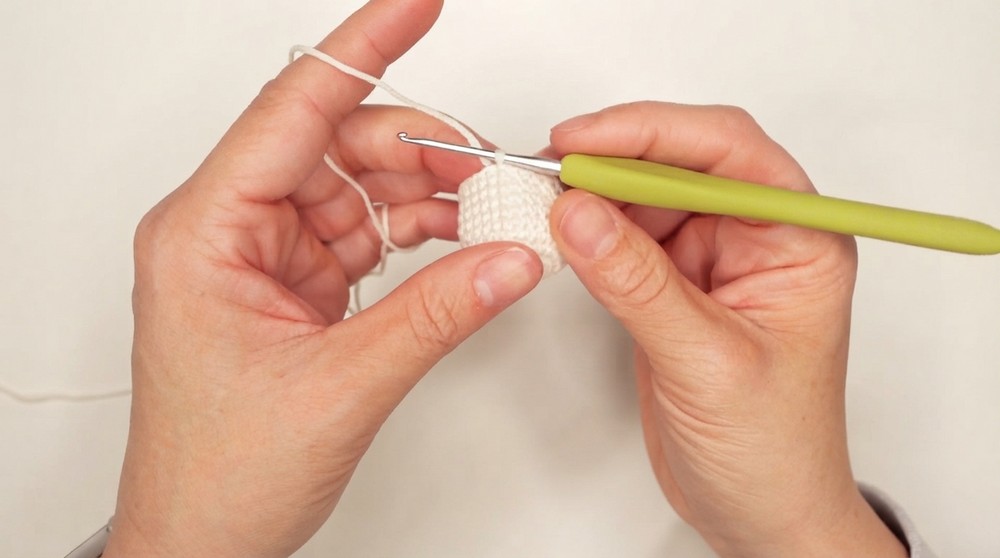
- Round 11: Ch 1, (2 sc, 1 dec) repeat around [21]
- Round 12: Ch 1, (1 sc, 1 dec) repeat around [14]
At this point, insert safety eyes between Rounds 7 and 8. Stuff firmly.
- Round 13: Ch 1, 7 dec around [7]
Neck & Body
Neck (Beige Yarn)
- Round 14: Ch 1, 1 sc in each stitch around [7]
- At the end of Round 14, switch to white yarn.
Collar & Dress Body (White & Black)
- Round 15 (White): Ch 1, 7 inc around [14]
- Switch to black yarn before completing Round 15.
- Round 16 (Black, BLO): Ch 1, working in BLO only, 1 sc in each stitch around [14]
- Round 17 (Black): Ch 1, sequence: 2 sc, 2 inc, 6 sc, 2 inc, 2 sc [18]
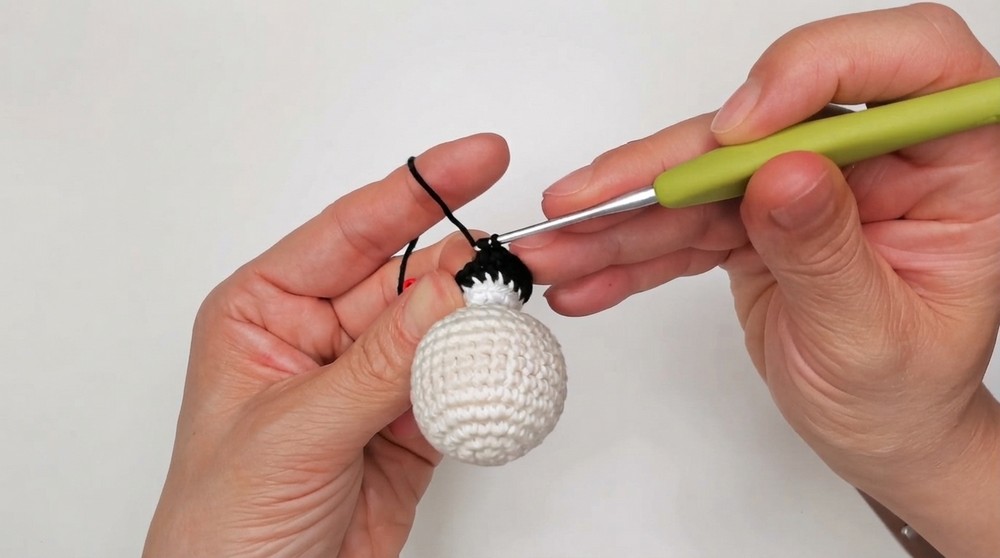
- Rounds 18-22: Ch 1, 1 sc in each stitch around [18 each round]
Dress Bottom Cap
- Round 1: MR of 6 sc [6]
- Round 2: Ch 1, 6 inc around [12]
Prepare to assemble by lightly stuffing the lower body. Align the cap at body opening and sew around to close torso.
Hair & Braids
Hair Cap Base
- Round 1: MR of 7 sc [7]
- Round 2: Ch 1, 7 inc around [14]
- Round 3: Ch 1, (1 sc, 1 inc) repeat around [21]
- Round 4: Ch 1, (2 sc, 1 inc) repeat around [28]
- Round 5: Ch 1, work 20 sc [20]
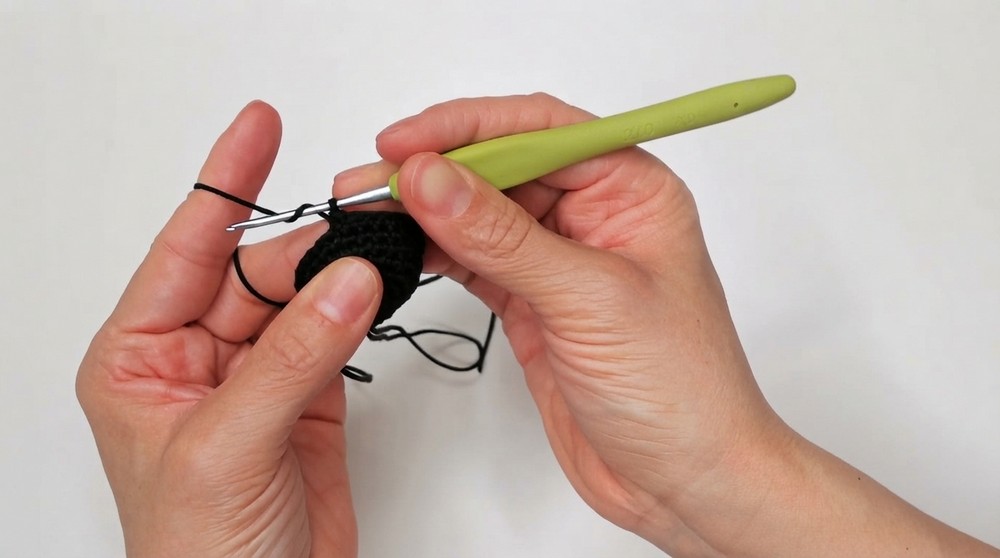
Bangs Shaping
- Round 6:
- Work 20 sc
- Across next stitches: 1 sc, 1 hdc, 1 dc, 1 sl st
- Following 4 stitches: 1 sl st, 1 dc, 1 hdc, 1 sc
- Join with a sl st to complete the round
Braid Extensions & Shaping
- Left Strand: Ch 1, 1 sl st, 1 sc, 1 hdc, 2 dc. Leave 3 long strands for braiding.
- Back Section: Reattach yarn next to braid base, sc across back, leave 5 stitches open opposite the braid.
- Right Strand: 2 dc, 1 hdc, 1 sc, 1 sl st. Leave 3 long strands for braiding.
- Braiding: Divide long strands into three, braid tightly and tie off with black yarn.
- Back Extension: Reattach yarn along lower back edge, work 3-4 short rows in sc (decrease at each end) for extended coverage.
Securely sew or glue cap onto head.
Arms (Make 2)
- Round 1 (Beige): MR of 4 sc [4]
- Switch to white yarn before closing Round 1.
- Rounds 2-3 (White): Ch 1, 1 sc in each stitch around [4]
- Switch to black at end of Round 3.
- Rounds 4-5 (Black): Ch 1, 1 sc in each stitch around [4]
- Fasten off, leave tail. Sew arms beside body, just under collar.
Legs (Make 2)
- Round 1 (Black): MR of 4 sc [4]
- Switch to white before closing Round 1.
- Round 2 (White): Ch 1, 1 sc in each stitch around [4]
- Fasten off, leave tail. Sew legs to bottom of dress.
Facial Details & Finishing Touch
- Nose: Thread a needle with beige yarn. Make 2-3 horizontal stitches between eyes, center of face. Tie off and hide ends inside head.
- Eyes: If safety eyes were not inserted earlier, glue small black eyes between Rounds 7 and 8.
Assembly & Finished Size
- Attach arms just below the collar, legs sewn to bottom edge of dress cap.
- Hair cap, including braids and bangs, should fit neatly atop head; sew or glue securely.
- Embroider or glue facial features for symmetry. All sewn ends must be hidden for a polished look.
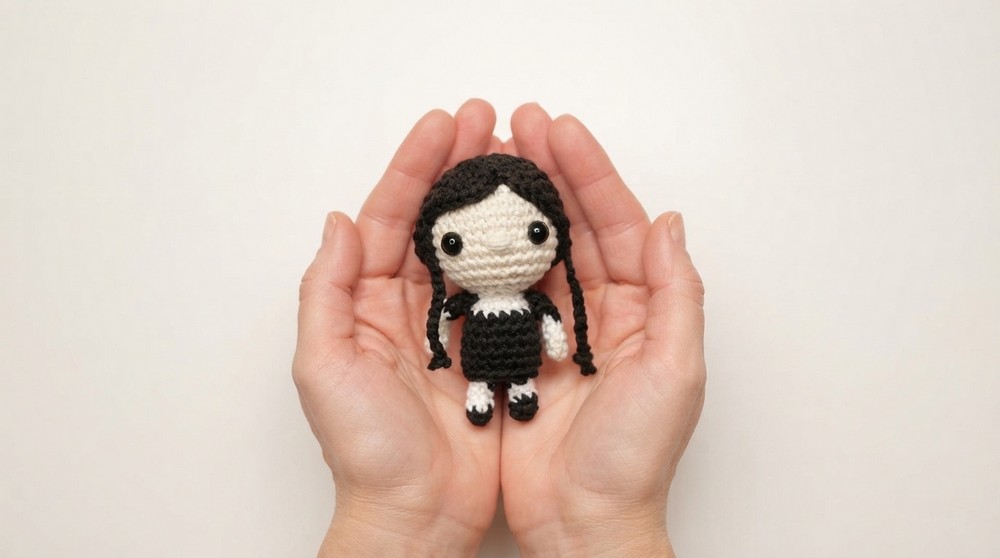
- The finished doll stands approximately 13-15 cm tall, with distinctive features and accurate shaping.
Conclusion
Each instructional step has contributed to forming a recognizable Wednesday Addams amigurumi, utilizing strategic color changes, detailed shaping, and careful placement of expressive elements. Piece by piece, the figure transforms, highlighting signature traits through neat transitions and proportionate assembly. The braided hair, collar, and tailored dress identify the character clearly, providing both visual accuracy and well-structured construction. As final details are added, the overall work reflects both precision and attention, offering a distinctive piece suited for display or gifting. The completed doll stands as a testament to sequential technique and steady progress, resulting in a project with structured balance and clear, recognizable features throughout.