
Enjoy a cozy and stylish free crochet poncho that keeps you warm, looks great with any outfit, and is perfect for any weather or occasion.
Have you ever thought about wearing something that's both cozy and stylish? A crochet poncho is the perfect choice for adding charm and comfort to your outfit. Known for its soft and flowing design, a poncho is easy to wear and works amazingly well for any occasion, whether it's a chilly day or a light cover for sunny weather. Its versatility lets you pair it with casual clothes or dress it up for a more fashionable look.
Free Crochet Poncho Pattern Perfect for Every Season

What makes it special is the beautiful patterns and colors that can be used to create this unique piece. You can choose bright shades for a cheerful vibe or soft tones for a calm and relaxed appearance. The simple yet elegant design of a poncho makes it an ideal project for anyone who loves creativity and comfort. It's not just a clothing item, it's an easy and fun way to stay warm, look good, and express your own style in a soft and practical garment that everyone will admire.
Step-by-Step Crochet Poncho with Fringe Pattern
Materials Required
Yarn:
- Medium Weight (#4) Yarn.
- Approx. 1,200-1,500 yards (depending on size and fringe length).
- Suggested: Acrylic or cotton yarn.
Crochet Hook:
- 5 mm crochet hook (or size recommended for your yarn).
Notions:
- Darning needle (for weaving in ends and invisible joins).
- Scissors.
- Stitch markers (optional, to mark divisions).
Skill Level
Intermediate: Includes techniques such as puff stitch, v-stitches, treble crochet, invisible joins, and picot edging.
Key Abbreviations
(All terms are in US Crochet Terminology.)
- ch: Chain
- sc: Single Crochet
- hdc: Half Double Crochet
- dc: Double Crochet
- tr: Treble Crochet
- sl st: Slip Stitch
- st(s): Stitch(es)
- v-stitch: (dc, ch 1, dc in the same space).
- puff stitch: (Yarn over, insert hook into space, draw up a loop, yarn over, draw up a loop) three times, yarn over, pull through all loops.
Special Techniques
1. Slip Stitch Joining
Used to seamlessly join squares and create flat seams.
2. Invisible Join
Gives your edges a professional finish by creating a seamless "V-stitch."
3. Picot Edging
Decorative stitch that adds a delicate texture to the neckline.
4. Fringe Attachment
Evenly spaced fringe enhances the look of the poncho while using leftover yarn.
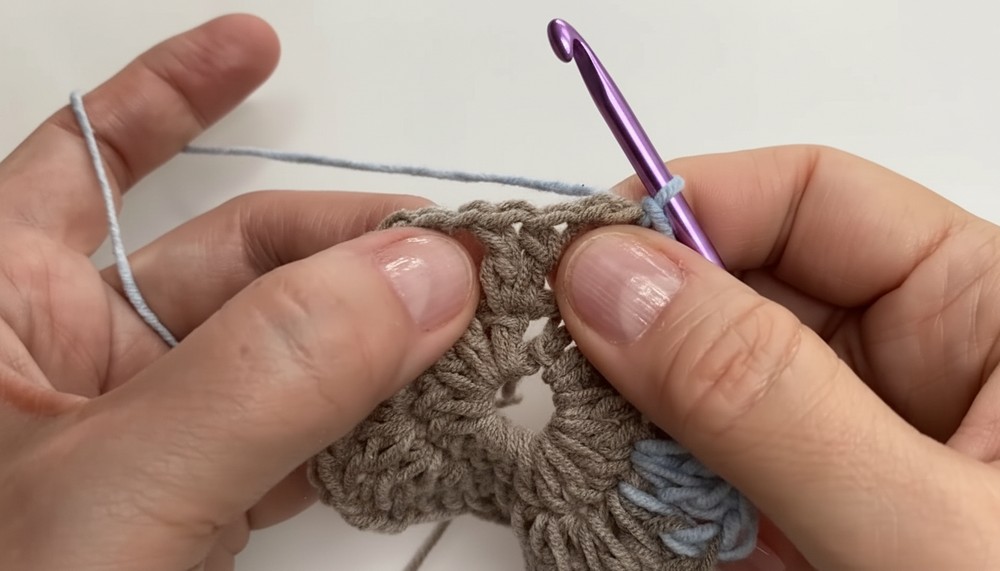
Pattern Instructions
Step 1: Make the Squares
Each square is crocheted individually. You will need four identical squares, 15 inches by 15 inches (38 x 38 cm).
Square Pattern
Foundation:
- Begin with a slip knot, then ch 6.
- Join with a sl st to form a circle.

Round 1 (Base Circle):
- Ch 3 (counts as a dc). Work 15 dc into the circle.
- Sl st to join in the top of the ch-3.
- Stitch Count: 16 dc.
Round 2:
- Ch 3 (or starting dc). Work 2 dc in the same st, then ch 1.
- In the next st, work 2 dc, ch 1.
- Repeat (2 dc, ch 1) in each stitch around.
- Sl st to join.
- Stitch Count: 32 dc.
- Stitch Count: 32 dc.
Round 3 (Puff Round):
- Slip stitch into the next chain space.
- Work puff stitch in the chain space, then ch 1.
- Continue (puff stitch, ch 1) into each chain space around.
- Sl st to join.
- Stitch Count: 16 puff stitch.
Round 4 (V-Stitch Round):
- Slip stitch into the next chain space.
- Work a v-stitch: (dc, ch 1, dc) in the chain space, then ch 2.
- Continue (v-stitch, ch 2) into each chain space around.
- Sl st to join.
- Stitch Count: 16 v-stitches.

- Stitch Count: 16 v-stitches.
Round 5:
- Slip stitch into the next chain space.
- Work 2 dc in each chain space, then ch 1 between groups.
- Repeat (2 dc, ch 1) around.
- Sl st to join.
- Stitch Count: 64 dc.
Round 6:
- Slip stitch into the next chain space.
- Work dc, ch 3, dc in each chain space.
- Sl st to join.
- Stitch Count: 32 dc.
Round 7:
- Work 2 dc in each chain space and 1 dc in the top of each dc from Round 6.
- Repeat around.
- Stitch Count: 96 dc.

Step 2: Turn Circle into a Square
Square Corners
- Divide the circle into four sections. Mark each eight-chain space with stitch markers.
- For each corner:
- 2 tr, ch 2, 2 tr in the marked space to form the corner.

- 2 tr, ch 2, 2 tr in the marked space to form the corner.
Square Sides
Between each corner:
- Work the following sequence:
- 4 dc, 4 hdc, 4 sc (across three chain spaces).
- 4 hdc, 6 dc into the next three chain spaces leading up to the next marked corner.
- Repeat sides and corners for all four edges to shape the square.
Step 3: Joining the Squares
- Lay out the squares:
- Arrange the squares with one piece for the front, one for the back, and the other two acting as the shoulder sections.
Slip Stitch Joining
- Hold two squares together, with wrong sides facing each other.
- Insert hook into the outer stitch of each square and slip stitch across each edge.
- Join both shoulders to the front and back squares while leaving the neckline open.

Step 4: Edging Around the Poncho
Single Crochet Edging:
- Work 1 sc in each stitch around, placing 3 sc in each corner chain space for shaping.
Picot Edging (Neckline):
- At the neckline, work (sc, ch 3, sl st into back bump of ch 3, sc) in each chain space to create picots.
- Continue around the neckline to add decorative detail.
Step 5: Fringe
- Cut yarn strands 8 inches (20 cm) long.
- Fold four strands in half, pull through edge stitches using a crochet hook, and secure.
- Evenly space the fringe for a polished look.

Finishing Instructions
- Ensure all loose ends are woven in using your darning needle.
- Steam or block the poncho gently to finalize its shape.

Final Words
Congratulations on completing this dazzling poncho! Its versatility allows you to experiment with colors, textures, and sizing, making it suitable for everyone. The elegant fringe and picot edging put the finishing touch on a modern yet cozy garment.
Tips for Success
- Customize: Adjust the square size or fringe length to suit your style.
- Seaming: Use stitch markers to align sections before joining.
- Blocking: Blocking the squares ensures uniform dimensions before assembling.