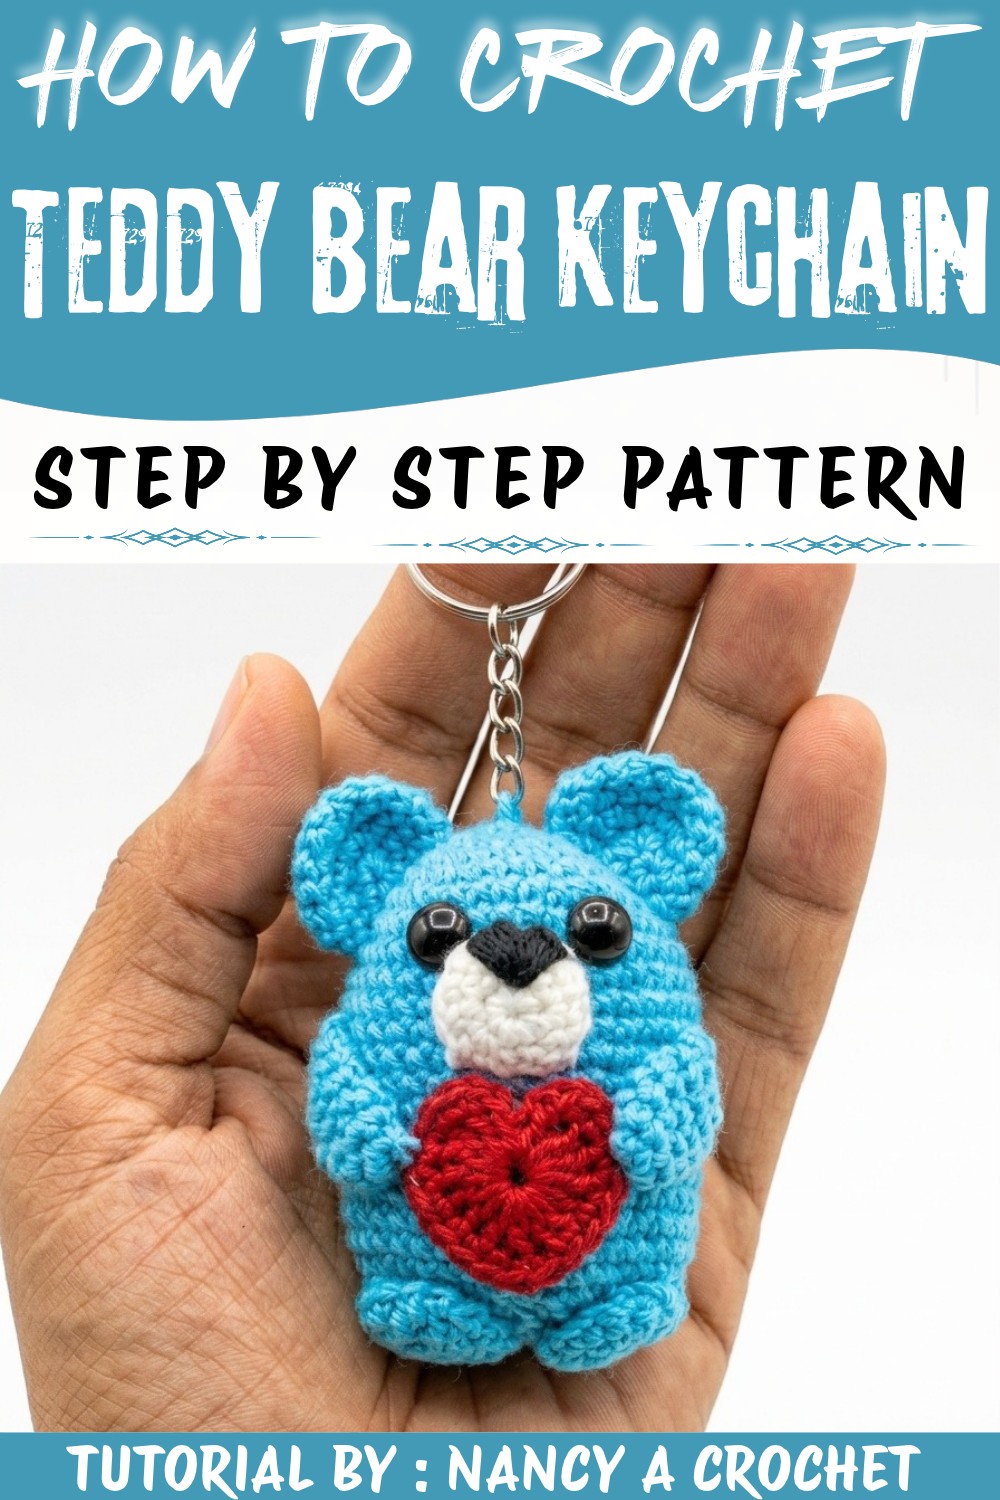
Clip a tiny bear to your keys with this Crochet Teddy Bear Keychain Free Pattern, featuring soft ears and a sweet face for purses & backpacks.
If you're looking for a charming little project that brings joy and creativity together, let me share a delightful story about a tiny teddy bear that's stealing hearts everywhere. This adorable item is a miniature crocheted bear, designed to fit perfectly on a keyring or bag. The "Crochet Teddy Bear Keychain Pattern" is featured in a wonderful tutorial by Nancy a crochet on YouTube, who deserves full credit for both the design and the step-by-step guidance that makes this project accessible to everyone.
Cute Crochet Teddy Bear Keychain Free Pattern For Bag Accessories
The Crochet Teddy Bear Keychain Pattern is not just a cute accessory - it's a beautifully textured treasure that carries significant gifting potential. Whether as a thoughtful present for a loved one, a sweet keepsake for friends, or a personal charm to brighten your own day, this little bear adds a heartfelt touch wherever it goes. Its compact size makes it ideal for use as a keychain, zipper pull, bag charm, or even as a decorative accent on a desk or shelf. Plus, its presence is sure to evoke smiles and warm memories.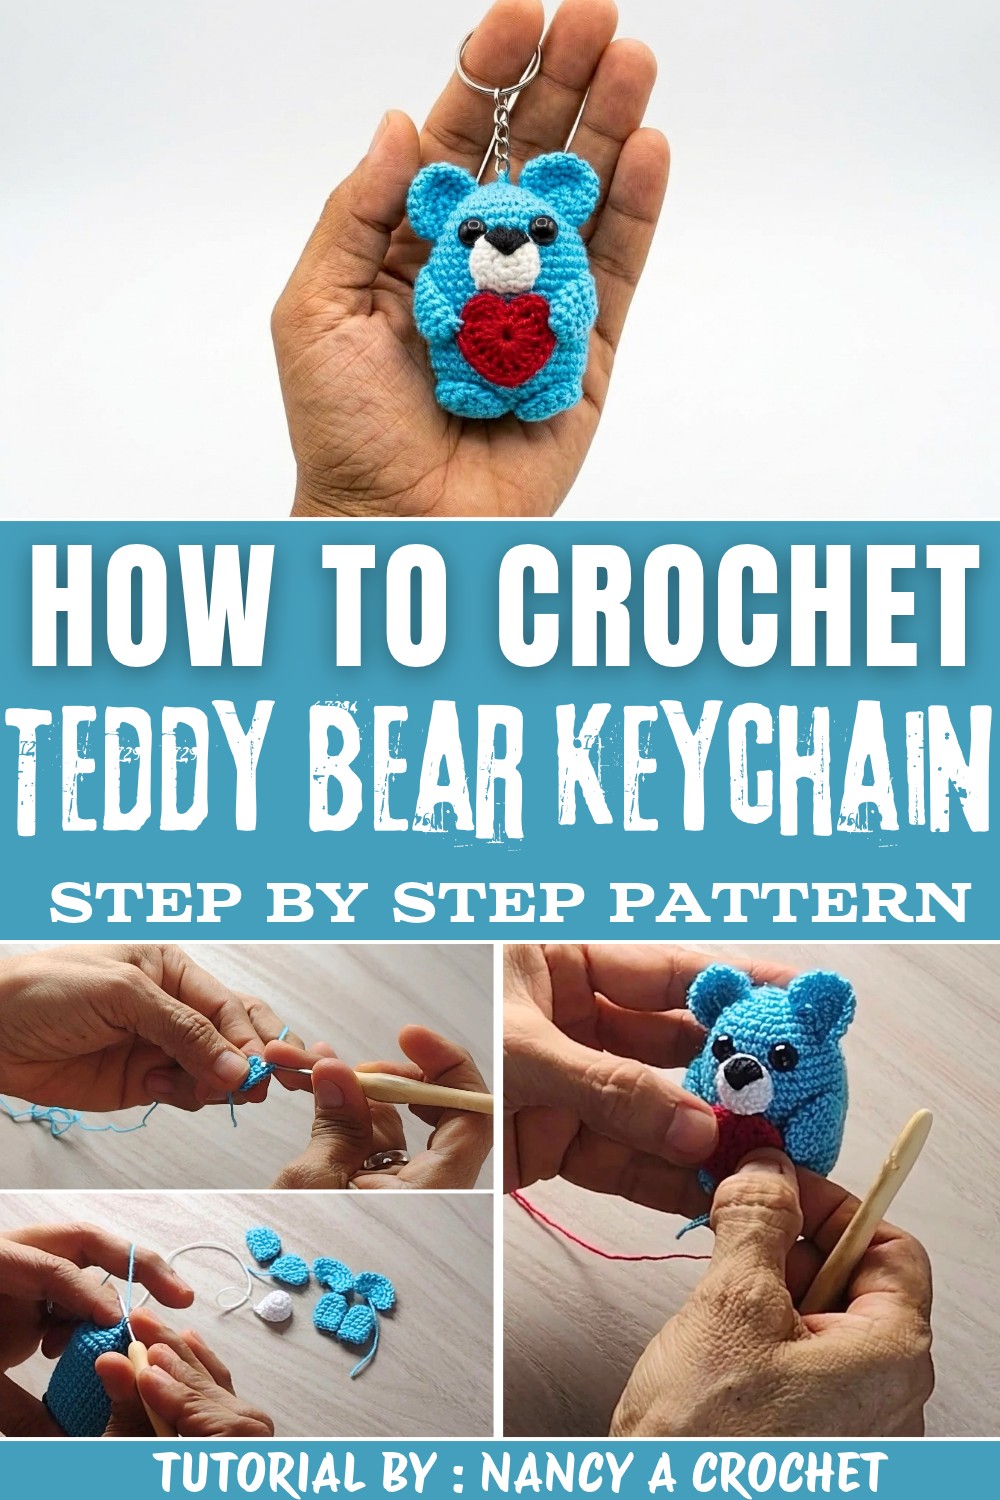
This tiny bear boasts a soft, plush-like texture created by carefully worked stitches using mercerized cotton yarn and fine crochet hooks. Its rounded shape captures the classic teddy bear silhouette with a stylized look - complete with delicate ears, little arms, stubby legs, and a sweet embroidered snout and nose that bring personality to its face. The design's standout feature is surely the heart detail attached near the arms, adding an extra layer of charm and sentiment. The style is cute and whimsical, blending simplicity with a delightful handcrafted feel, making it appealing to a wide range of ages and tastes.
Overall, this Crochet Teddy Bear Keychain Pattern is a wonderful way to create a small but meaningful keepsake filled with warmth, character, and love.
Adorable Crochet Teddy Bear Keychain Free Pattern
A charming teddy bear keychain is a delightful handmade item that adds a touch of warmth to everyday accessories. Working step-by-step with simple crochet techniques, this project produces a small, friendly bear that fits comfortably in the palm of your hand. The process combines classic amigurumi construction-individual pieces for ears, limbs, snout, and body-each shaped for maximum appeal. Embroidered details such as the nose and a heart accessory offer character and personalization, resulting in a cheerful companion for bags, keys, or gifts. The instructions focus on structure and easy assembly, ensuring a neat, sturdy finish. Choosing your preferred yarn colors and safely inserting eyes guarantees individuality for every piece. This project suits those wishing to practice fundamental crochet stitches while producing a meaningful, practical accessory that is sure to spark smiles wherever it's seen.
Quick Overview Of Pattern
- Ears, arms, legs, snout, body, and head are worked separately and then sewn together.
- All pieces are crocheted in the round, beginning with a magic ring.
- Safety eyes and embroidered details create a friendly expression.
- A heart accessory and keychain hardware complete the design for a delightful, portable finish.
Notes
- Always use a tight tension; this prevents stuffing from showing through the stitches.
- When increasing or decreasing, be careful to keep to the pattern to ensure proportions remain correct.
- Stuff the head and body as you go since openings narrow quickly.
- You may use any color combination; classic brown and beige are timeless, but feel free to personalize.
- If you wish to use different yarn weights, adjust hook size as necessary.
- Hide yarn tails inside the pieces for a neat appearance.

Skill Level
Advanced Beginner to Intermediate.
The pattern uses only basic stitches but requires confidence in making magic rings, increasing, decreasing, and sewing pieces securely for assembly. Embroidering small features like the nose is included as a finishing touch.
Materials
- Cotton yarn in brown, beige, and white (or your preferred colors)
- Small amount of black thread for embroidery
- Crochet hook (1.5 mm, 2.0 mm, or 2.5 mm)
- Yarn needle
- Scissors
- Fiberfill stuffing
- Keyring and keychain hardware (optional: stitch marker)
Measurements / Sizing
- Finished bear is approximately 7-9 cm tall (variable depending on yarn/hook choice).
- Heart accessory: ~1.5-2 cm wide.
Gauge & Stitch Pattern
- No strict gauge; simply ensure stitches are tight so that stuffing does not show.
- Main stitch throughout: Half double crochet (hdc), also called "half point" or "medio punto."
- Crocheted in spiral rounds, unless otherwise specified (do not join unless noted).
Stitch Abbreviations
| Abbreviation | Meaning |
|---|---|
| MR | Magic ring / magic circle |
| ch | Chain |
| sl st | Slip stitch |
| sc | Single crochet |
| hdc | Half double crochet |
| htr | Half treble crochet |
| tr | Treble (triple) crochet |
| inc | Increase (2 stitches in one stitch) |
| dec | Decrease (crochet 2 stitches together) |
Special Stitches
- Magic ring (MR): Wrap yarn to create a loop, crochet directly into the ring for a seamless, tight start.
- Half double crochet (hdc): Yarn over, insert into stitch, yarn over and pull up a loop, yarn over and pull through all three loops.
- Treble crochet (tr): Yarn over twice, insert hook into stitch, yarn over and pull through two loops (repeat twice).
- Half-treble (htr): Yarn over, insert hook, draw up loop, yarn over, pull through all loops.
The Crochet Pattern
Ears (make 2)
- Round 1: Start with a magic ring. Secure with a chain 1 (safety point), then work 6 sc into the ring. Pull tight to close.
- Round 2: Turn work. Make increase (2 sc in one stitch), next stitch sc, continue alternating, finishing with 9 sc total for the round.

- To finish: -Ch 1, cut leaving a yarn tail for sewing.
Arms (make 2)
- Round 1: Make a magic ring, secure with a chain, 6 sc into the ring. Pull thread to close, sl st to join.
- Round 2: Start with 1 sc, then an increase (2 sc in next stitch). Continue around, ending with 9 sc.
- Rounds 3 to 6: 1 sc in each stitch (maintain 9 sc for 4 rounds). Finish and weave inside yarn tails.
Legs (make 2)
- Round 1: Make a magic ring, chain to secure, 6 sc (half points).
- Round 2: Increase in each stitch around (2 sc per stitch) to make 12 sc total.
- Round 3: 1 sc in each stitch around (12 sc).
- Round 4: (2 sc, 1 increase) repeat all the way around, ending with 24 sc for the round.
- Round 5: 1 sc in each stitch around (24 sc).
Snout
- Round 1: With white yarn, make a magic ring, chain to secure, 6 sc. Pull thread, sl st to close round.
- Round 2: Increase in each stitch (2 sc per stitch) for a total of 12 sc.
- Rounds 3 to 4: 1 sc in each stitch (12 sc).
- Finishing: Embroider a nose in black and a small mouth for a sweet expression.
Body and Head (worked as one piece)
- Round 1: Make a magic ring, chain to secure, 6 sc, pull thread, sl st to close.
- Round 2: Ch 1 for height, increase in each stitch (12 sc).
- Round 3: (1 sc, 1 increase) repeat around-18 sc.
- Round 4: (2 sc, 1 increase) repeat-24 sc.
- Round 5: (3 sc, 1 increase) repeat-30 sc.

- Round 6: (4 sc, 1 increase) repeat-36 sc.
- Rounds 7 to 20: 1 sc in each stitch (36 sc per round). Continue up to round 20.
- Round 21 (decreases): (4 sc, 1 decrease) repeat-30 sc.
- At this stage: Insert safety eyes between rounds 5-7, approximately 5 stitches apart; stuff body and head as you continue.
- Round 22: (3 sc, 1 decrease)-24 sc.
- Round 23: (2 sc, 1 decrease)-18 sc.

- Round 24: (1 sc, 1 decrease)-12 sc.
- Closing: Cut yarn, thread through a yarn needle, run through front loops of remaining stitches, pull tightly to close and knot.
Crochet Heart Accessory
- Make a magic ring, chain 3.
- Work 3 treble (tr) stitches into the ring.
- Crochet 3 half-treble (htr) stitches.
- Chain 1, 1 tr stitch, chain 1, 1 htr stitch.
- Mirror symmetrically: repeat in reverse order for opposite side.

- Slip stitch to close, fasten off, and hide tails.
Assembly & Finished Size
- Attach Limbs:
Sew legs to the base of the body using the yarn tails; secure evenly. Attach arms at the sides, just below where the head is widest.

- Attach Ears:
Fold ears at base and sew securely to the upper head on either side. - Attach Snout:
Position below eyes and sew into place, stuffing lightly as you stitch for extra dimension. - Add Heart:
Position and sew the heart accessory gently between the bear's outstretched arms.

- Finish:
Weave in all loose ends. If making a keychain, attach hardware to secure your bear for travel. - Finished Size:
Approximately 7-9 cm tall, depending on materials.

Conclusion and Ending Words
Completing this teddy bear keychain showcases both attention to detail and enjoyment of working with simple materials. Following clear rounds and assembly steps, the outcome is a plush companion that stands out for its softness and sweet expression. This hand-sized figure can be personalized with color choices and accessories, ensuring wide appeal for gift-giving or personal use. Securely attached parts, carefully embroidered features, and thoughtful finishing touches result in a durable keepsake-ready to brighten pockets, backpacks, or keyrings. The project demonstrates the value of patience and precision, turning humble yarn into a cheerful mascot with lasting sentimental value. Every stitch and seam contributes to the overall character, ensuring the teddy bear remains a treasured token for anyone seeking a gentle reminder of warmth and care.