
Try this free crochet beret pattern to create a simple and stylish hat that keeps you warm and looks nice with many different outfits.
A simple step-by-step guide can help you make something special that keeps your head cozy and adds charm to your look. Using a crochet beret pattern is an enjoyable way to spend time, whether you are young or old. Each loop and stitch comes together to form a round hat that's both stylish and gentle. Many people find that making this hat is relaxing, and giving one as a gift brings a smile to the face of a friend or family member. With a crochet beret pattern, you have the freedom to pick a favorite shade and change the look each time, so no two berets ever need to be the same.
Cozy Free Crochet Beret Pattern for Unique style
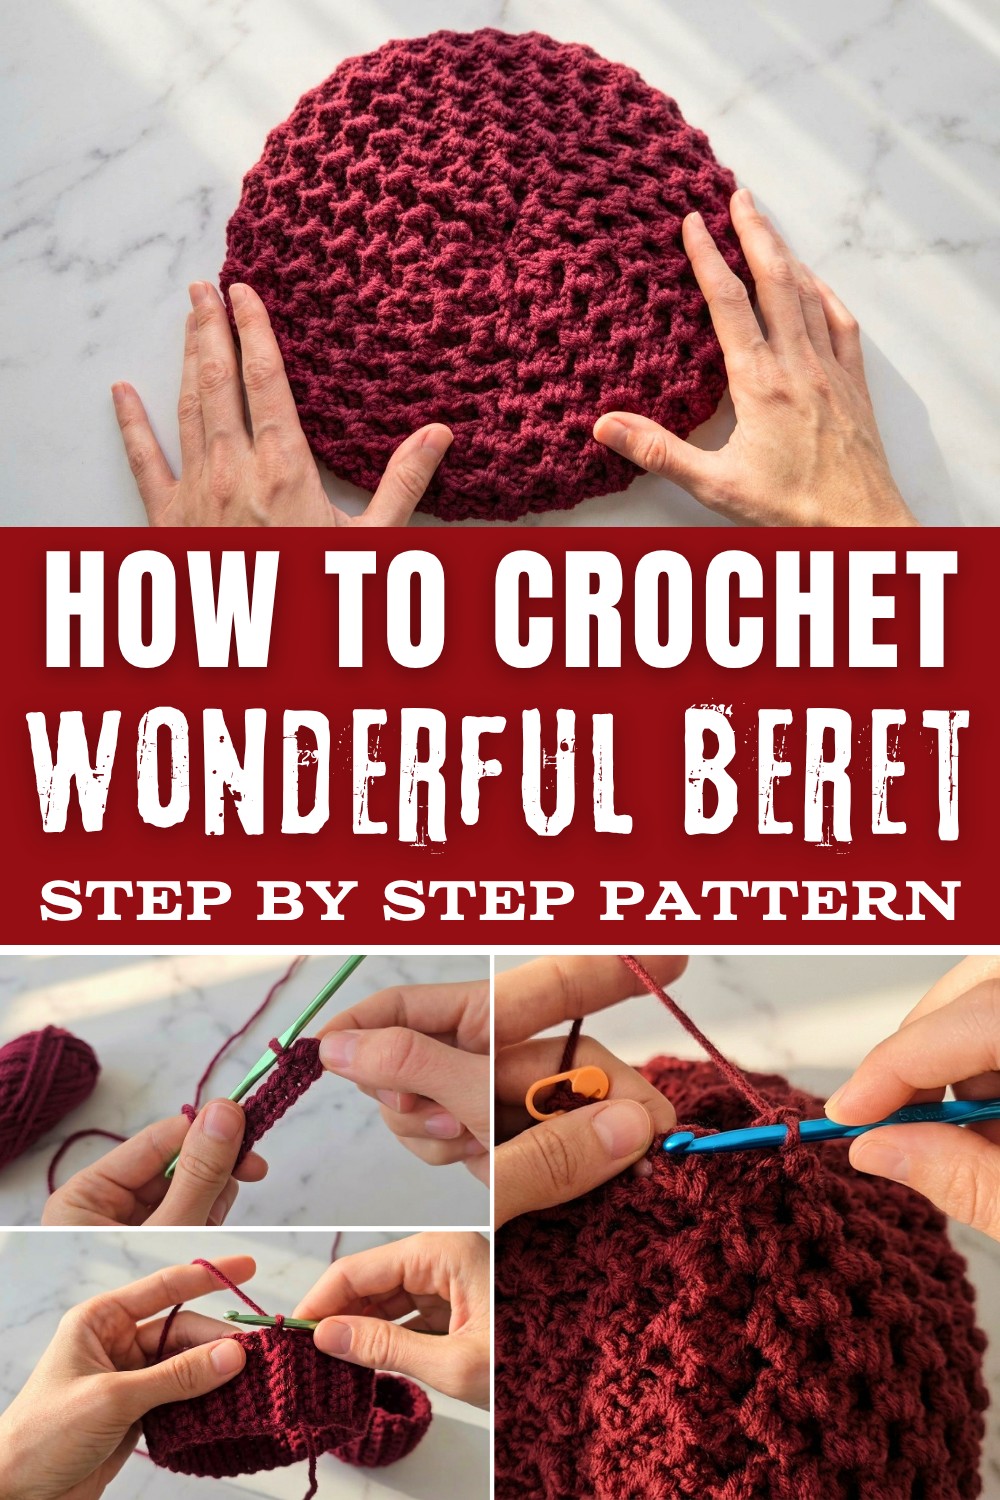
This hat is easy to fold and keep in your bag, handy to pull out whenever you need it. A personal touch like a button or a bright flower can be added to make it unique. Since most yarns wash easily, the beret stays fresh and ready for many uses. Even someone who has never tried this before can learn quickly, as the directions are easy to follow and do not need any hard steps.
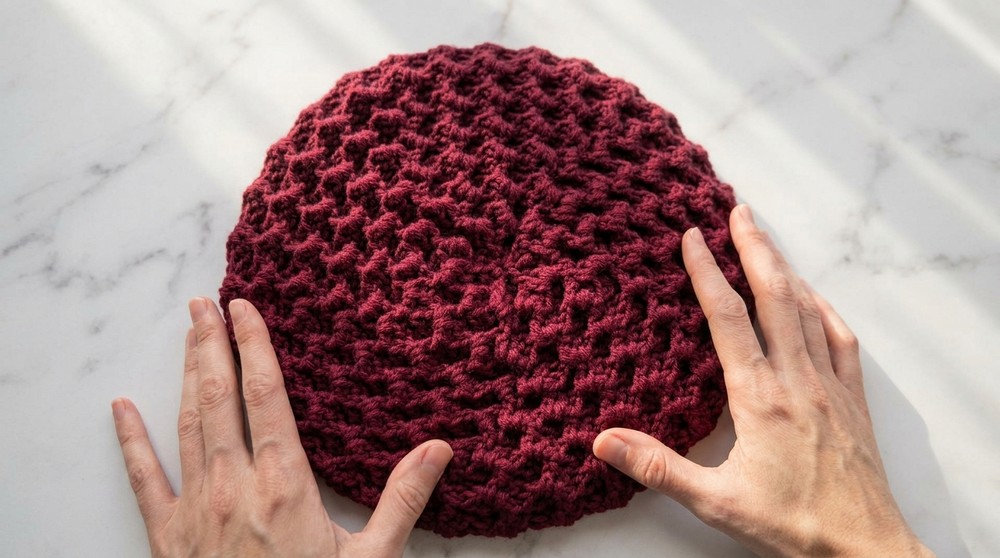
Helpful for both cold and warm days, this hat is a thoughtful solution for comfort and style, making you proud of what you have made and glad to wear it anywhere. Whether you're looking for a chic accessory to complete your outfit or a thoughtful handmade gift, this crochet beret is perfect. Add beauty and coziness to your wardrobe with this must try pattern.
Cheerful Crochet Beret Pattern
-
Finished Dimensions:
- Diameter: 26 cm
- Depth: 21.5 cm
- Unstretched band circumference: 26 cm (stretches up to approximately 29 cm).
Materials Needed
- Yarn: Alize Lanagold Classic (49% wool, 51% acrylic)
- Color: Bordeaux
- Weight: 240 meters per 100 grams
- Hooks:
- Hook size 4 mm (for the ribbing).
- Hook size 5 mm (for the body of the beret).
- Markers: Plastic stitch markers.
- Needle: Plastic yarn needle with a large eye (to sew the crown).
Suggestions: You can use other yarns, but adjust the hook size accordingly to match the yarn's gauge.
Abbreviations
- ch: Chain
- sc: Single crochet
- dc: Double crochet
- sl st: Slip stitch
- fp sc: Front post single crochet (insert hook around the front of the post of the designated stitch, not through the top loops, and complete a single crochet).
- rep: Repeat
Special Notes:
- Always insert the hook into both walls of the half-loop for the last stitch of each band row, for a tidy edge.
- Adjust the band length and beret diameter for the perfect personal fit.
- Use markers for tracking decrease points for accuracy.
Step 1: Crochet the Elastic Band
Starting with the band, the process begins by using a 4 mm hook to cast on 8 chain stitches for the foundation of the beret's elastic band. The very first loop is not tightened, serving as the first chain, and then the stitcher works single crochets across, producing seven stitches per row. The elastic band is formed by consistently turning the work, chaining one at the end of each row, and picking up the back loop for a neat ribbed texture.
- Foundation Chain: Using the 4 mm hook, ch 8 loosely.
- Row 1:
- Insert the hook into the second chain from the hook.
- Work 1 sc into each chain. You will have 7 stitches in total.
- Row 2 onwards:
- Ch 1, turn.
- Working into the back loop only, sc in each st across.
- Ensure the final st is worked under both loops of the edge to maintain a clean border.
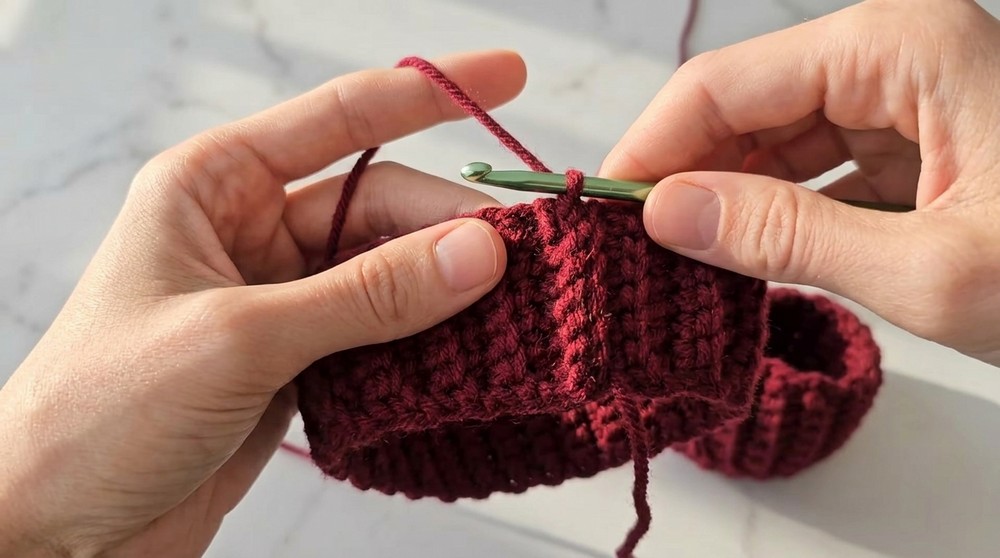
- Continue: Repeat Row 2 until the ribbed band reaches 46 cm (approximately 75 rows).
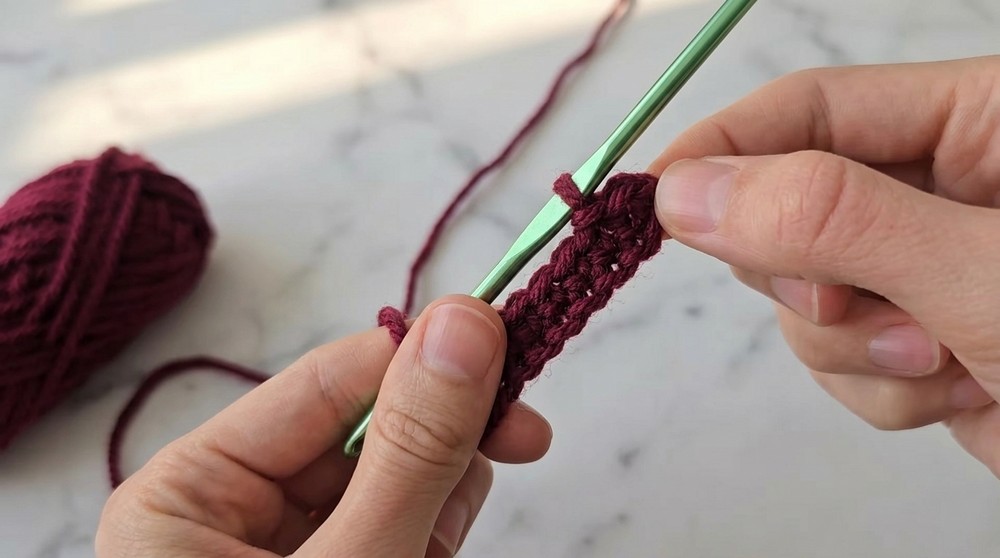
This continues for 75 rows or until the band reaches a length of 46 cm, checking fit as you go, since the band stretches well. Once the band is complete, it is folded in half and joined at the ends with slip stitches through the outer loops to create a seamless circle, forming the base for the beret's body.
Adjustment Tip: To change the width of the band, adjust the foundation chain length. For a wider band, increase the chain count. For a narrower band, decrease it.
- Join the Band:
- Fold the band in half. Align the first and last rows.
- Use sl sts to join corresponding sts together to form a loop. Fasten off.
Step 2: Prepare the Body of the Beret
Switch to the 5 mm hook for the main body of the beret.
- Round 1 (Preparation Round):
- Attach the yarn to the seam of the elastic band.
- Ch 3 (counts as the first dc).
- Work 1 dc in the same stitch, followed by a ch 2.
- In the next stitch, work a sc. Ch 2.
- Alternate 2 dc in one stitch, ch 2, sc in the next stitch, creating "fans." Continue around the band.
- Make sure to evenly space your stitches to form 30 arches (fans).
Notes for Adjustments: Ensure the arches are even. Adjust placement slightly if needed.
- Join: End the round with a sl st into the starting ch 3. Turn your work.
Switching to a 5 mm hook, three chains are worked to begin the first row of the beret body, which will serve as a substitute for the first double crochet. The pattern consists of alternating double crochets and single crochets, with chain loops in between; increases are made by working two double crochets into an arch every other time. After finishing the initial row and connecting the ends, the piece is turned for subsequent rows.
Step 3: Crochet the Pattern
The main fan pattern will be worked in turning rows to maintain texture.
- Row 2:
- Ch 2 (acts as the first dc). Mark this stitch with a marker.
- Work 1 additional dc in the first "arch," followed by a fp sc around the next dc of the previous row.
- Ch 2, then work 2 dc into the next "arch."
- Rep the sequence: fp sc, 2 ch, 2 dc in next arch around.

For each ch-2 arch, two double crochets are placed, while before each arch, a front post single crochet is worked into the double crochet from the previous row. Each row starts and ends in the same manner, producing alternating fans and arches. The pattern is repeated for 12 rows, resulting in 30 arches or fans, and as the body grows, the characteristic embossed texture of the beret becomes evident.
- Row 3 to 12:
- Repeat Row 2 for 10 additional rows. Turn at the end of each row.
- After 12 rows, measure the body of the beret. The depth should be approximately 11 cm from the band edge.
- Adjust the number of rows to match your desired depth.
Step 4: Shaping the Crown (Decreases)
- Row 13 (Decreases):
- Divide the round into 5 wedges (for 30 arches total, mark every 6 arches).
- To decrease: Combine the two fans at each marker by working a fp sc around the first column of the current fan and the first column of the next fan. Complete as one fp sc.
- Continue the fan pattern as normal between markers.
- Following Rows (Alternate Decrease and Plain):
- Row 14: Work as normal (no decreases).
- Row 15: Work decreases as in Row 13 to further reduce arches (20 fans remain).
- Alternate decrease rows and plain rows until 5 fans remain.

In the crown-shaping section, decreases are introduced to transition from the wide body of the beret to a snug crown. The arches are divided evenly into five sections using stitch markers. A decrease is achieved by combining two repeats together with a front post single crochet, followed by the standard ch-2 and two double crochets.
Step 5: Closing the Crown
- Cut the yarn, leaving a long tail.
- Using the plastic needle, weave the yarn through the remaining loops of the final row. Pull tightly to close the crown.
- Secure the yarn with a few stitches on the wrong side.
Finishing
- Weave in all loose ends securely on the wrong side.
- Block the beret lightly if needed.
Decrease rows alternate with regular rows, gradually reducing the number of fans and arches with each row; this continues until only five remain. To finish, the yarn is cut, leaving a long tail, which is threaded through a yarn needle and woven through the last arches of the crown. The crown is gathered tightly and the thread is secured on the wrong side with a few stitches, creating a neat top. Finally, all ends are woven in, completing the beret.

Pattern Correction
- Count stitches after each decrease to ensure accuracy.
- Adjust fan counts if your gauge or yarn differs from the sample.
- Measure the band as you work for best sizing.
Final Words and Tips
- Customization: This pattern can be easily adjusted for different sizes by altering the number of foundation chains, rows in the band, or the number of fans around.
- Maintenance: Wash the beret gently by hand using a mild detergent. Lay flat to dry to retain its shape.
- Tips for Success:
- Use markers to keep track of decreases.
- Ensure even tension while crocheting to maintain a smooth texture.
This textured pom pom crochet beret is versatile, cozy, and stylish. Enjoy crocheting and creating unique, beautiful berets for yourself or as heartfelt handmade gifts.