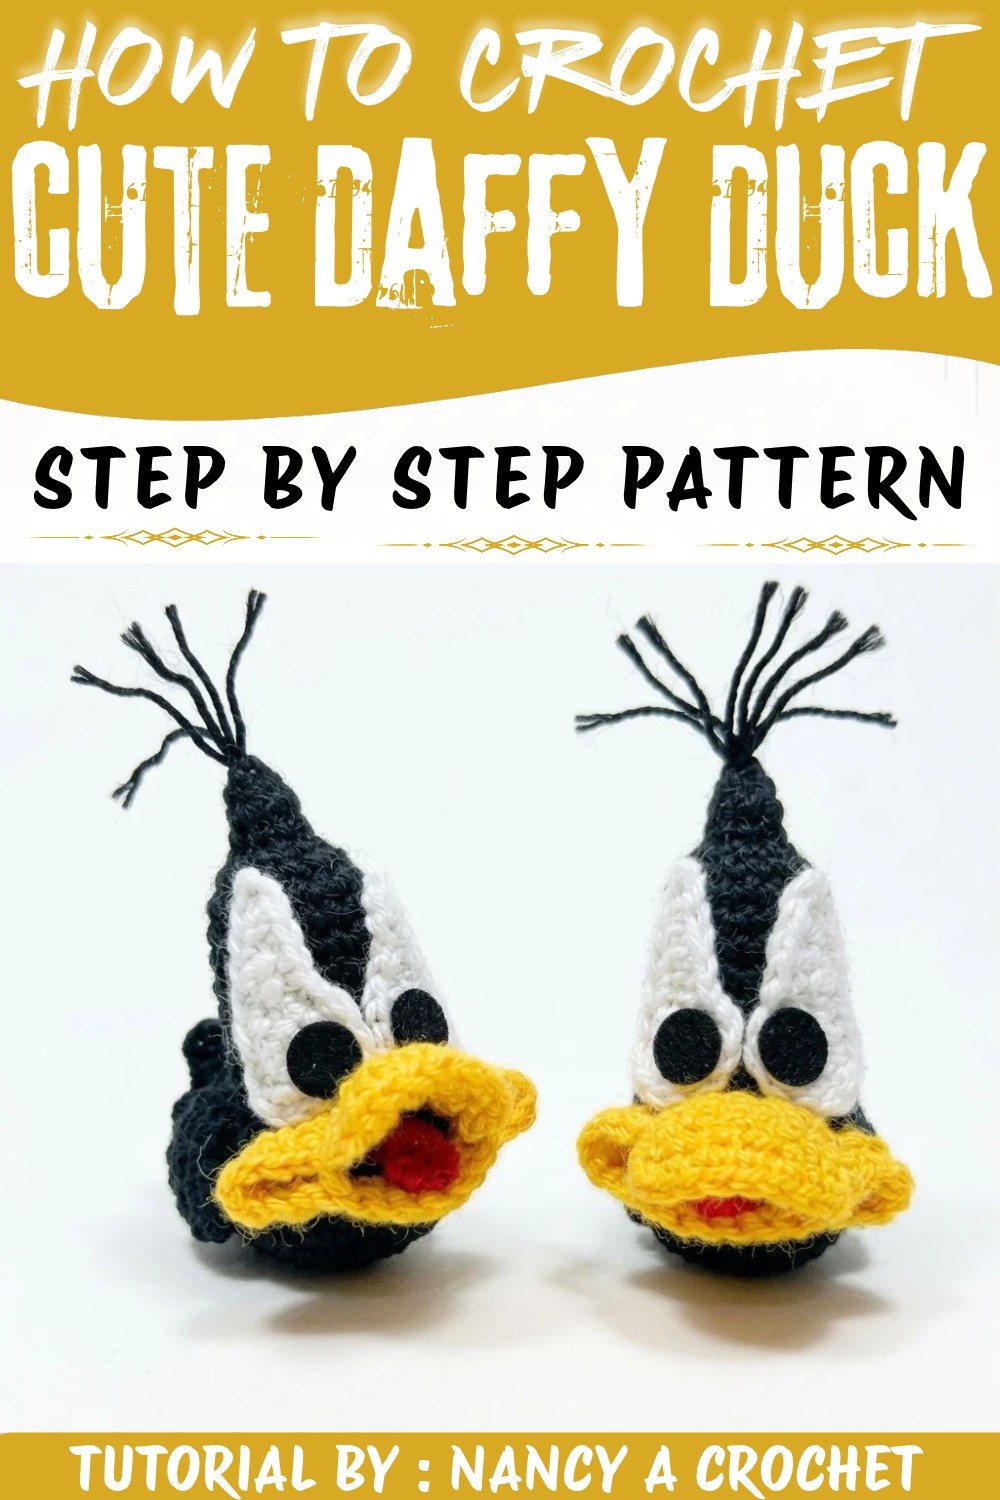
Stitch this Crochet Daffy Duck Free Pattern for a funny cartoon toy with cute and lovely details that fans will love to display at home.
Coming across a charming little project that instantly brings a smile to your face-a delightful figure inspired by one of the most beloved cartoon characters. That's exactly what this fun and approachable creation offers. On the YouTube channel "Nancy a crochet" the talented Nancy shares her step-by-step tutorial for making a whimsical Daffy Duck design, inviting everyone to try their hands at bringing this classic character to life using yarn and needle. This Crochet Daffy Duck Pattern turns simple materials into a cute and cuddly item that's perfect as a gift for kids, cartoon fans, or anyone who appreciates handmade treasures.
Funny Crochet Daffy Duck Free Pattern For Cartoon Lovers
This project is more than just a toy; it makes for a charming decorative accent in any room, adding a touch of nostalgia and personality to nurseries, living rooms, or workspace shelves. The soft texture and round, compact shape make it comforting to hold, while its recognizable features-like Daffy's signature long beak and expressive eyes-stand out beautifully, capturing the character's playful spirit. The pattern skillfully uses half stitches and carefully placed increases and decreases to shape the piece, giving it a smooth surface with just enough detail to make it lovable and true to the original.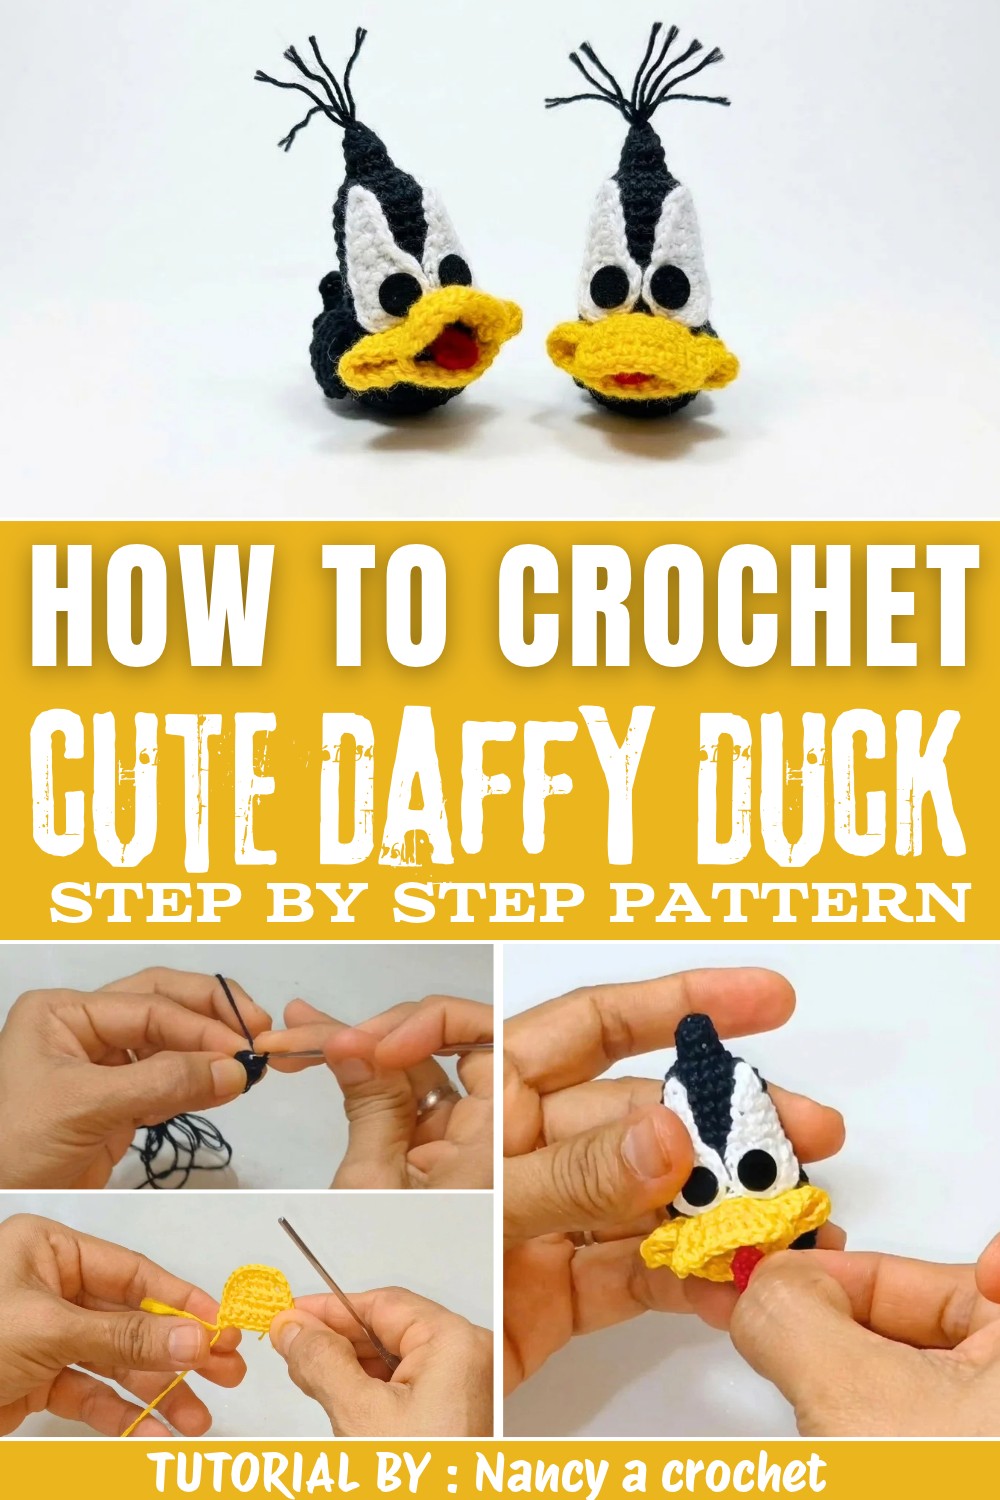
Whether used as a joyful companion for children, a quirky desk buddy to lighten up a workday, or a heartfelt handmade gift, this Daffy Duck figure showcases the joyful charm of timeless animation. It balances simplicity with precision, making it accessible for beginners yet gratifying for anyone eager to create something with personality and heart. The result is not only visually appealing but also durable and tactilely pleasant, promising hours of enjoyment or a lasting keepsake that celebrates creativity and fandom alike.
Charming Crochet Daffy Duck Free Pattern
This keychain project features the vibrant personality of Daffy Duck, rendered in cheerful amigurumi. It combines accessible crochet techniques with thoughtful shaping and colorwork, highlighting hallmark details such as his expressive eyes, distinct orange beak, and a whimsical tongue. Numerous details-rounded cheeks, curved beak pieces, and subtly shaped eyes-are incorporated for authenticity and appeal. The instructions guide each stage logically, emphasizing practical tips like proper stuffing and symmetry in facial features. Every stitch contributes to the lively effect, from the initial magic ring to strategic increases and neat seaming. Small portions of white and pink yarn complete the classic cartoon look. With careful placement of each part and gentle finishing touches, this project yields a playful figure that stands out in any collection or on any set of keys. The result is a thoughtfully assembled keepsake reflecting both skill and personality.
Quick Overview of the Pattern
- Create the head: Begin with a magic ring, use continuous rounds for smooth shaping, and stuff as you go.
- Form the beak: Crochet the upper and lower beak pieces separately in orange and shape them to fit the head.
- Make the eyes: Craft round, expressive pieces in white and optionally mirror the curve for added character.
- Add the tongue: Complete with a small pink tongue that's easy to shape and insert.
- Assemble and accessorize: Sew all facial features together, embroider simple black pupils, and complete with a securely sewn keyring.
Notes
- This pattern uses the two-strand technique with 1 mm yarn for extra density and neatness.
- Safety stitch markers are highly recommended to ensure you don't lose track of rounds.
- When working with small components, keep tension consistent and stuffing light to prevent distorting the face.
- Some seaming and shaping are required-align features precisely for Daffy's classic look.
- You may use a touch of silicone glue to secure the tongue and eyes if you prefer not to sew these pieces.
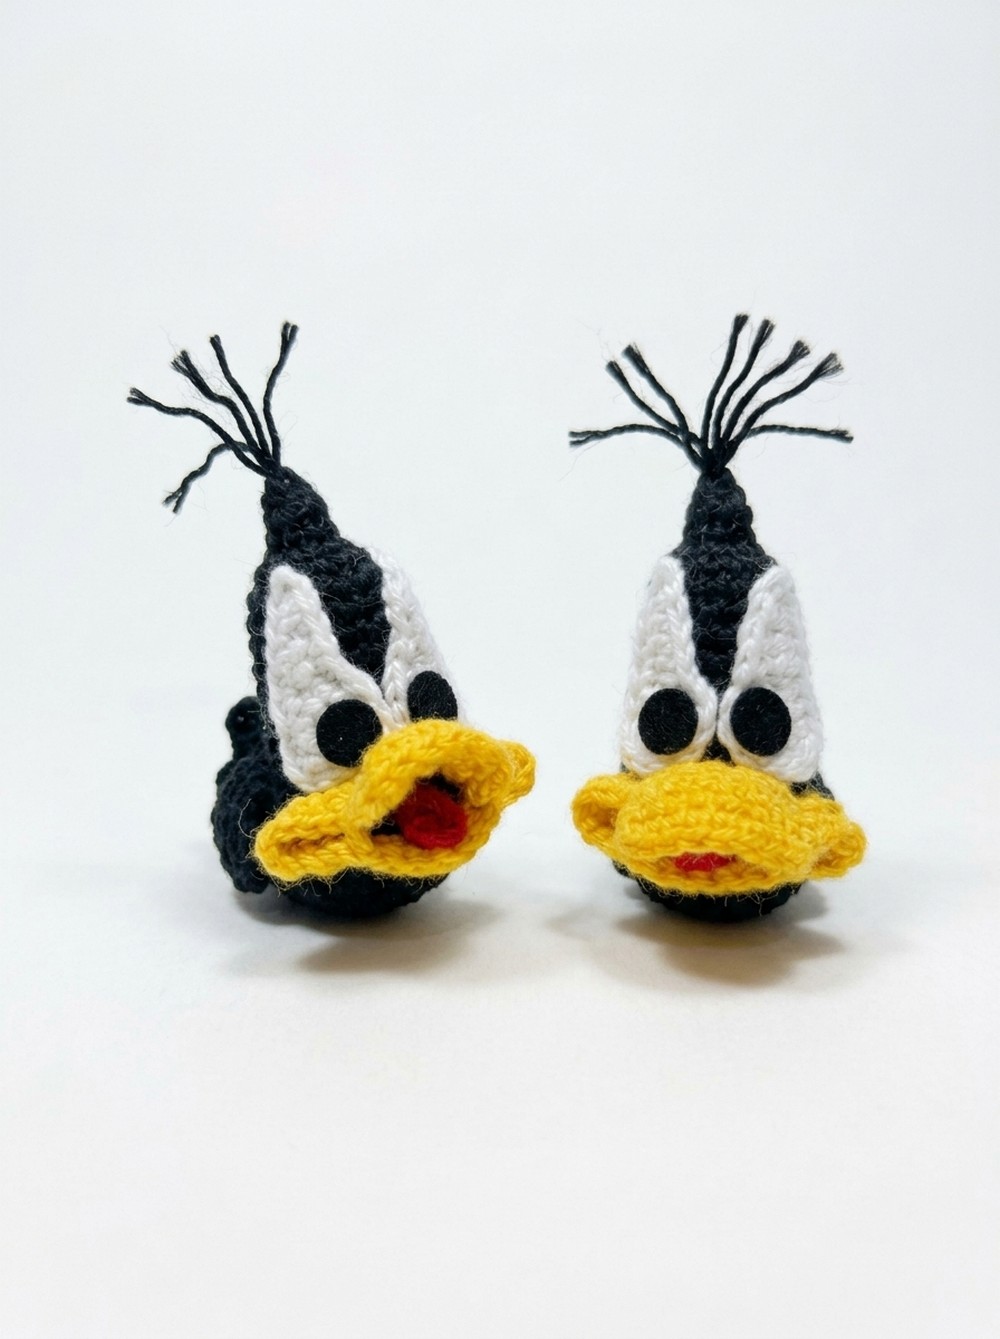
Skill Level
Confident beginner to intermediate - You should be comfortable with basic amigurumi techniques: magic ring, increasing, decreasing, basic shaping in the round, and simple embroidery for final touches. Familiarity with assembly of small parts is helpful.
Materials
- Cotton yarn: Black (main), Orange (beak), White (eyes), Pink (tongue)
- Crochet hook: 1.7 mm (or size appropriate for your yarn's thickness)
- Yarn needle
- Scissors
- Fiberfill stuffing
- Keyring hardware
Measurements / Sizing
- Finished size: Approximately 7 cm tall, excluding hardware (will vary based on hook and yarn).
- Schematic: Small, plump oval-shaped head with attached beak and expressive eyes.
Gauge (and Stitch Pattern)
- Gauge: Not critical, but ensure stitches are tight enough to prevent stuffing from showing.
- Stitch pattern: Primarily single crochet in the round (referred to as half-stitch in the video, which is likely single crochet). Small accessory pieces use chain and double crochet as needed.
Stitch Abbreviations
- MR - Magic Ring
- ch - chain
- sl st - slip stitch
- sc - single crochet (half stitch/half point)
- hdc - half double crochet
- dc - double crochet
- inc - increase (2 sc in same st)
- dec - decrease (sc2tog)
Special Stitches
- Safety stitch: Used at the start of your round to mark your place.
- Invisible decrease: Worked in the front loops only for a neater finish.
- Seaming: Use a whip stitch or invisible seam for joining facial features.
The Crochet Pattern
Head
- Round 1: Make a MR, work 6 sc into the ring. Pull tight and mark your first stitch.
- Round 2: 6 inc (work 2 sc in each stitch) - 12 sc.
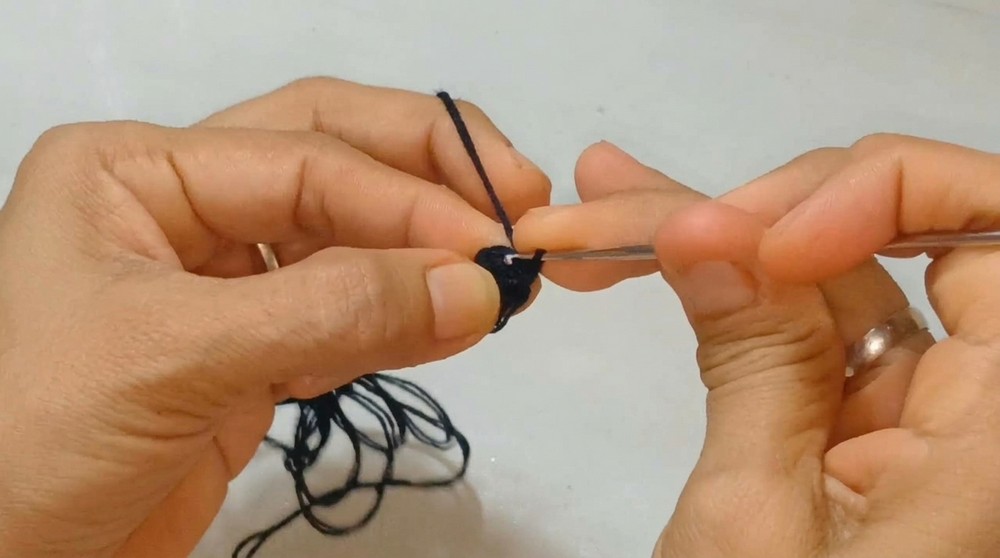
- Round 3: (1 sc, 1 inc) repeat around - 18 sc.
- Rounds 4-11: Sc in each stitch (maintain 18 sc per round).
- Round 12: (2 sc, 1 inc) repeat around - 24 sc
- Rounds 13-17: Sc in each stitch (24 sc per round).
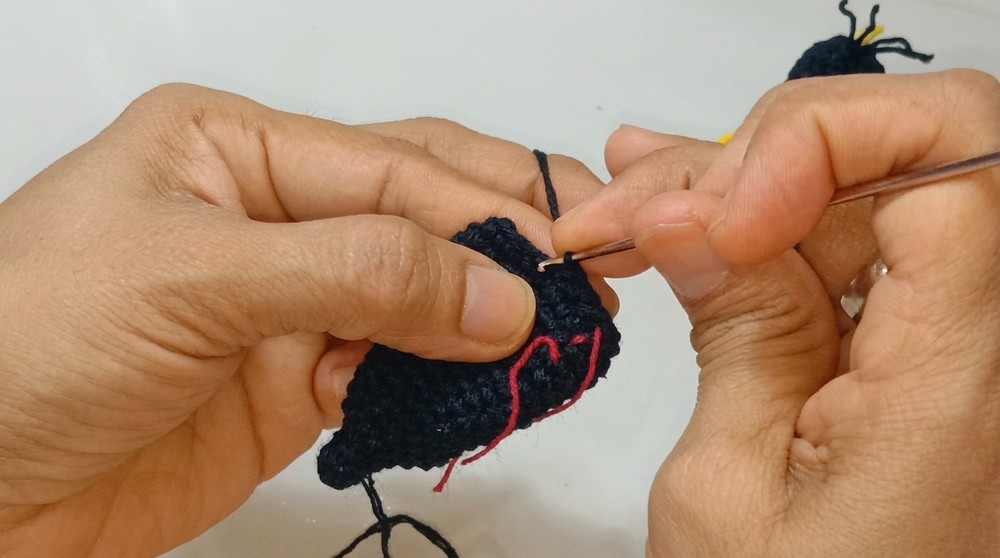
- Round 18: (2 sc, 1 dec) repeat around - 18 sc.
Tip: Add some stuffing here, focusing on shaping the top of the beak area. - Round 19: (1 sc, 1 dec) repeat around - 12 sc.
Finish stuffing the head, molding it gently so the stitches remain tight but not stretched. - Round 20: 6 dec - finish with 6 stitches.
Cut yarn, thread tail through the remaining stitches using your needle, and pull tight to close.
Upper Beak (Piquito)
- With orange yarn:
- Foundation: Make a slip knot, ch 6.
- Row 1: Turn, 5 sc back along the chain.
- Row 2: Ch 1 (turning chain), 4 sc.
- Row 3: Ch 1, *(1 sc, 1 inc), 1 ch, 1 sc, 1 inc, 1 sc - 7 sc total.
- Rows 4-6: Ch 1, 7 sc across (one stitch in each, 3 rounds).
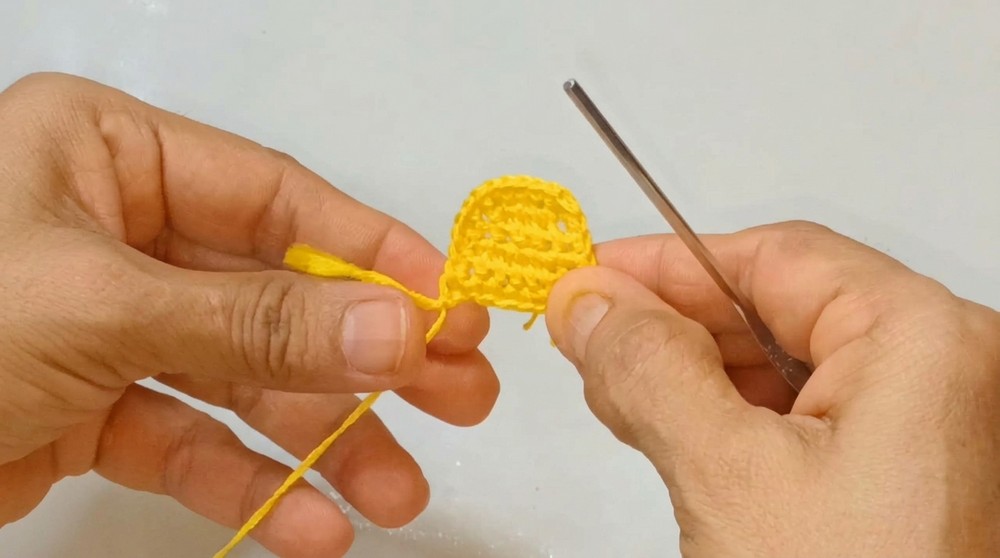
- Final Outline Round: Sc evenly around the entire contour.
At sharp corners, place increases to add shape-usually add 2 sc in the same stitch at each tip for a smooth curve. - Fasten off, leaving a long tail for sewing.
Lower Beak
- With orange yarn:
- Foundation Chain: Ch 25.
- Round: Sc down one side and back up the other of the chain (no increases), working around the entire contour to create an oval beak shape.
- Fasten off, secure and weave ends.
Eyes (make two)
- With white yarn:
- Round 1: Make a MR, 6 sc, pull tight, sl st to join.
- Round 2: Ch 1, 6 inc (2 sc in each st) - 12 sc, sl st to join.
- Shaping the Curve: Ch 5, going down the chain:
- 1 sl st
- 1 hdc sl st
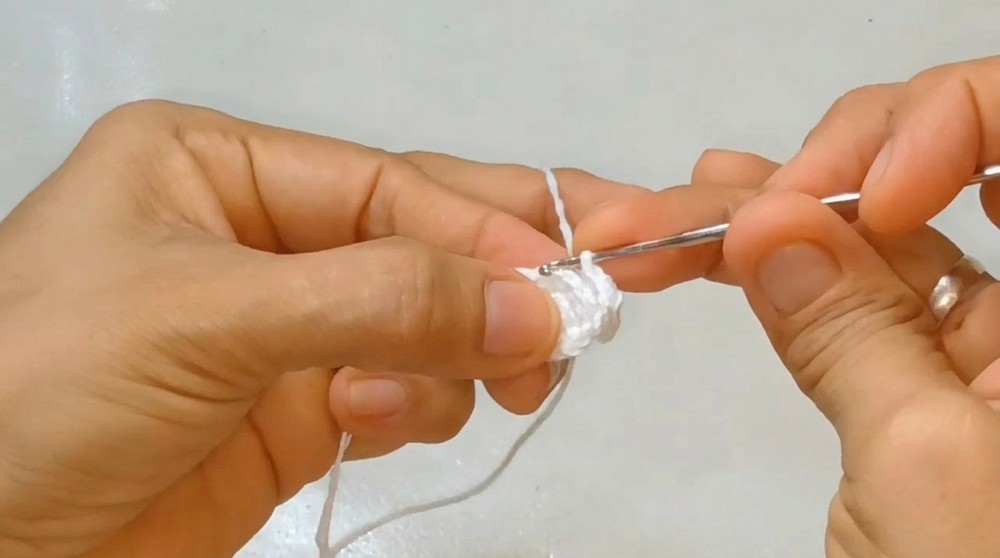
-
- 1 hdc
- 2 dc (in final two sts)
This will create a curved "eye corner."
- Fasten off. For a mirrored eye, repeat the curve on the opposite side.
Tongue
- With pink (or similar color) yarn:
- Round 1: MR, 3 sc, 1 ch, 1 hdc, 1 ch, 3 sc, sl st to close.
- Fasten off, leaving a short tail for attaching.
Assembly & Finished Size
Assembly Steps
- Attach the Upper Beak:
- Position the upper beak along the front of the head, centering it around round 14.
- Pin in place if needed, and sew with a whip stitch or similar, working neatly around the curved edge.
- Attach the Lower Beak:
- Align immediately below the upper beak and sew along the lower edge.
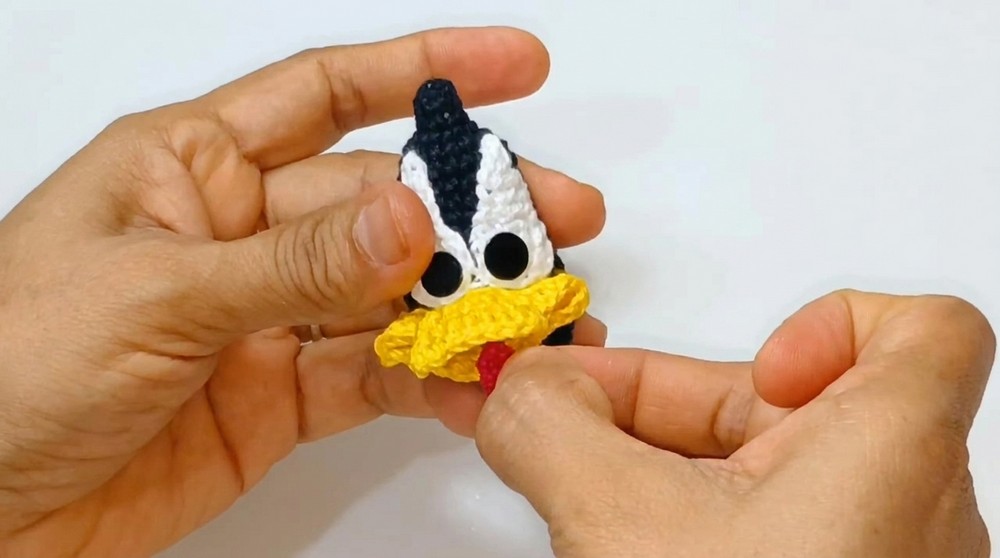
- Insert and Secure the Tongue:
- Place the tongue into the opening of the beak, securing with a few stitches or a dab of silicone glue.
- Add the Eyes:
- Using pins to check placement, sew or glue the white eyes above the beak curve.
- Embroider small black stitches for pupils if desired.
- Mount the Keyring:
- Firmly attach your keyring hardware at the top center of the head, passing through the stitches and knotting securely.
- Weave in all ends and trim excess yarn.
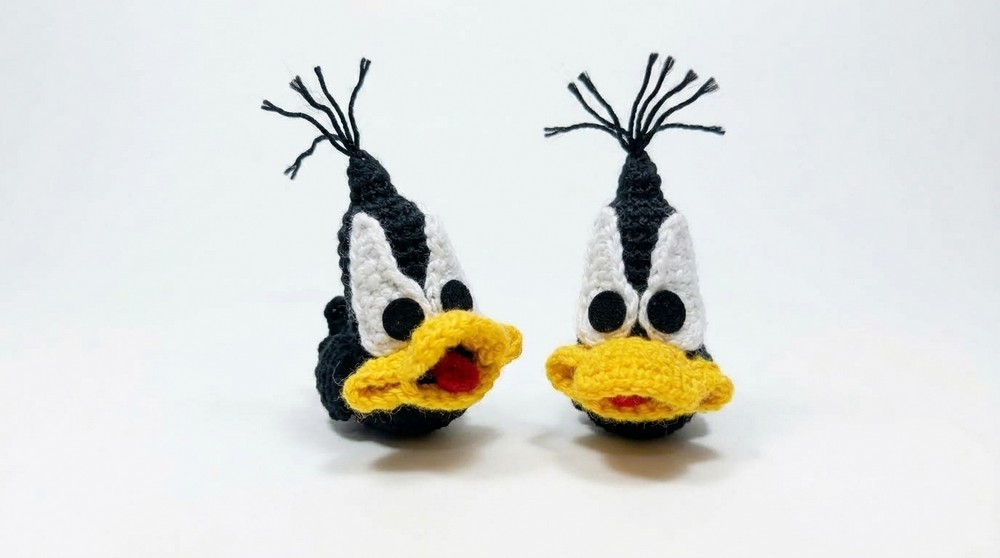
Finished Size
The completed Daffy Duck keychain should measure about 7 cm in height (not including the keyring hardware). The head appears plump and round, the beak is prominent, and the eyes are expressive, capturing Daffy's classic look.
Conclusion and Ending Words
Completing this Daffy Duck keychain offers a satisfying sense of accomplishment as all features come together with clarity and precision. Neatly stitched contours, symmetrical eyes, and carefully attached beak guarantee a harmonious finish. The assembly process highlights both the technical aspects and artistic vision behind such projects, with each component contributing uniquely to the character's iconic look. Attention to detail-such as even stuffing, balanced facial embroidery, and securely fastened hardware-ensures durability and visual charm. The final product stands out as a cheerful accent, suitable for daily use, gifting, or simply display. Versatility in yarn color and technique allows for personal adaptation, resulting in a collectible figure that echoes nostalgic appeal. The careful instructions, combined with structured rounds and rows, turn basic materials into a lively representation of Daffy Duck that's sure to enhance any accessory assortment.