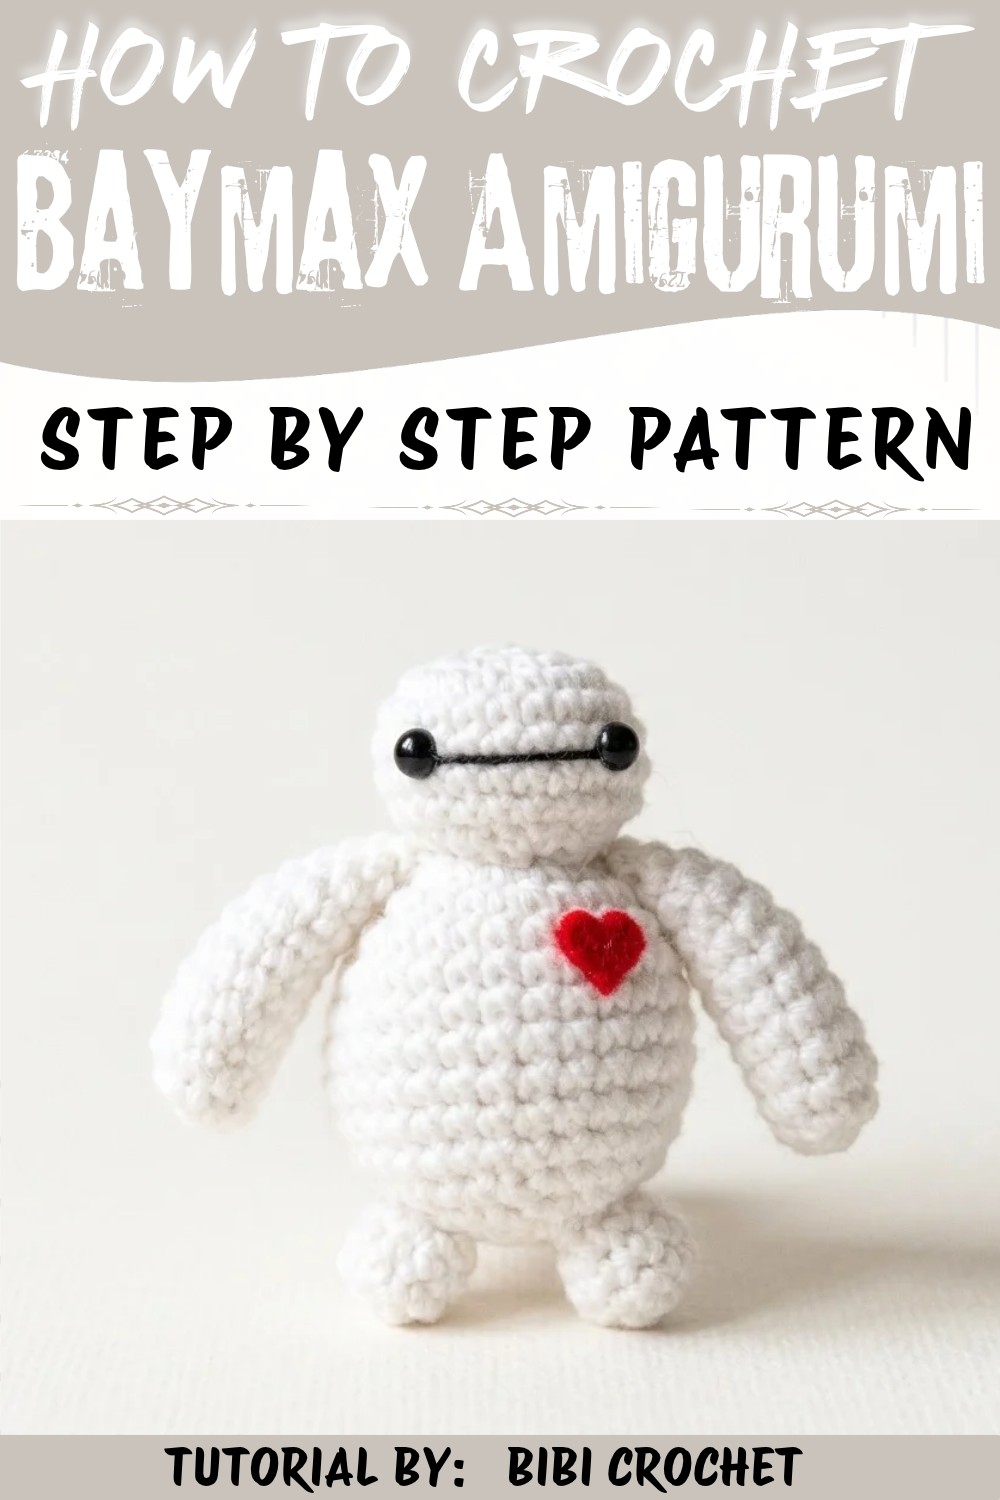
Brighten someone's day with this Crochet Baymax Amigurumi Free Pattern and stitch a robot friend for playtime, toy shelves, and gifts.
Find the delightful world of adorable amigurumi with a charming project generously shared by Bibi Crochet on YouTube. This lovable creation invites you into a cozy and heartwarming experience, perfect for fans of the iconic character from Big Hero 6. Designed to bring comfort and joy, the soft, plush feel makes it an ideal companion for all seasons. The Crochet Baymax Amigurumi Pattern offers a perfect blend of cuteness and comfort, especially suited as a heartfelt gift during holidays or as an uplifting decoration throughout the year.
Huggable Crochet Baymax Amigurumi Free Pattern for Movie Fans
The Crochet Baymax Amigurumi Pattern is beautifully versatile, offering a playful addition to any space-from a child's bedside table to a unique display on your living room shelf. Its neutral white color and friendly expression allow for easy pairing with other handmade toys or themed décor, creating a warm and inviting atmosphere. Whether it's for cuddling during chilly evenings or as a cheerful office desk buddy, this amigurumi exudes charm and positivity.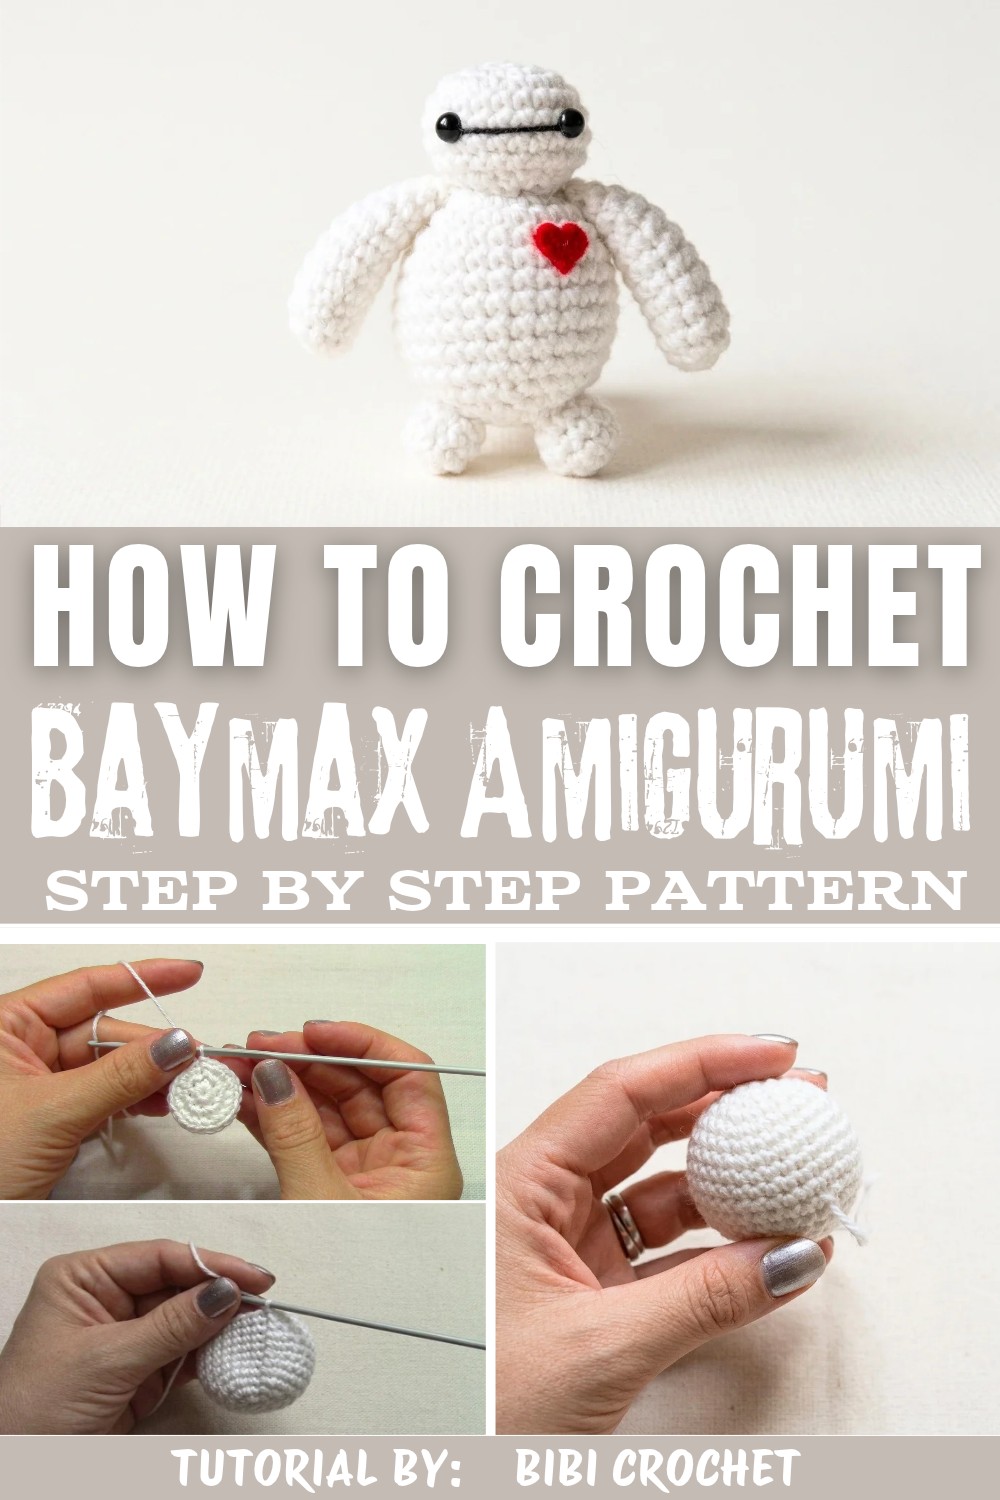
Texture plays a key role in this design, featuring a smooth, tight stitch pattern that ensures durability while maintaining softness. The subtle detailing, like Baymax's signature oval eyes and rounded body shape, captures the essence of the character with remarkable accuracy. These standout design elements highlight the thoughtful artistry behind the finished piece, making it not just a toy but a lovingly recreated icon.
If you're drawn to creating something that's both aesthetically pleasing and emotionally comforting, this pattern offers an inspiring journey. Dive into the full tutorial to bring your own Crochet Baymax Amigurumi to life and enjoy the satisfaction of making a touching keepsake that can brighten anyone's day.
Hero Inspired Crochet Baymax Amigurumi Free Pattern
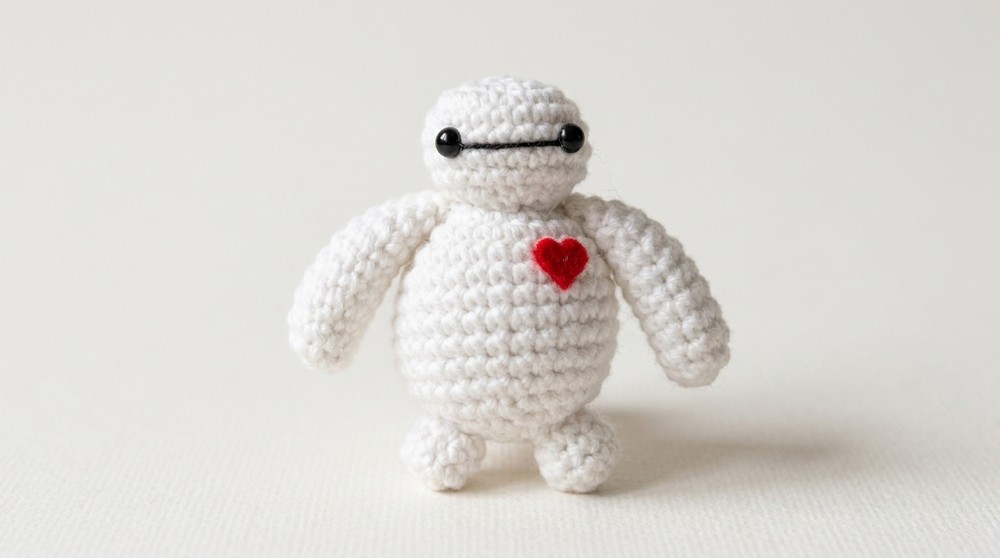
This pattern walks you through crocheting Baymax, the beloved healthcare companion from Big Hero 6, using approachable amigurumi techniques. The steps carefully mirror the video demonstration, providing specific instructions for Baymax's distinct silhouette: a rounded body, oval head, nubby limbs, and signature facial line. The project uses basic stitches and accessible tools, producing a charming, huggable companion. Each round includes guidance for accurate shaping, stuffing, assembly, and details, ensuring your Baymax looks delightful and true to the original inspiration.
Quick Overview Of Pattern
- Each component made separately: body, head, two hands, two legs.
- Rounds are worked in spirals: magic ring starts; use stitch marker for every new round.
- Increasing and decreasing: for shaping the body and head.
- Stuff as you go: careful, even stuffing for a smooth appearance.
- Assembly: secure stitching, matched seams, detailed facial embroidery, glued-on eyes and felt heart.
Notes
- Work tightly to prevent stuffing from showing.
- Always start in the round with a magic ring and single crochet.
- Move your stitch marker at the beginning of every round.
- Stuff parts lightly for a gentle, not-too-firm finish-Baymax is squishy!
- For safety, use pre-made eyes or securely attach beads; glue eyes only with adult supervision.
- Use scissors or a stuffing stick for small openings.
- Take care aligning head and limbs for symmetry.
Skill Level
Confident Beginner.
Familiarity with basic crochet in the round, increases, decreases, and simple sewing techniques required.
Materials
- White yarn: size 3.5 (DK/light worsted, acrylic or cotton)
- Hooks: 1.5 mm for head, body, hands; 2.5 mm for legs
- Stuffing: polyester fiberfill or cotton
- Eyes: black beads, safety eyes, or pre-made amigurumi eyes (plus optional varnish for shine)
- Black thread: embroidery floss or fine yarn (for facial details)
- Red felt: small piece (for heart)
- Notions: stitch marker, wool needle, scissors, hot glue/silicone glue
Measurements / Sizing
- Final Baymax stands ~8-11 cm (3-4.5 in), depending on tension.
- Proportions can be adjusted by changing hooks/yarn.
Gauge (and Stitch Pattern if applicable)
- Gauge: Tight amigurumi density, but not stiff.
- Stitch: Single crochet (sc) is used for all main pieces.
Stitch Abbreviations
- ch: chain
- sc: single crochet
- inc: increase (2 sc in one st)
- dec: decrease (two sc together; unless noted, use front loops only)
- st(s): stitch(es)
- rnd: round
Special Stitches
- Magic Ring: Wrap yarn twice around your fingers, pull up a loop, ch 1, then single crochet inside the ring.
- Decrease (front loop only): Insert hook into front loop of each of next 2 sts, yarn over, pull through both front loops, yarn over, pull through remaining loops.
- Standard Decrease (both loops): Insert hook into both loops of next 2 sts, yarn over, complete sc2tog.
The Crochet Pattern
Body (white, 1.5 mm hook)
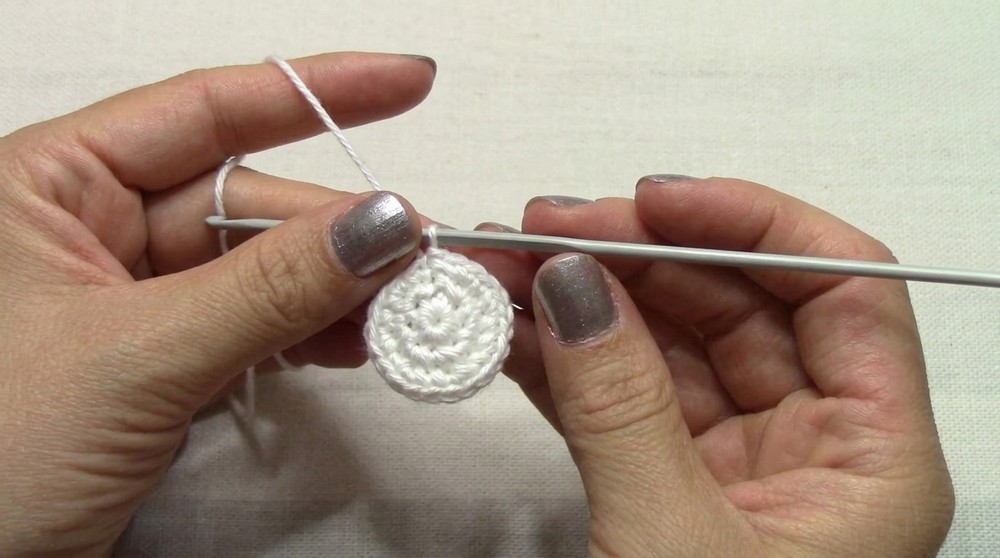
- Round 1: Make a magic ring. Work 7 sc into the ring. Secure with a ch, place a stitch marker.
- Round 2: Ch 1, inc in every st around (2 sc in each st; 14 sc).
- Round 3: Ch 1, (sc, inc) repeat around (21 sc).
- Round 4: Ch 1, (sc in next 2, inc) repeat around (28 sc).
- Round 5-11: Ch 1, sc in each st around (28 sc per rnd); repeat for a total of 7 rounds.
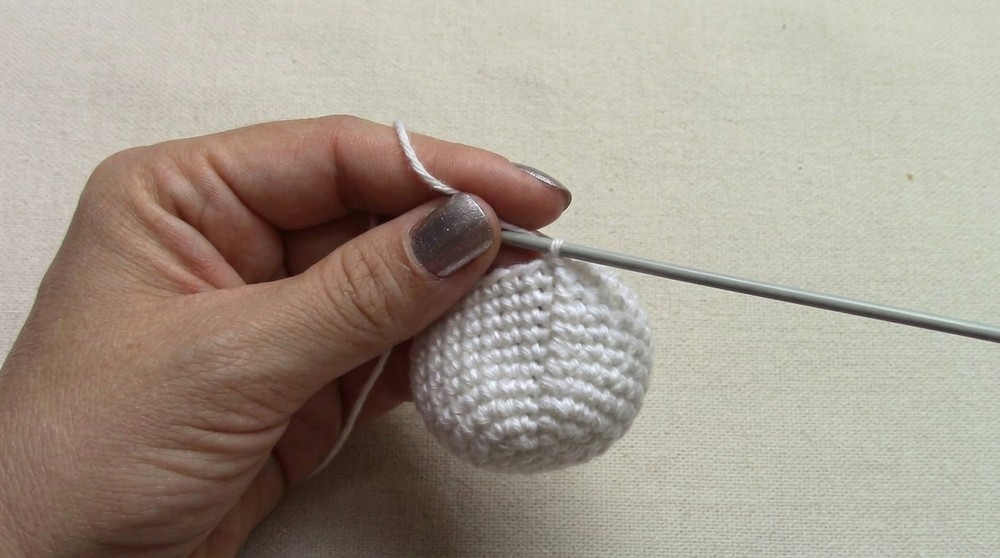
- Round 12: Ch 1, (sc in next 2, dec with front loops only) repeat (21 sc).
- Round 13: Ch 1, (sc, dec with front loops only) repeat (14 sc).
- Round14: Ch 1, dec with front loops only all around (7 sc).
Finishing: Cut yarn, leave a 15 cm tail. Pass through last stitch and stuff body with cotton or fiberfill using scissors to help if needed. Close opening using yarn needle.
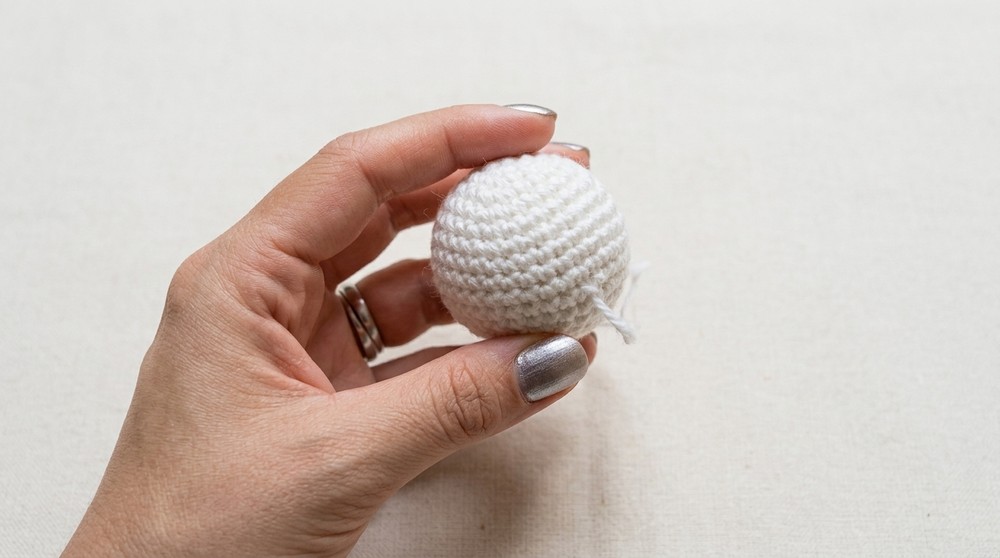
Head (white, 1.5 mm hook)
- Round 1: Magic ring, 7 sc. Secure and place marker.
- Round 2: Ch 1, inc in each st around (14 sc).
- Round 3: Ch 1, (sc, inc) repeat around (21 sc).
- Round 4-7: Ch 1, sc in each st around (21 sc per rnd).
- Round 8: Ch 1, (sc, dec with front loops only) repeat (14 sc).
- Round 9: Ch 1, dec with front loops only all around (7 sc).
Finishing: Stuff gently. Use wool needle to weave through the remaining stitches; cinch closed. Leave a long tail for sewing to the body.
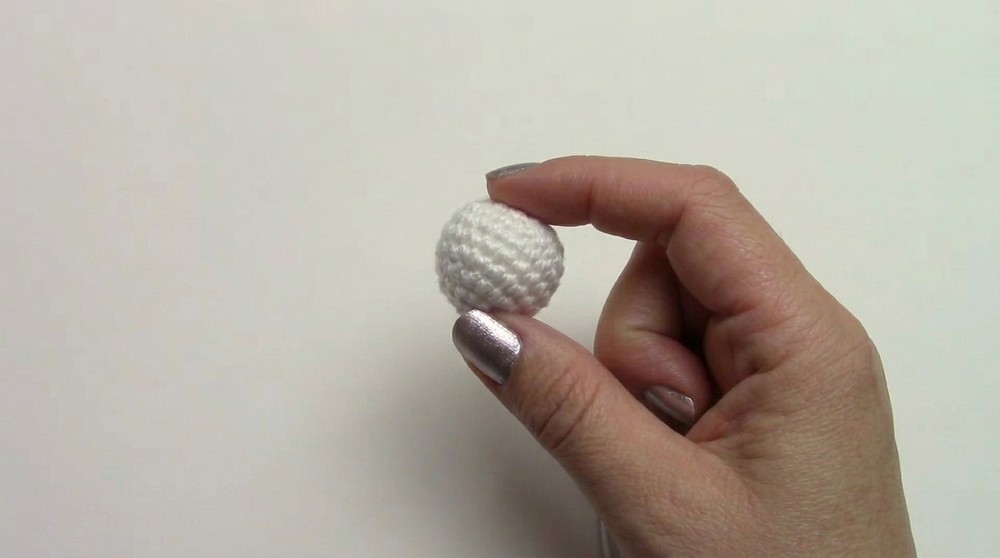
Hands (make 2, white, 1.5 mm hook)
- Round 1: Magic ring, 5 sc.
- Round 2: Ch 1, inc in next st, sc in next 4 (6 sc).
- Round 3: Ch 1, inc in next st, sc in next 5 (7 sc).
- Round 4: Ch 1, inc in next st, sc in next 6 (8 sc).
- Round 5: Ch 1, inc in next st, sc in next 7 (9 sc).
- Round 6-8: Ch 1, sc in each st around (9 sc per rnd).
- Round 9: Ch 1, dec over next 2 st (both loops), sc in next 7 (8 sc).
- Round 10: Ch 1, sc in each st around (8 sc).
- Round 11: Ch 1, dec over every pair of st (both loops) (4 sc).
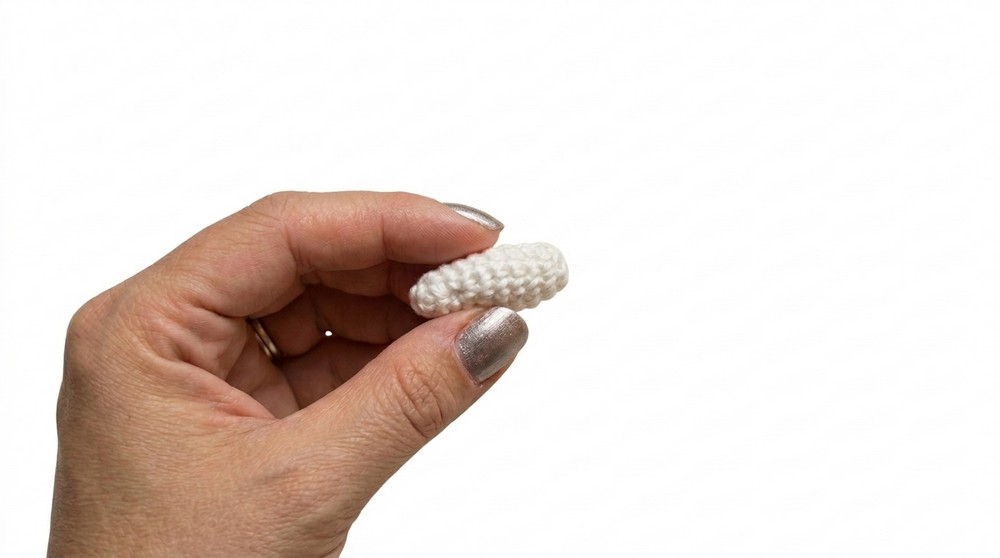
Finishing: Stuff, close last 4 stitches. Pass thread to center of ring for neat finish. Leave a tail for assembly.
Legs (make 2, white, 2.5 mm hook)
- Round 1: Magic ring, 8 sc.
- Round 2-4: Ch 1, sc in each st around (8 sc per rnd).
Finishing: Fasten off, leave a tail for sewing.
Assembly & Finished Size
- Attach Head to Body:
- Align the vertical "seam" at the back of both head and body.
- Place the head on top of the body, aligning the second round of the head to the second round of the body for a seamless look.
- With the yarn tail, sew stitch to stitch all the way around, pulling snug for a stable join.
- Attach Hands:
- Pin hands to each side of the body for even placement.
- Sew using front-to-back anchoring method to keep the "shoulders" flat.
- Attach Legs:
- Pin legs to the lower edge/bottom of the body.
- Sew on firmly with the same technique as for the head and hands.
- Facial Features:
- With black thread, embroider a horizontal line between the lower third and midline of the face.
- Glue pre-made eyes or beads to each end of the black line with hot glue or silicone, taking care to center them.
- Heart:
- Cut a tiny heart shape from red felt.
- Glue to Baymax's chest using silicone or hot glue for a lasting, neat finish.
- Finishing Touches:
- Hide and secure any loose yarn ends inside each piece.
- Lightly shape by hand if needed.
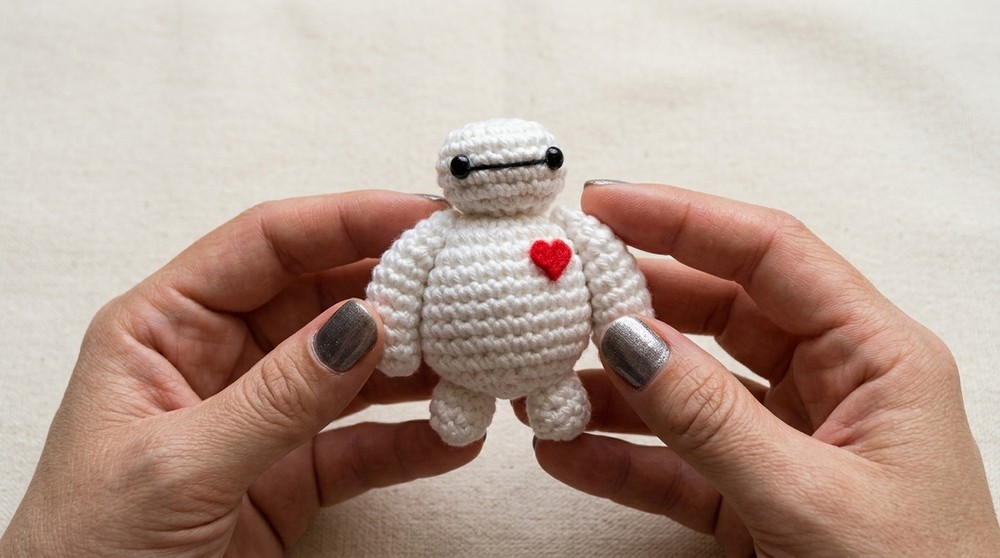
Finished Size: Baymax stands approx. 8-11 cm tall when assembled, proportional to movie design.
Conclusion and Ending Words
This Baymax amigurumi pattern guides you through clear, gentle shaping and straightforward assembly. As the stitches form the body and limbs, you build both structure and character, step by step. Attention to ordered rounds, subtle details, and patient assembly results in a figure that captures Baymax's warm, gentle spirit. The process demonstrates basic amigurumi construction-magic rings, simple increases, and invisible decreases-while introducing techniques for seamless sewing and neat detailing. Whether made as a heartfelt gift or a keepsake, your finished Baymax offers both charm and soft, tactile presence. Continue practicing, and each amigurumi you complete will reveal new confidence and skill in the art of crochet.