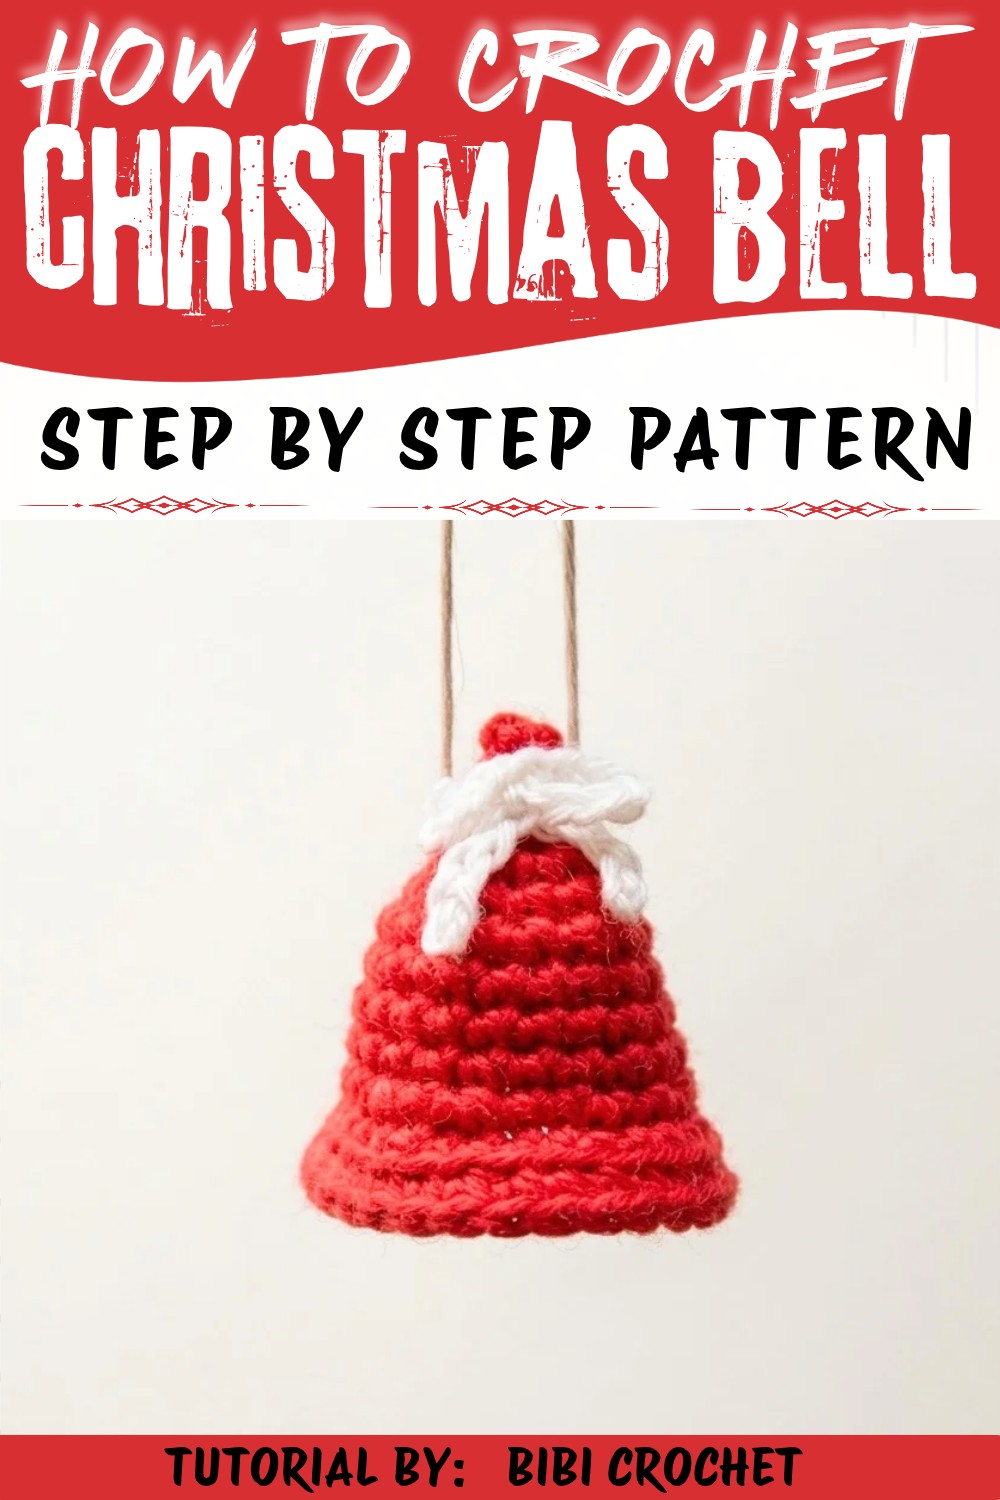
Capture the warmth of the holidays with this Crochet Christmas Bell Ornament Pattern and enjoy a charming decoration for your garland.
Have you ever seen a tiny bell that looks like it belongs in a fairy tale? This charming ornament shines with a soft, cozy look perfect for hanging on your Christmas tree. Its sweet shape and delicate bow add a touch of warmth and joy to any holiday space. The beautiful design comes from the talented Bibi Crochet, who shares a free Crochet Christmas Bell Ornament Pattern on her YouTube channel. This pattern makes it easy for anyone to create a lovely bell that's just the right size to tuck into wreaths, garlands, or even gifts.
Crochet Christmas Bell Ornament Free Pattern to Hang on a Garland
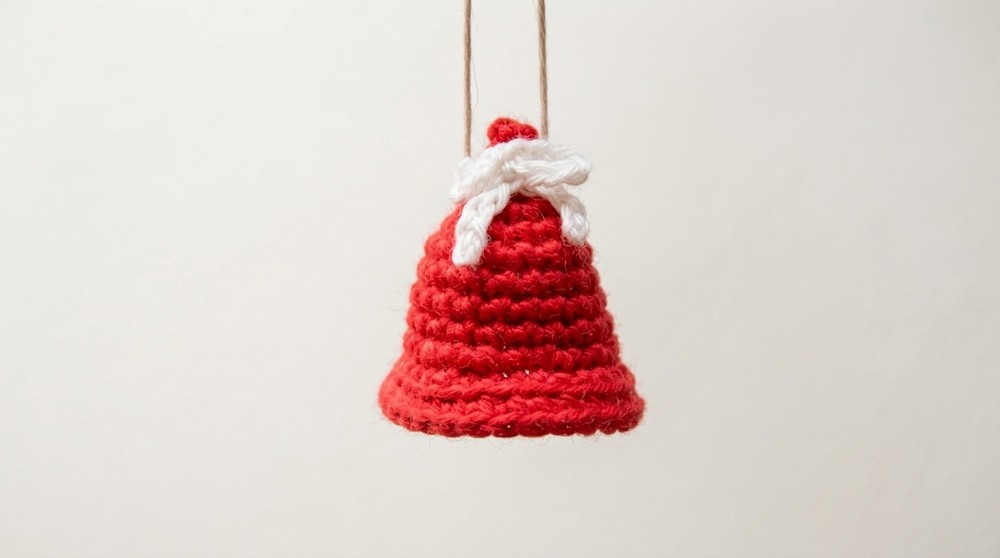
Made with simple yarn stitches, this bell stands out with its smooth curves and neat finishing touches. The little bow on top gives it a playful and festive feel that children and adults alike will enjoy. Whether you want to add a handmade touch to your holiday decorations or gift a friend a special keepsake, this bell brings a homemade charm that lights up the season.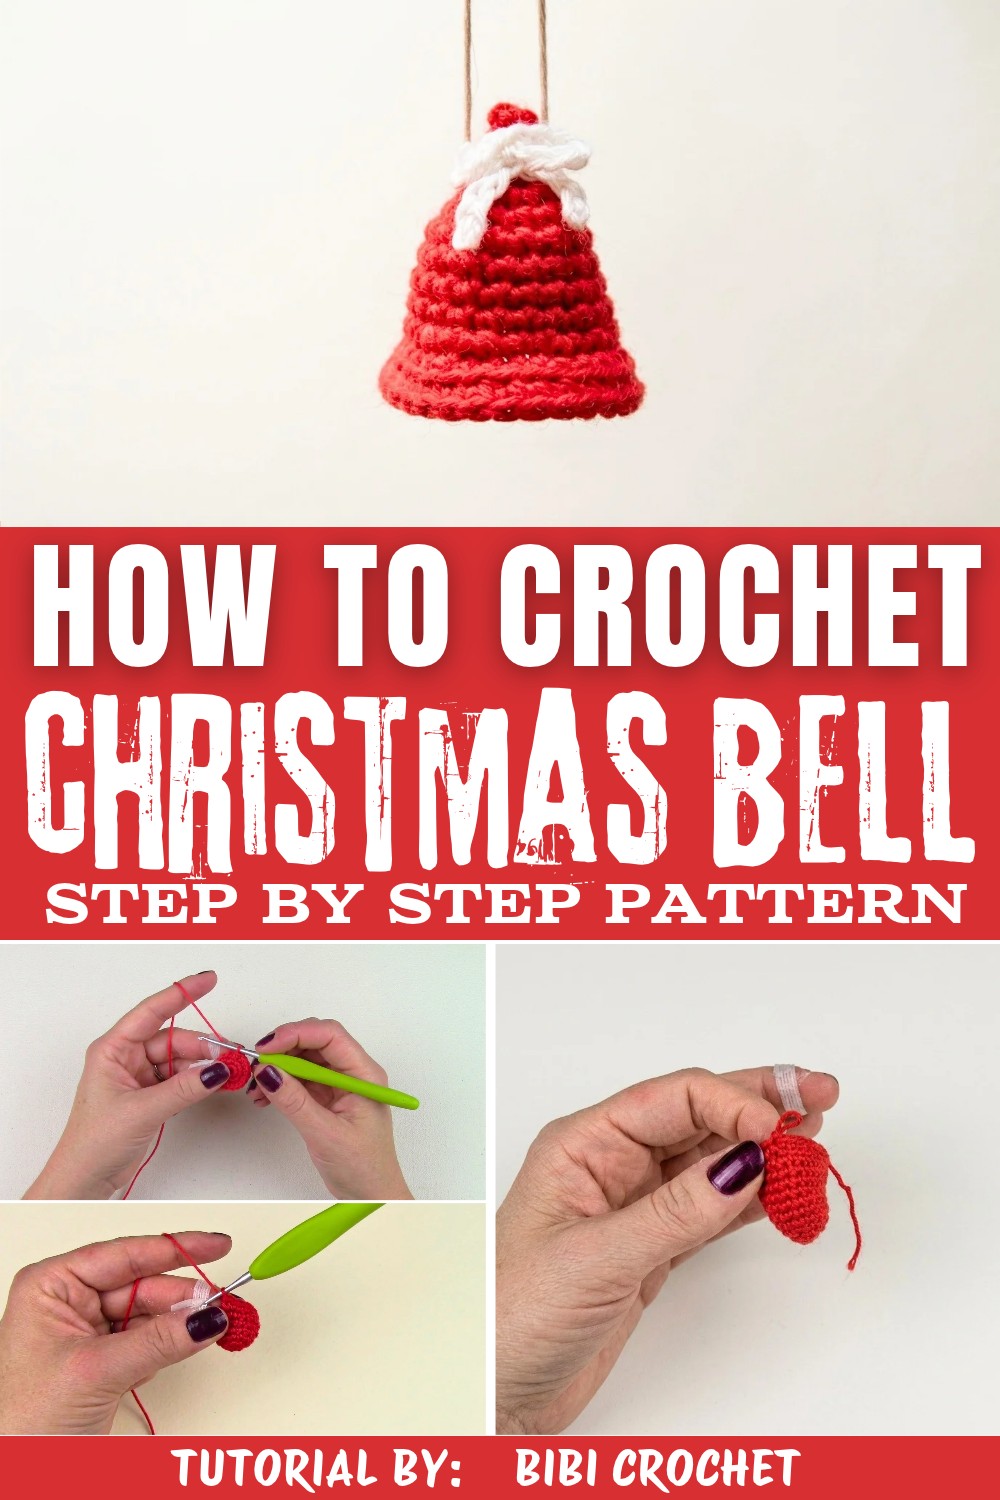
The Crochet Christmas Bell Ornament Pattern is designed to be friendly for beginners while still delighting those who love working with yarn. Thanks to Bibi Crochet's clear video guide, you can follow along step-by-step and bring this adorable bell to life with confidence. The finished bell offers a sweet reminder of holiday cheer, perfectly blending tradition and creativity.
If you're ready to add some extra magic to your tree this year, don't miss out on this free pattern. Head over to Bibi Crochet's YouTube tutorial and start making your own Christmas bell today.
Elegant Crochet Christmas Bell Ornament Free Pattern
The following instructions guide the user through crocheting a bell ornament, showcasing a classic shape and festive details. The method relies on foundational rounds, easy increases, and basic techniques for assembly. As each stage progresses, precision and careful counting bring the bell form to completion, with a bottom cover, clapper, bow, and hanging loop. The use of accessible materials, clear directions, and logical order assists in building a decorative item suitable for holiday display or personal use.
Quick Overview Of Pattern
- Bell Body: Worked in spirals using single crochet with increases.
- Bottom Cover: Constructed separately and attached to bell.
- Clapper: Formed with chains and secured through the cover.
- Bow & Hanging Loop: Created with chains and attached as top details.
- Assembly: Requires neat sewing and hidden ends.
Notes
- Place a stitch marker at the beginning of each round for accuracy.
- All rounds are continuous unless otherwise specified.
- Use two yarn colors for contrast or tradition.
- Adjust the hook and yarn for desired size.
- Hide sewing and ending knots for a polished result.
Skill Level
- Beginner to Lower Intermediate
- Users should understand how to work single crochet, magic ring, increases, and simple seaming.
Materials
- Yarn: Size 3 (DK, cotton recommended) in two colors (e.g., red and white)
- Crochet Hook: Size 2 mm (or suitable for yarn)
- Fiberfill/Cotton Stuffing
- Yarn Needle (Tapestry Needle)
- Stitch Marker
- Scissors
- Optional Ribbon
Measurements / Sizing
- Finished ornament: 4-5 cm (1.6-2 inches) tall (excluding loop/bow)
- Customize size with hook/yarn adjustments
Gauge (and Stitch Pattern)
- Gauge: Tight tension so stuffing does not show
- Stitch pattern: All single crochet, with increases, magic ring, back loop work
Stitch Abbreviations
- ch: chain
- sc: single crochet
- inc: increase (2 sc in one stitch)
- BLO: back loop only
- sl st: slip stitch
- st(s): stitch(es)
- MR: magic ring
Special Stitches
- Magic ring (MR): Foundation loop for amigurumi pieces
- Increase (inc): Two single crochet in same stitch
- Back loop only (BLO): Insert hook into back loop only
- Color change: As needed for decorations
The Crochet Pattern
Bell Body
- Round 1: Start with a magic ring (MR); work 4 sc into the ring.
- Round 2: Work 1 inc in each stitch (so, 2 sc in each st) for 8 sc total.
- Round 3: (1 inc, 1 sc) repeat around for 12 sc.
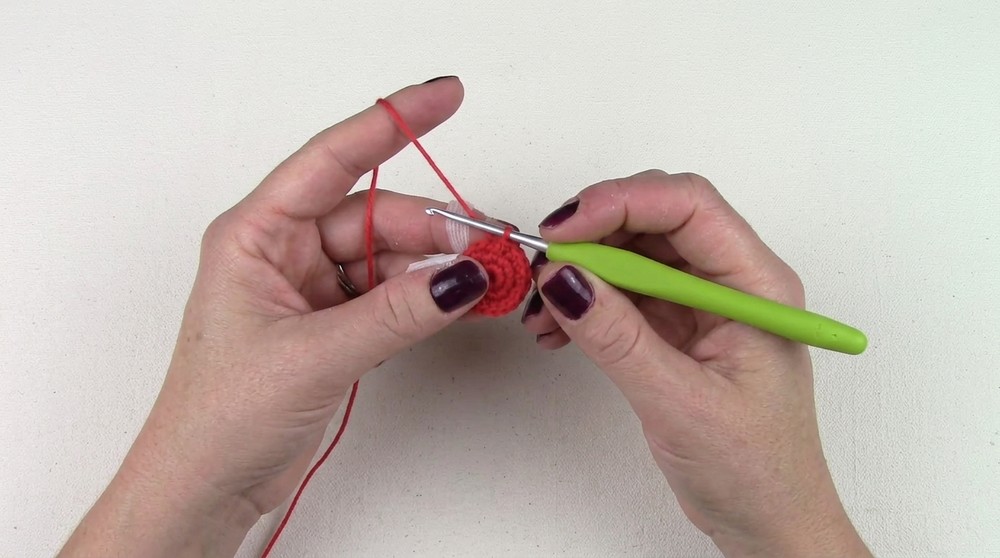
- Round 4: (2 sc, 1 inc) repeat around for 16 sc.
- Round 5: (1 inc, 3 sc) repeat around for 20 sc.
- Rounds 6-8: 1 sc in each stitch around (20 sc each round).
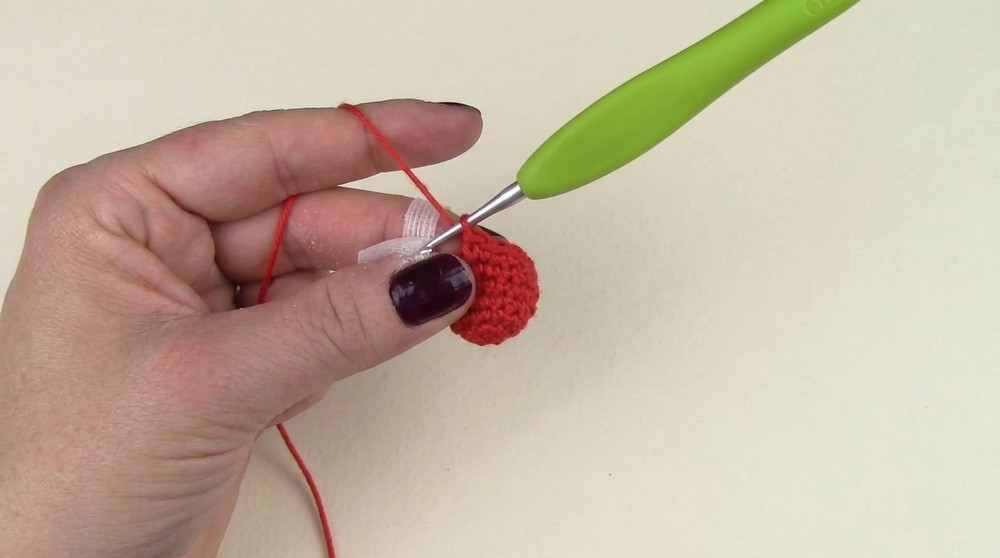
- Round 9: (1 inc, 2 sc, 1 inc, 1 sc) repeat sequence for 28 sc total.
- Round 10: 1 sc in each stitch around (28 sc).
- Round 11: Work 1 sc in BLO of each stitch (28 sc).
- Finishing: Fasten off, tie a knot, and leave a tail for sewing.
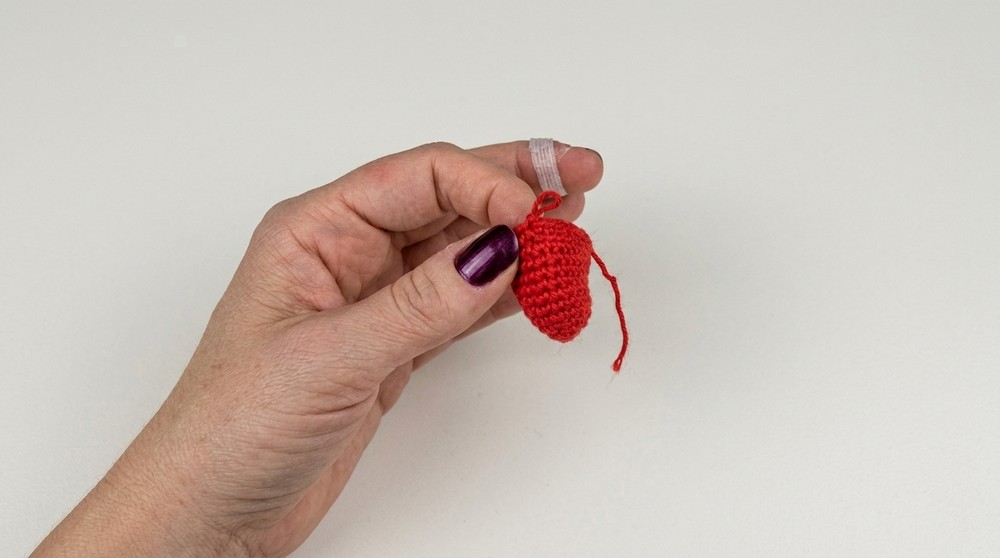
Bottom Cover (Tapita)
- Round 1: Start with a magic ring (MR) of 6 sc.
- Round 2: 1 inc in each stitch around (12 sc).
- Round 3: Work (1 sc, 1 inc, 1 sc, 1 inc in next 3, 1 sc, 1 inc, 1 sc, 1 inc in remaining 3) for 20 sc.
- Finishing: Fasten off, leaving a long tail for sewing.
Bell Clapper (Inner Piece)
- Step 1: Make a slip ring (adjustable loop) and ch 3.
- Step 2: Cut the yarn, pull the end through.
- Step 3: With yarn needle, thread both tail ends through center of the magic ring on the bottom cover.
- Step 4: Tie both ends together inside to secure clapper.
Bow & Hanging Loop
- Bow:
- ch 20 with yarn (contrast or main color).
- Tie strip into bow shape; secure center by wrapping or sewing with yarn needle.
- Attach bow to top of bell.
- Hanging Loop:
- Cut a longer strand or ribbon; attach to the top.
- Tie knot at base and pull loop for hanging.
Assembly & Finished Size
- Step 1: Using yarn tail from bottom cover, thread yarn needle.
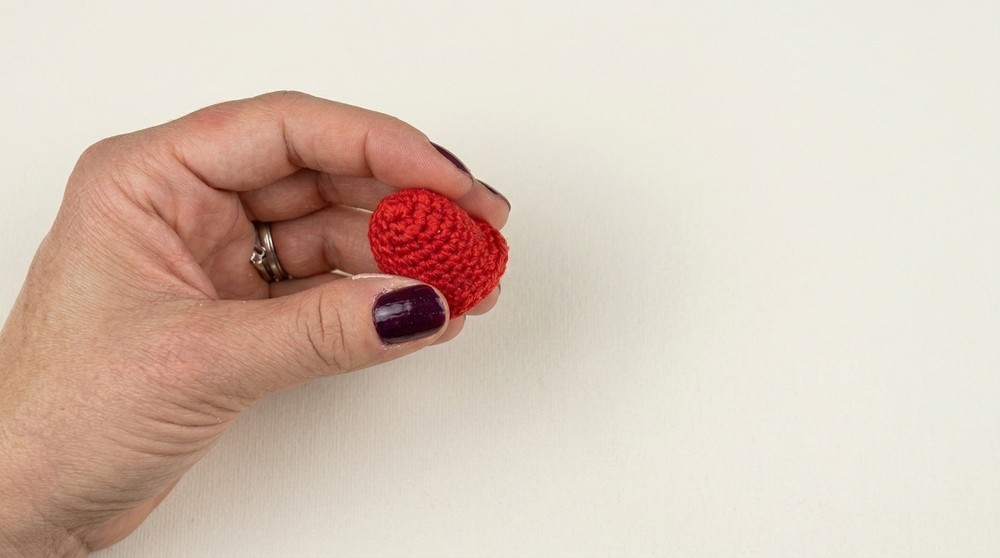
- Step 2: Align bottom cover to the inner ridge (from BLO stitches of Round 11) of bell body. Sew with neat whip stitches.
- Step 3: Before closing, lightly stuff bell with fiberfill or cotton.
- Step 4: Finish sewing closed; tie a knot; hide yarn end inside; trim.
- Step 5: Attach bow and hanging loop to top, hide all knots and ends.
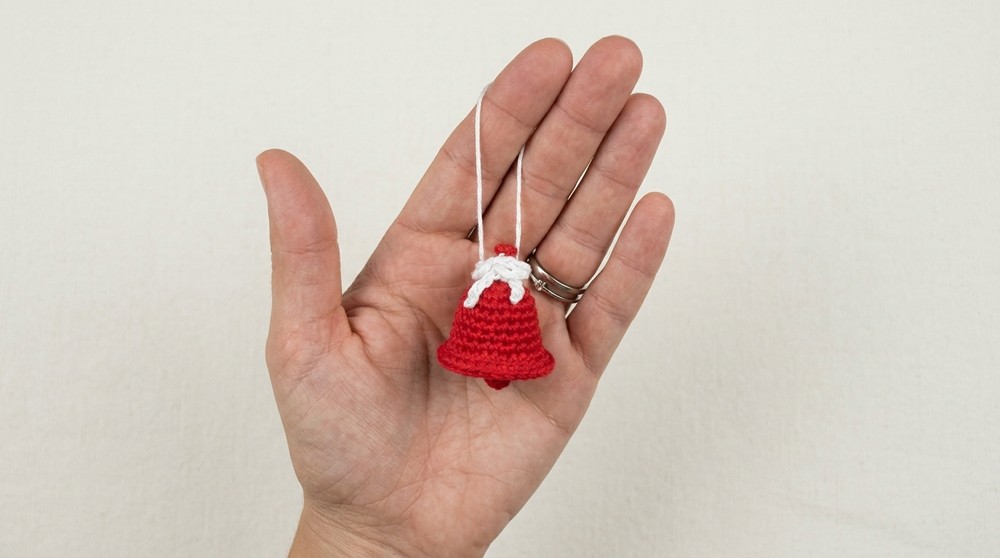
Final Size: Approximately 4-5 cm tall (not including loop or bow).
Conclusion and Ending Words
The amigurumi bell ornament, constructed using simple single crochet rounds, increases, and back loop work, presents a reliable decorative accessory for seasonal displays. The methodical assembly, including careful joining of bottom cover and integration of a chained clapper, results in a finished piece with pleasing curvature and neat details. Each constituent round is structured for maximum clarity, allowing for consistent outcomes across repetitions. The bow and hanging loop provide opportunity for further personalization, offering flexibility in finish and placement. By following the highlighted steps and ensuring tidy transitions and concealed ends, the project stands as a testament to fundamental textile planning and thoughtful execution. Reliability, clarity, and ease of handling contribute to its ongoing appeal in both traditional and contemporary settings.