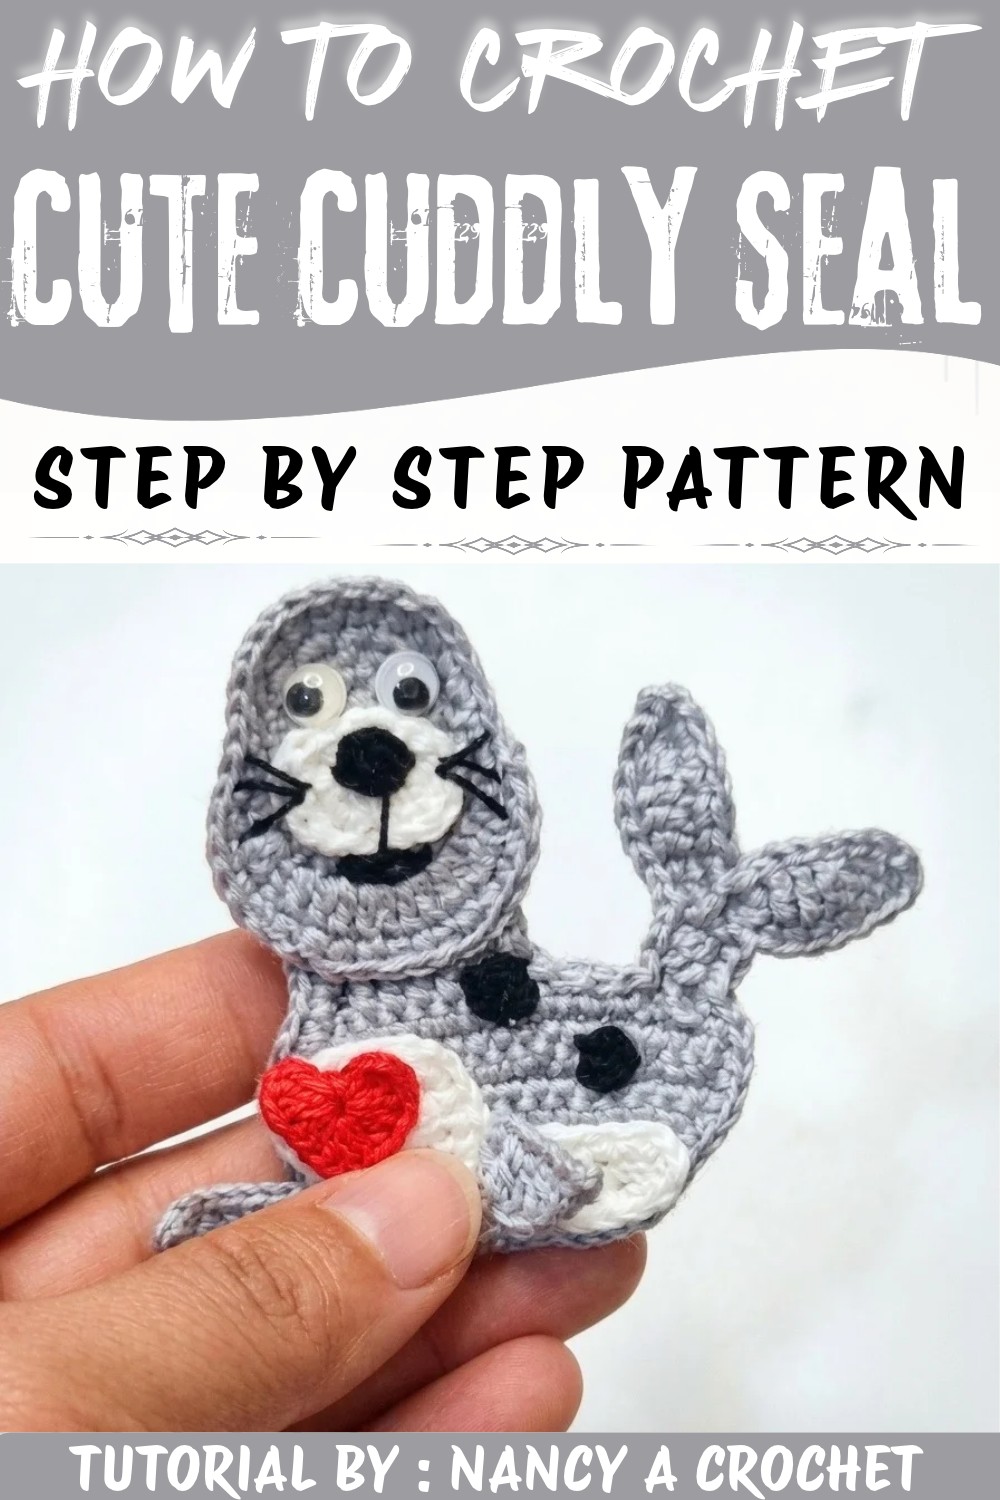
Surprise an ocean lover with the Crochet Cute Seal Free Pattern, a lovely little toy to place beside books or share for special birthdays.
If you've ever wanted to create a delightful little companion, you're going to love the charming seal that can brighten up any space or occasion. This adorable item is a small, stuffed seal made with yarn, featuring soft textures and detailed shapes that bring it to life in the most heartwarming way. Thanks to the original tutorial and design by Nancy a crochet, the "Crochet Cute Seal Pattern" offers an accessible and enjoyable way to make this lovable figure. With gentle curves and carefully shaped fins, the seal captures a sweet, playful essence that makes it a perfect gift for children, friends, or anyone who appreciates handmade treasures.
Kawaii Crochet Cute Seal Free Pattern for Ocean Lovers
The Crochet Cute Seal Pattern is not only a joy to create but also shines as a decorative piece. Its compact size and smooth texture invite touch, making it a lovely addition to nursery decor, desks, or cozy shelves. The seal's rounded head, detailed snout, and floppy fins give it an endearing character, while the subtle combination of stitches ensures a neat and polished look. Whether displayed on its own or bundled with other soft animal figures, it exudes a style that's both whimsical and calming.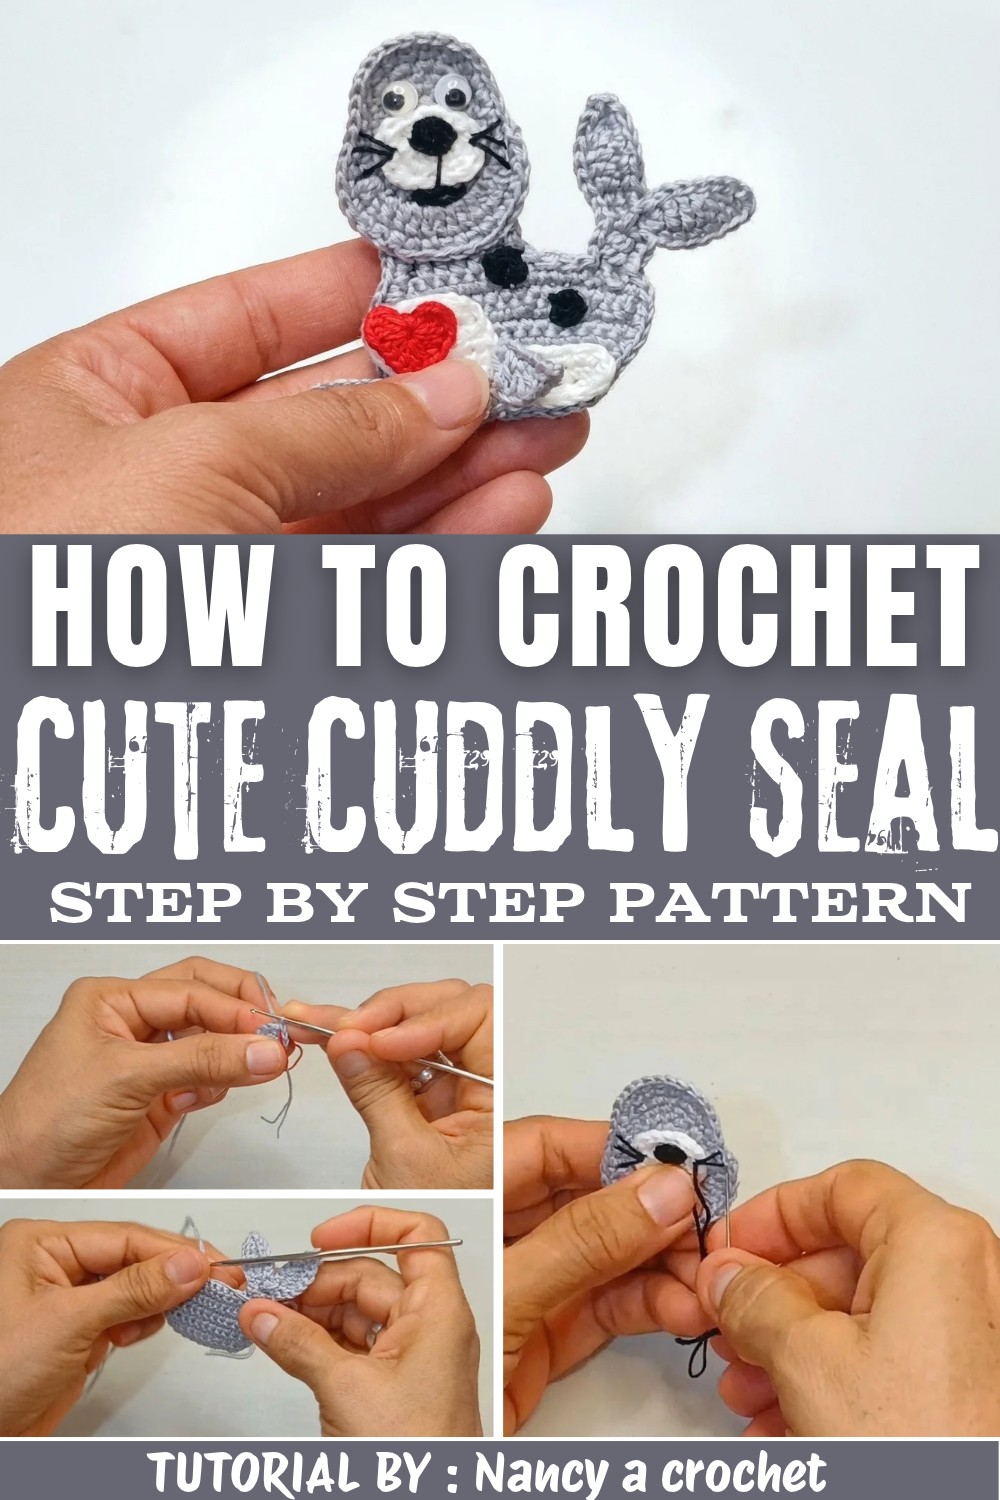
What makes this seal especially captivating is its versatility. It functions beautifully as a thoughtful present, an adorable decor item, or even a comforting friend for little ones. The pattern allows for personal touches, such as adding cute eyes or subtle facial details, enhancing its charm and uniqueness. Easy to hold and cuddle, this seal appeals to all ages, inviting smiles and a sense of warmth wherever it goes. Whether you're seeking a heartfelt gift or a sweet accent, this project promises a delightful result with a lovable sea-inspired theme.
Easy Crochet Cute Seal Free Pattern
Celebrate the whimsical character of a crochet sea seal with this detailed, step-by-step guide. This amigurumi project combines classic shaping techniques with attentive construction, yielding an irresistibly soft and expressive sea animal. Meticulous rounds and carefully placed increases provide gentle curves for the head, snout, and body, while unique touches like sculpted flippers and a finely textured tail add to its charm. Thoughtful guidance on tension, stitch placement, and assembly ensures a well-proportioned and durable finished toy, suitable for gifting or display. Precise instructions for embroidery-including the snout, nose, and whiskers-allow for a distinctly lifelike and personable appearance. Whether enriching a soft toy collection or looking for an engaging project to refine your skills, this sea seal amigurumi promises rewarding results through each clearly outlined stage, from the first loop to the final embroidered detail.
Quick Overview Of Pattern
- Head and body are worked together from a magic ring and shaped with increases/decreases.
- Tail is constructed with a chain, rows of increases, and sculpted flukes.
- Flippers are created from chains and shaped with various stitches then sewn in place.
- Snout is made separately, then sewn and embroidered for personality.
- Assembly finishes with careful sewing, packing with stuffing, and tidy edging.
Notes
- Work with double-stranded thin cotton yarn to achieve a dense fabric.
- Tight tension is crucial; use a smaller hook for facial features or dense parts.
- Use stitch markers (or scrap yarn) to track rounds and shaping transitions.
- Fill with fiberfill as you go to avoid lumps or gaps.
- Embroidery provides personality - take your time with facial details.
Skill Level
Beginner to Intermediate - Comfortable with basic crochet stitches, shaping, and sewing amigurumi.
Materials
- 1 mm mercerized cotton yarn (worked with two strands together)
- 1.7 mm crochet hook (1.0 mm for details, if needed)
- Yarn needle
- Scissors
- Fiberfill stuffing
- Black yarn (for face and snout details)
- Stitch markers or scrap yarn
Measurements / Sizing
- Finished seal measures approx. 8-10 cm (snout to tail)
- Body width approx. 5 cm
- Alterable by changing yarn or hook size
Gauge
- Not essential; focus on creating firm, gap-free single crochet (sc) and half double crochet (hdc) stitches.
Stitch Abbreviations
| Abbreviation | Definition |
|---|---|
| ch | chain |
| sc | single crochet |
| hdc | half double crochet |
| dc | double crochet |
| sl st | slip stitch |
| MR | magic ring |
| inc | increase (2 sts in 1 stitch) |
| dec | decrease (2 into 1 stitch) |
Special Stitches
- Invisible increase (inv inc): Work two stitches into the front loop to hide the join.
- Invisible decrease (inv dec): Insert hook into front loops of next two stitches, then finish as one.
- Magic Ring (MR): Start coils for seamless amigurumi bases.
The Crochet Pattern
Head and Body
- Round 1 With 1.7 mm hook (switch to 1.0 mm for detail if preferred), create a Magic Ring (MR).
Work 6 sc into the ring, pull tight, sl st to join (6). - Round 2: Work 2 hdc in each stitch around (inc), for a total of 12 hdc.
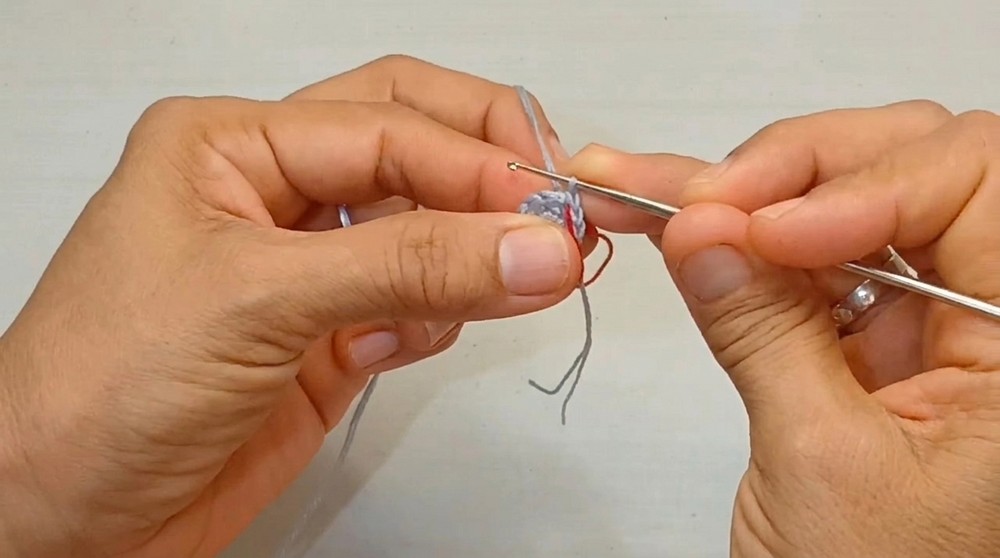
Bold stitches: hdc
- Round 3: Place a stitch marker. Repeat: 1 hdc, 1 invisible increase (inv inc) around.
Finish the round with 18 hdc.
Face Shaping (Contour Rounds):
- Work 5 sc, place a marker.
- Sl st in next 4 stitches (side shaping).
- 5 sc, then sl st to finish round.
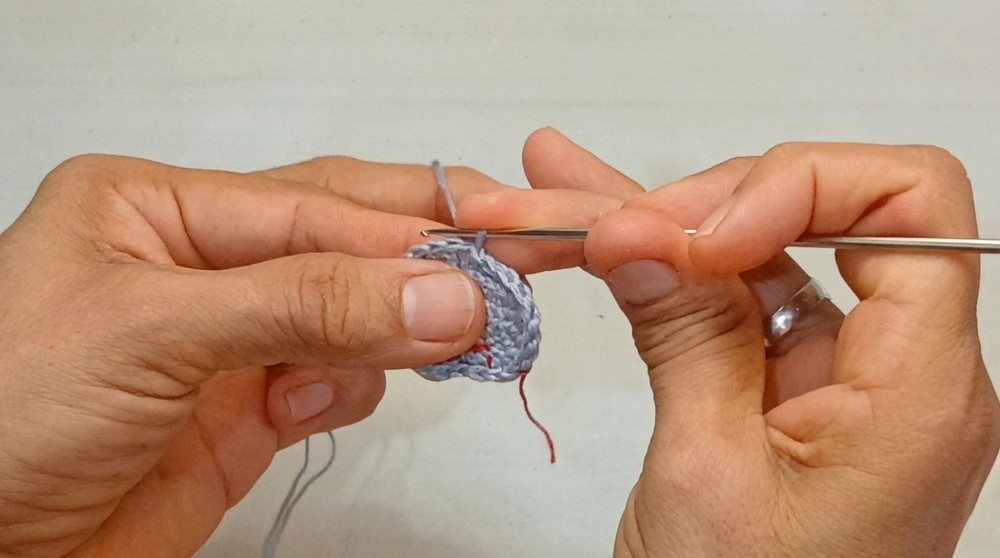
Shaping/Forehead Rounds:
- Alternate 1 sc, 1 inv inc as you move to the side.
- Slip stitch across previous 4 sl st.
- At forehead curve, use hdc increases to gently shape snout and brow.
Continue Shaping:
- Alternate rounds of single crochet (sc) around the face, with side slip stitches as needed, for a total of 11 rounds using carefully placed increases and decreases for head and snout.
Tail
Foundation Chain:
- Ch 10.
- Turn and work 9 sc back along the chain. (9)
Shaping Rows:
- Ch 1, turn.
- Inc in the first stitch, sc across, adding increases only at the end for flare.
- Work for about 6 rows, introducing steady increases (inc) and decreases (dec), shaping toward 16-18 total stitches.
Forming Tail Flukes:
- At the end of the 6th row, use sl st, hdc, dc in the corners to shape the flukes (the "tail wings"), forming curves on each tip.
- Sl st and sc around the edge of the fin for a polished look.
Chest Flipper (Front)
- Start: Attach yarn at the underside of the body, ch 5.
- Rows 1-6: For each row, 5 hdc, ch 1, turn.
(Work 6 rows to form a neat, soft napkin shape.)
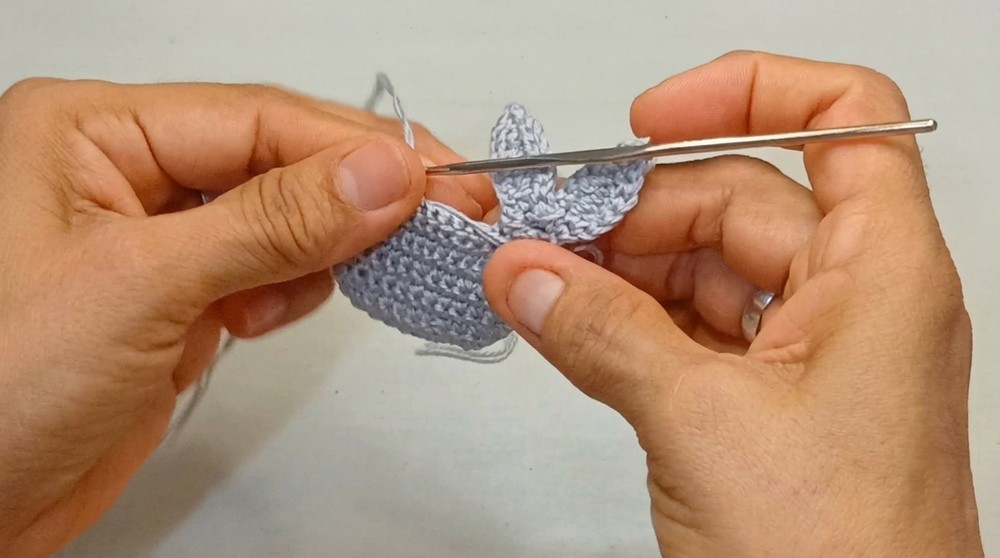
Side Flippers
Each Flipper:
- Attach yarn at side, ch 6.
- Working back along the chain:
- sl st in first ch,
- sc in next,
- hdc in next,
- dc in following,
- hdc in next,
- sl st in final.
- Fold flipper slightly upward. Stitch to secure.'
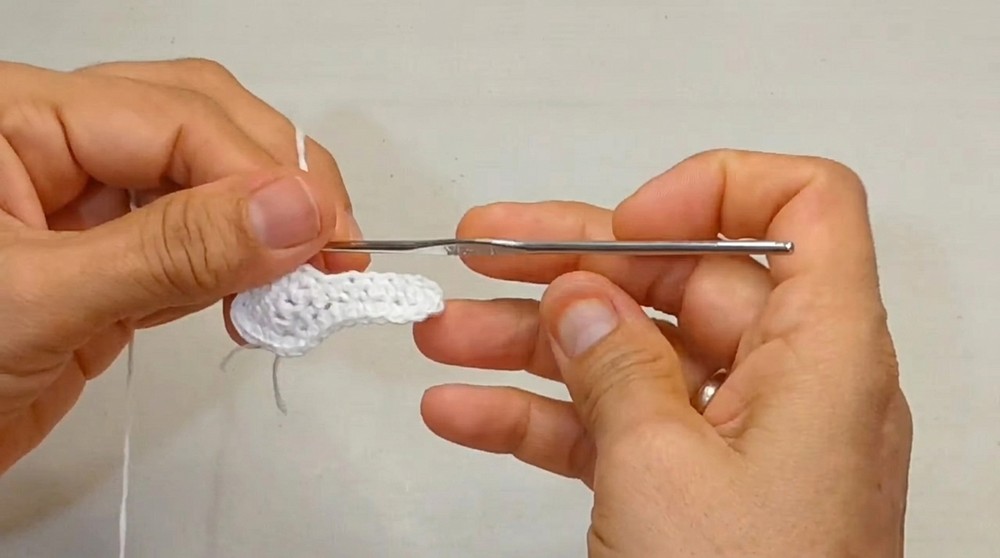
Snout & Face
(Method 1):
- Ch 4, turn, sc in each.
- Repeat, increasing at one tip with each row to form a raised oval (do 2-3 rows for shape).
(Method 2):
- Make a Magic Ring (MR), 6 sc inside, sl st to close.
Attach Snout:
- Sew snout firmly just above the original MR on the face.
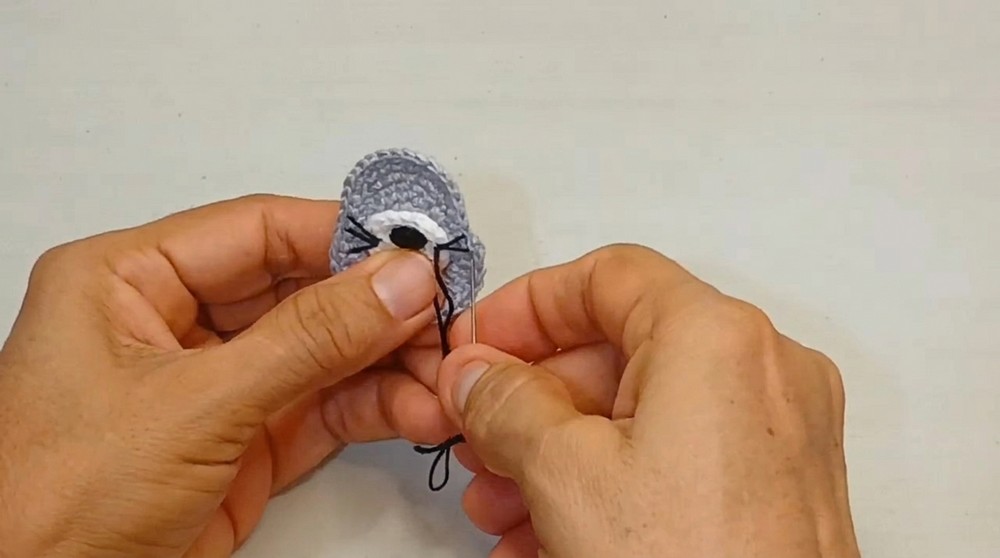
Facial Embroidery:
- Use black yarn and a yarn needle:
- Stitch a neat nose onto the snout.
- Make whiskers by passing needle in/out at the same points; three per side makes for a sweet effect.
Assembly & Final Finishing
- SEW head to body.
- Sew tail securely to the back of the body.
- Attach front and side flippers neatly with sturdy but discrete stitches.
- Embroider eyes (or glue small safety eyes) above snout.
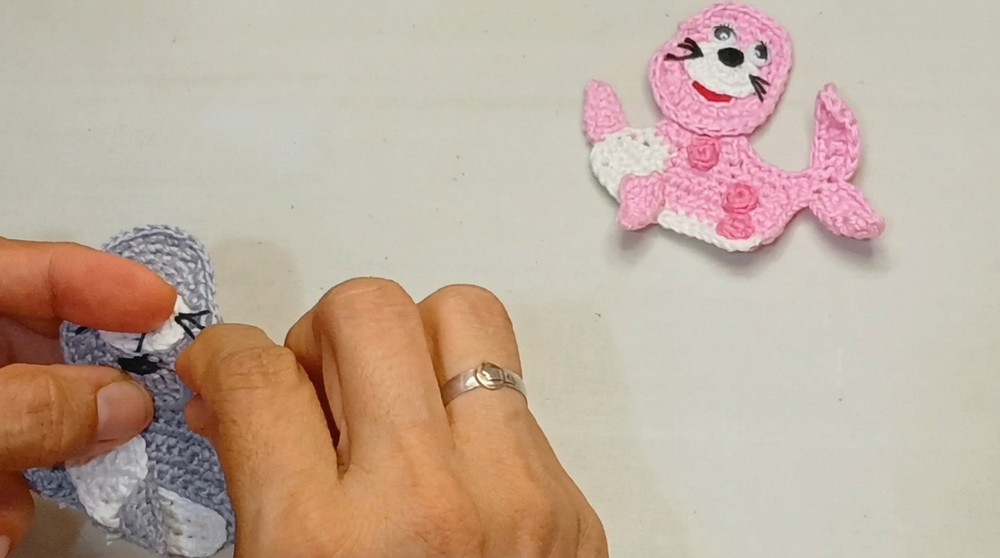
- Trim all yarn ends and weave inside for a seamless finish.
- Gently shape the seal for character.
Assembly & Finished Size
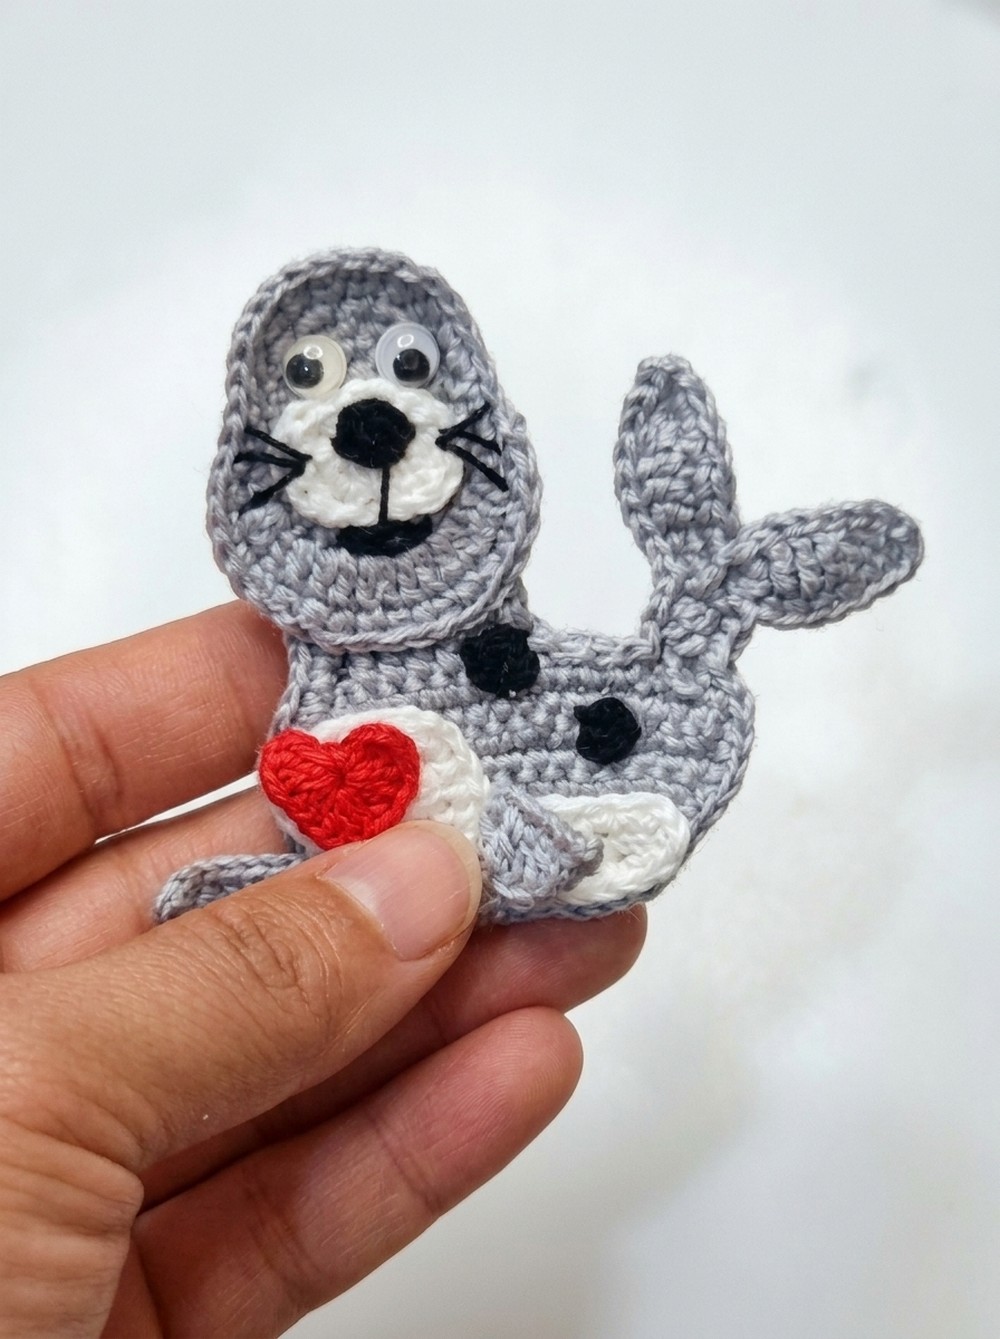
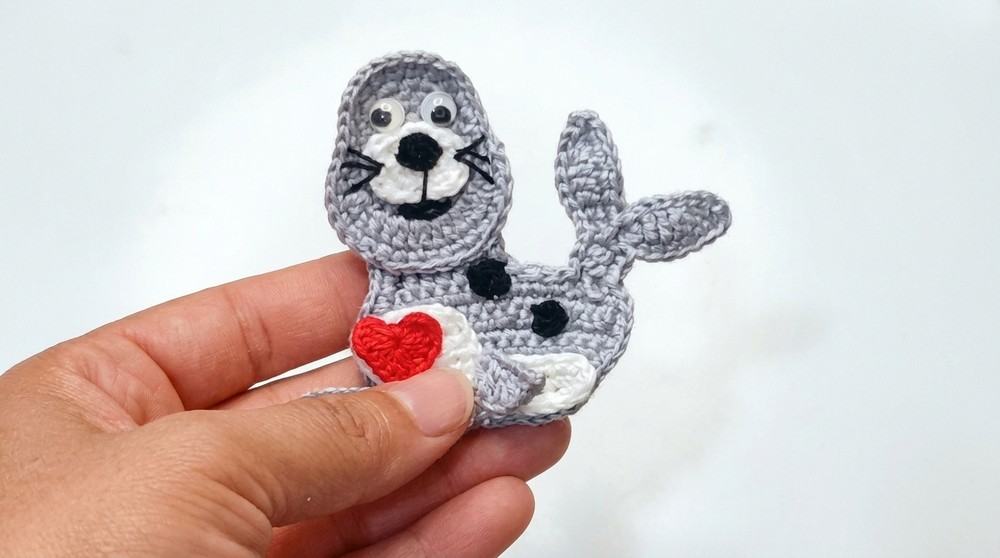
- Your assembled sea seal should be 8-10 cm from snout to tail, with a huggable middle and gently raised flippers and tail. All details should be firm and even for a gift-, play-, or decor-ready result.
Conclusion and Ending Words
Completing this sea seal project results in more than just a charming toy; it offers proof of the nuanced skill involved in shaping and assembling amigurumi designs. Each thoughtfully formed feature-from symmetrical flippers to the gently curved tail-demonstrates an appreciation for both detail and proportion. Careful finishing touches, including securely attached limbs and expressive embroidery, guarantee a lasting, tactile keepsake. This method fosters confidence in advanced shaping, invisible joins, and reliable stuffing, essential to achieving a polished look. As a stand-alone item or part of a curated collection, this sea seal serves as a delightful conversation piece or heartfelt handmade gift. Finishing the final stitch delivers a sense of accomplishment and pride, showcasing patience and precise handiwork in a form that can be treasured for years to come.