
Searching for a unique handmade gift, the Free Crochet Octopus Pattern makes delightful accessories full of personality and color.
When I first picked up a crochet hook, I was amazed at how something so simple could turn yarn into adorable creations like this little octopus. The free crochet octopus pattern is not just fun to make, but it's also a joyful project that suits crocheters of all skill levels. The way the soft, squishy body comes together with its charming tentacles feels like magic in your hands. You can use soft tones like pinks, blues, or purples for a sweet and calming look, or mix bold shades to bring out a playful vibe. In the video tutorial, the creator uses lovely pink and white, which makes the pattern perfect for kids, decorations, or heartfelt gifts.
Learn Adorable Crochet Octopus Pattern FOR bEGINNERS
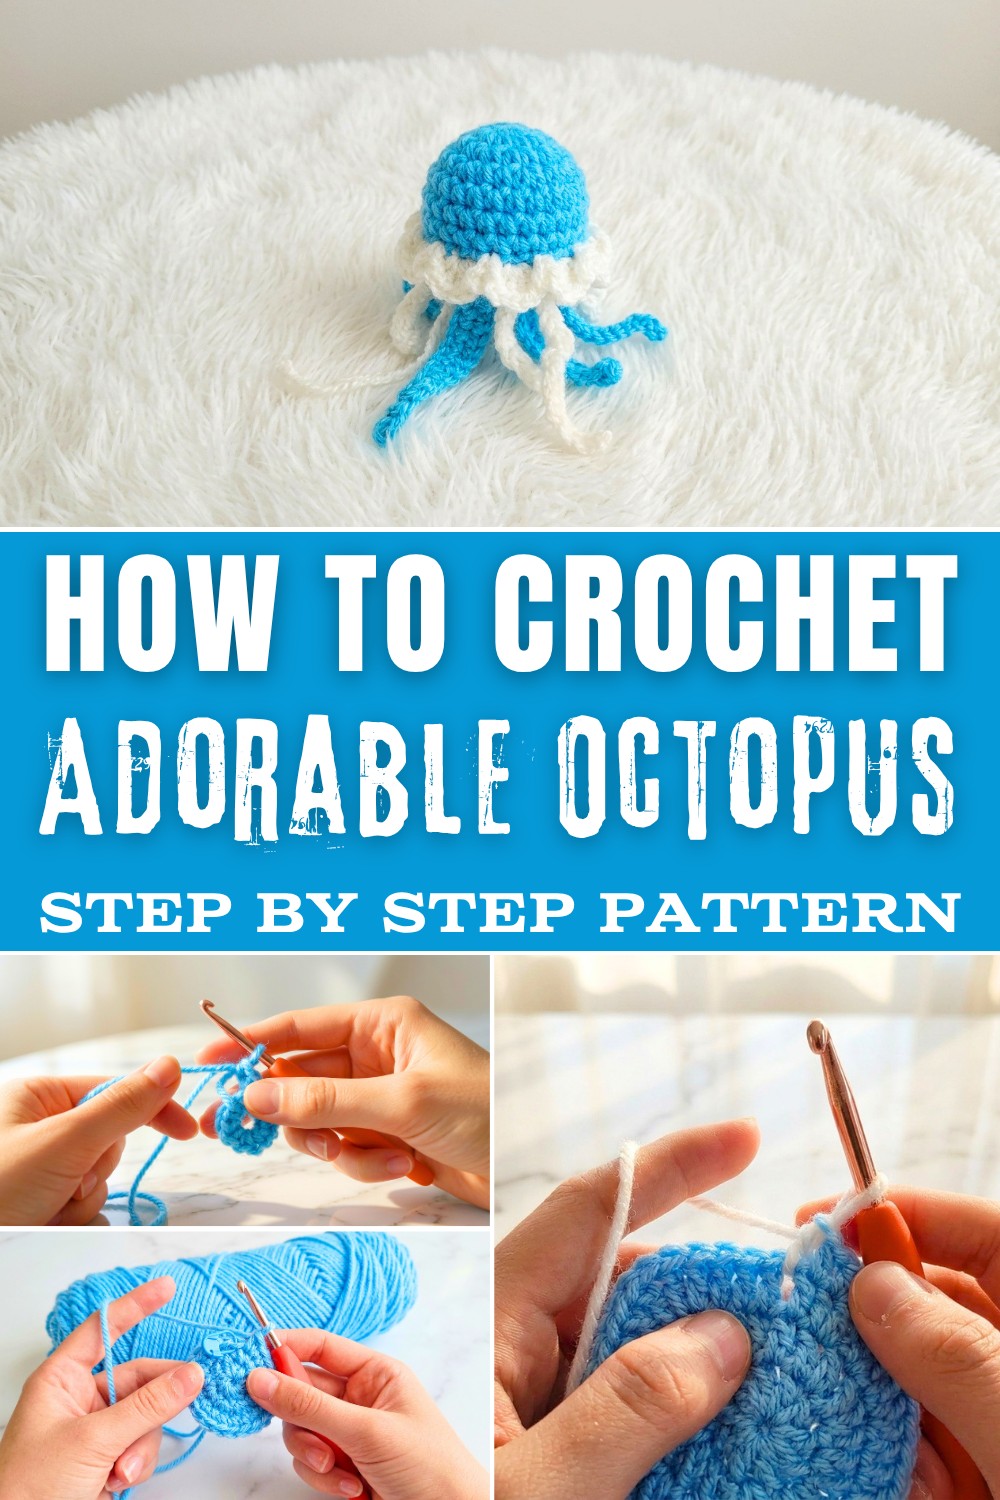
This pattern teaches you the basics of circular crochet using a magic ring, making it an ideal starting point for similar projects requiring round shapes. The foundation is built using single crochet, an easy and essential stitch that every crocheter will use time and time again. You'll also pick up skills like increasing and decreasing, which are crucial techniques for giving the octopus its adorable round shape and floppy little tentacles. These stitches are the gateway to creating more exciting projects like stuffed animals, coasters, and small accessories.

From this pattern, you'll learn the following skills:
- How to use a magic ring for neat, circular beginnings in your projects.
- Master increases and decreases to shape 3D crochet items.
- Attach and shape small details like tentacles, which can also be used in other designs.
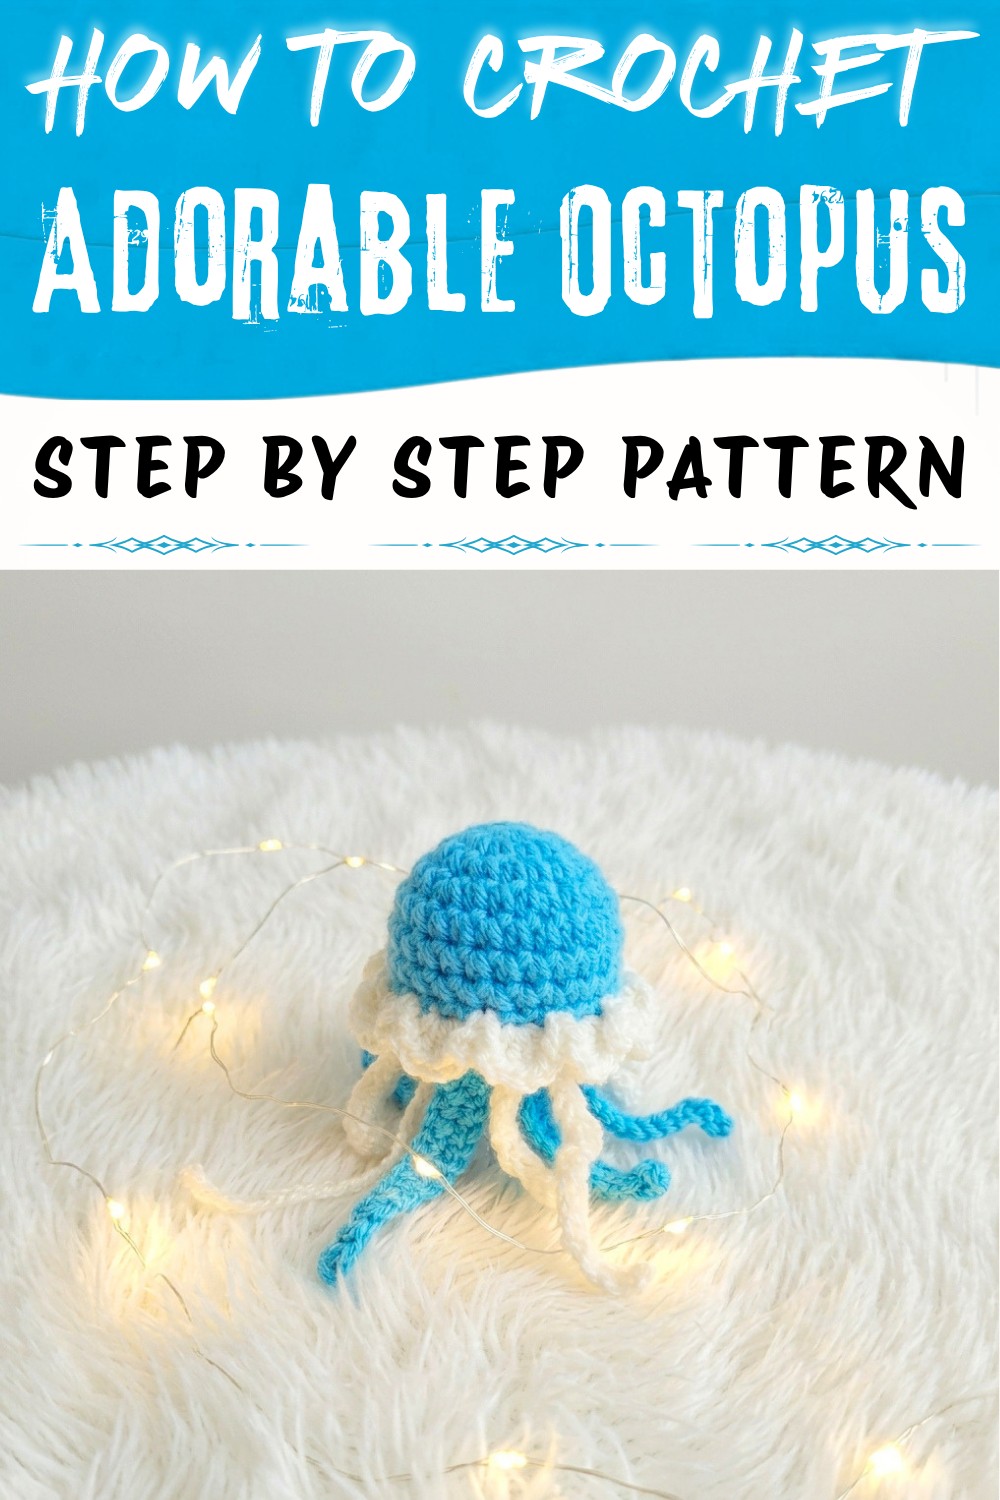
What You Can Make With These Skills
- Adorable plush animals like whales, turtles, or bumblebees.
- Cute keychains, bag charms, or Christmas tree ornaments.
- Functional items like coasters, hats, or small baskets.
With just a bit of yarn and this pattern, you'll be amazed at how many creative possibilities open up!
Customization Ideas
- Use variegated or striped yarn for playful effects.
- Make tentacles of different colors and lengths.
- Add beads or sequins to tentacles for sparkle.
- Vary the face (sleepy, smiley, surprised, etc).
Materials
- Yarn: Sky blue color used in pattern, you can use multiple colors for tentacles (worsted weight/acrylic is easiest for beginners)
- Crochet Hook: 4.5 mm (or to match your yarn)
- Yarn needle (for weaving in ends and finishing)
- Stitch marker (or a safety pin, bobby pin, etc.)
- Scissors
- Optional: Safety eyes, buttons, or embroidery thread for face
- Stuffing: Not required, but you may use fiberfill, scrap yarn, or fabric if desired
Finished Size
Roughly 6-8 cm wide, 8-12 cm tall (body + tentacles), depending on yarn, hook, and how long you make the tentacles.
Special Techniques & Important Remarks
- Magic ring: Watch a slow-motion tutorial if it's new to you!
- Invisible decrease: For neatly shaped amigurumi.
- Stitch markers: Always mark your first stitch in each round to avoid losing track.
- No stuffing required: This plush is cute even when flat, or use scrap yarn/fabric if you wish.
- Tentacle length: Adjust as you like-short for a "kawaii" look, long for a playful style.
Pattern Overview
This plush is made in simple steps:
- The body (worked in the round)
- Tentacles (chains attached to underside)
- Optional frill (edge ruffle)
- Finishing/embellishments
Pattern Steps
Body - Worked in Continuous Rounds
Round 1:
- Make a magic ring.
- Crochet 6 single crochets (sc) into the ring.
- Pull tail gently to close.

- (Mark the first stitch of each new round with a marker).
Begin with a magic ring: This closes up neatly at the bottom of your plush. Add 6 single crochets into the loop to start your jellyfish's body.
Round 2:
- Increase: 2 sc in each stitch around (12 sc at end of the round).
In every stitch from Round 1, make 2 single crochets. This expands your circle.
Round 3:
- (sc in next stitch, 2 sc in next) repeat around (18 sc).
Crochet 1 sc, then put 2 sc in the next. Repeat this pattern all the way around to keep growing your piece.
Rounds 4-8:
- sc in each stitch (no increases; still 18 sc per round).
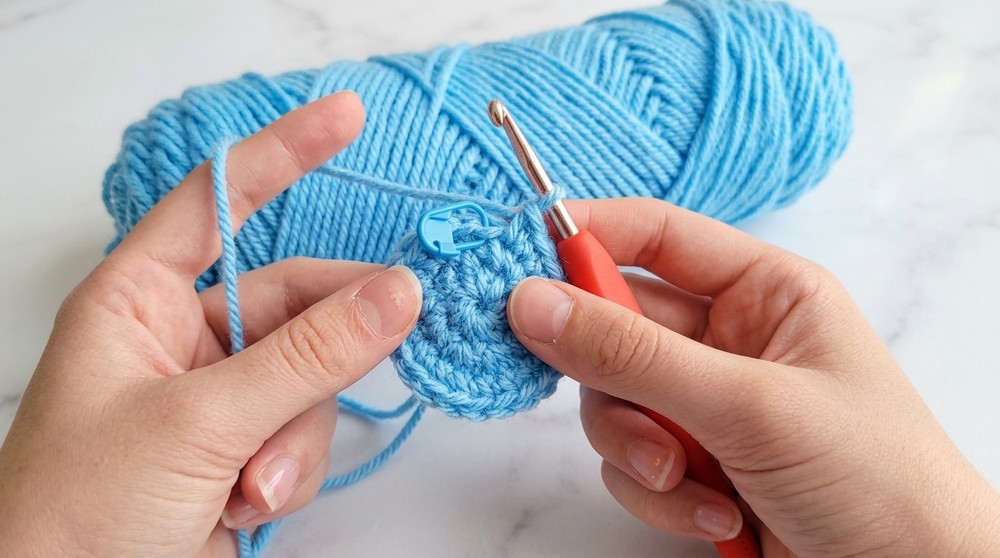
Work one single crochet into each stitch. Your work will start to form a bowl shape - this is the top of your jellyfish.
Tip: Flip your work to show the "right" (smooth) side out when your piece starts to curl/invert.
Decreasing and Closing the Body
Round 9:
- (sc in next, decrease over next two stitches) repeat around (front-loop only for invisible decrease)
- (12 sc at end of round)
Decrease by crocheting two stitches together (use the front loops only for a neater look). This starts to close the bottom of your jellyfish. If adding stuffing, do it now, but it's totally optional!
Round 10:
- (decrease over next two stitches) repeat around
- (6 sc at end of round)
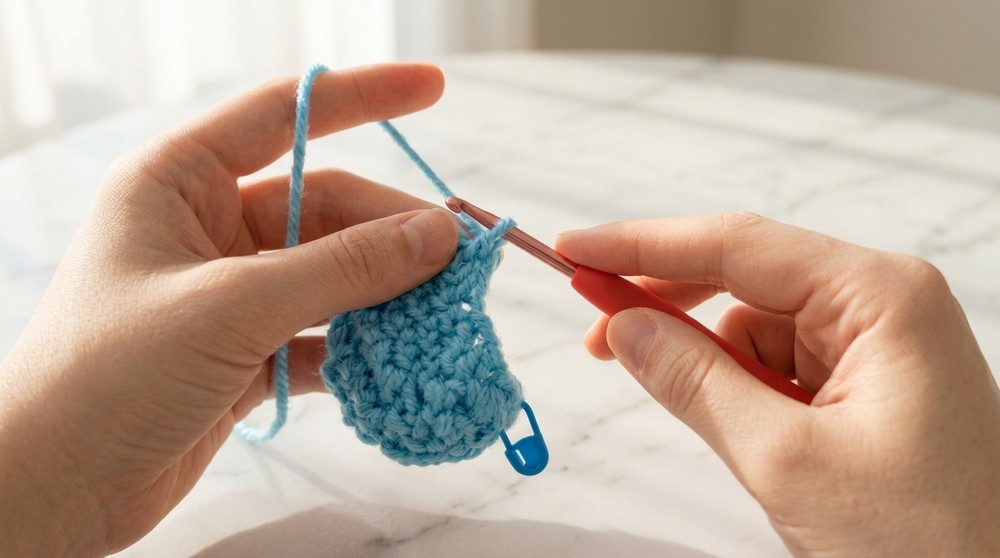
Continue decreasing until only 6 stitches remain. This finishes the jellyfish dome! Fasten off, leaving a long tail if you want to sew up tightly.
Attaching Tentacles
You will make multiple tentacles-8, 10, or 12-using simple crochet chains. Use one or more yarn colors for a fun look.
- Join tentacle yarn at the closed end of the body.
- Chain 8-12 (as desired for length).
- Knot at the end of each chain and trim for a secure finish.
- Repeat this process for each tentacle, spacing them evenly.
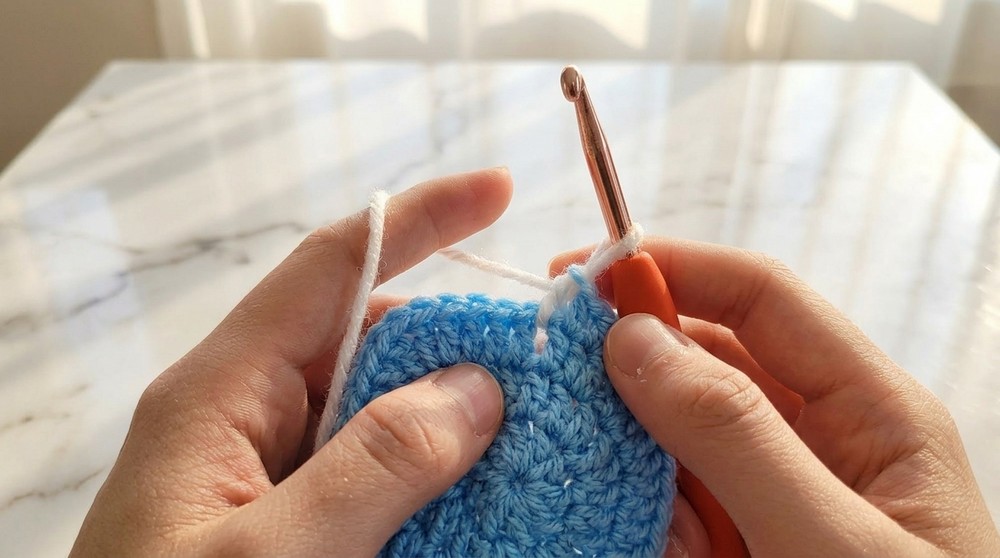
Create each tentacle by attaching yarn to the inside/bottom of the jellyfish (use a crochet hook or needle), making a chain for length, tying a knot at the end. You can mix colors for a cute effect!
(Optional) Add Frill/Ruffle to the Rim
To make a ruffly "skirt" around the edge:
- Join yarn at any stitch of the last round on the body rim.
- [Ch 2, sl st in same stitch, repeat around] - or, for extra frill: (in each st) [sc, ch 2, sc]
This gives your jellyfish a decorative frill. It's optional but adds a fun, wavy look!
Finishing and Face
- Weave in any loose ends with a yarn needle.
- Attach safety eyes, buttons, or embroider eyes and a smile with yarn/thread.
- Secure all knots for durability if using as a keychain.
Finish by adding a cute face! Safety eyes or buttons are great for beginners. You can also embroider your own expression.
Skills You Will Build
- Making a magic ring and crocheting in the round
- Basic increases and decreases (amigurumi shaping)
- Changing yarn colors and attaching embellishments
- Making chain stitches for creative decoration
Recommended For
- Beginners to crochet and amigurumi
- Crafters looking for quick, rewarding projects
- Kids and adults alike seeking fun, cute handmade gifts
Key Points and Tips:
- Starting Stitches: The magic ring may take practice, but it's foundational for projects like coasters, plushies, and hats.
- Midway Difficulties: Tracking single crochets can be tricky-always use a stitch marker to prevent mistakes.
- Ending Challenges: Decreasing stitches and weaving in details like tentacles require patience-don't rush these steps for a polished finish.
With this pattern, you'll not only learn to create an adorable octopus, but also master techniques like the magic ring and stitch increases/decreases, which you can apply to other projects like animals, small ornaments, or even accessories.