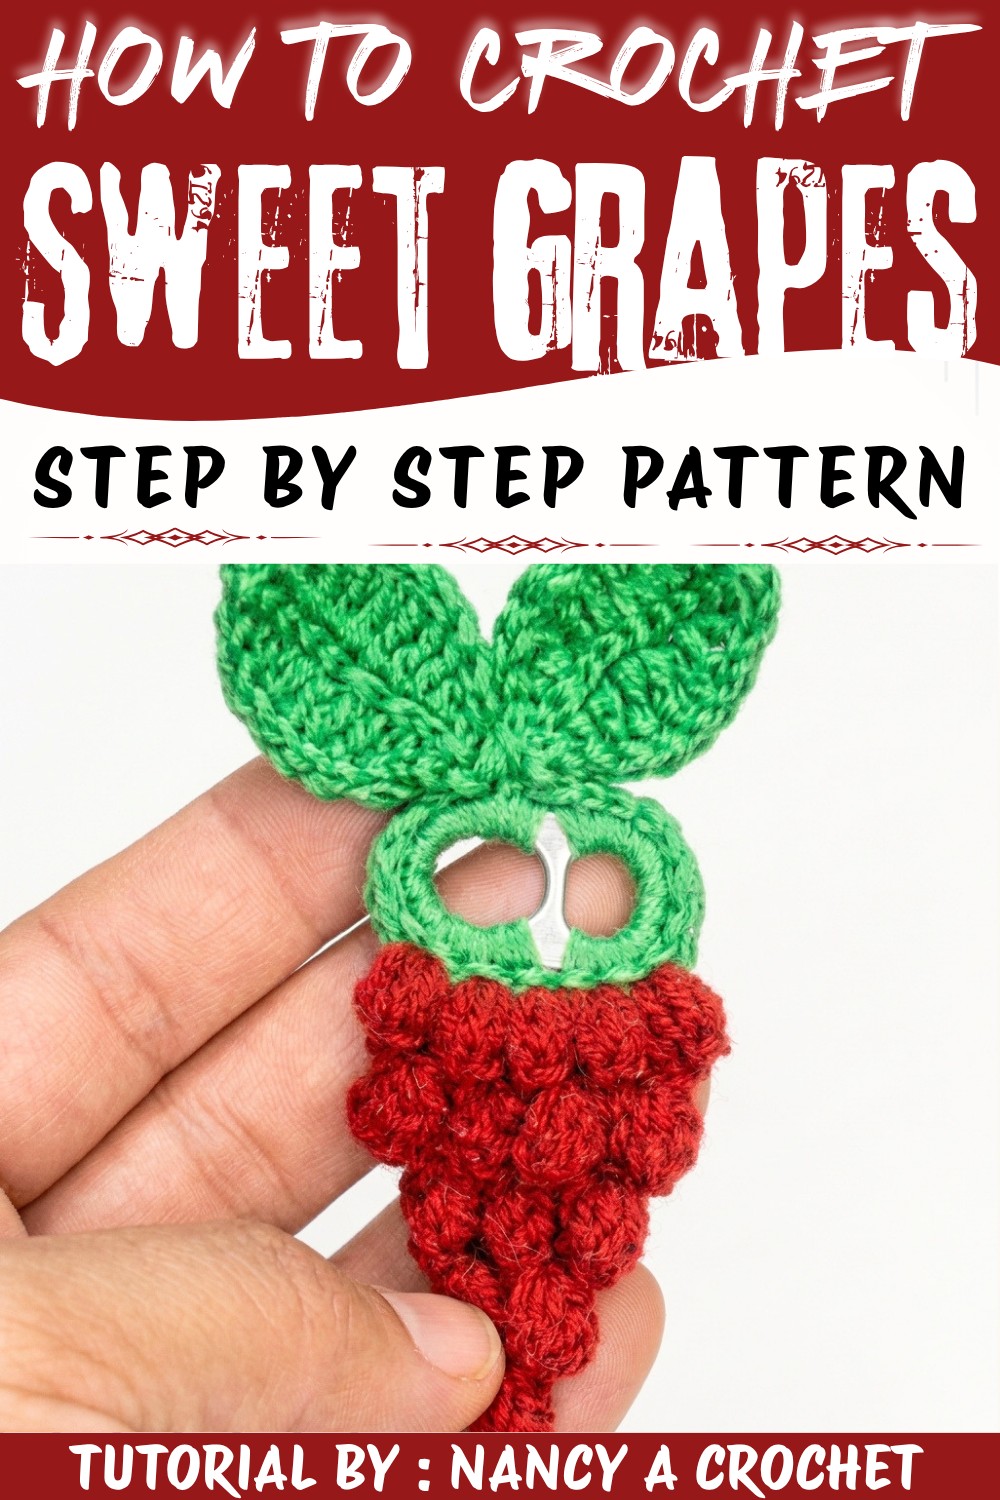
Brighten your table with the Crochet Sweet Grapes Free Pattern, featuring tiny round grapes and green leaves for fruit display.
There's something so charming about a small bunch of grapes that can brighten up any space with its simple beauty. These delicate, sweet grape clusters bring a touch of nature indoors while showcasing the cozy warmth of yarn work. It's no wonder that many find joy in making these delightful decorations, which can be both fun to create and versatile to use. Thanks to the wonderful tutorial and design from Nancy a crochet's YouTube channel, the Crochet Sweet Grapes Pattern offers a delightful project to add a splash of color and texture to your home or accessories.
Quick Crochet Sweet Grapes Free Pattern For Kitchen Decor
What makes this pattern truly special is how it captures the plump, rounded shape of grapes with a soft, inviting texture. The little "puff" stitches that form each grape give the bunch a bouncy, three-dimensional look that's impossible not to love. It's easy to imagine these sweet grapes dangling from a keychain, pinned on a bag, or even placed as a fridge magnet, adding personality wherever they go. Plus, using any yarn you have on hand gives plenty of room for customization-maybe deep purples, fresh greens, or even a playful mixed bunch.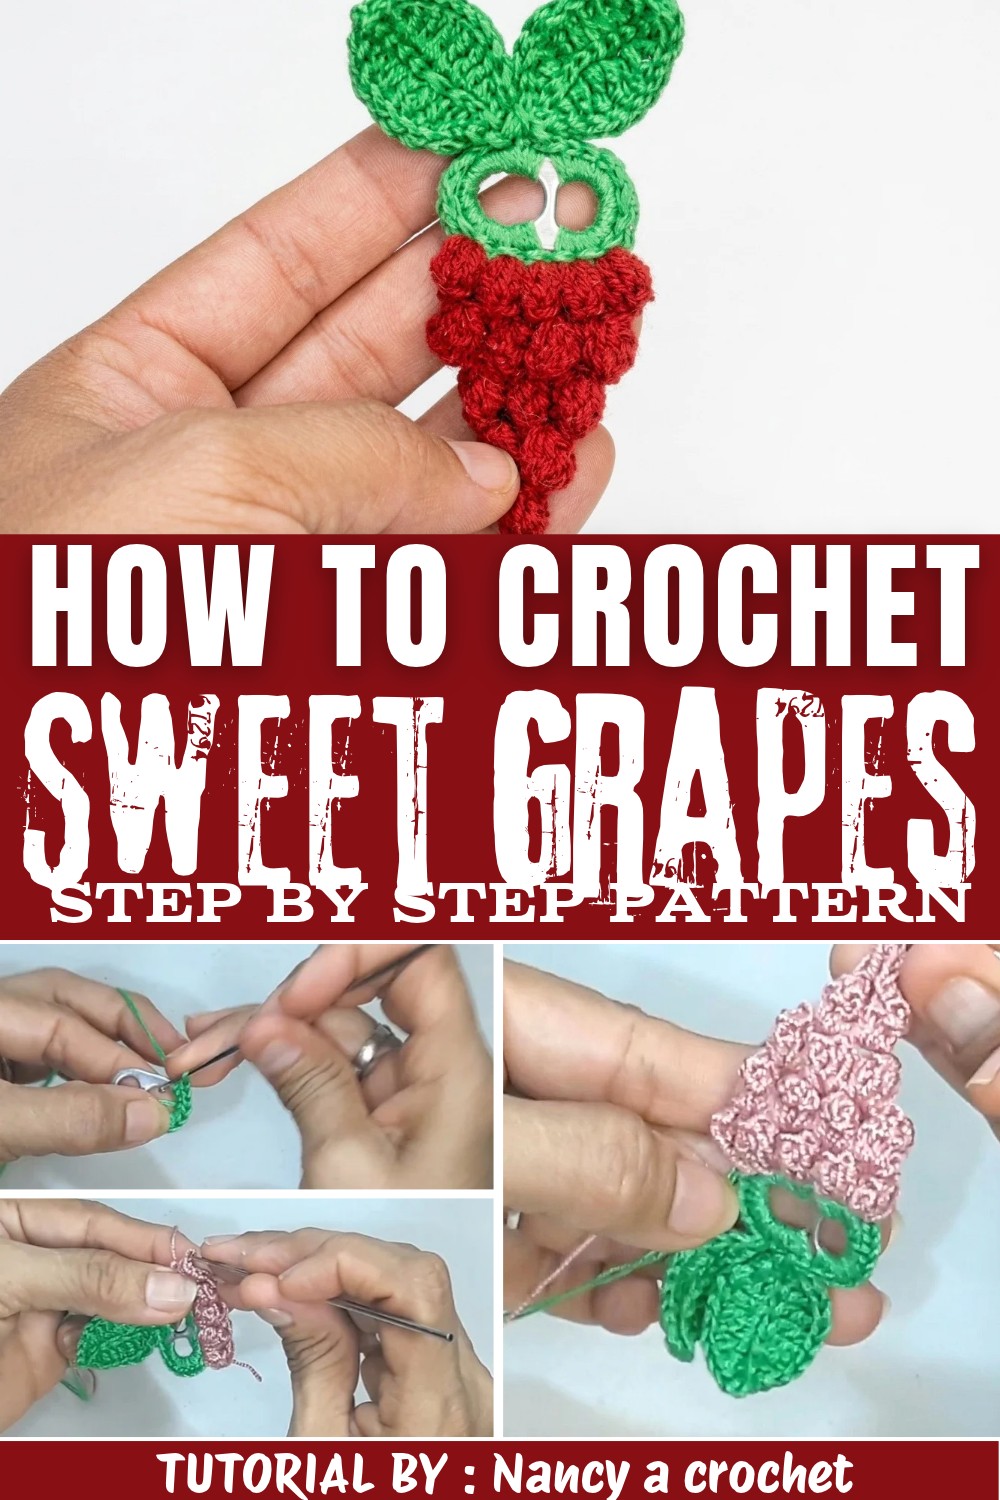
This project is approachable for crocheters who have a little experience with basic stitches and want to follow shaping and textural effects in a compact piece. Along the way, you'll practice creating uniform shapes, working in rounds, and assembling small motif clusters into a cohesive whole. It's an enjoyable way to sharpen these skills while making a charming finished piece that's as practical as it is pretty.
If you're curious to see how these cheerful bunches come to life step-by-step, I warmly invite you to check out the free pattern and video tutorial. It's a lovely little project that's bound to bring a smile with every stitch.
Realistic Crochet Sweet Grapes Free Pattern
This practical and accessible crochet project gives household items new purpose by combining basic stitches with common materials. Using can tabs as the framework, the process yields a three-dimensional bunch of grapes with lifelike texture and detail. Stitches wrap neatly around each tab, providing stability and a compact shape that is both lightweight and sturdy. With approachable methods and clear progression, those with a foundation in crochet will find the instructions straightforward to follow. Each step is designed for clarity and efficiency, allowing for confident progress from base to assembly. The end result serves a dual function-an attractive accessory or a cheerful addition to everyday décor. Personal touches through yarn choice and findings can reflect individual preferences and style, regardless of skill level. The project invites both beginners and seasoned crocheters to exercise creativity using materials often overlooked, resulting in a charming and functional finished piece.
Quick Overview Of Pattern
- Use can tabs as a base, covering them with crochet stitches.
- Form two realistic grape leaves with textured edges.
- Create the grape cluster with a series of decreasing puff stitch rows.
- Assemble all parts and outline the work for a clean, finished appearance.
- Attach your choice of findings for a personalized accessory.
Notes
- This project works well with small quantities of leftover yarn.
- Maintain consistent tension for uniform grape shapes.
- Slip stitches join each section and tidy the outline all around.
- The length of your green yarn is important for completing the final border.

Skill Level
Beginner to Intermediate
Familiarity with creating chains, working into can tabs, basic increases and decreases, as well as puff/double (high) stitches and slip stitches is helpful.
Materials
- Can Tabs: Standard beverage can tabs (well-cleaned)
- Yarn: Two-strand thread or cotton yarn in purple (or your choice of fruit color) and green for the leaves/stem
- Crochet Hook: 1.7 mm hook
- Tapestry Needle: For finishing and weaving in ends
- Keychain findings, magnets, or hanging loop (optional)
Measurements / Sizing
- Finished bunch: Approximately 4-5 cm wide and 6-7 cm tall
- Leaf span: Each leaf ~2.5 cm long
- Sizing varies with yarn weight and crochet tension.
Gauge (and Stitch Pattern if applicable)
- Gauge is not critical for this project.
- Primary stitches: Single crochet (sc), half double crochet (hdc), double crochet (dc), puff/double high stitches.
Stitch Abbreviations
| Abbreviation | Stitch Name |
|---|---|
| ch | Chain |
| sl st | Slip stitch |
| sc | Single crochet |
| hdc | Half double crochet |
| dc | Double crochet |
| dbl-dc | Double-loop/double high stitch |
Special Stitches
- Puff stitch: (Also called "high point" or "double high stitch" in some translations)
Yarn over, insert hook in stitch, yarn over, pull through, repeat until desired height, then pull through all loops. - Covering can tab: Work stitches directly around and along the tab opening, encasing the raw metal edge with yarn.
- Decreasing rows: Work consecutively fewer puff/dc stitches in each row to form the grape cluster's natural taper.
The Crochet Pattern
Preparing and Covering the Can Tabs
- Begin with purple yarn.
- Round 1:
- Attach yarn at the edge of the can tab opening.
- Work 11 sc (single crochet/half points) around the entire ring, going through both the holes and encasing the tab.

-
- Weave in the beginning tail as you go for extra security.
Crocheting the Leaves
Each leaf will be attached to the grape bunch at the end.
- Leaf 1:
- Chain 11.
- Working back down the chain:
- 1 sl st in first ch (for the tip),
- 1 sc, 1 hdc, 3 dc, 2 dbl-dc (double loop), 1 hdc, 1 sc across next stitches, returning symmetrically.

-
- After finishing down this side, pivot to work under the back ridge of each chain back to the base, mirroring the leaf shape.
- Finish with sl st into the beginning and fasten off, leaving a long tail for later border work.
- Leaf 2:
- Repeat as for Leaf 1.
- Attach as desired (top/side) but do not fasten off the green yarn; leave a long tail for the perimeter.
Shaping the Grape Cluster (Decreasing Rows)
Switch to light purple yarn:
- Row 1 (Base, 5 "grapes" across):
- Position hook at your chosen starting stitch along the can tab edge (count 5 space increments).
- Pull up a loop, ch 2 for turning.
- Work 5 puff/dc stitches (or high double crochets) in the next 5 consecutive spaces.
- After the fifth, ch 2, skip one space and join again, repeating for the next bunch section until you have a row of 5 "grapes" (or puff stitches) across.

- Row 2 (4 stitches):
- Turn work.
- sl st in first space, ch 2 (counts as first st).
- Work 4 dc/puff stitches across next spaces.
- ch 2, skip space, continue as before until end of row.
- Row 3 (3 stitches):
- Turn.
- sl st, ch 2, work 3 dc/puff stitches, close.
- ch 2, repeat as pattern establishes.
- Row 4 (2 stitches):
- Turn.
- sl st, ch 2, work 2 dc/puff stitches.
- Row 5 (1 center "grape"):
- Turn, sl st, ch 2, work 1 dc/puff stitch.
- Pull through and fasten off.
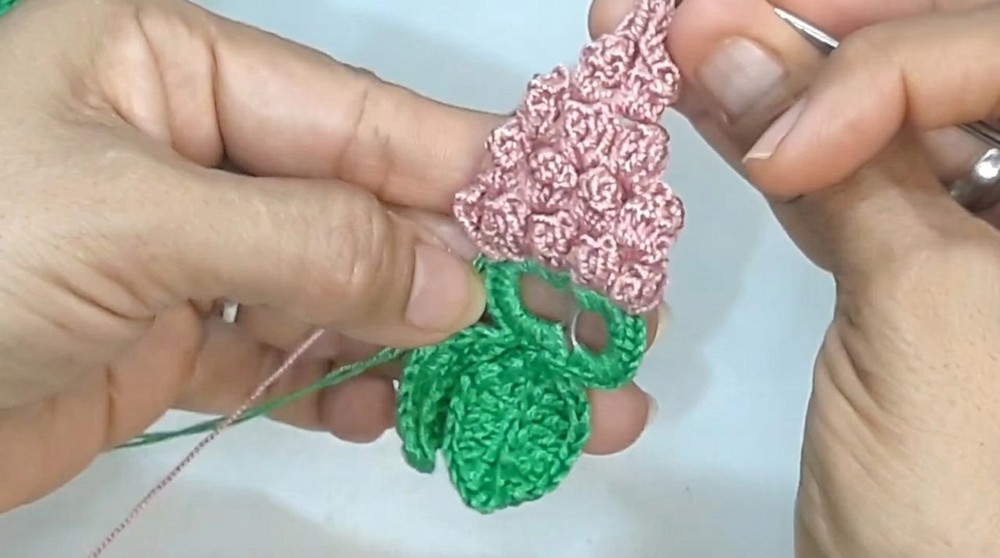
Each row should nestle stitches into the spaces created in the previous row, forming a natural triangle.
Final Border and Assembly
- With your long green yarn tail from the leaves, start at the base of the leaves or cluster and work slip stitches around the entire perimeter:
- This begins at the cluster base,
- Up one side, around the leaves, and down the other side,
- Working carefully around each bump and along each edge.
- This defines the form, smooths curves, and gives your grape bunch a professional finish.
- Secure all ends by weaving in with a tapestry needle.
Assembly & Finished Size
- Position and attach the leaves using green tails for added detail.
- Complete the border as above for continuous edging.
- If desired, sew or attach a keychain ring, magnet, or hanging loop.
- Final bunch is compact, tactile, and ideal for keyrings, bags, or as a fridge magnet.

Conclusion and Ending Words
Completing this crochet grape bunch introduces a satisfying sense of accomplishment, turning ordinary resources into visually engaging and functional items. The structure shaped by can tabs, paired with thoughtfully positioned stitches and color variations, delivers a realistic and tactile design. Each element, from the sturdy core to the green leaves and defined border, demonstrates the potential for resourcefulness using everyday materials. These grape clusters make thoughtful gifts or cheerful additions to keychains, magnets, and home displays, providing utility alongside aesthetic appeal. Adjustments in size, color, or placement further encourage customization and personal flair. Completing all finishing steps ensures durability and polish, reinforcing the handmade quality. Ultimately, this project stands as a testament to the rewarding possibilities of working with yarn, needle, and a touch of innovation in everyday upcycling.