
Tired of plain keychains Try this Free Crochet Star Keychain Pattern to add a trendy, handmade touch to your everyday essentials.
If you're looking for a fun and simple way to brighten up your keys or bag, the free crochet Star Keychain pattern is a wonderful project to try. These adorable stars make for the perfect little accessories because they add a splash of color and a touch of charm wherever you use them. You can easily attach them to your backpack, gift them to friends, or use them as party favors. I love how versatile they are you could even use them as ornaments or little decorations for a child's room.
Learn Quick Crochet Star Keychain Pattern Using Scrap Yarn
The picot stitch is used to create the pointed tips of the star, giving it that signature spiky and defined look. In this pattern, the picot is made by chaining three and then slip stitching into the first chain, which creates a small, decorative loop, perfect for forming star points or adding texture to other projects.
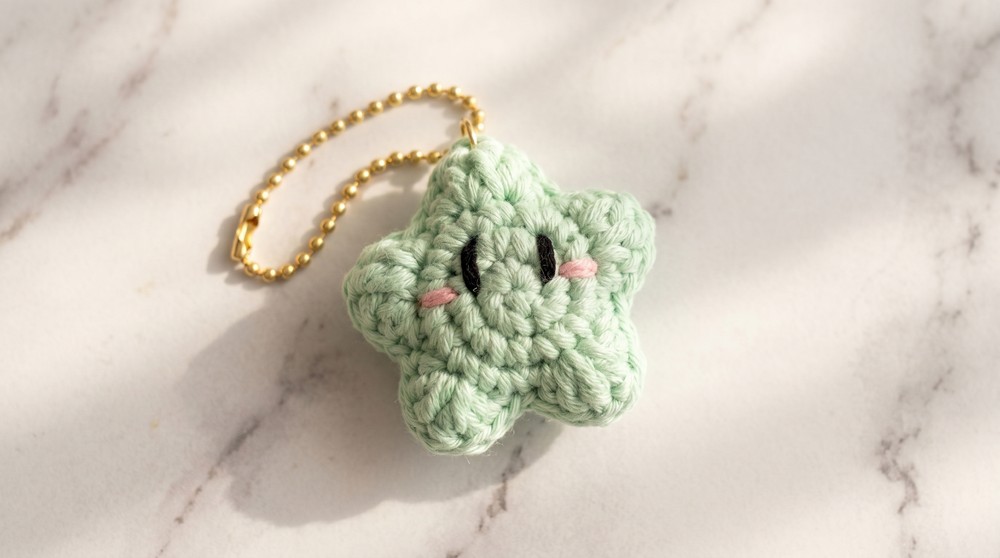
What You Learn Using This Pattern
As you follow this pattern, you'll learn how to crochet in the round, how to shape small motifs, and how to securely attach a keychain ring. These skills will open up a world of possibilities; you can use the same techniques to make hearts, flowers, or even cute animal faces for other projects. This star keychain patternis quick to make, easy to personalize, and gives you a great foundation for making all sorts of fun crochet accessories!
- Mastering the magic ring technique
- Working single, half-double, and double crochets
- Increasing in the round and reading round-based instructions
- Basic assembly of 3D crochet projects
- Using stitch markers and sewing with a tapestry needle
Who Can Use This Pattern?
- Beginners wanting a simple starter project that builds core skills
- Intermediate crafters who enjoy creative or decorative home projects
- Anyone looking for a quick, giftable item (ornaments/keychains/coasters)
Materials, Yarn Types, and Color Suggestions
- Cotton yarn for a washable, sturdy star (great for kitchen use)
- Acrylic yarn for bright, soft stars
- Pastels for baby room decor, or bold/primary colors for kids' toys
- Add glitter yarn for a magical sparkle!
Free Crochet Star Keychain Pattern
This pattern will guide you through making a soft, puffy star that can be used as a keychain, bag charm, or small toy. The star is made from two identical star pieces that are sewn together and lightly stuffed for a neat, dimensional look. This pattern is written clearly and in order so that even confident beginners can follow along.
Materials Needed
- Yarn: Cotton or acrylic yarn works best for durability, in any color of your choice. For a classic look, light green or a gradiant colors makes lovely stars.
- Hook: Use a crochet hook appropriate for your yarn weight (recommended: 2.5mm-4mm).
- Tapestry Needle: For sewing pieces together and weaving ends.
- Stitch Marker: Very useful for tracking your rounds.
- Toy Stuffing/Dacron: Only if you wish to make your star 3D and puffy.
- Scissors
Finished Size:
With sport weight yarn and a 3mm hook, your star will measure about 7-10 cm (3-4 inches) across. Size varies with yarn and hook.
Special Stitch Instructions
Magic Ring (MR)
- Wrap yarn around two fingers to form a loop.
- Insert hook into the loop, yarn over, pull up a loop.
- ch 1 (or begin working your first sc directly into the ring as shown in the video).
- Work the required number of stitches into the ring.
- Pull the tail to close the ring tightly.
Increase (inc)
- Work 2 sc into the same stitch.
Half Double Crochet (hdc)
- Yarn over, insert hook into the stitch, yarn over and pull up a loop (3 loops on hook).
- Yarn over and pull through all 3 loops on the hook.
Double Crochet (dc)
- Yarn over, insert hook into the stitch, yarn over and pull up a loop (3 loops on hook).
- Yarn over, pull through 2 loops, yarn over again, pull through remaining 2 loops.
Abbreviations (US Terms)
- MR - Magic Ring
- st / sts - stitch / stitches
- sc - single crochet
- hdc - half double crochet
- dc - double crochet
- inc - increase (2 sc in the same stitch)
- sl st - slip stitch
- ch - chain
- rnd - round
How to Start & Stitches Used
You will begin by making a Magic Ring and working in continuous rounds to form a flat circle for the center of the star. Then you will shape the five star points with a combination of single crochet (sc), half double crochet (hdc), and double crochet (dc).
Pattern Steps
Round 1: Create the Magic Ring
- Make a Magic Ring (also called a magic circle).
- Tip: Hold the yarn in a loop, insert your hook, pull up a loop and chain 1 to secure.
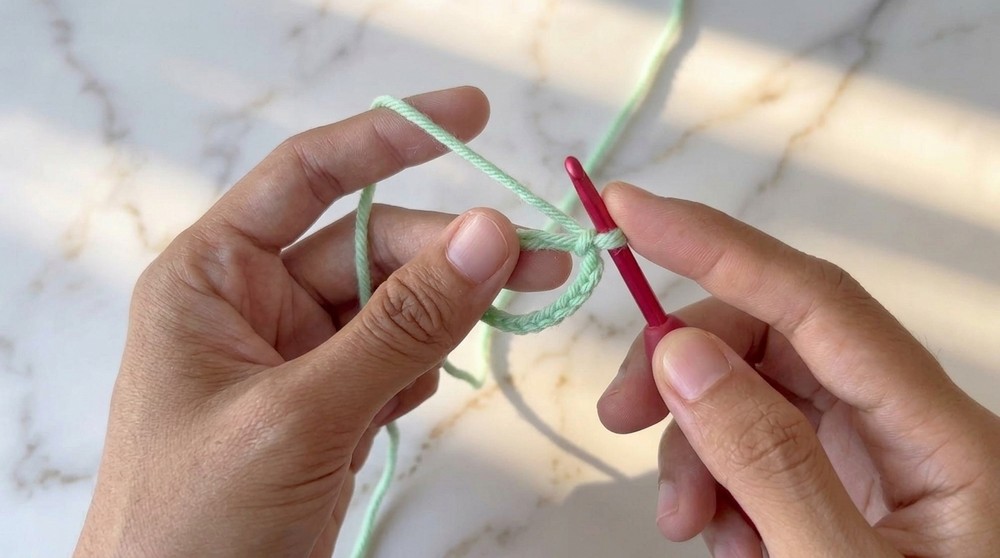
- Tip: Hold the yarn in a loop, insert your hook, pull up a loop and chain 1 to secure.
- Work 5 single crochets (SC) into the ring.
Create a small loop and put 5 stitches inside it to start your star.
Round 2: Increase Every Stitch
- Place your stitch marker in the first stitch.
- 2 single crochets (SC) in each stitch around. (Total: 10 stitches)
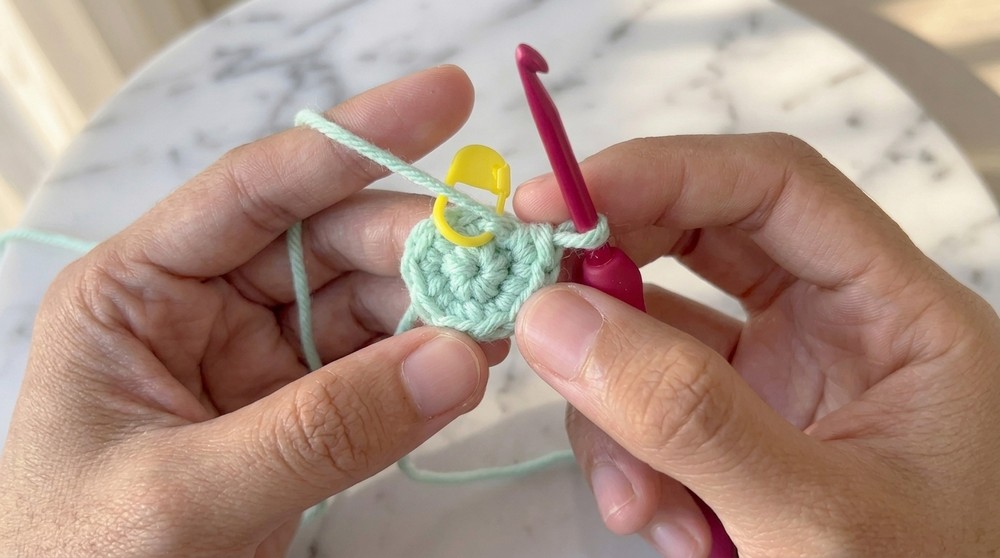
Put 2 stitches in each previous stitch so your circle grows to 10 stitches.
Round 3: Alternating Increases
- Place your marker in the first stitch of this round.
- Repeat the following sequence around:
- 1 single crochet in next stitch, 2 single crochets in the next stitch (increase)
- Continue this pattern until the end of the round (Total: 15 stitches).
Do one regular stitch, then do two in the next hole, keep repeating until you finish the round.
Round 4: Forming the Star Points
- (For each point, it is made in one stitch. Repeat this whole step 5 times around the circle for all star "arms". Move your stitch marker as you proceed.)
- Insert your hook into the next stitch and make:
- 1 single crochet (SC)
- 1 half-double crochet (HDC) in same stitch
- 1 double crochet (DC) in the same stitch
- Chain 1
- In the next stitch, make:
- 1 double crochet (DC)
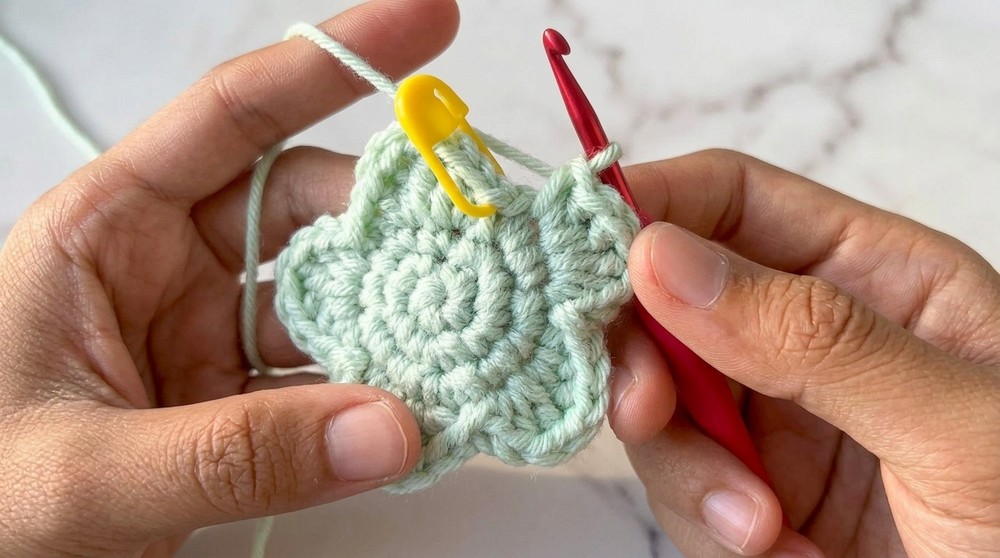
- 1 half-double crochet (HDC)
- 1 single crochet (SC)
- 1 double crochet (DC)
- Slip stitch in the next stitch to finish one star point.
- Insert your hook into the next stitch and make:
- Repeat above sequence all the way around, making a total of 5 star points.
Each "star arm" is made by putting different tall stitches in the same hole, then switching direction; making them pointy. Just follow the pattern for each arm.
Round 5: Making a Double Layer & Finishing
- Make a second star piece using the exact same steps as above, so you have two identical stars.
- Place the two stars together, wrong sides facing in.
- Thread a tapestry needle with yarn, and sew the edges together using a simple whipstitch, catching the outer loops.
- Pause before fully closing to fill with dacron (or stuffing) if you want a 3D effect.
- Sew the rest closed neatly.
Make two stars the same way, sew them together along the edges, and if you want it puffy, put some stuffing in before closing.
Finishing Touches & Customization
- To create neat, defined points, pull the corners slightly with your yarn/tapestry needle.
- Add features: Safety eyes, embroidered smile, or enamels for expression.
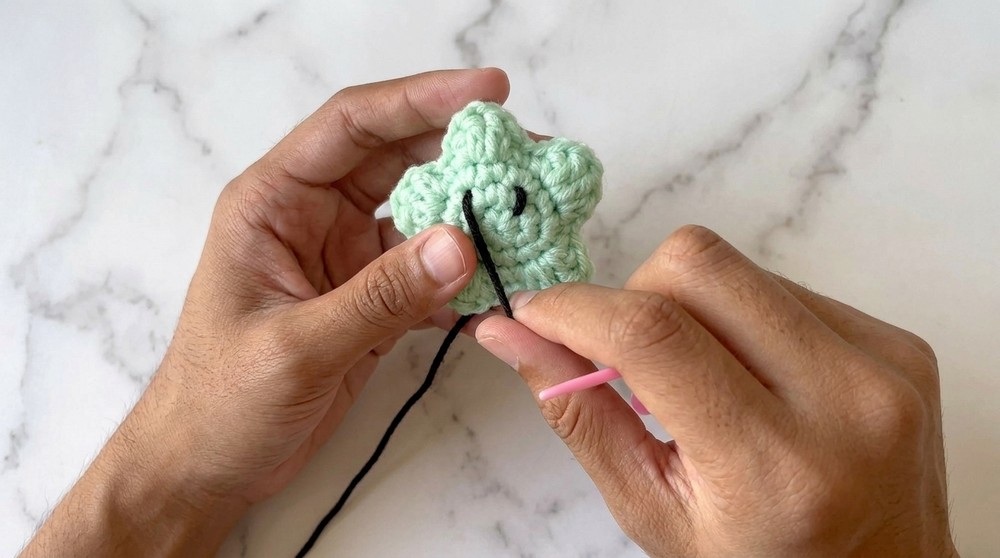
- Customize: Use variegated yarn for a whimsical star, or alternate colors by round for a striped look.
You can make your star special by changing up the colors, adding a face, or making it fluffy.
Special Techniques & Important Remarks
- Magic Ring creates a tight center; practice closing it neatly.
- Stuffing is optional-without, it's a coaster; with, it's an ornament or toy.
- Don't forget the stitch marker-it's crucial for round projects!
- Take your time sewing the edges for a seamless finish.
- Experiment (safely!) with size, facial expressions, hanging loops, or scents (add a lavender pouch).
Enjoy Your Crochet Journey!
This project is a fantastic, beginner-friendly way to learn circular crochet, shaping, and assembly. Show off your stars, share ideas in comments, or tag your creations online to inspire others.