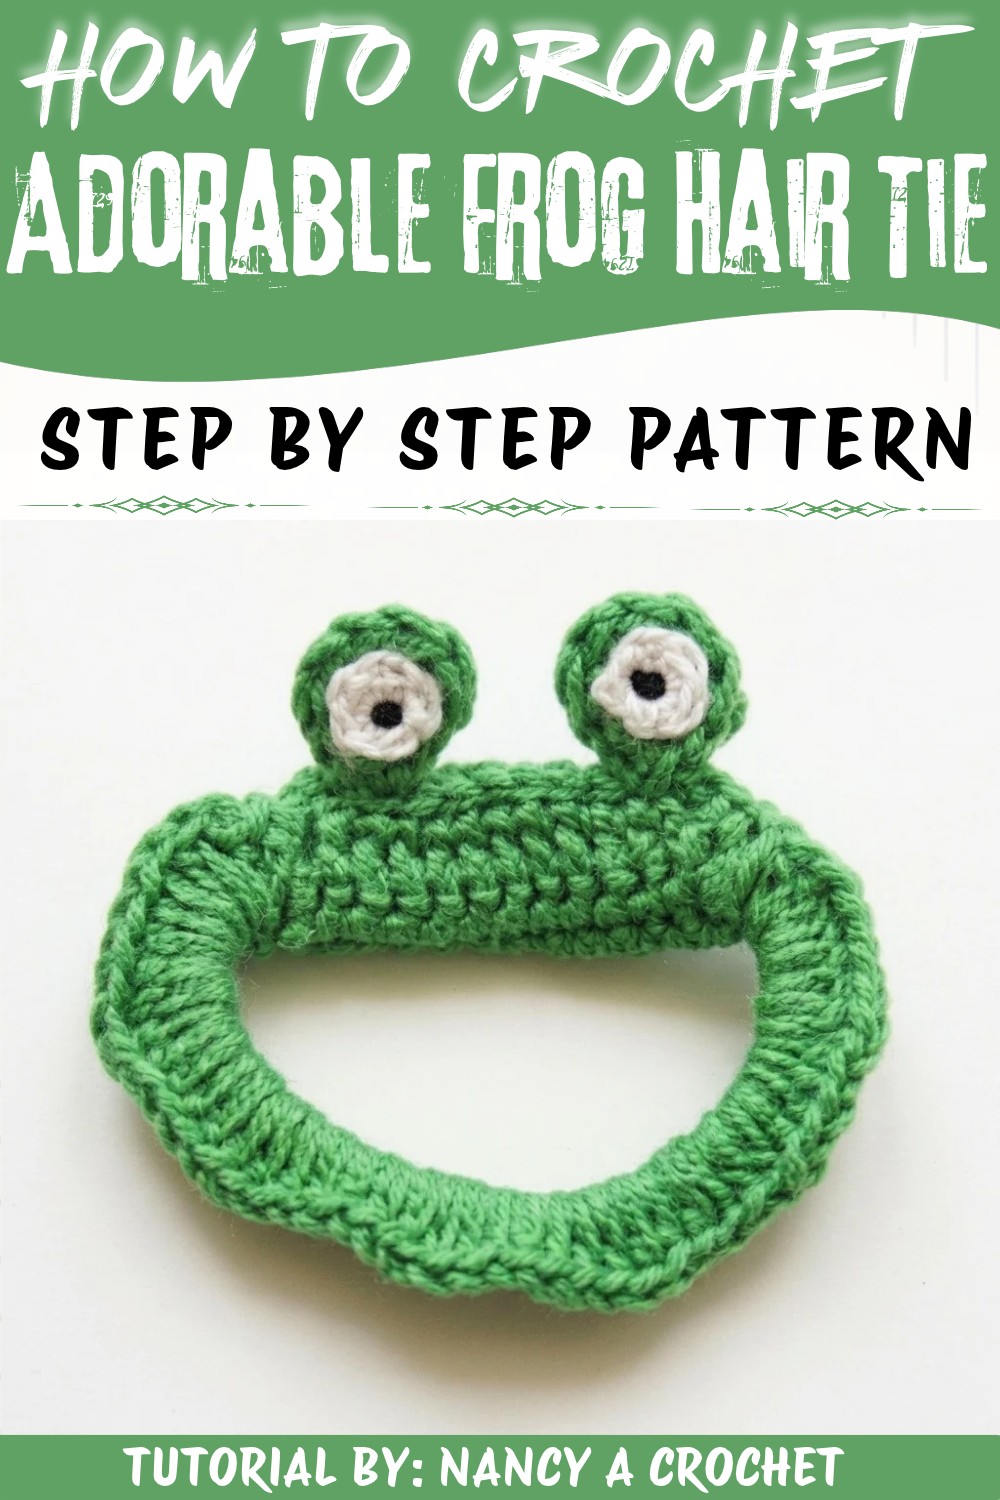
Give your ponytail a playful look with the Crochet Frog Hair Tie Free Pattern, featuring a cheerful green frog for school days and fun outings.
There's something truly delightful about adding a touch of whimsy to everyday accessories, and that's exactly what makes the Crochet Frog Hair Tie Pattern so charming. Courtesy of the wonderful tutorial by Nancy a crochet, this playful project changes a simple hair tie into an eye-catching statement piece. The Crochet Frog Hair Tie Pattern breathes life into a functional item, turning it into a tiny frog that clips perfectly onto your hair tie, adding both fun and flair.
Trendy Crochet Frog Hair Tie Free Pattern to Style Your Hair
This project is perfect not only as a personal accessory but also makes a sweet, thoughtful gift for friends or family members, especially those who appreciate unique, handmade-style touches. Its decorative appeal goes beyond hair decoration-it can brighten up gift packages, be attached creatively to bags, or used as a cute desk ornament. The versatility of this frog hair tie is one of its greatest benefits, combining style with a hint of personality.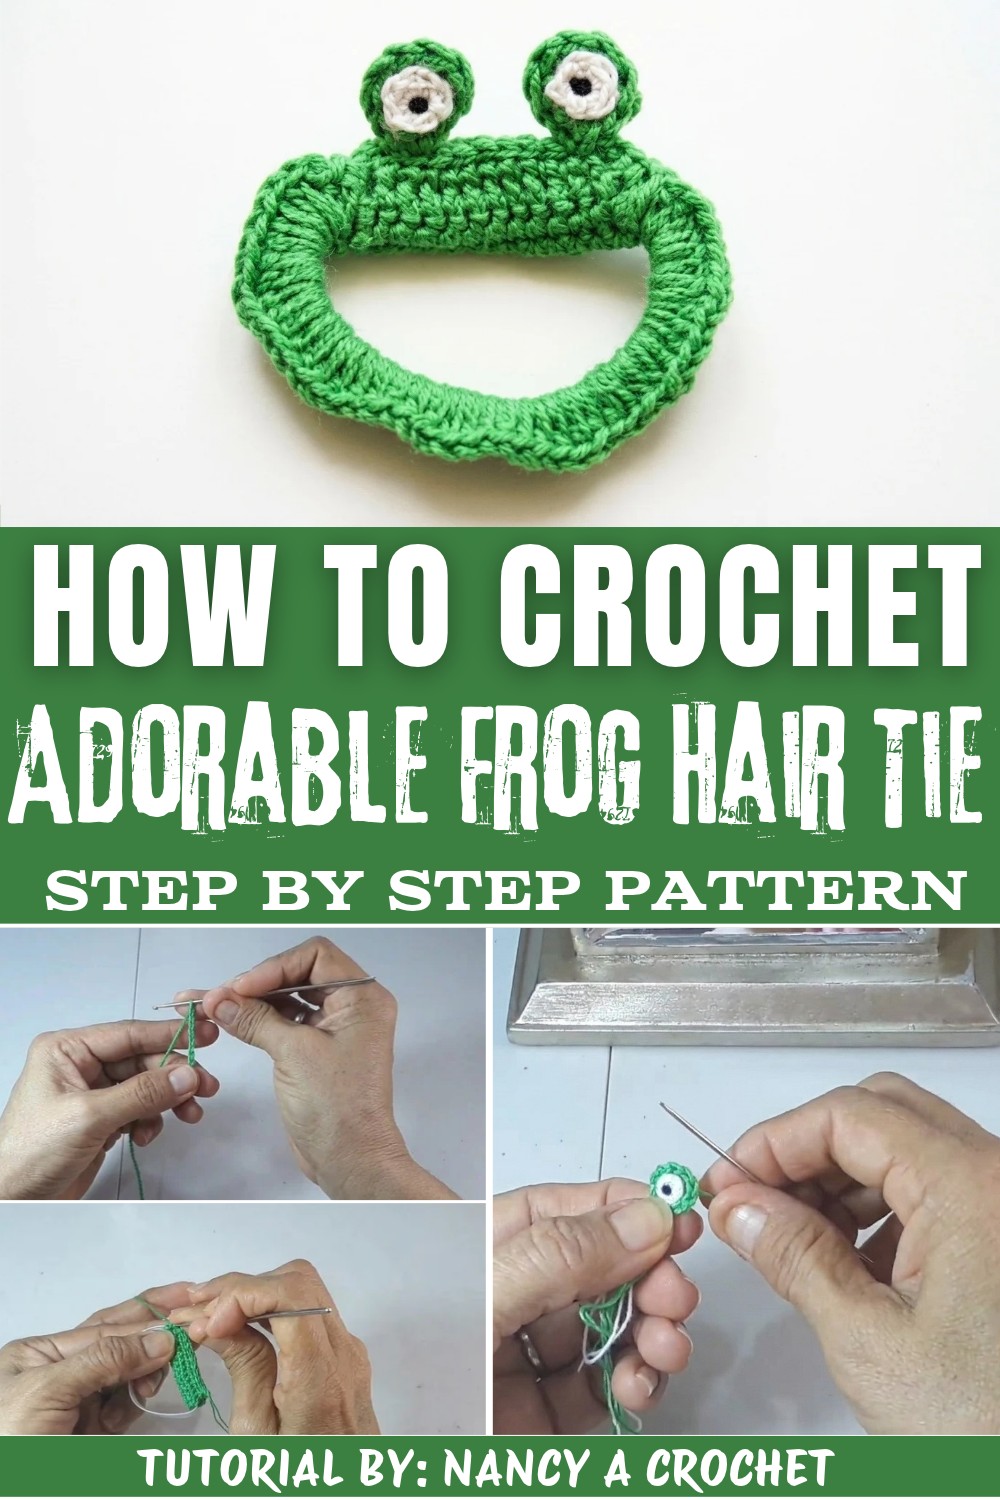
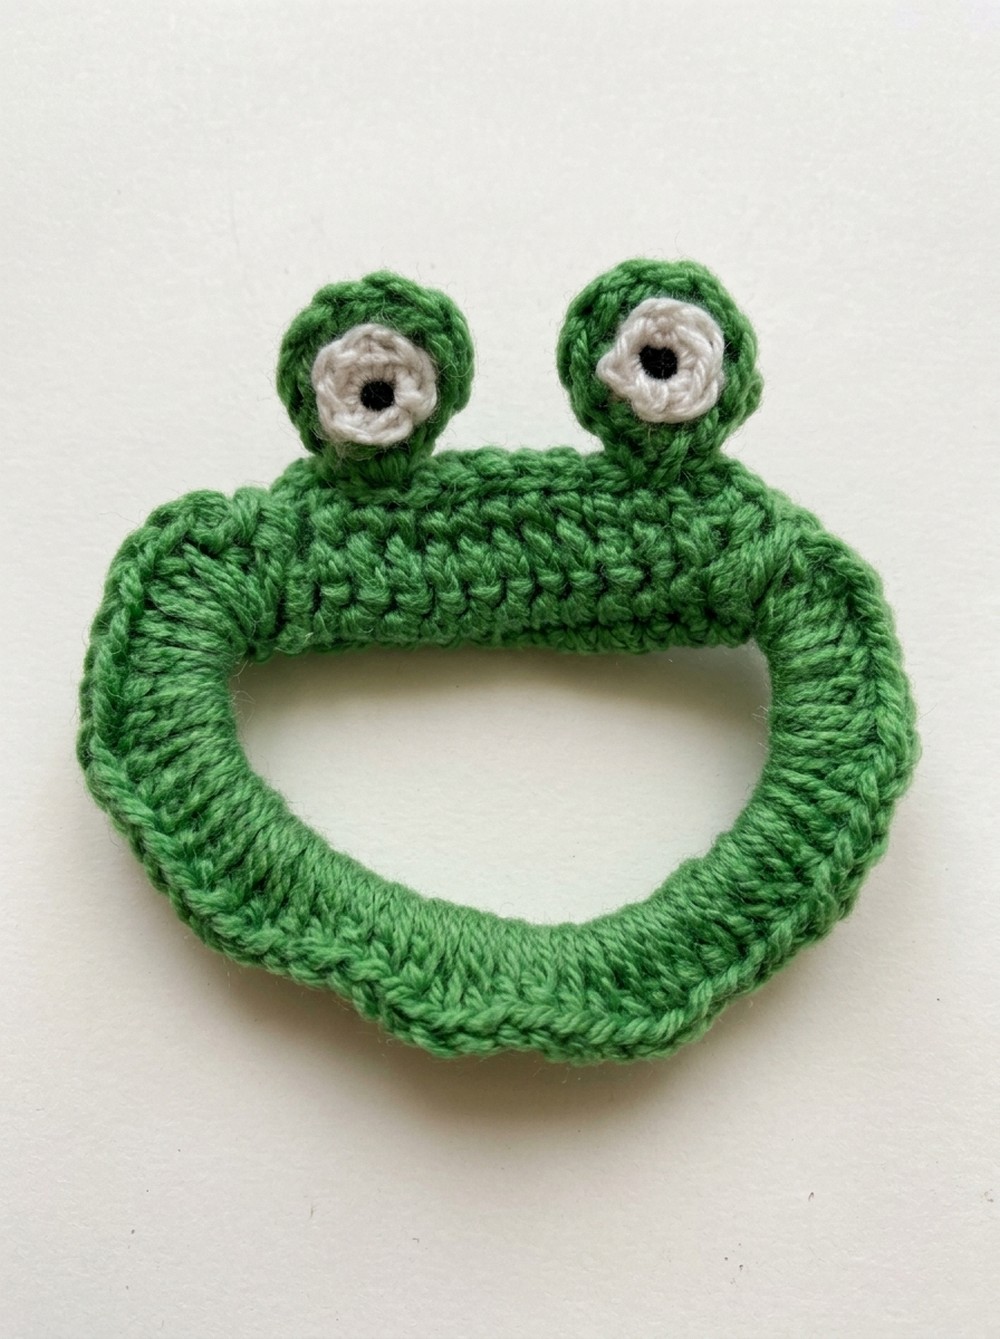
The finished frog hair tie showcases intricate detailing that stands out, from its smooth, textured surface to the rounded shape of its body and ears. The eyes are especially captivating, made with layered "magic rings" to give them dimension and bring the frog's lively character into focus. The style is both adorable and whimsical, perfectly balancing playfulness with elegance suitable for children and adults alike.
With its soft yet sturdy yarn, the texture feels pleasant to touch and comfortable when worn. This little frog's bright green body and contrasting eye details make it a charming highlight that can complement various hairstyles and outfit styles. Whether you want a fun everyday look or a sweet accessory for a special occasion, this hair tie adds that perfect pop of cheerfulness and creativity.
Crochet Frog Hair Tie Free Pattern
This modern and playful frog hair tie features structured crochet techniques and is anchored on a sturdy elastic base. Each stage is demonstrated in the referenced video, using basic crochet stitches and color changes to achieve a charming and functional accessory. By following the step-by-step instructions below, you'll construct the covered band, layer the three-part frog eye motif, and secure everything for durability and visual appeal. All stitches, yarn selections, and assembly methods mirror those shown, enabling consistent results. From the initial foundation to final attachment of whimsical frog eyes, this pattern relies on precise rounds and clear transitions; each step is accompanied by exact stitch counts and color guidance. Whether for everyday use or as a handmade gift, this hair tie combines practical construction and playful detail, closely following the video's tutorial throughout.
Quick Overview of Pattern
- Begin with a foundation chain for the base band.
- Work single crochet rows to form a rectangular strip.
- Cover the elastic band using this rectangle and attach securely.
- Fill the elastic with half double crochets for a seamless base.
- Create the frog eyes:
- Outer base (magic ring + half double crochets).
- Inner piece (magic ring + single crochets).
- Pupil (magic ring + single crochets, black).
- Layer and attach eye pieces with secure threading.
- Fasten eyes to the band for a finished, adorable accessory.
Notes
- Double-stranding green yarn helps achieve a plush texture and durability for the band.
- Adjustments to the rectangle length and coverage may be needed according to the circumference of your chosen elastic.
- Eye components should be gently tightened after each magic ring to prevent gaps.
- You may substitute recycled bands or tabs for the elastic base as desired.
- Eye components must be attached firmly for longevity and safety.
Skill Level
- Beginner to Intermediate
- This pattern utilizes standard stitches and magic rings, requiring attention to layering and assembly. A basic understanding of securing rounds and weaving ends is recommended.
Materials
- Yarn: Cotton (green, white, black; double-stranding green)
- Crochet Hook: 1.7 mm
- Base Accessory: Hair tie/elastic band (alternatively, can tab or vegetable band)
- Tapestry Needle
- Scissors
Measurements / Sizing
- Finished frog eyes measure approximately 1.5 cm in diameter.
- Covered hair tie fits a standard adult ponytail (customize rectangle if using different base).
Gauge
- Gauge is not critical for this project. Ensure band fits snuggly around the elastic and that eye pieces are consistent in size.
Stitch Abbreviations
- ch: chain
- st: stitch
- sc: single crochet
- hdc: half double crochet
- sl st: slip stitch
- MR: magic ring
Special Stitches
- Magic ring (MR): Loop yarn, draw through working thread, make required stitches into ring, then pull tight to close.
- Double-stranding: Use two strands of green yarn simultaneously for band construction.
The Crochet Pattern
Base Band & Cover
- Round 1 (Foundation Chain): Using double-stranded green yarn, ch 13.
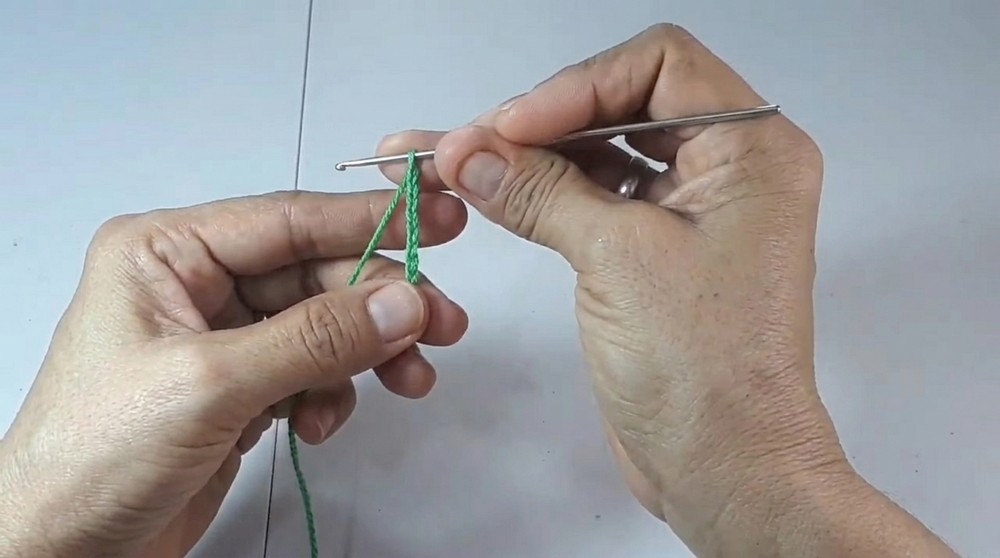
- Round 2 (Initial Row): Begin in the second ch from the hook. Work 1 sc in each ch across (total 12 sc).
- Rounds 3-7 (Rows 2 to 6):
- Ch 1, turn.
- Work 1 sc in each st across.
- Repeat this process for a total of 6 rows (including initial row).
Securing to the Elastic:
- Align the rectangle along the hair tie or elastic band.
- Use single crochets or whip stitches to secure the rectangle tightly around the band.
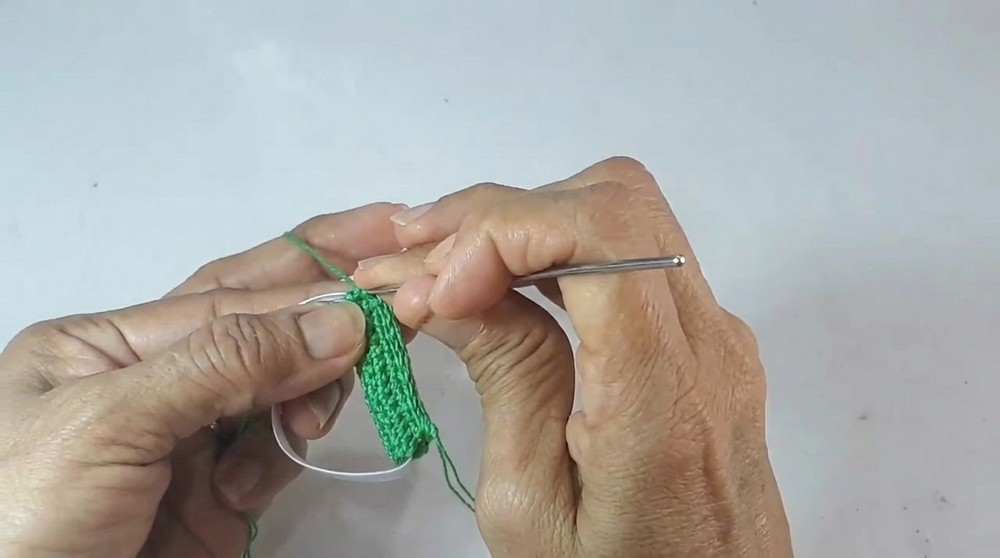
Round 8 (Filling the Band):
- Create a slip knot on hook.
- Begin working hdc all around the elastic band, gathering stitches tightly so the base is well filled and sturdy.
- Continue until band is fully covered.
- Join with sl st to close the round.
Frog Eyes - Outer White/Green Base
- Round 9 (Magic Ring):
- Make a magic ring.
- Ch 1, ch 2.
- Work 8 hdc into the ring (using green yarn or specified color).
- Pull ring tight, join with sl st to finish.
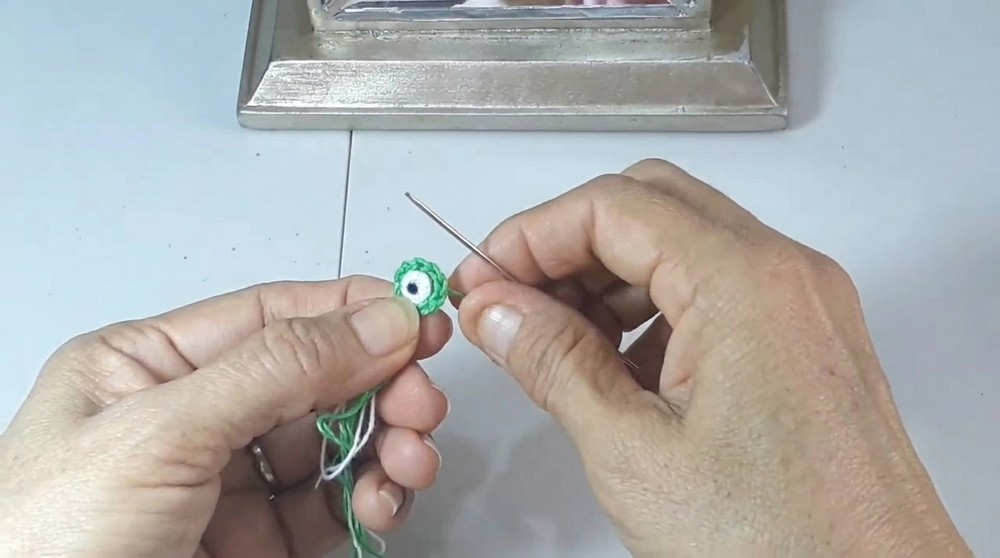
Inner Eye Detail (White Center)
- Round 10 (Magic Ring & Stitches):
- Using white yarn (single strand), make a magic ring.
- Secure ring with a safety stitch.
- Work 5 sc into the ring.
- Pull tight, join with sl st at the end.
Pupil (Black Center)
- Round 11 (Magic Ring & Stitches):
- Cut a short piece of black yarn/thread.
- Create a magic ring.
- Work 3 sc into the ring.
- Pull tightly to form the tiny pupil.
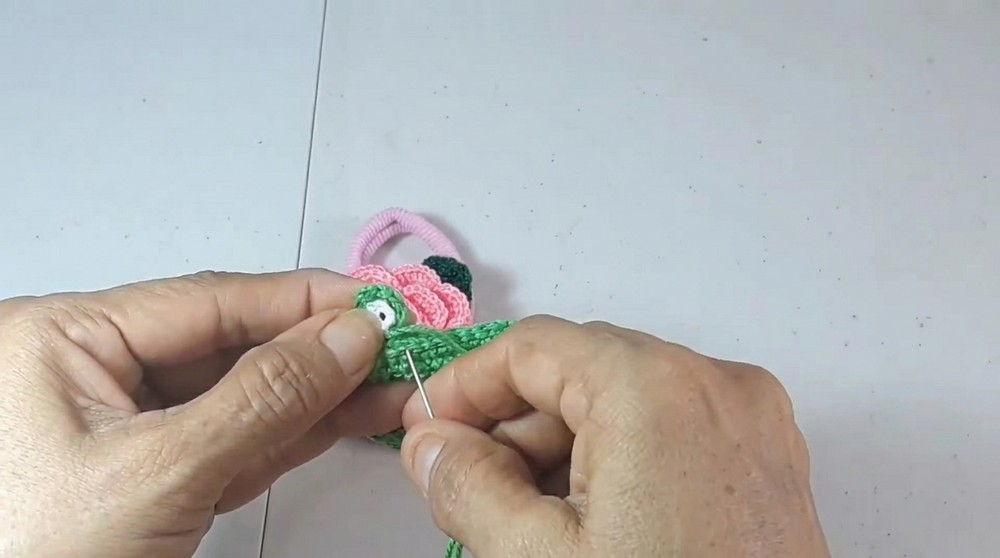
Assembly & Finished Size
Step 1 (Layering Eye Components):
- Place the black pupil inside the white inner eye center, then layer both onto the outer eye green base.
- Use tapestry needle to thread yarn ends gently through the backside, pulling them securely.
- Step 2 (Securing Threads):
- Knot the yarn ends firmly at the back. Weave excess threads neatly through the fabric and trim.
- Step 3 (Attaching Eyes to Band):
- Using the tapestry needle and green yarn, stitch each completed frog eye motif onto the covered hair tie band. Space eyes symmetrically for balanced look.
- Ensure attachments are sturdy for regular use.
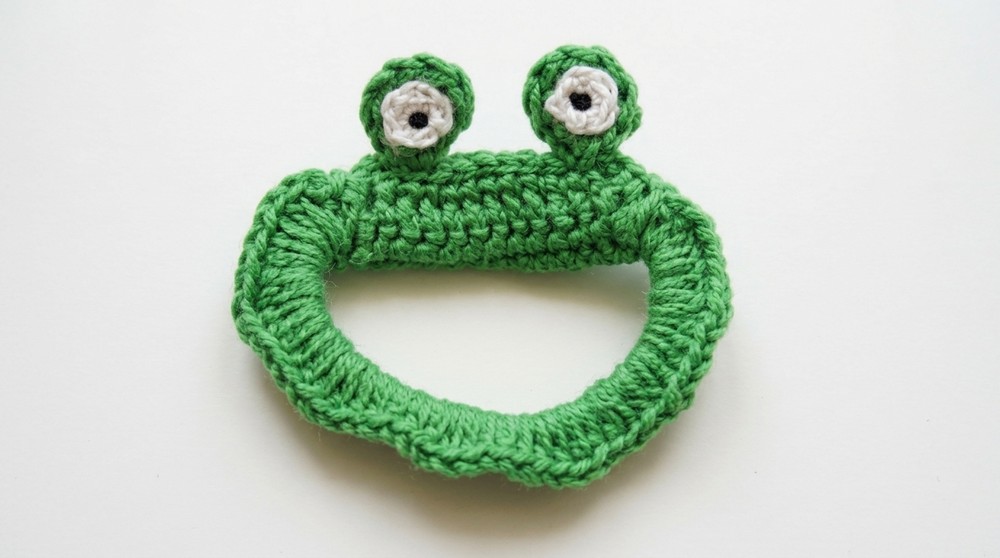
Finished Size:
- The finished scrunchie measures about 4-5 cm in diameter, eyes are each 1.5 cm.
Conclusion
The completed frog hair tie displays cheerful texture and secure structure, assembled stepwise with key transitions. Each section, from the stretchable band to the layered facial features, relies on precise placement and careful yarn tension. Stitching techniques-from the foundational chains and dense covering of the elastic to the refined magic rings for eye motifs-produce not only a whimsical design, but a strong, everyday accessory. Through final assembly, yarn ends are secured and motifs are firmly attached, offering longevity and comfort. The adaptable nature of this pattern allows for customization of yarn colors or base size as desired. The result is a functional and delightful hair accessory that celebrates clear stitchwork and careful finishing, closely mirroring the process outlined in the video. This frog hair tie serves as a practical and creative addition to any collection.