
Say goodbye to boring hair accessories with a free crochet bow hair tie pattern perfect for adding charm and personality to your look.
Ever wondered how a simple strand of yarn can turn into a stylish accessory? This crochet bow hair tie pattern shows just how creative and magical the world of crochet can be! With just a hook, some yarn, and a few simple stitches, you can make a bow that's both cute and versatile. Using a mix of pastel shades for a soft, elegant look or bold, vibrant colors that stand out-there's no limit to the beautiful combinations you can create.
Simply Beautiful Free Crochet Bow Hair Tie Pattern for All Fashion Fans
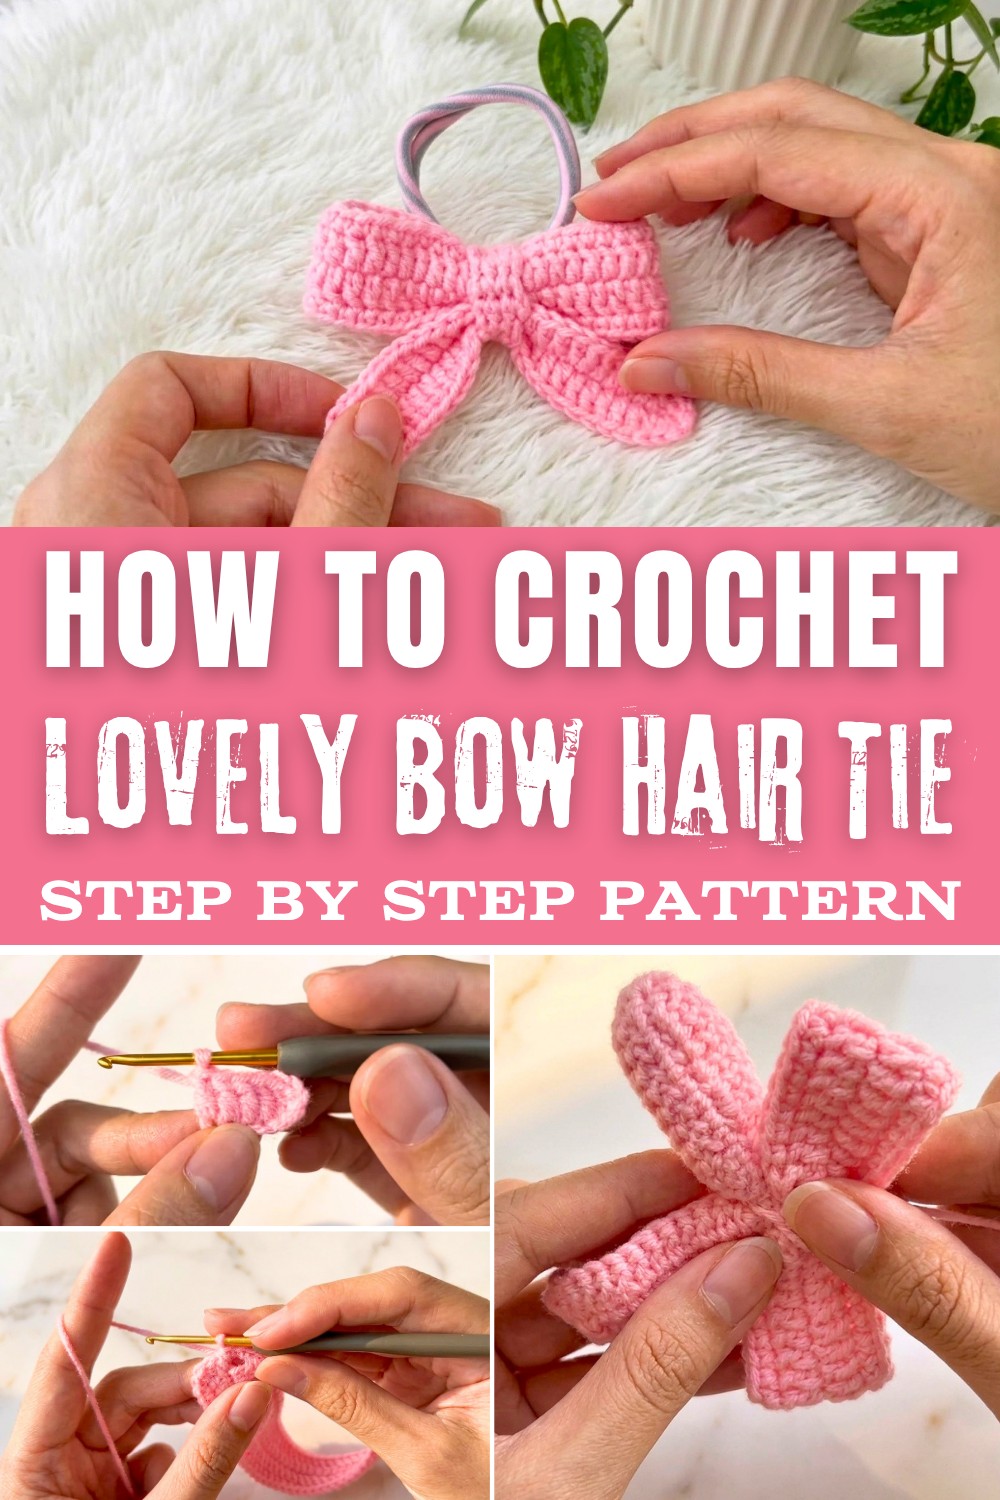
What makes this pattern unique is its structured and textured design, achieved using two special stitches: F stitch and X stitch. These stitches are perfect for creating neat, clean rows and adding visual charm to your project. These same techniques can also be used for other accessories like headbands, bracelets, or even appliqués to decorate your outfits. Crocheting the bow involves creating a set of chains, working them into neat rows, then wrapping them with a small belt-like piece to bring the bow shape to life-it's as easy as it sounds!
What You'll Learn and What Else You Can Crochet
- How to use F stitch for texture and X stitch for shaping.
- Tips on assembling pieces to form a beautiful bow.
- Creativity to make projects like headbands, gift wraps, bag clips, and garment embellishments.
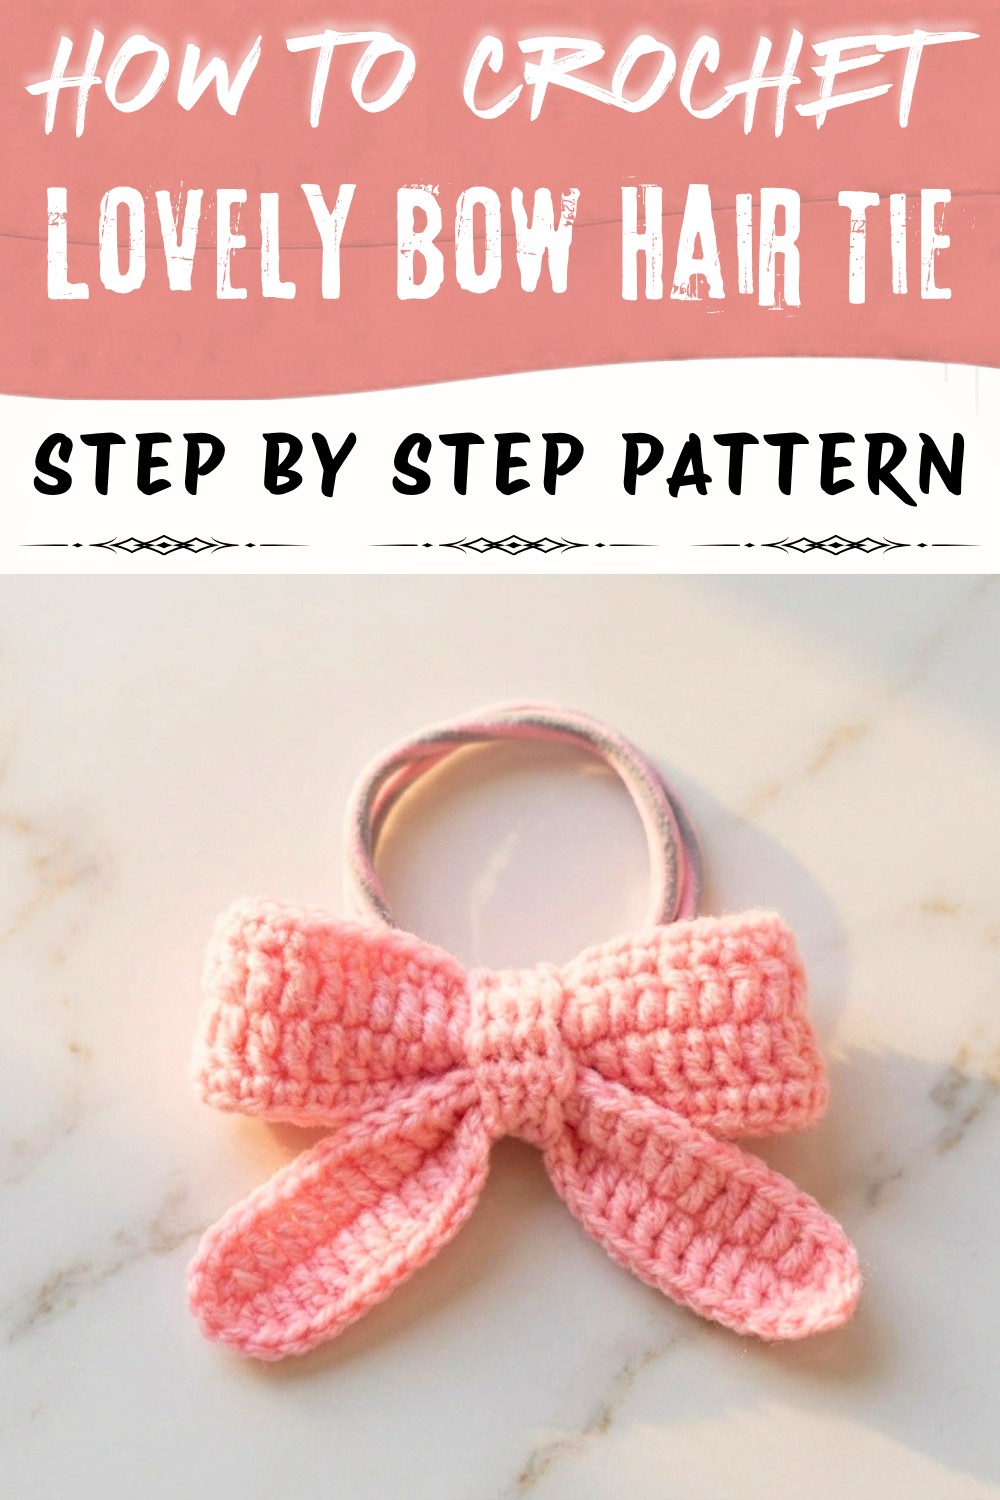
Free Crochet Bow Hair Tie Pattern
This easy crochet project enables you to make a chic and trendy bow hair tie perfect for all occasions. You'll combine simple stitches to create a lovely accessory, great for gifting or personal use! This pattern is written in US Terminology and is suitable for advanced beginners.
Highlights of the Pattern
- Beginner-friendly steps for young crocheters or first-time learners.
- Color combinations to match any style or occasion perfectly!
- A handmade project that's quick, fun, and great for gifting.
Skill Level & Terminology
- Skill Level: Advanced Beginner
- Terminology: US Crochet Terms
Materials & Tools
- Yarn: Light worsted weight yarn in the color of your choice.
- Crochet Hook: 2.5 mm crochet hook or hook size to achieve the correct gauge.
- Stylus: Use a #40 grit stylus with a fine 2.5 mm tip for detailing if needed.
- Tapestry Needle: For sewing ends and assembling pieces.
- Scissors: To cut the yarn.
Gauge
12 stitches and 10 rows in single crochet (sc) = 4 x 4 inches (adjust hook size to match gauge, if necessary).
Abbreviations List
- ch: Chain
- sc: Single Crochet
- dc: Double Crochet
- F stitch: Refer to "Special Stitch Instructions" below
- x: Single Stitch
- T: Treble Stitch
- sl st: Slip Stitch
Special Stitch Instructions
- F Stitch: A type of double crochet where you yarn over, insert the hook into the stitch, pull a loop through, yarn over, pull through two loops, yarn over, and pull through the last two loops.
- X Stitch: A single crochet stitch described simply as inserting the hook into the stitch, pulling up a loop, and yarning over to complete.
Finished Size
The finished bow hair tie measures approximately:
- Bow Width: 2.5 inches
- Bow Length: 4.5 inches
- Belt Wrap Width: 1 inch
The Pattern
Part 1: The Bow
- Start: Begin by making 38 chains.
- Foundation Row: Chain 3 additional chains, skip three stitches, and crochet 1 F stitch into the 4th chain.
- Row 1: Continue crocheting F stitches across the row (total of 38 stitches).

- Turn: Once you've completed the row, chain 3 stitches and slip stitch down into the same stitch.
- Row 2: Crochet another 38 F stitches across.

- Finish: At the end of this row, chain 3, slide the hook, and crochet 1 single stitch (x) into the next space. Continue adding 2x stitches in the space before moving forward.Explanation for Non-pattern Readers: In this part, you'll crochet two complete rows with a total of 38 F stitches in each, creating a rectangle. You'll also add single stitches (x) in spaces to create neat edges.
Part 2: Adding Border Details
- Start: Once you've circled back to the starting point, crochet X stitches into gaps where necessary.
- Crochet 3x stitches downward and work into the next space.
- Continue by crocheting 1 stitch per gap around until the shape is complete.

- Final Edge: Stitch 1x in the final gap and then chain 3x for a smooth corner.
This step adds a nice border around the bow piece, ensuring a polished finish. Take your time with the edges to align them cleanly.
Part 3: The Belt
- Start: Make 5 chains.
- Foundation Row: Crochet 1x stitch in the 2nd chain from the hook, then crochet 3 more x stitches till the end.
- Row 2-9: Chain 1 at the end of each row, flip the work, and crochet 4x stitches across for the next 9 rows.
- Finish: After row 9, fasten off the belt by chaining 1 and cutting the yarn.Explanation: The belt acts as the piece used to wrap around the middle of the bow. Ensure the tension is consistent so it fits snugly around the bow center.
Part 4: Assembly
- Position the crocheted bow piece and fold it slightly at the center to form the bow shape.
- Wrap the crocheted belt tightly around the center of the bow and sew the ends securely in place using a tapestry needle.

- Attach the bow to a hair tie or any desired accessory base by sewing it firmly.
Fold, wrap, and sew to assemble the bow. Attaching the bow to a hair tie completes the accessory!
Finishing Touches
- Neatly trim any loose threads and then weave in the ends using the tapestry needle.
- Check the bow's placement on the hair tie to ensure it sits securely and symmetrically.
Notes on the Pattern
- Starting Off: Familiarize yourself with the F stitch, X stitch, and general crochet basics before starting. The bow and belt involve simple rows and stitches, making this a great project for building intermediate crochet confidence.
- Stitch Breakdown: The entire pattern revolves around basic stitches, with the F stitch adding structural definition to the bow's body while X stitches and the belt provide neatness and shape.
With this versatile pattern, you can experiment with colors and even embellishments like beads or sequins for added charm! The completed bow will make a beautiful accessory for everyday use or gift-giving.
Conclusion
This Free Crochet Bow Hair Tie Pattern is a simple yet stylish project that lets you produce functional and beautiful handmade accessories. Whether it's for everyday use or special occasions, this versatile bow is perfect on its own or as an embellishment for bags, hats, or outfits! Experiment with colors or add personal touches like beads or sequins to make each piece truly unique. Perfect for gifting or for personal satisfaction, this project is a wonderful way to improve your crochet skills while creating something extraordinary.
Facing Challenges? Here's How to Overcome Them!
While this pattern is beginner-friendly, some parts may feel tricky, like keeping the edges straight or assembling the bow evenly. These challenges are completely normal, so don't worry! To keep your edges neat, count your stitches at the end of each row. For assembly, take your time wrapping the belt snugly around the center and use pins to hold it in place before sewing.