
Brighten up your surroundings with a cheerful burst of tropical life! A crochet pineapple amigurumi brings vibrant colors and playful textures to instantly enhance any space. Perfect as home décor, a unique party favor, or a thoughtful handmade gift, this eye-catching pineapple provides a fun yet relaxing way to express creativity.
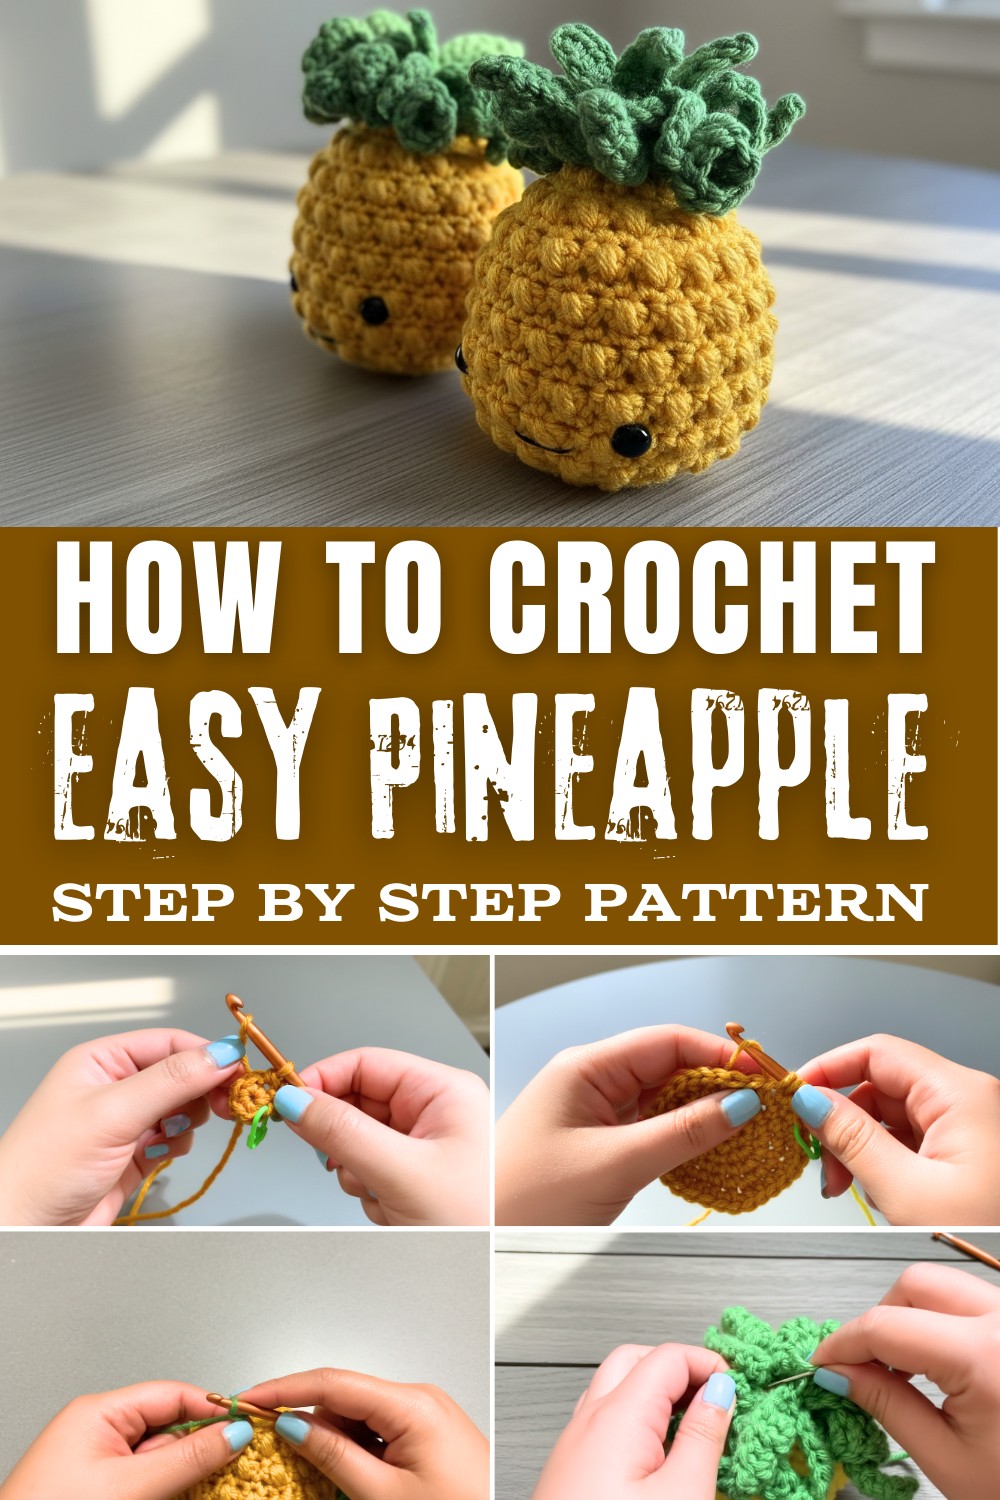
Its compact size makes it ideal for tabletops, desks, or even bags as a keychain. The beauty of this amigurumi lies in its charming detail, lush leaves complementing the textured body. It's not only adorable but also a sustainable way to enjoy décor and a gift that adds personality and joy to daily life.
Finished Size
- Approximately small and compact, fitting in one hand (exact size may vary depending on yarn type and tension).
- Optional: You can extend the pineapple's body by adding more rows of stitches for a taller design.
Materials Needed
- Yarn:
- golden-yellow yarn (main body) - Red Heart Super Saver Yarn recommended.
- Green yarn (for leaves) - Carens One-Pound Yarn is used here (specific color name unavailable).
- Crochet Hook: 5.5 mm (size I-9).
- Safety Eyes: 12 mm size.
- Black Embroidery Thread: For creating the mouth.
- Fiberfill or Stuffing: To fill the body.
- Additional Tools:
- Stitch marker
- Threading needle
- Scissors
Gauge
- Exact gauge is not critical to this project but keep a consistent tension throughout.
- Tip: Tighter stitches will result in a firmer pineapple, while looser stitches may result in a slightly larger and softer one.
Pattern Overview
The pattern consists of creating the pineapple's body with a bobble or similar textured stitch for added detail and finishes with leafy rows. If you'd like a fuller look for the leaves, instructions for denser leaves are provided.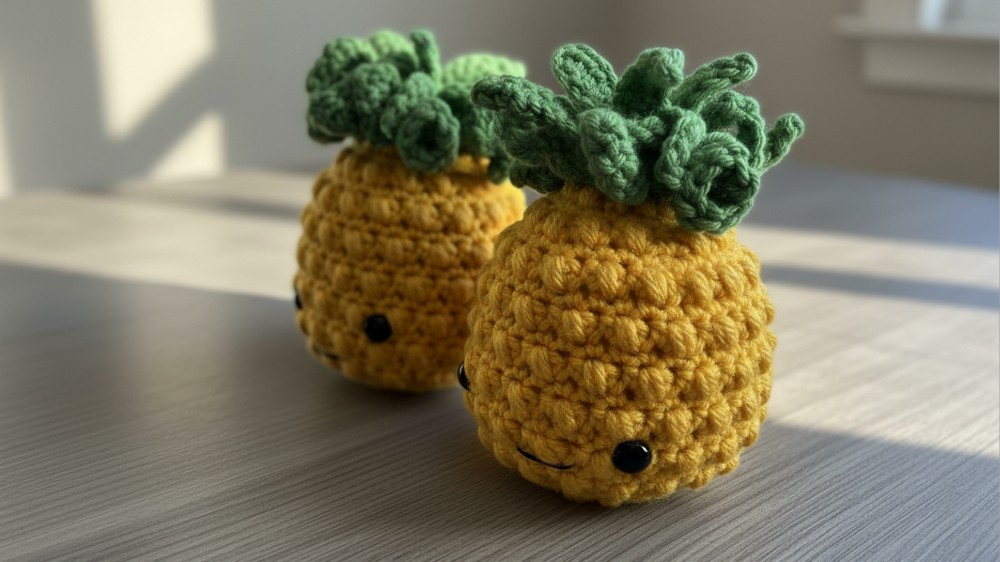
Tips & Customization Ideas
- Fuller Leaves: Create more rows for a denser "full head of hair" option.
- Tall Pineapples: Add rounds to the pineapple's body to make it taller.
- Experiment with Colors: Use pastel shades or unique greens for the leaves.
- Stitch Variation: Adjust the "bobble" stitch with a variation you're comfortable with.
- Personal Touch: Add beads or sequins for extra character, or embroider little cheeks!
Special Techniques
- Magic Circle Ring Start: Wrap yarn around your fingers to create an "X," insert your hook through the loop, and pull up a loop to form the base.
- Bobble Stitch (Modified): The tutorial uses an alternate technique that creates a similar 3D texture effect. (Instructions below).
- Half Double Crochet (HDC): How to complete this is detailed in the pattern.
Pattern Instructions
Body of the Pineapple
- Start with a Magic Circle:
- Wrap yarn around fingers to create an "X." Insert your hook through the loop and yarn over to begin.
- Round 1:
- Work 6 single crochets (SC) into the magic circle, pull the yarn to close.
- End the round with a slip stitch into the first SC. Mark the last stitch with a stitch marker. You will shift the marker as you go.
[6 stitches total]
- Round 2 (Increase Round):
- Work 2 SC in each stitch around (Increase).
[12 stitches total]
- Work 2 SC in each stitch around (Increase).
- Round 3:
- Alternate: Work 1 SC in one stitch, then 2 SC in the next stitch (Increase). Repeat around.
[18 stitches total]
- Alternate: Work 1 SC in one stitch, then 2 SC in the next stitch (Increase). Repeat around.
- Round 4:
- Alternate: Work 1 SC in the next two stitches, then 2 SC in the next stitch. Repeat around.
[24 stitches total]
- Alternate: Work 1 SC in the next two stitches, then 2 SC in the next stitch. Repeat around.
- Round 5 (Final Increase Round):
- Alternate: Work 1 SC in the next three stitches, then 2 SC in the next stitch. Repeat around.
[30 stitches total]
- Alternate: Work 1 SC in the next three stitches, then 2 SC in the next stitch. Repeat around.
- Round 6 Onwards (Start Bobble Detail):
- Work HDC in the first stitch.
- Then work the modified bobble stitch:
- Yarn over, insert your hook into the stitch, pull yarn through (three loops on hook).
- Repeat this step two more times for a total of seven loops on the hook.
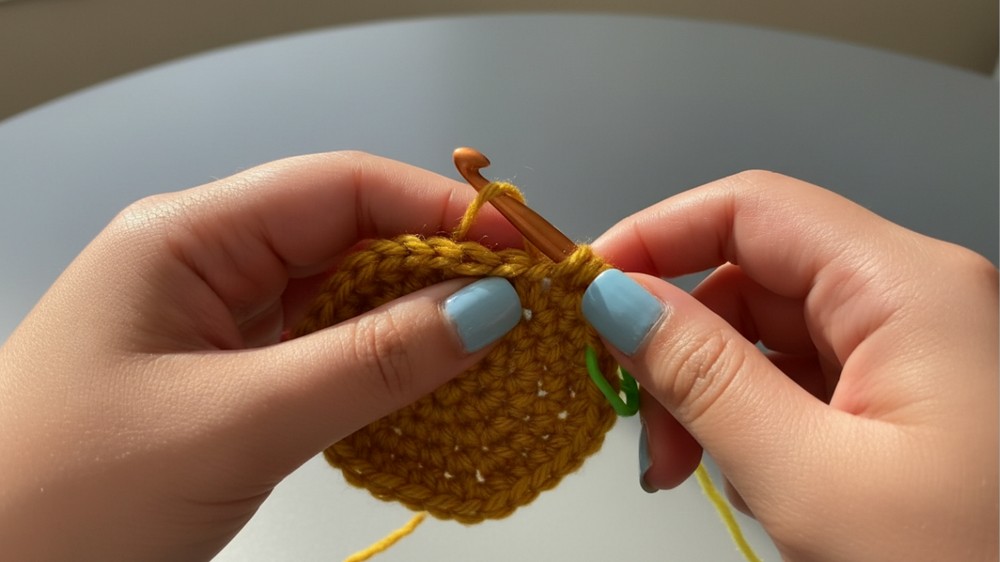
- Yarn over and pull through all seven loops to complete the stitch.
- Alternate between HDC and modified bobble stitches around the row.
[30 stitches total]
- Rounds 7-16:
- Repeat alternating HDC rows and Bobble rows.
Decreasing (Shaping the Top)
- Round 17: Begin decreasing. Work 1 decrease (invisible SC decrease) followed by SC in the next four stitches. Repeat around.
[24 stitches total] - Round 18: Alternate HDC and Bobble Stitch (as before). Repeat around.
[24 stitches total] - Round 19 (Second Decrease Round): SC decrease, then SC in the next 3 stitches. Repeat around.
[18 stitches total] - Round 20: Final Bobble Row. Follow the stitch pattern around.
- Round 21 (Final Decrease): SC decrease, then SC in the next 2 stitches. Repeat around.
[12 stitches total] - Fasten off the yellow yarn. Add stuffing, using fingers to lightly push bobble stitches outward if necessary.
Leaves (Green Top)
- Attaching Green Yarn: Use any stitch on the pineapple's top to attach the green yarn. Tie a secure knot.
- Row 1 (Leaf Chains):

- Chain 10.
- Slip stitch into the next 3 chains back down.
- Work 1 SC in the next two chains at the base, then alternate: HDC in 2, DC in 2.
- End with a SC back into the base stitch.
- Row 2 (Fuller Leaves):
- Chain 11. Slip stitch into the next 2 stitches. Work a combination of SC, HDC, DC, and Triple Crochet (TR) in progressively taller lengths, finishing back at the base.
- Row 3 (Optional Longer Chain): Chain 12 and repeat variations as before.
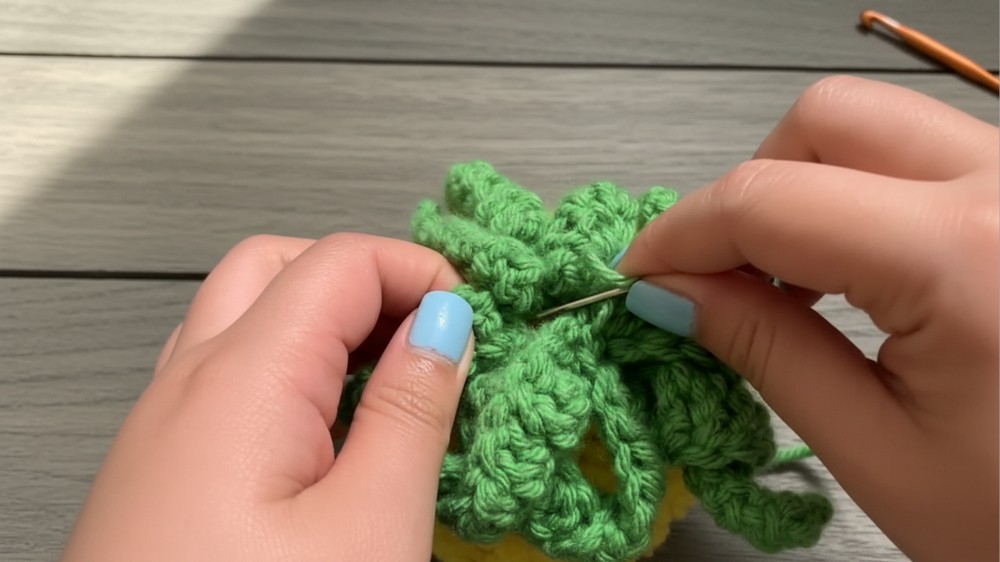
- Repeat Leaf Rows: Alternate between 10, 11, and 12 chains while working all leaves around the pineapple top for desired fullness.
- Finishing: Securely sew the leaves and weave in the loose yarn ends.
Face Details
- Eyes: Insert 12 mm safety eyes near the lower third of the pineapple. Space them evenly.
- Mouth: Use black embroidery thread. Create a simple curved smile by stitching from the inside outwards. Tie off securely.
Conclusion and Final Remarks
Your miniature pineapple is now complete! Its compact, cheerful design is perfect as a gift, keychain, or fun décor item. Experiment with leaf placements and add your personal touch with different facial expressions or colors. Whether you make a tall or short version, this whimsical crochet creation is sure to bring a smile to anyone's face.