
Light up your accessories with the Free Crochet Sun & Cloud Keychain Pattern for cheerful charms and a boost of everyday positivity.
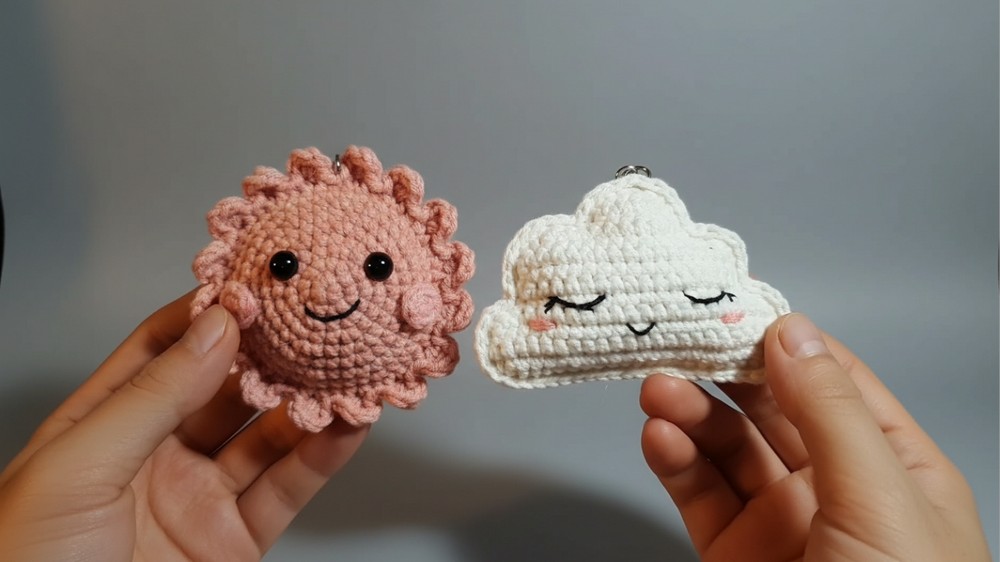
Every once in a while, I stumble upon a crochet project so cheerful and adorable that it brings an instant smile no matter what mood I'm in. That's exactly how I felt when I crocheted this delightful Sun & Cloud Pattern, which can be used as a decorative keychain or a cute attachment for bags and backpacks. You can crochet this in vibrant shades and whites for a classic look or experiment with pastel tones for a dreamy vibe. This small yet striking project is not only fun to crochet but also makes a fantastic gift idea for friends and loved ones.
Free Crochet Sun & Cloud Keychain Pattern to Brighten Keyrings
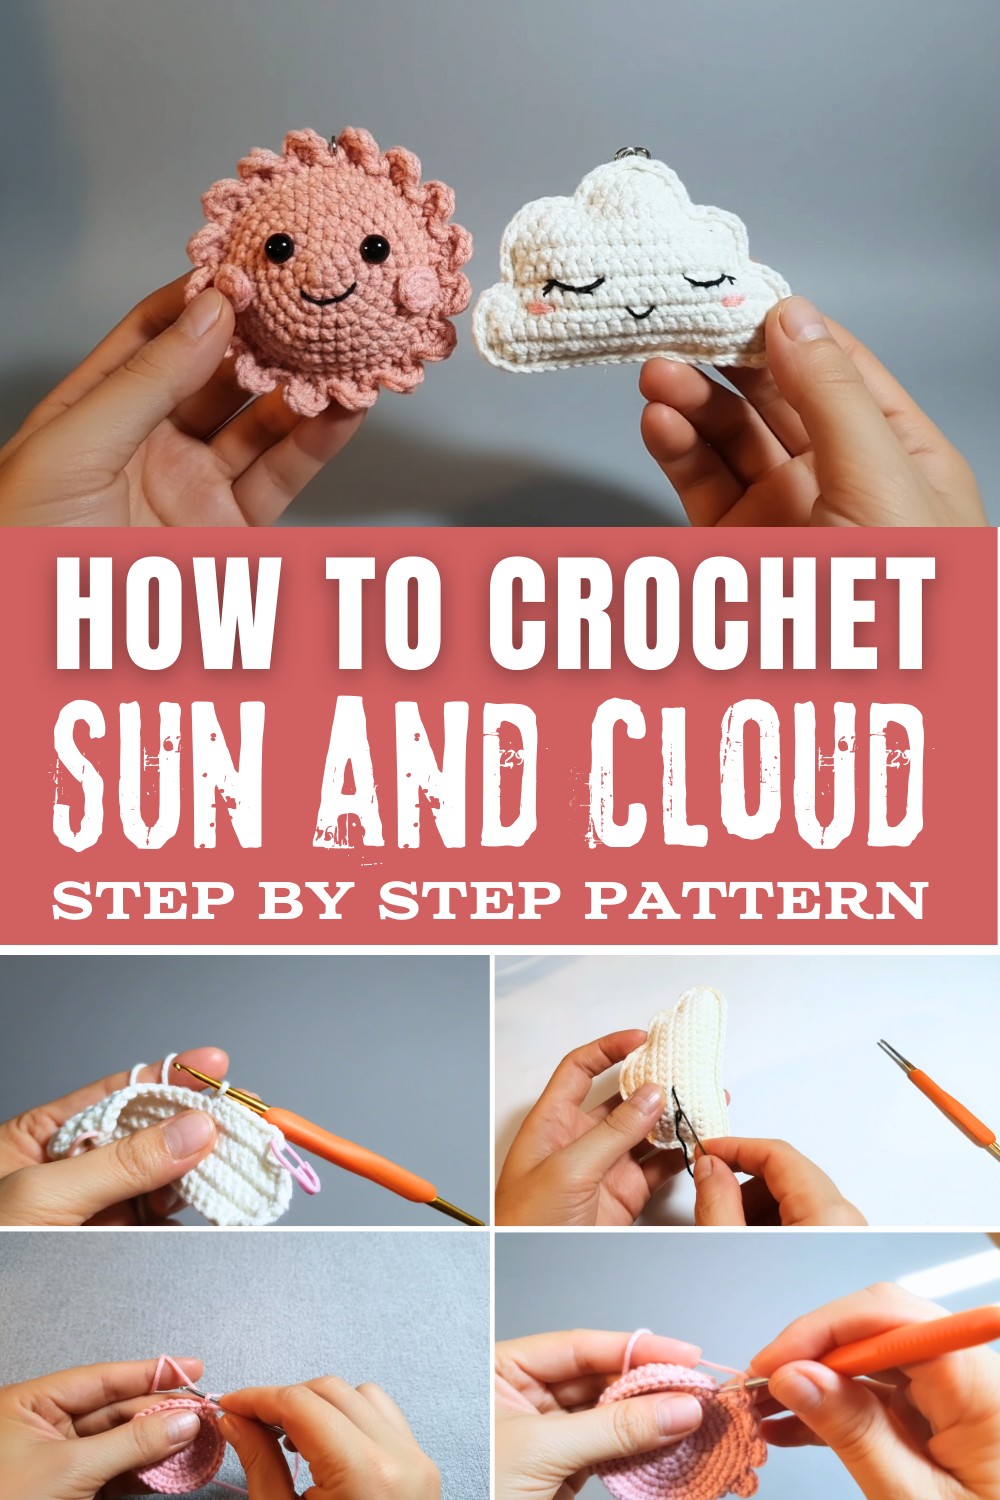
To create this pattern, we use beginner-friendly techniques such as single crochet, magic circle, V-stitches, and decrease stitches for shaping. The alternating increases and decreases help mold the shapes, giving it that soft, playful appearance. What's especially exciting is learning how to add the tiny details-embroidering the eyes, sewing blushing cheeks with pink yarn, and adding fluffy bits to the clouds. These personal touches turn this pattern into something truly special.
Other Things You Can Crochet With This Pattern
- Fridge magnets: Attach a small magnet to the back of the Sun & Cloud.
- Bag charms: Add them to totes or school bags for added whimsy.
- Ornaments: Create a garland or holiday decorations.
- Baby mobile: Combine multiple suns and clouds for an adorable nursery mobile.
- Gift tags: Use them as customized tags for presents.
Why You'll Love This Pattern
- Quick and beginner-friendly, perfect for instant gratification.
- A great way to use leftover yarn in bright, happy colors.
- Perfect handmade gifts for loved ones.
- Fun to customize with different facial expressions!
Materials Needed
- Yarn:
- Cream: For the cloud shape.
- Blush Pink: For the sun.
- Black: For sewing the eyes.
- Pink (optional): For the cheeks.
- Crochet Hook: 3 mm or a size suitable for your chosen yarn.
- Scissors: For cutting yarn.
- Tapestry Needle: For weaving in loose ends and embroidering features.
- Polyfill (Optional): For stuffing if you want the design to have a 3D effect.
Gauge
- Gauge is not crucial for this pattern, but for reference:
- Cloud Row Width: ~12 cm (4.7 in) wide.
- Sun Diameter: ~10-12 cm (4-5 in).
You may adjust the yarn weight or hook size to alter the finished size if desired.
Finished Size
- Cloud: Approximately 12 cm x 6 cm (4.7 in x 2.3 in).
- Sun: Approx. 10 cm (4 in) in diameter, including decorative rays.
Pattern Notes
- This pattern uses US crochet terminology.
- Techniques used:
- Single Crochet (sc).
- Double Crochet (dc).
- Slip Stitch (sl st).
- Increase (inc): Two stitches in one stitch.
- Decrease (dec): Turning two stitches into one.
- Magic ring (optional, or start with a chain loop).
- Customization Ideas:
- Add pom-poms or tassels to the edges.
- Combine multiple sun and cloud motifs for a hanging garland.
What You'll Learn From This Pattern
- Crocheting the magic circle to form a perfect circular base.
- How to use V-stitches to create increases.
- Techniques for shaping with decrease stitches for a polished design.
- Adding details like embroidered eyes, pink cheeks, and assembling multiple crochet pieces seamlessly.
Step-by-Step Pattern For Crochet Sun & Cloud Keychain
This delightful crochet pattern allows you to create an adorable sun and cloud motif, perfect for decorating bags, backpacks, or any other accessory. The pattern uses a combination of single crochet, increases, and decreases to form the cloud and sun patterns, which can also be expanded to fit your creative needs. The pattern is simple yet charming, making it ideal for all skill levels.
Cloud Pattern
Step 1: Create the Base of the Cloud
- Start with a chain: Chain 21.
- Row 1:
- Starting from the second chain from the hook, single crochet (sc) in each chain across, except for the beginning and end.
- In the first and last stitch, work 2 single crochets (sc) (this is an increase). Mark the first stitch to avoid confusion.
- End with 23 stitches.
- Chain 1 for turning, turn your work.
Step 2: Build the Shape
- Rows 2-4:
- Work one single crochet (sc) in each stitch across. On the first and last stitch of each row, make 2 sc (increase).
- After completing Row 4, you will have 24 stitches.
Step 3: Form Tapered Ends
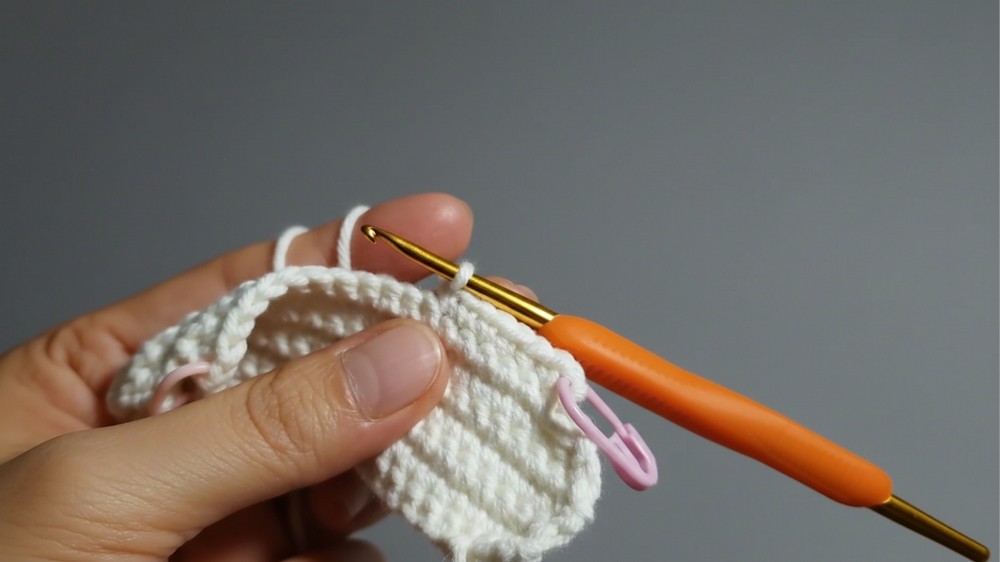
- Row 5: Begin shaping the cloud by decreasing.
- Start with a single crochet decrease (sc dec) in the first two stitches. Then work 20 sc across, and end with another sc dec in the last two stitches.
- 22 stitches at the end of this row.
- Row 6: Similar as Row 5. Start and end with a sc dec, decreasing to 20 stitches.
- Continue decreasing using the same pattern for Rows 7-10, reducing two stitches per row, until 14 stitches remain.
Step 4: Close the Shape
- Rows 11-14: Continue with single crochet decreases (sc dec) at the start and end of every row.
- Row 11: 12 stitches.
- Row 12: 10 stitches.
- Row 13: 8 stitches.
- Row 14: Finish with 6 stitches and fasten off.
Step 5: Assemble the Cloud
- Make a second identical piece, and work a single row of sc around both pieces to join them.
- If desired, lightly stuff with polyfill to make a padded 3D cloud.
Sun Pattern
Step 1: Create the Circle
- Start with yarn:
- Make a magic ring (or chain 4 and slip stitch to form a circle).
- Round 1: Work 6 single crochets (sc) into the ring. Pull tight to close and join with slip stitch (sl st).
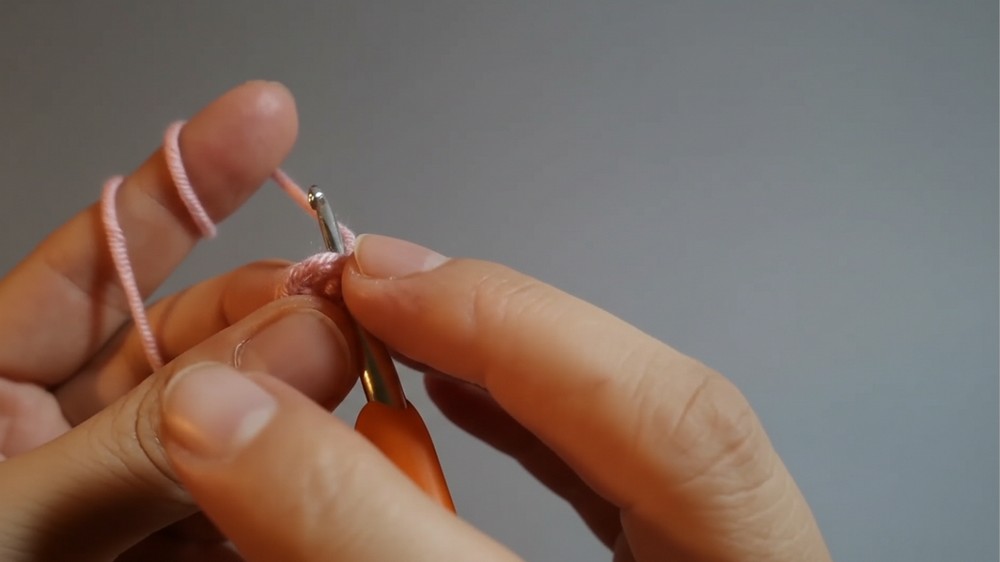
- Round 2: In each stitch, work 2 sc (increase). End with 12 stitches.
- Round 3: Alternate 1 sc and 1 increase (2 sc in the same stitch). End with 18 stitches.
- Round 4: Alternate 2 sc and 1 increase per group. End with 24 stitches.
- Repeat the pattern in subsequent rows:
- Round 5: Alternate 3 sc and 1 increase (30 stitches).
- Round 6: Alternate 4 sc and 1 increase (36 stitches).
- Round 7: Alternate 5 sc and 1 increase (42 stitches).
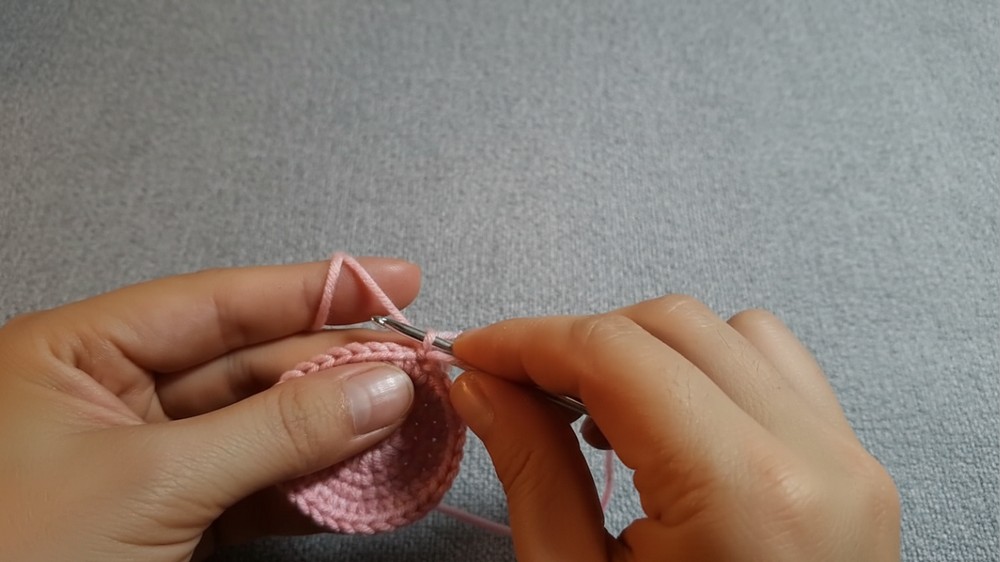
Adjust the diameter by adding or removing rows.
Step 2: Add Rays to the Sun
- With the same yarn, crochet rays directly onto the outer edge of the circle.
- Attach yarn to any stitch and chain 4. Work 3 double crochets (dc) into the same stitch.
- Slip stitch into the next stitch to secure the ray.
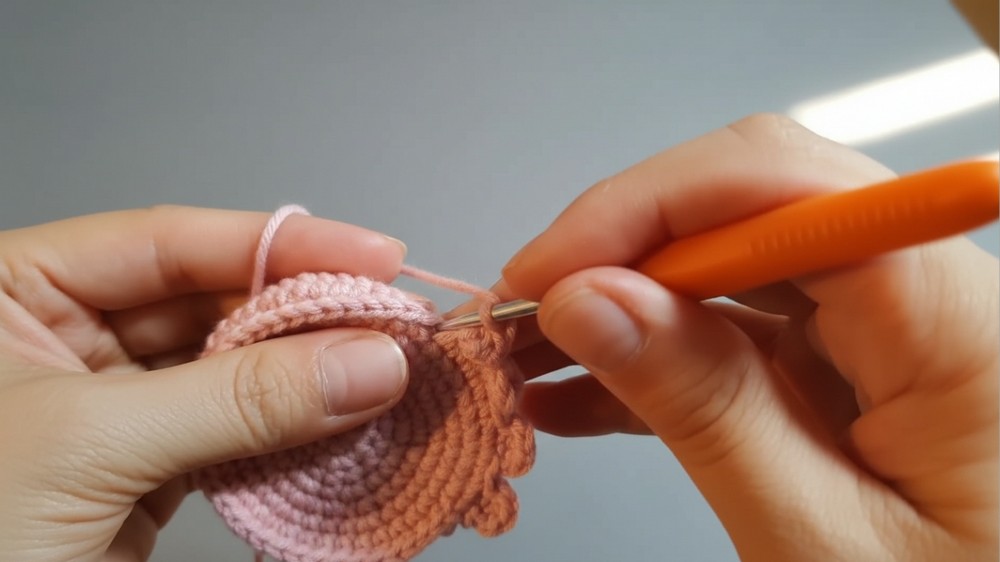
- Skip 1 stitch, then repeat (sl st, ch 4, 3 dc, sl st into next stitch) around the circle until you complete the sun rays.
- Fasten off and weave in ends.
Assembly and Details
- Eyes and Smile:
- Use black yarn to embroider eyes onto the sun or cloud. Position the eyes 2-4 stitches apart on each piece.
- Embroider a simple smile between the eyes with black yarn.
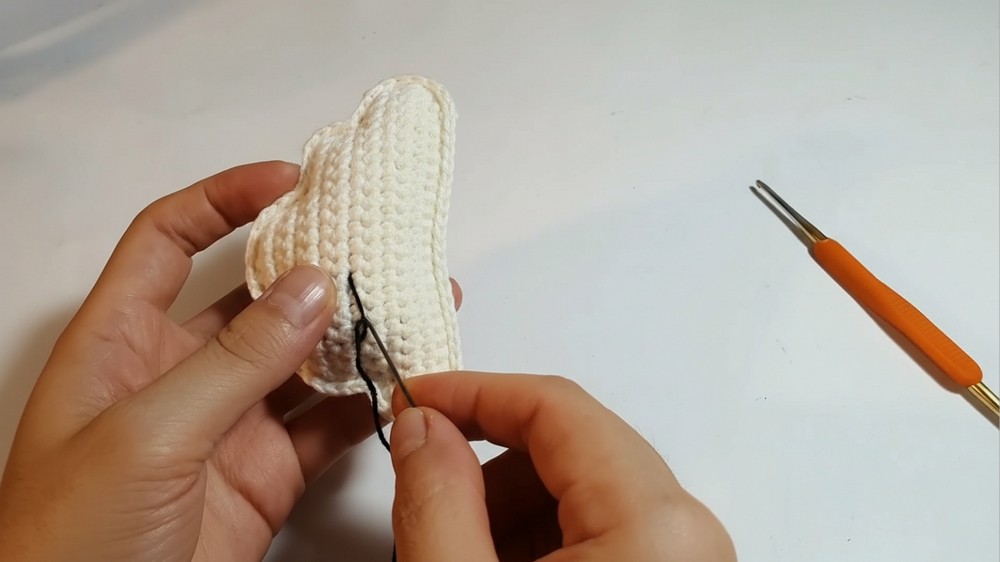
- Cheeks (optional):
- Sew small blushing cheeks next to the eyes using pink yarn for added charm.
- Optional Joining Hook: Add a small chain loop to the back for attaching to bags or backpacks.
Tips and Customization
- For a larger sun/cloud, use thicker yarn and a larger hook, or increase stitches in each row.
- Add additional embellishments like beads or sequins for pizzazz.
- String several motifs together for a playful garland or baby mobile.
Conclusion
This whimsical Sun & Cloud Keychain makes an excellent decoration or gift. From the textured sun rays to the soft edges of the cloud, the design is versatile, cheerful, and easy to adapt. Whether decorating a favorite accessory or adorning a cozy corner, these motifs will surely bring a smile.