
Change up your style with the Free Crochet Slouchy Hat Pattern for a simple hat that looks cool and feels just right.
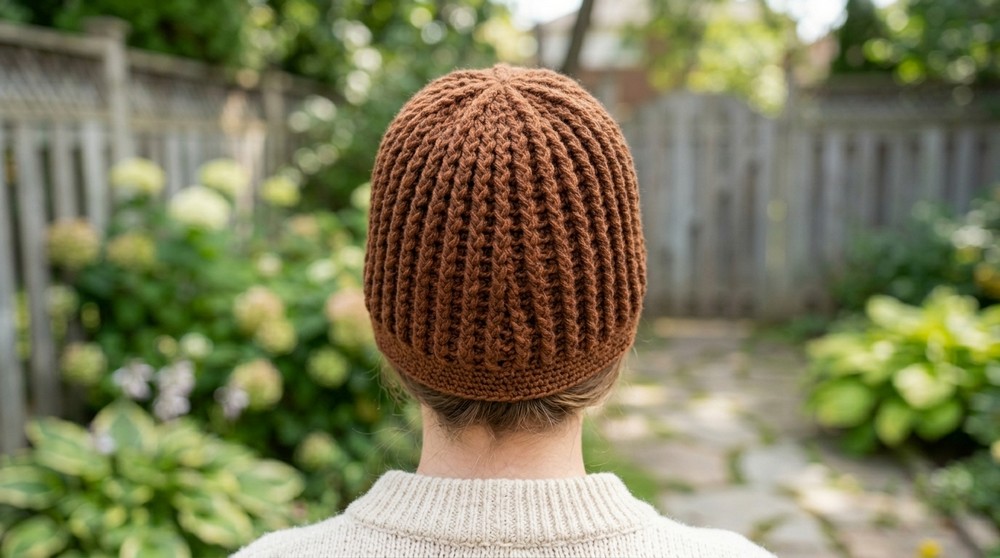
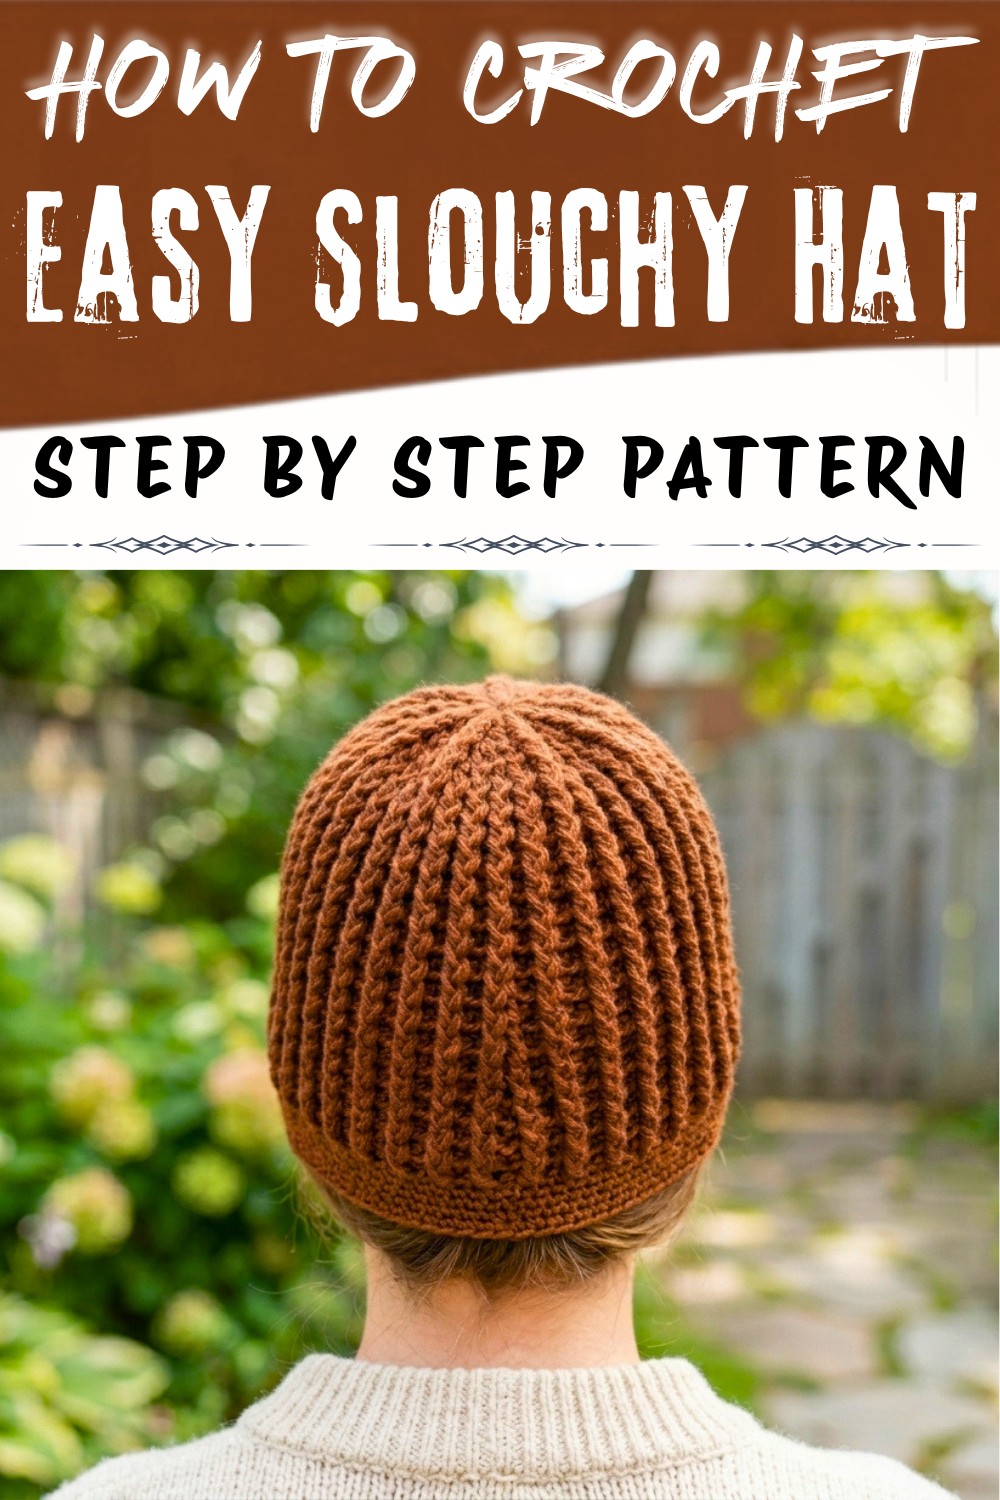
I always find it so rewarding to combine comfort, creativity, and style into one crochet project, and this slouchy hat pattern does exactly that! When I first tried it, I fell in love with the way it converted a simple ball of yarn into a versatile, fashionable hat that fits almost any head size. The best part is that you can have fun with colors! A classic neutral tone will give your hat a lasting look, while vibrant or pastel shades can add a playful, trendy twist. Featuring gentle ribbing created by alternating front post double crochet and back post double crochet stitches, this pattern has a beautifully textured finish, making it feel luxurious and professional while still being entirely handmade. It's an ideal accessory for chilly days, casual outings, or just adding a personal touch to your wardrobe.
Learn this Easy Crochet Slouchy Hat Pattern for Soft and Stylish Comfort Fit
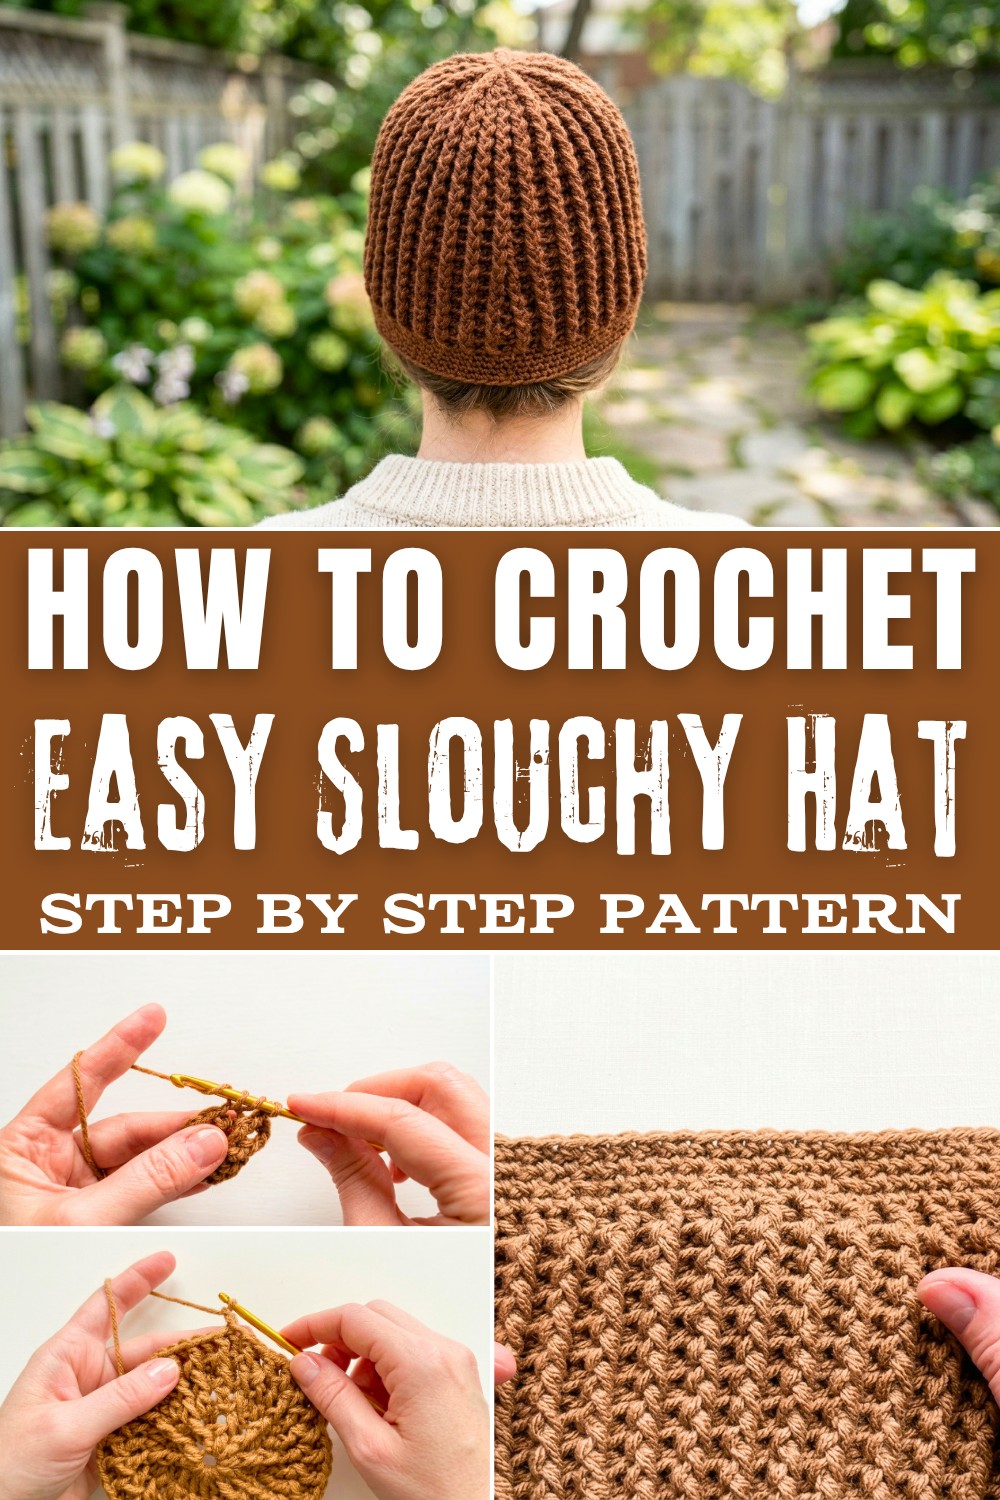
What makes this pattern a breeze, even for beginners, is the use of the magic circle to start, followed by straightforward double crochet and front post/back post techniques for shaping the hat. The stretchiness of the design makes the hat adjustable and perfectly snug. The fitted brim is achieved with single crochet and decrease stitches to create a comfortable and secure fit. And let's not forget its versatility! Whether you wear it on its own or dress it up with a pom-pom, this pattern is as functional as it is stylish.
What You'll Learn and Create
In this pattern, you'll pick up essential crochet skills, such as:
- Learning to make the magic circle foundation.
- Alternating front post and back post stitches to create texture and ribbing.
- Shaping and sizing hats with increases and decreases.
- Completing an invisible finish for a polished, professional look.
- Customizing the pattern to make additional items like beanies, headbands, or lightweight scarves with a similar stitch pattern.
This project is perfect for a stress-free crochet session, yielding a handmade hat that's cozy, trendy, and a joy to make.
Crochet Slouchy Hat Pattern
Materials
Yarn:
- Loops & Threads Impeccable or Bernat Premium (#4 Medium Weight Acrylic Yarn). Brown yarn used in this pattern
- Bernat Premium is softer, producing a better drape for this project.
- Amount: 1 ball (~200-300 yards).
Hook Sizes:
- 5.0 mm crochet hook.
Notions:
- Scissors.
- Darning needle (for weaving in ends).
Skill Level
- Intermediate: Techniques include working with front and back post double crochet, creating a magic circle, single crochet decreases, and invisible stitch closure.
Key Abbreviations
(All terms are based on US Crochet Terminology.)
- ch: Chain
- dc: Double Crochet
- sc: Single Crochet
- sl st: Slip Stitch
- fpdc: Front Post Double Crochet
- bpdc: Back Post Double Crochet
- sc2tog: Single Crochet Decrease (Single Crochet 2 Together)
- st(s): Stitch(es)
Special Notes
- Sizing Adjustments:
- For a wider adult hat, increase the number of double crochets in the magic circle (e.g., start with 14-16 instead of 12).
- For additional slouch, continue repeating the rounds of fpdc and bpdc.
- Stretchy Brim: The single crochet decrease row ensures a snug fit around the head for both sizes.
- Pom-Pom: If attaching a pom-pom, leave the yarn tail uncut at the end for secure attachment.
Pattern Instructions
1. Youth Size
Step 1: Magic Circle
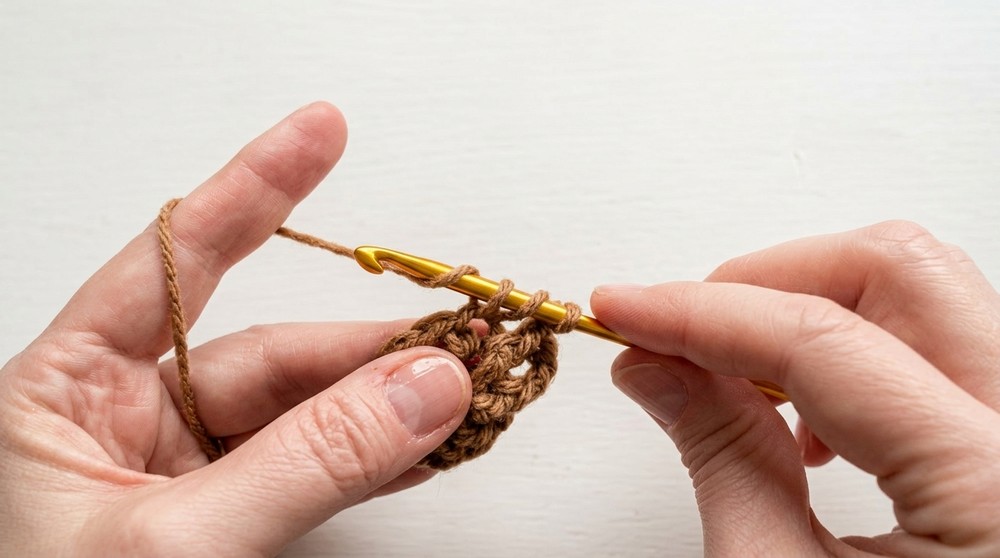
- Create a magic circle using your preferred technique.
- Round 1:
- Ch 3 (counts as first dc).
- Work 9 dc into the ring.
- Pull the ring snug and sl st into the top of the ch 3 to join.
- Stitch Count: 10 dc.
Step 2: First Expansion (Rounds 2-4)
Round 2:
- Ch 3 (counts as first dc).
- Work 1 fpdc around the ch 3.
- (1 dc into next st, fpdc around the same st) repeat around.
- Sl st to join in the top of the ch 3.
- Stitch Count: 20 sts (10 dc + 10 fpdc).
Round 3:
- Ch 3 (counts as first dc).
- Work 1 dc into the next st and 1 fpdc around the same st.
- (dc into next st, dc into next st, fpdc around the last dc) repeat pattern around.
- Sl st to join.
- Stitch Count: 30 sts.
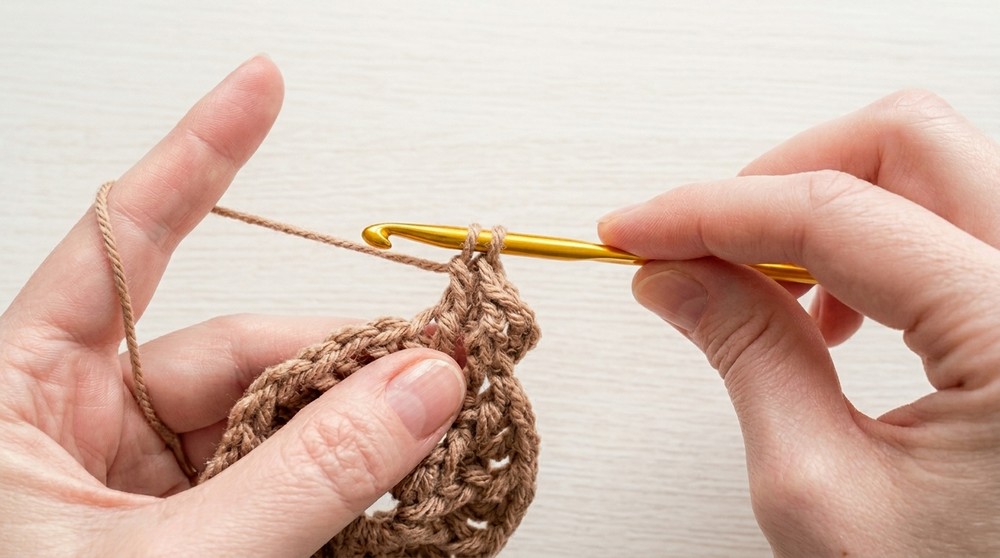
- Stitch Count: 30 sts.
Round 4:
- Ch 3 and work 1 fpdc around the ch 3 post.
- (dc into next st, fpdc around same st) repeat pattern around.
- Sl st to join.
- Stitch Count: 60 sts.
Step 3: Establishing the Post Stitches for Texture (Round 5)
Round 5:
- Ch 2 (counts as a bpdc).
- (fpdc around next fpdc from the row below, bpdc behind the next dc) repeat pattern around.
- Sl st to join in the top of the fpdc.
- Stitch Count: 60 sts.
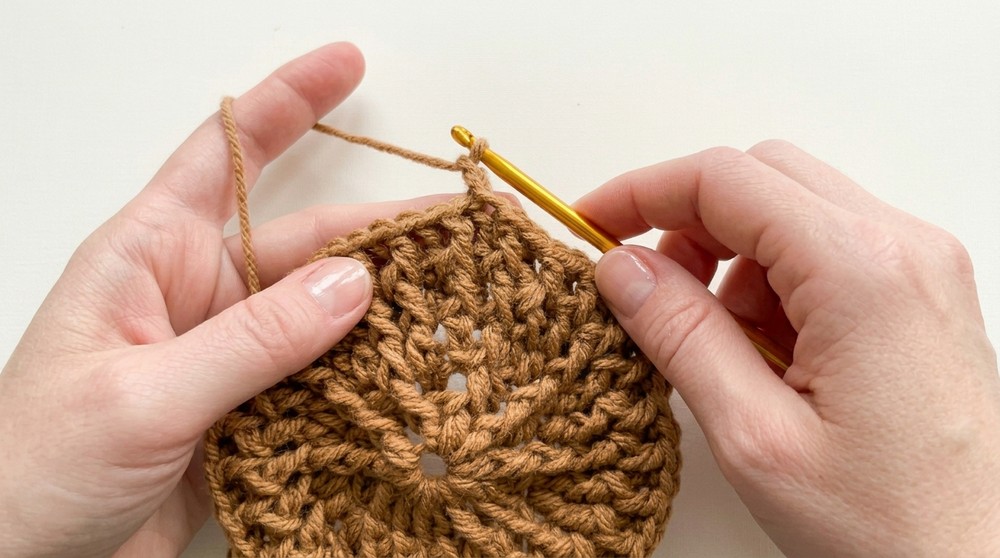
- Stitch Count: 60 sts.
Step 4: Continue for Length (Rounds 6-End)
- Repeat Round 5 until the hat reaches your desired length.
- Suggested Length: 8-9 inches (20-23 cm) for youth size.
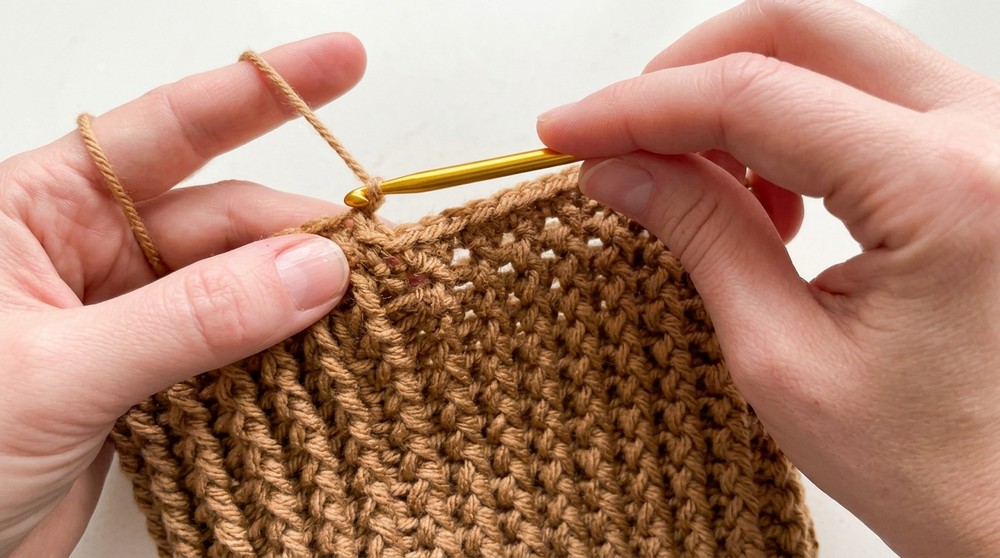
Step 5: Band (Finishing Rounds)
Round 1:
- Ch 1. Work 1 sc into each st around (60 sts).
Round 2:
- Work 4 sc, sc2tog repeat pattern around.
- Stitch Count: 50 sts.
Rounds 3-4:
- Ch 1, work 1 sc into each st around (50 sts).
- Finish with an invisible stitch closure using your darning needle.
2. Adult Size
Follow the same steps as above with the following adjustments:
Step 1: Magic Circle
- Create a magic circle.
- Round 1:
- Ch 3 (counts as first dc).
- Work 11 dc into the ring.
- Pull snug and sl st into the top of the ch 3.
- Stitch Count: 12 dc.
Step 2: Expansion (Rounds 2-4)
Round 2:
- Ch 3 (counts as first dc).
- Work 1 fpdc around the ch 3.
- (1 dc into next st, fpdc around the same st) repeat pattern around.
- Sl st to join.
- Stitch Count: 24 sts.
Round 3:
- Ch 3 (counts as first dc).
- (dc into next st, dc into next st, fpdc around the last dc) repeat pattern around.
- Sl st to join.
- Stitch Count: 36 sts.
Round 4:
- Ch 3 and work 1 fpdc around the ch 3 post.
- (dc into next st, fpdc around same st) repeat pattern around.
- Sl st to join.
- Stitch Count: 72 sts.
Step 3: Continue for Length
Round 5:
- (fpdc around next fpdc, bpdc behind next dc) repeat pattern around.
- Suggested Length: 9-11 inches (23-28 cm) for extra slouch.
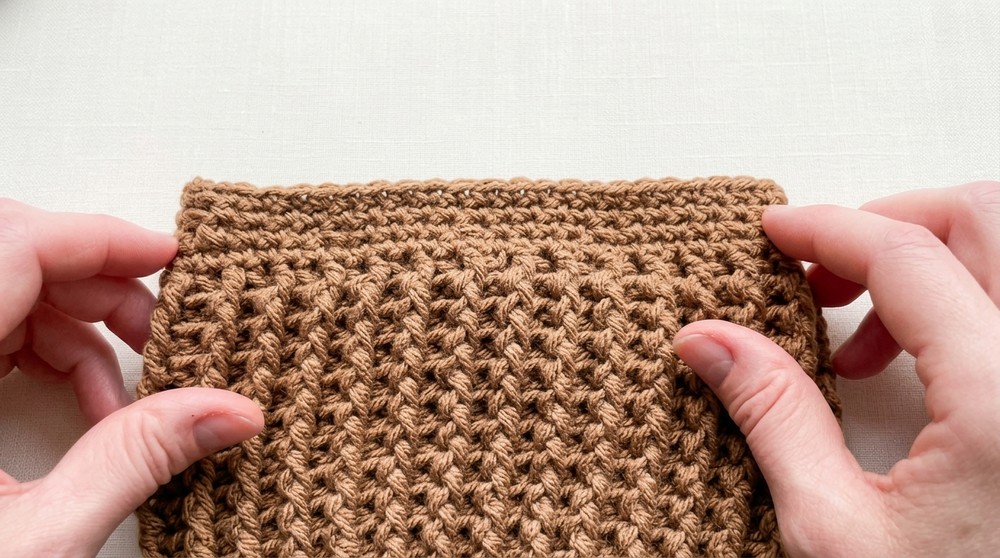
Step 4: Band (Finishing Rounds)
Round 1:
- Ch 1. Work 1 sc into each st around (72 sts).
Round 2:
- Work 5 sc, sc2tog repeat pattern around.
- Stitch Count: 62 sts.
Rounds 3-4:
- Ch 1, work 1 sc into each st around (62 sts).
- Finish with an invisible stitch closure using your darning needle.
Conclusion
Congratulations on completing your slouchy hat! The thoughtful texture from post stitches and the stretchy brim make this hat comfy, stylish, and versatile. Adjust the length and yarn for endless possibilities-from a snug beanie to a dramatic slouch.
Pattern Corrections
- Round Counts: Double-check stitch counts when expanding the rounds to avoid missing or adding stitches.
- Invisible Finish: Ensure the final stitch is pulled snug for a seamless, professional closure.
Tips
- Yarn Selection: Soft, pliable yarns like Bernat Premium are ideal for creating a nice slouch and stretch.
- Pom-Poms: To add a pom-pom, leave the yarn tail at the top uncut for easier attachment.
- Custom Fit: Use a tape measure to adjust hat length for more or less slouch.
Difficulties and Solutions
Like any crochet pattern, this slouchy hat pattern comes with its own set of challenges. The most common difficulty beginners face is working with the front post and back post stitches to create ribbing, as it can feel a little awkward at first. The solution is to practice these stitches slowly and consistently. You'll quickly get the hang of inserting your hook correctly for the texture. Another challenge is getting the magic circle foundation to stay neat, especially if you're new to it. To solve this, ensure your beginning loop is tight enough and not overly loose; working with a smaller hook can help keep control. Maintaining an even tension while crocheting the brim is also essential for symmetry. If your tension varies, take breaks often and double-check your stitch counts as you go. This will help avoid unintentional gaps or uneven edges.