
Keep little feet toasty and on trend with the Free Crochet Hockey Skates Pattern for fun, eye-catching winter accessories.
Small, detailed, and bursting with character, crochet hockey skates combine creativity and practicality in the most charming way. These little skates are more than just a crochet project; they're a celebration of winter, sport, and handmade artistry. Crocheted using single crochet, slip stitches, and the neat two single crochet together, this pattern brings an intricate 3D design to life. You can stick to traditional colors like white and black for a classic look or mix in soft blues, cheerful yellows, or even pastels to customize them your way. Whether they're gifted to a hockey-loving family, used as playful baby booties, or turned into ornaments that sparkle on a holiday tree, these crochet hockey skates are as versatile as they are delightful.
Free Hockey Skates Crochet Pattern for Handmade Charm
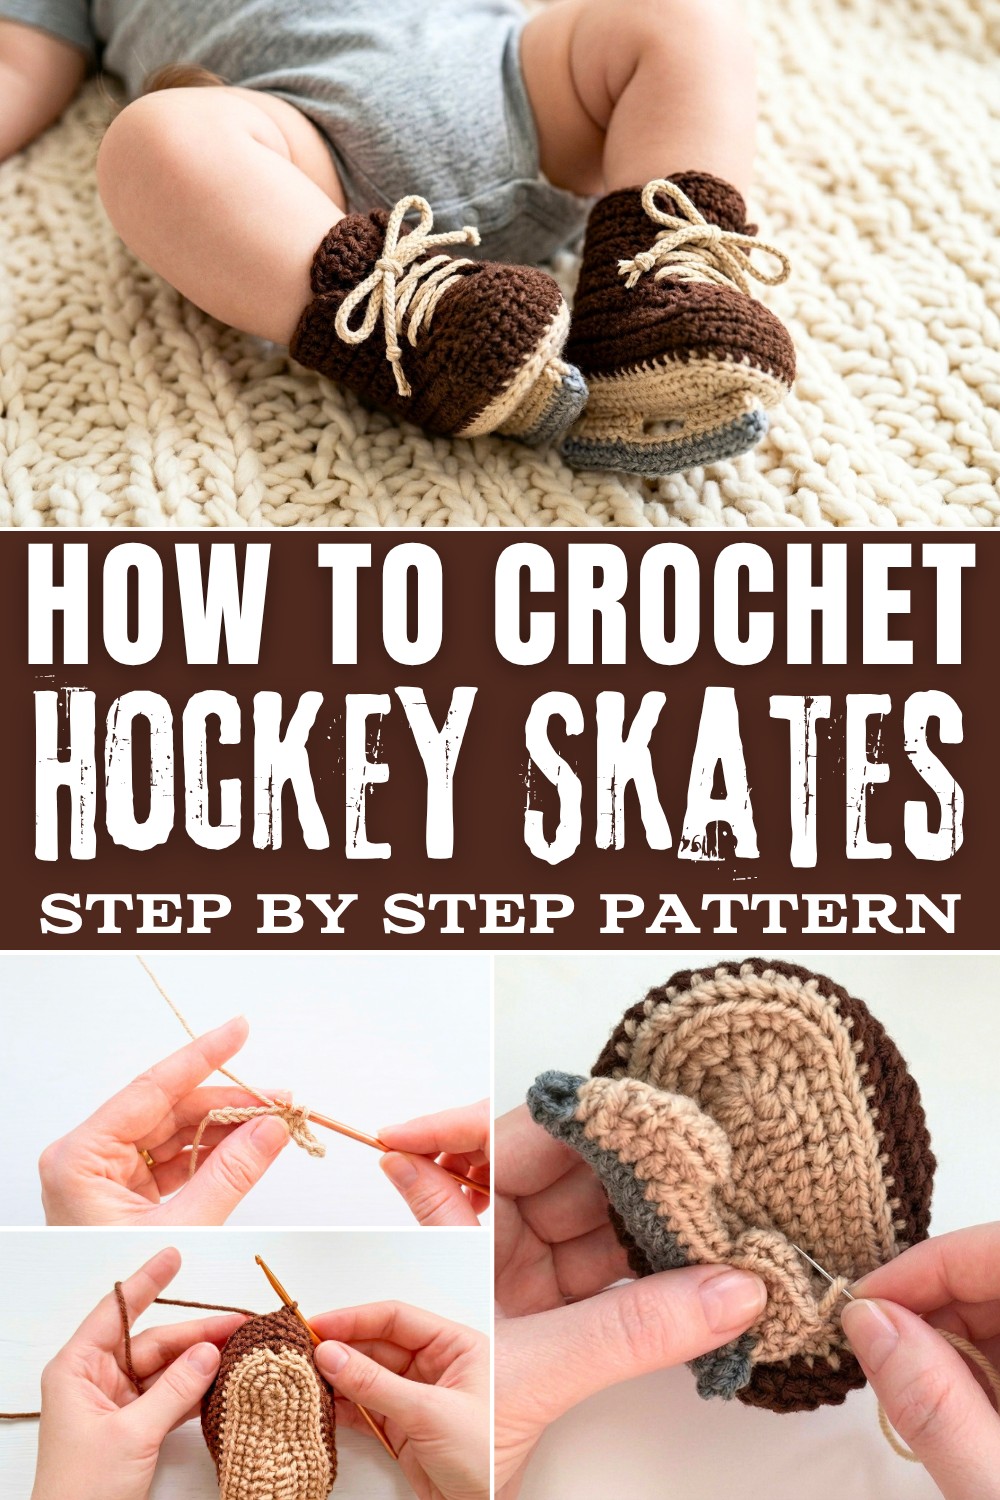
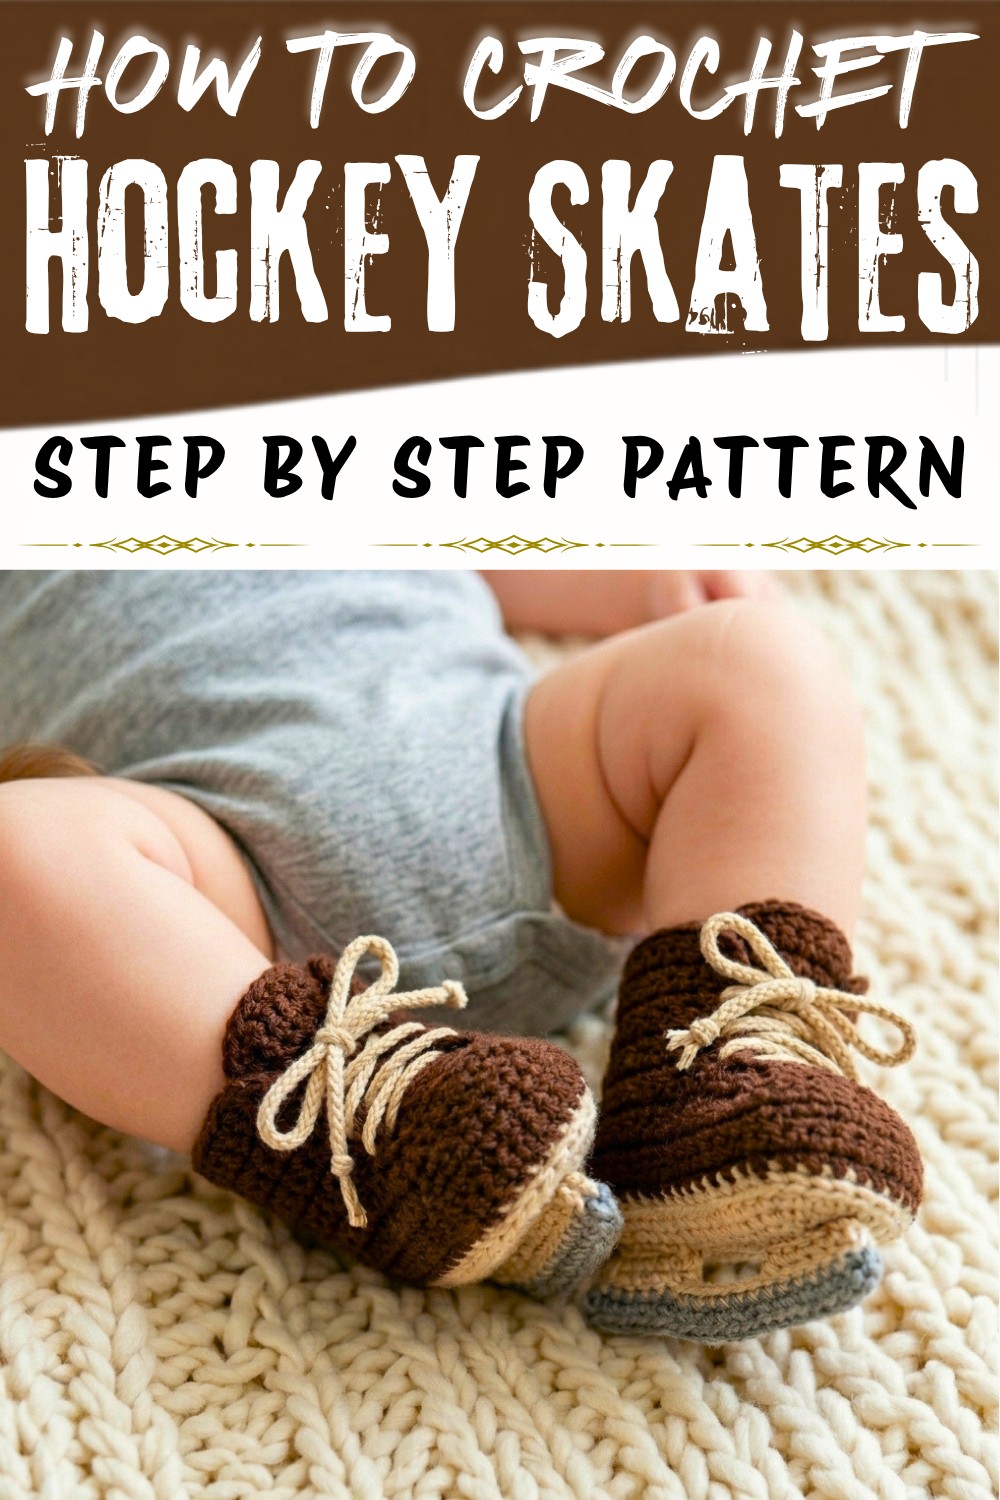
The beauty of this pattern is in the thoughtful details. The tongue and blade stand out as key features, adding authenticity to the design while helping beginners understand how to create structure with crochet. By using medium-weight acrylic yarn, the skates hold their shape beautifully without feeling too rigid. Each stitch builds toward a project that embodies warmth and creativity, offering both functional and decorative possibilities.

What You'll Learn from This Pattern
This pattern improves your crochet repertoire with valuable techniques:
- Shaping and structuring 3D projects, ideal for creating practical yet decorative items.
- Invisible closure methods for clean, polished edges.
- Detail-oriented stitching like working in front and back loops to enhance texture and realism
Why Make These Skates?
- Perfect for gifting to hockey fans or winter lovers.
- Versatile in design-adapt them for decor or wearable baby items.
- Ideal for beginners, yet satisfying for experienced crocheters who enjoy detailed projects.
- A timeless creation that combines creativity and passion for sports.
It's time to lace up your crochet hook and let your creative glide into this exciting project!
Crochet Pattern: Hockey Skates
Skill Level
Intermediate to Advanced: Requires knowledge of single crochet, slip stitches, front/back loop-only stitches, invisible joins, shaping (decreases), and assembly techniques.
Finished Size
- 6-12 Months: Made with a 4.5 mm hook and a medium #4 acrylic yarn.
- 0-6 Months: Made with a 3.75 mm hook and a medium #4 acrylic yarn.
- Adjustments can be made based on hook size and yarn thickness.
Materials
- Yarn:
- 100% acrylic yarn, medium #4.
- Suggested brands: Crochet Smart Yarn (Michael's) or Bernat Premium Yarn in Chocolate color.
- Hook Sizes:
- 4.5 mm Crochet Hook (for larger skate).
- 3.75 mm Crochet Hook (optional, for smaller skate).
- Supplies:
- Scissors
- Darning Needle
- Measuring Tape
- Relaxation Time - Enjoy the process!
Key Abbreviations (US Terminology)
| Abbreviation | Description |
|---|---|
| ch | Chain |
| sc | Single Crochet |
| sl st | Slip Stitch |
| BLO | Back Loop Only |
| FLO | Front Loop Only |
| inc | Increase (2 stitches in the same stitch) |
| dec | Decrease (e.g., 2 stitches worked together) |
Special Notes
- Invisible Join: Ensures a seamless finish by creating an extra V-stitch at the join.
- Tension: Keep consistent tension for uniform stitches and proper skate shape.
- Customization: Adjust sizing by experimenting with yarn weight and hook size.
Pattern Instructions: Hockey Skates
Part 1: Sole
Foundation Chain:
- Begin with a slip knot.
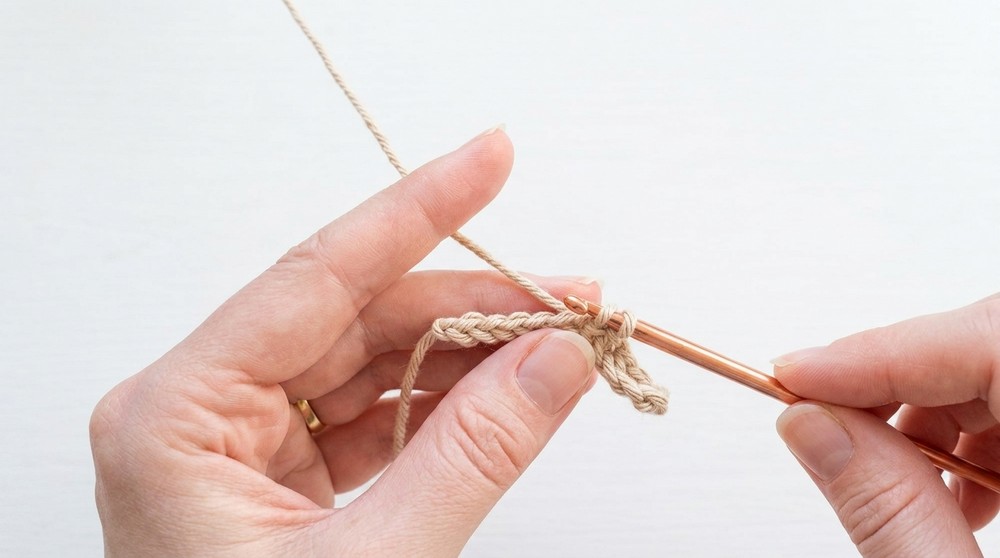
- Chain 11.
Round 1:
- Second chain from hook: Work 2 sc.
- Next 4 chains: Work 1 sc in each.
- Next 2 chains: Work 1 hdc in each.
- Next 2 chains: Work 1 dc in each.
- Last chain: Work 7 dc into the same chain (creates the rounded toe).
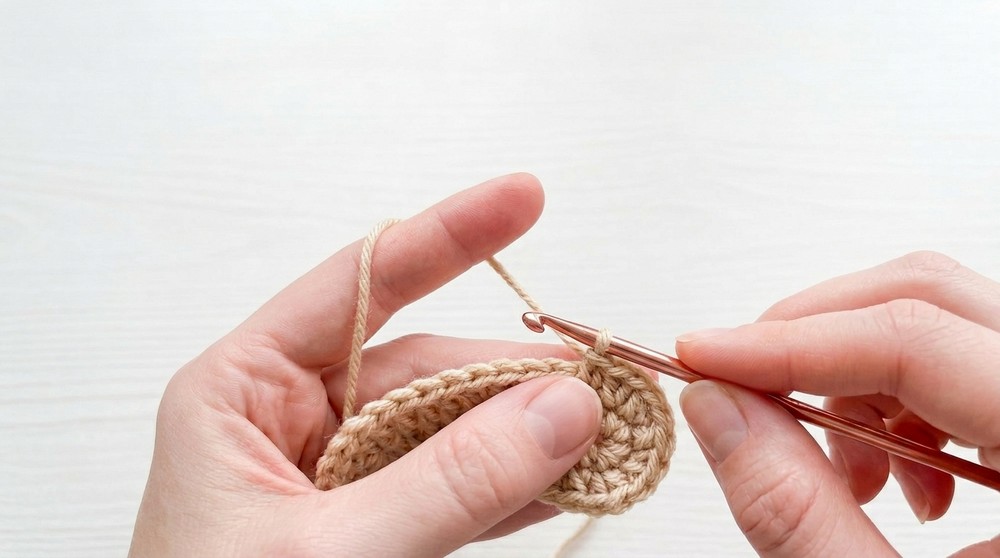
- Continue around opposite side of foundation chain:
- First stitch: Work 2 dc.
- Next 2 chains: Work 1 hdc in each.
- Next 4 chains: Work 1 sc in each.
- Last stitch: Work 2 sc.
- Slip stitch to join in the top of the first sc.
- Stitch Count: 27 stitches.
Round 2:
- Chain 1: Work 2 sc in the same stitch and 2 sc in the next stitch.
- Next 9 stitches: Work 1 sc in each.
- Next 5 stitches (toe area): Work 2 sc in each.
- Next 9 stitches: Work 1 sc in each.
- Last 2 stitches: Work 2 sc in each stitch.
- Slip stitch to join in the top of the first sc.
- Stitch Count: 36 stitches.
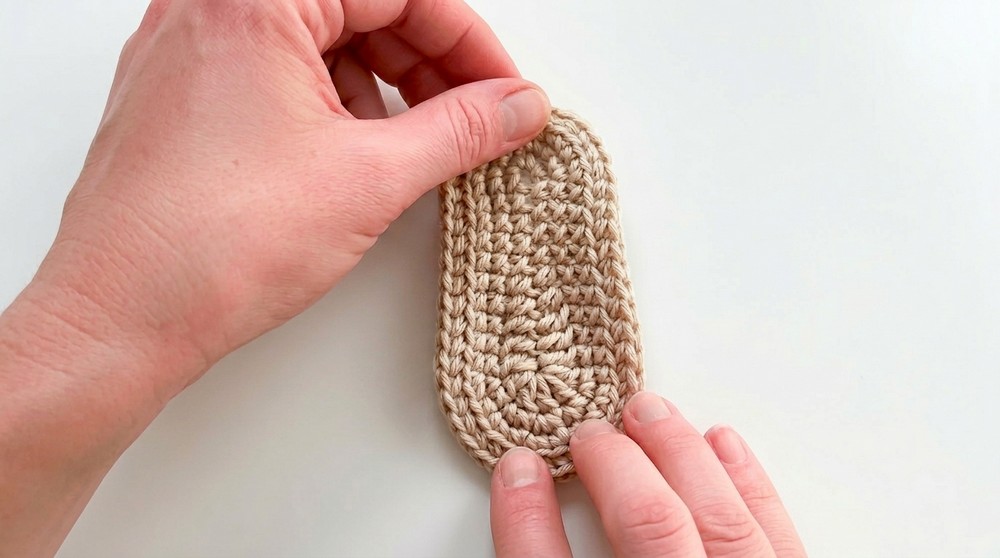
- Stitch Count: 36 stitches.
Round 3 (Shaping Sole):
- Chain 1: Work 1 sc in the first stitch and 2 sc in the next stitch. Repeat 2 times.
- Next 9 stitches: Work 1 sc in each.
- Toe Area: Work [2 sc, then 1 sc in the next stitch] for 5 repeats.
- Next 9 stitches: Work 1 sc in each.
- Heel (last stitches on sole): Work [1 sc, then 2 sc] for 2 repeats.
- Slip stitch to join in the top of the first sc.
- Stitch Count: 45 stitches.
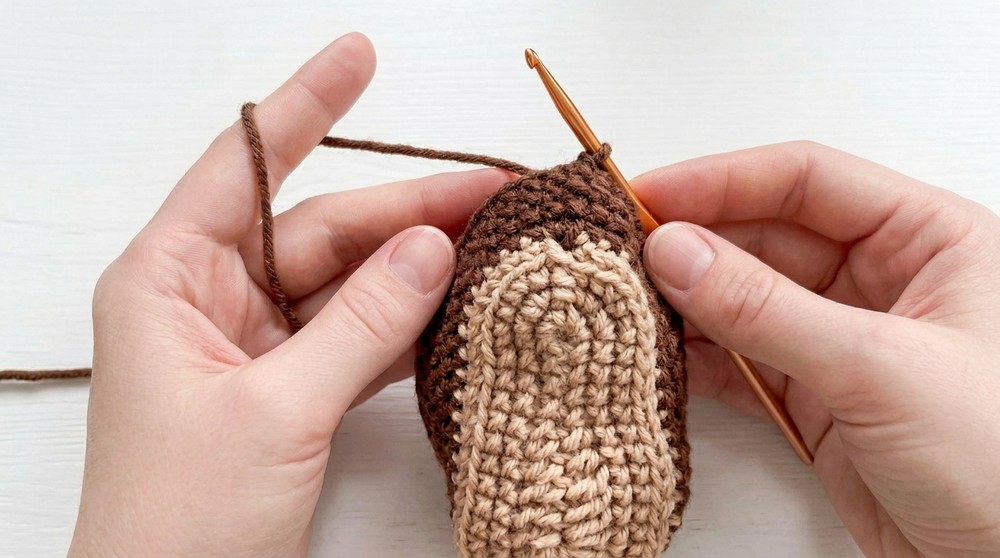
- Stitch Count: 45 stitches.
Round 4 (Back Loop Texture):
- Chain 1: Working in BLO, make 45 sc all the way around.
- Do not join at the end.
- Cut yarn and pull through.
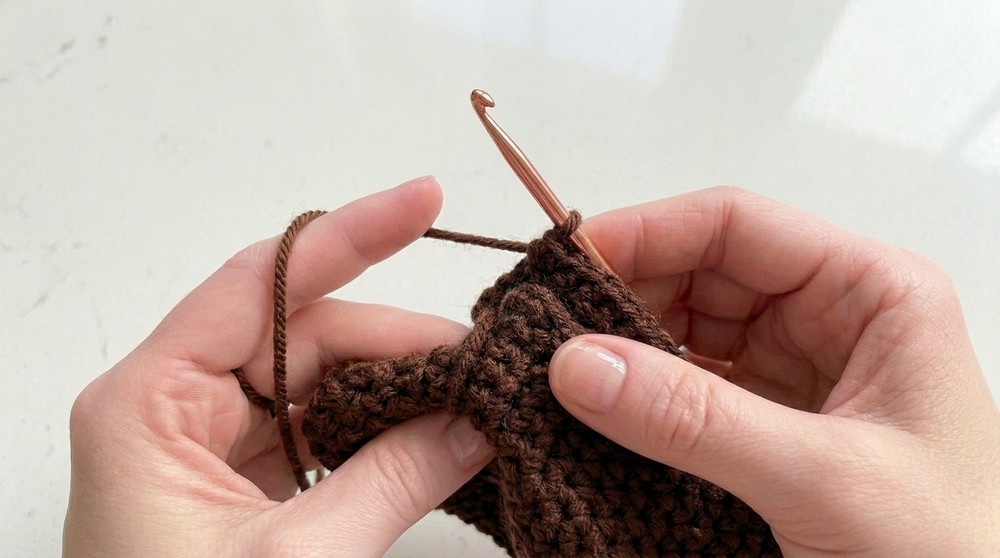
Part 2: Toe and Sides
Foundation for Toe Section:
- Locate the center back stitch of the sole (invisible join stitch).
- Attach Yarn: Insert hook, draw up yarn, and chain 1.
- Work 46 sc evenly around sides and toe area. Slip stitch to join at end.
- Repeat Round 5: Continue in sc for one more round (also 46 stitches).
Shaping Toe and Adding Sides:
Round 6:
- Work 20 sc, followed by three decreases (2 sc together).
- Finish the row with 20 sc. Slip stitch to join.
- Stitch Count: 43 stitches.
Round 7:
- Work 17 sc, followed by [2 sc together, 1 sc, 1 sc, 2 sc together].
- Finish the row with 16 sc. Slip stitch to join.
- Stitch Count: 39 stitches.
Round 8:
- Work 14 sc, followed by [2 sc together, 2 sc] repeated twice.
- Finish the row with 15 sc. Slip stitch to join.
- Stitch Count: 35 stitches.
Round 9 (Final Toe Shaping):
- Work 1 dec, 1 sc, 1 dec, followed by 7 sc along the side.
- Work [1 dec, 2 sc, 1 dec, 2 sc, 1 dec] for the toe.
- Finish with 8 sc along the side.
- Work 1 dec, 1 sc, 1 dec at the heel.
- Do not join. Cut yarn and finish with invisible close.
Part 3: Tongue
- Find the center back stitch at the toe area. Mark 8 stitches across for the tongue.
- Attach yarn, chain 1, and work 8 sc across.
- Continue rows working:
- Ends: Decrease (2 sc together).
- Center Stitches: Sc evenly.
- Repeat until tongue is shaped into proper height.
- Cut yarn and weave ends.
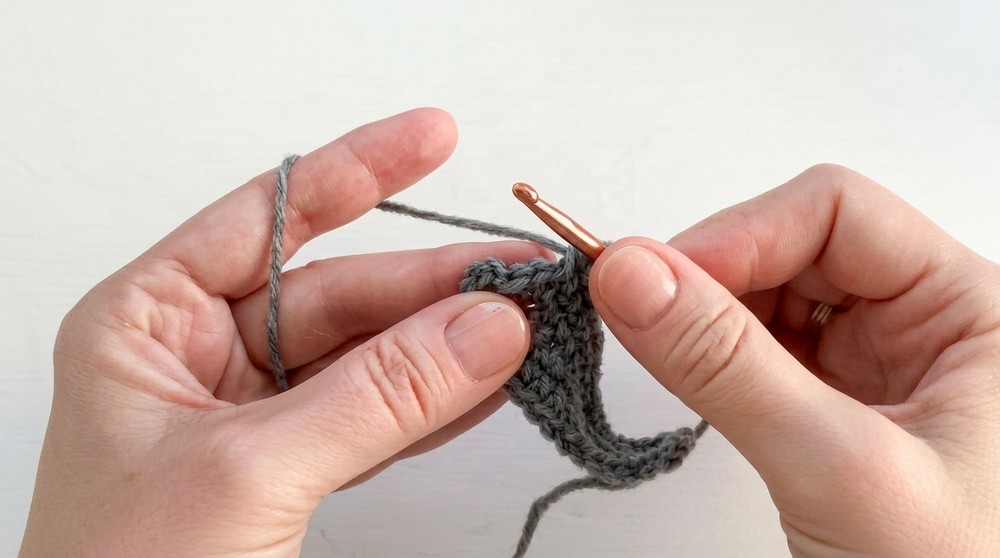
Part 4: Laces
- Chain 130 (or approximately 30 inches / 75 cm).
- Lace up the boot using the chained piece, adjusting for tightness and aesthetics.
Part 5: Blade
Foundation:
- Chain 15.
- Work along foundation chain:
- Sides: Sc evenly.
- Ends: Increases for shaping corners.
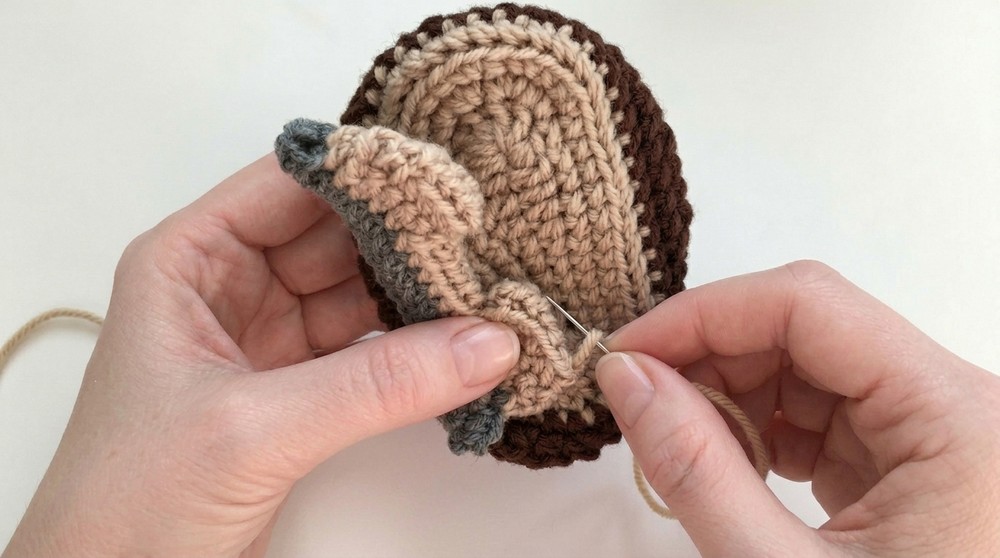
- Attach blade to the bottom of the sole using slip stitches along the edge.
Finishing
- Clean Edges: Weave in all loose ends thoroughly.
- Inspect: Ensure all pieces are secure, and seam lines are straight.
Other Things You Can Crochet Using These Skills
- Adorable sports-themed baby booties for soccer, skating, or running.
- Winter ornaments like tiny skis, mittens, or snowshoes for festive vibes.
- Amigurumi figures with accessories such as hats, scarves, or shoes.
- Themed keychains or small collectibles as thoughtful gifts.
Conclusion
Congratulations! You've completed your Crochet Hockey Skates. This fun and decorative project can be customized for baby sizes and makes a charming gift or keepsake. Adjust yarn colors, embroidery, or additional details for a personalized finish.
Tips for Success
- Accurate Stitch Count: Always count stitches after each round for consistent shaping.
- Thread Durability: Use sturdy yarn for the laces to ensure longevity.
- Customization: Add pom-poms or embroidered numbers for personalization.
Tackling Challenges in the Pattern
While this crochet hockey skate pattern is exciting to work on, a few areas might feel tricky, especially for beginners. The invisible closure technique and shaping the blade and tongue can be challenging during the first attempt. To make these steps easier, take your time and use stitch markers to keep track of your rows and center points. Remember, patience and persistence are key-repeat the steps slowly, and you'll master the techniques while enjoying the process!