
Learn how to make cute and comfy baby booties with easy crochet designs that keep tiny feet warm, perfect for gifts and everyday use.
Cute and comfy baby shoes are the perfect way to keep little feet warm and safe. These tiny booties are gentle and lightweight, designed for a baby's delicate skin. Their neat stitching and lovely design make them not just useful but also charming to look at, adding a special touch to any baby's outfit.
Free Crochet Baby Booties Pattern for New Moms

The booties offer endless options for customization, from using cheerful yarn colors to adding buttons or small bows for a playful look. They are ideal for everyday use, family gatherings, or as a thoughtful present for new parents, making them both practical and full of sweetness.

What makes these baby shoes even more special is how simple they are to put together, even for someone trying crochet for the first time. The result is a snug and adorable fit that keeps tiny toes cozy while offering an undeniable charm. These booties are a beautiful way to show care, provide warmth, and bring smiles to any baby and their family.
Crochet Baby Booties with Laces
Materials
- Yarn:
- 100% acrylic, #4 medium weight yarn (any blend); soft for baby wear.
- For smaller booties, use a slightly finer #4 weight yarn.
- 100% acrylic, #4 medium weight yarn (any blend); soft for baby wear.
- Recommended Hook Sizes:
- Small Booties: 3.75 mm hook (~0-3 months).
- Medium Booties: 4.5 mm (G-hook) (~3-6 months).
- Larger Size (~6-12 months): 5.0 mm hook.
- Notions:
- Measuring tape (optional, used to fine-tune the fit).
- Darning needle for sewing ends and invisible finishing.
- Scissors.
Skill Level
Intermediate: Pattern includes increasing, decreasing, working post stitches, and invisible crochet techniques.
Key Abbreviations
(All terms are based on US Crochet Terminology.)
- ch: Chain
- sc: Single Crochet
- hdc: Half Double Crochet
- dc: Double Crochet
- fpdc: Front Post Double Crochet
- sl st: Slip Stitch
- sc2tog: Single Crochet Decrease (Single Crochet 2 Together)
- hdc2tog: Half Double Crochet Decrease
- dc2tog: Double Crochet Decrease
- st: Stitch(es)
Special Notes
- Customization: Bootie size is influenced by hook size, tension, and yarn thickness. Test your gauge and adjust accordingly.
- Post-Stitch Technique: Front post double crochet (fpdc) creates decorative ridges. Practice tension consistency for seamless design.
- Invisible Stitch Finish: This ensures a polished, professional look without disrupting the stitch pattern.
- Laces: The long chain lace both secures the bootie and adds a playful aesthetic.
Pattern Instructions
1. Sole
Step 1: Foundation Chain
- Begin with a slip knot.
- Chain 10 (adjust slightly if you want to lengthen the sole).

Step 2: Row 1 - First Round of Sole
- Start in the 3rd chain from the hook, work 3 dc into the same chain.
- Work 1 dc into each of the next 6 chains.
- In the last chain, place 6 dc:
- Work 3 dc into the chain, rotate to continue working into the other side of the foundation chain.
- Work 3 more dc into the same chain (6 total).

- Continue along the opposite side of the chain:
- 1 dc into each of the next 6 chains.
- In the first chain space (on the opposite end of the sole), place 3 dc.
- Slip stitch to join in the top of the first dc.
- Stitch Count: 24 stitches total.
Step 3: Row 2 - Shaping the Sole
- Ch 1 and turn.
- Starting in the first stitch, place 2 sc into the same stitch. Repeat this increase for the next 3 stitches.
- Increase: (2 sc in each stitch) x 3.
- Work 1 sc into each of the next 3 stitches.
- Place 2 hdc into each of the next 2 stitches.
- Work 2 hdc into each of the next 8 stitches (forming the toe section).
- Work 1 hdc into each of the next 2 stitches.

- Work 1 sc into each of the next 3 stitches.
- Place 2 sc into each of the next 3 stitches.
- Slip stitch to join in the top of the first sc.
- Stitch Count: 38 stitches.
Step 4: Row 3 - Adding Sole Texture
- Attach a new color (optional).
- Work in the back of each stitch rather than the post:
- Yarn over, insert hook from behind the stitch.
- Pull up a loop and finish your half double crochet as normal.
- Work 1 hdc in each stitch all the way around, inserting in the back loops only.
- Slip stitch to join.
- Stitch Count: 38 stitches.
Tip: Weave in starting ends as soon as possible to maintain neatness while handling the sole.
2. Body
Step 5: Build the Bootie Upper
- Round 1:
- Ch 1, work 1 hdc in each stitch around.
- Slip stitch to join.
- Stitch Count: 38 stitches.

Step 6: Toe Decreases
| Row | Instructions | Stitch Count |
|---|---|---|
| Round 2 | Start with 11 hdc, 2 hdc2tog, then work 4 dc2tog around the toe. Finish with 11 hdc. Slip stitch to join. | 30 |
| Round 3 | Start with 10 sc, work 5 hdc2tog for toe shaping, finish with 10 sc. Slip stitch to join. | 25 |
| Round 4 | Start with 10 sc. Work 1 hdc2tog, 1 hdc, 1 hdc2tog, finish with 10 sc. | 23 |
Step 7: Shaft
| Round | Instructions | Stitch Count |
|---|---|---|
| Round 5 | Ch 2 (counts as dc), work 1 dc in each stitch around. Slip stitch to join. | 23 |
| Round 6–8 | Alternate fpdc and dc around the posts from the round below. Slip stitch to join each round. | 23 |
| Round 9 | Finish with 1 sc in each stitch to stabilize the top edge. Finish with invisible stitch. | 23 |
3. Laces
- Make a long chain: Approximately 15-20 inches (38-51 cm).
- Cut yarn and pull through to secure.

- Weave the chain through the post stitches at the shaft of the bootie to create a lace-up closure.
Conclusion
Congratulations on completing your adorable crochet booties! These versatile booties are suitable for various infant sizes and make wonderful gifts. The front post pattern adds a professional and textured design, while the laces ensure a secure fit.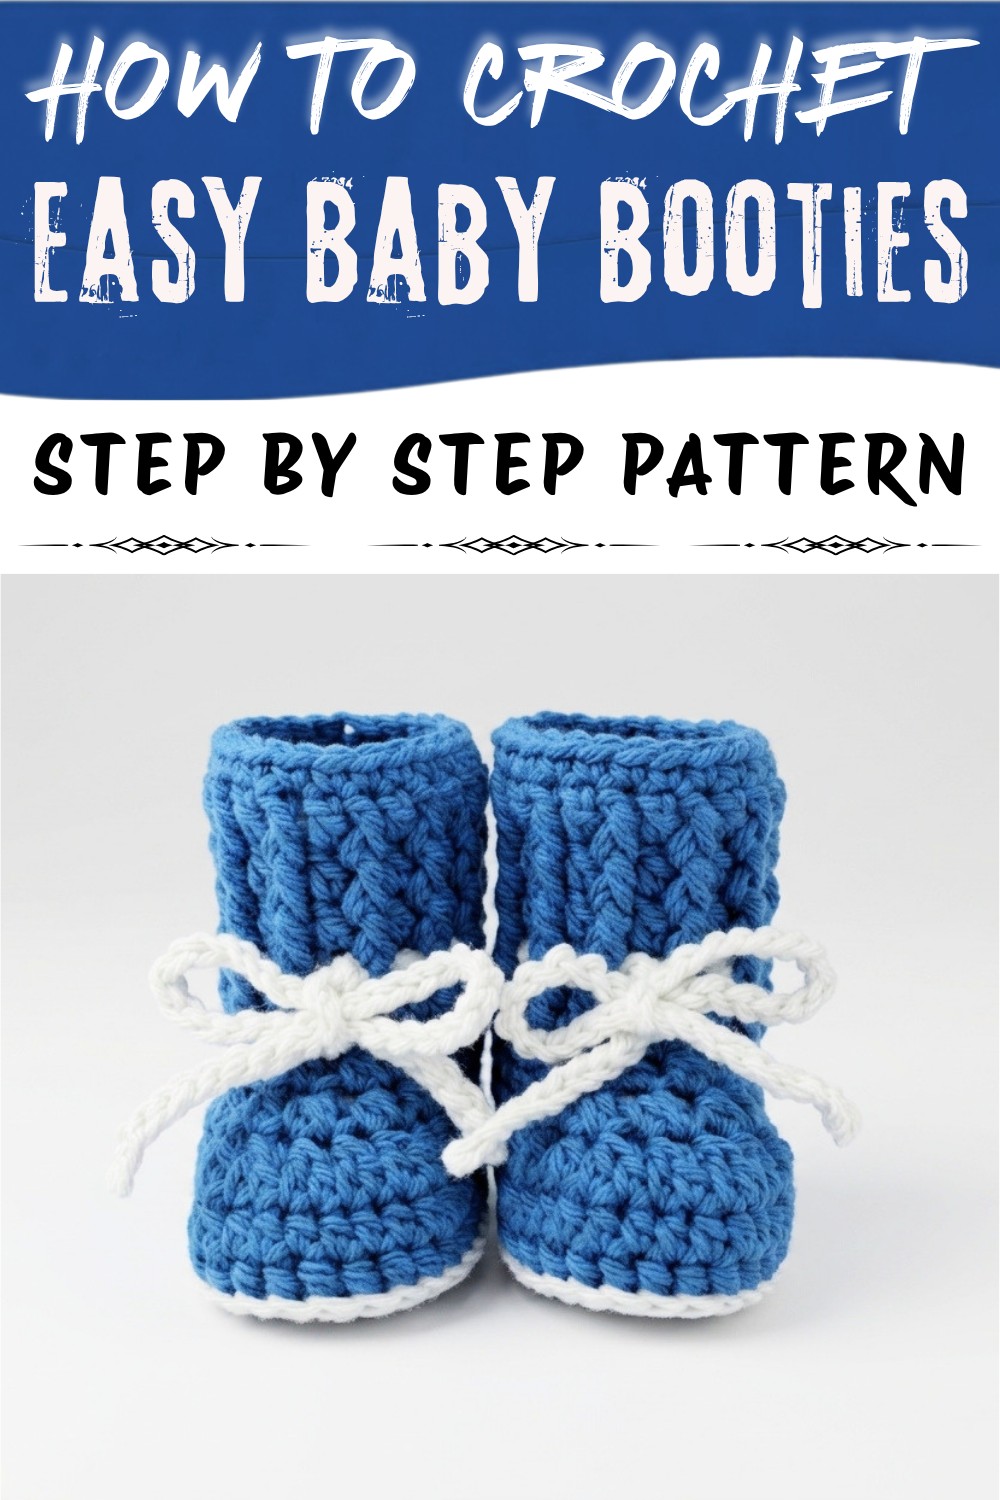
Pattern Corrections
- Ensure slip stitches are worked in the correct stitch-not in the chain spaces-to prevent distortion.
- Adjust hook size or tension if you experience gaps during the sole foundation rounds.
Tips
- Sizing: If making larger booties, add more rows to extend the shaft or widen the sole by increasing sc/decrease rows before toe shaping.
- Color Changes: To reduce bulk, pull new color yarn gently and secure ends immediately with a darning needle.
- Comfort: Test and adjust the sizing against baby foot measurements for a perfect fit.
Care Instructions
- Hand wash or use a delicate machine cycle for acrylic yarns.
- Lay flat to dry to prevent stretching.