
Snuggle into a handmade look using this free crochet pom pom beanie pattern to make a beautiful and soft winter cap that fits your head style perfectly.
Say Hello to Winter Fun with This Free Pom Pom Crochet Beanie. Perfect for beginners and experts alike, this free pattern lets you crochet your very own warm and soft beanie that's ideal for chilly days. The trendy design features beautiful textured stitches that make it look uniquely handmade and extra special. A warm head in winter is important and wearing a soft hat does a great job. With a crochet pom pom beanie pattern everyone can make hats that look fun and feel comfortable.
Gift Handmade Warmth with This Free Crochet Pom Pom Beanie Pattern
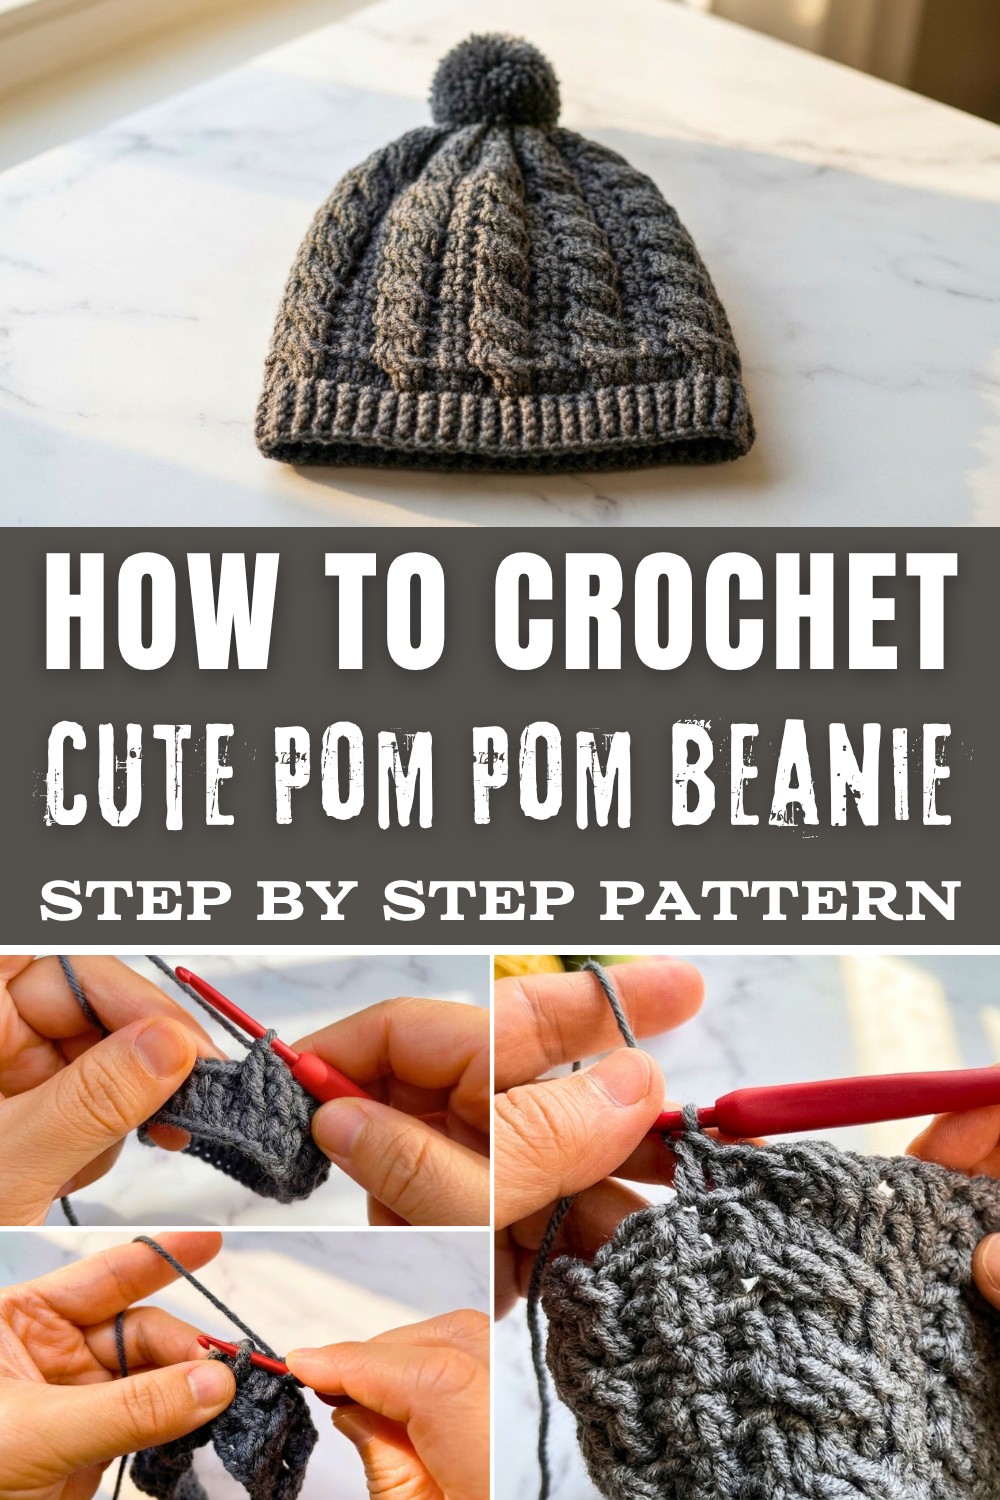
The snug ribbed brim adds comfort and ensures the hat fits perfectly, so you can stay cozy all day without worrying about it slipping off. And the best part? The playful pom pom at the top turns this simple beanie into a cheerful and eye catching winter accessory. Adding a pom pom on top gives extra style and brings smiles to people of all ages. These hats are easy to fit for babies adults or anyone in between so families can have matching ones if they want. They help protect from cold wind and keep hair tidy without any fuss.
Customize the colors and size to match your personality, and make something truly unique. Whether you're wearing it, gifting it, or simply enjoying the process, this pom pom beanie is the ultimate winter fun. The steps are simple and follow along one by one making it easy for beginners to learn. These beanies can be made in any color to match coats or show personal taste. Cleaning and reusing them is simple because they are made from yarn that is strong and lasts long. Using a crochet pom pom beanie pattern saves money and gives a chance to make something special for yourself or as a lovely gift for others.
Crochet Pom Pom Beanie Pattern
Finished Size
- Circumference: Approximately 21 to 22 inches (adjustable by increasing or decreasing the foundation chain).
- Height: Approximately 8 inches (including the brim).
- Pom pom Diameter: 5.5 cm.
Gauge
- Main Body: 10 double crochet stitches and 6 rows = 4 x 4 inches using a 3.5 mm crochet hook.
- Brim: 9 front post/back post double crochet stitches and 6 rows = 4 x 4 inches using a 3.0 mm crochet hook.
Materials Needed
- Yarn: Medium weight yarn in Dark Grey color(DK or light worsted yarn recommended; wool or acrylic blend works best).
- Crochet Hooks:
- 3.5 mm for the main body.
- 3.0 mm for the brim.
- Pom Pom Maker: Diameter of 5.5 cm (or make manually).
- Tapestry Needle: For weaving in ends and sewing the top closed.
- Scissors
Pattern Notes
- Skill Level: Beginner to intermediate.
- Stitch Counts: Adjust the foundation chain in multiples of 10 to create a larger or smaller beanie.
- Customization Options:
- Use different colors for striping effects.
- Substitute the pom pom with a fur pom pom if desired.
- Create a slouchier look by increasing the height.
Abbreviations
- CH: Chain
- DC: Double Crochet
- FPDC: Front Post Double Crochet
- BPDC: Back Post Double Crochet
- TR: Treble Crochet
- SL ST: Slip Stitch
- YO: Yarn Over
Pattern Instructions
Step 1: Crochet the Main Body
- Foundation Chain:
- Using a 3.5 mm hook, make a slip knot.
- CH 100 (or multiples of 10 for customization). Ensure the chain is not twisted.
- Join the chain into a ring with a SL ST in the first chain stitch.
Begin by making a slip knot and then chain 100 stitches for the foundation, with stitch count kept as a multiple of 10. Form a ring by placing a slip stitch at the first chain, ensuring it is not twisted. In the first round, chain three to count as a double crochet and work one double crochet into the second chain.
- Round 1:
- CH 3 (counts as 1 DC).
- DC into the second chain stitch. Continue making 1 DC in each remaining chain stitch around.
- You should have 100 DC at the end of this round.
- Join with SL ST in the top of the beginning chain.

Continue with one double crochet in each chain until there are 100 double crochets completed. To close the round, use a slip stitch in the third chain of the beginning, then chain three again for the next round. Make a back post double crochet in the second stitch. Next, work a group of three front post treble crochets by crossing to the right over three skipped stitches and then return to make front post treble crochets in those skipped stitches.
- Round 2:
- CH 3 (counts as 1 DC).
- Make BPDC in the second stitch.
- Skip 3 stitches, and make a group of 3 front post TR (crossing over the skipped stitches).
- Return to the 3 skipped stitches and make 1 front post TR in each skipped stitch.
- Make BPDC into the next stitch. Then make 1 DC in the next stitch.
- This completes one pattern. Repeat the pattern 9 more times around.
- Join with SL ST to finish the round.
- Round 3:
- Repeat Round 2 while substituting the TR stitches with FPDC stitches for texture.
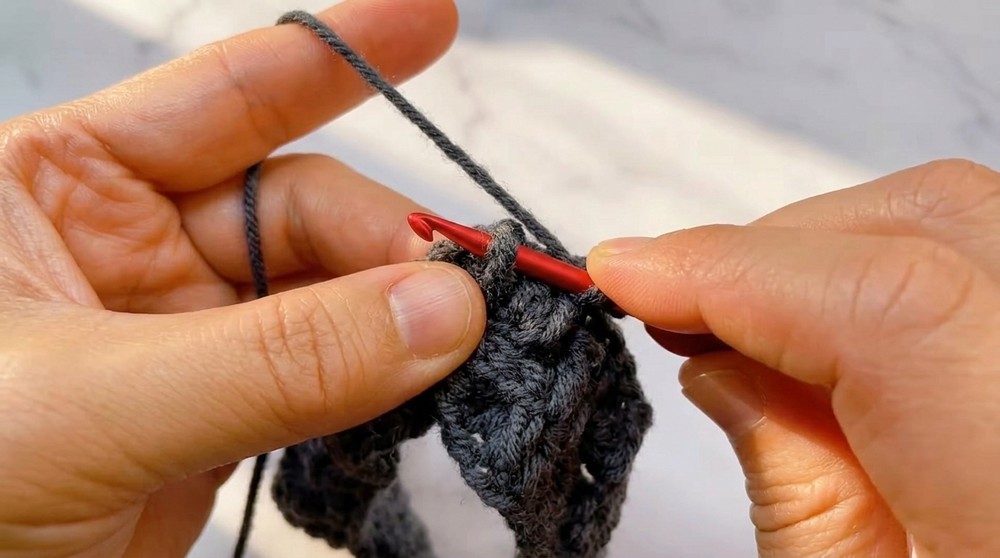
- Repeat Round 2 while substituting the TR stitches with FPDC stitches for texture.
Repeat the pattern with back post and front post double crochets, making sure the groups are aligned and that each set of stitches is done as described. Repeat this ten times in each round.
- Rounds 4 to12:
- Alternate instructions from Round 2 and Round 3.
Step 2: Shape and Decrease (Rounds 13 to 18)
- Round 13:
- Begin decreasing by combining stitches. Use unfinished DC and join two stitches together to create one decrease. Follow the pattern established, decreasing evenly across the round.
- Rounds 14 to 17:
- Continue decreasing while maintaining the alternating post stitches.
- Ensure the top becomes smaller and tighter with each round.

Continue working rounds two and three as established, forming one pattern repeat, until reaching round twelve, following the same instructions. Begin round thirteen with chain two and work unfinished double crochets together as a decrease, followed by front post double crochets in the next six stitches. Repeat this pattern ten times for the round.
- Round 18:
- Final round. Make evenly spaced decreases using unfinished half double crochet (HDC) stitches.
- Cut the yarn, leaving a long tail. Use the tapestry needle to sew the opening closed, ensuring the top is neat and secure.
Step 3: Crochet the Beanie Brim
- Attach Yarn to Foundation Chain:
- Switch to a 3.0 mm hook. Begin working along the foundation chain.

- Switch to a 3.0 mm hook. Begin working along the foundation chain.
For round fourteen, chain two and make decreases by joining unfinished double crochets together, then fill with double crochets and front post treble crochets for the skipped stitches, repeating the process around. Continue with further rounds incorporating decreases and established patterns, reducing the stitch count as you progress toward shaping the top.
- Round 1:
- CH 3 (counts as 1 DC). Make 1 DC in each remaining foundation chain stitch (99 DC total).
- Join with SL ST to finish the round.
- Round 2:
- CH 2 (counts as 1 BPDC). Make BPDC in the first stitch and FPDC in the second stitch. Alternate these stitches to create a ribbed brim texture.
- Repeat this pattern around.
- Rounds 3 to 4:
- Repeat instructions from Round 2 to make the brim thicker.
- Finishing:
- Cut the yarn and weave in the ends using the tapestry needle.
Step 4: Make and Attach the Pom Pom
- Use a pom pom maker or create the pom pom manually (wrap yarn around your fingers or cardboard, tie tightly in the center, and trim).
- Attach the pom pom securely to the center of the beanie top.
Cut the yarn, sew the hat opening closed, and weave in the ends to finish the body. For the brim, use a smaller hook, work double crochets into the foundation chain, and complete a few rounds of front and back post double crochets for texture. Finish by making a pom pom and attaching it neatly to the top of the hat.
Tips for Customization
- Add Color: Use different shades or variegated yarn to add a playful look.
- Vary the Brim: Create a wider brim by continuing more rounds.
Conclusion
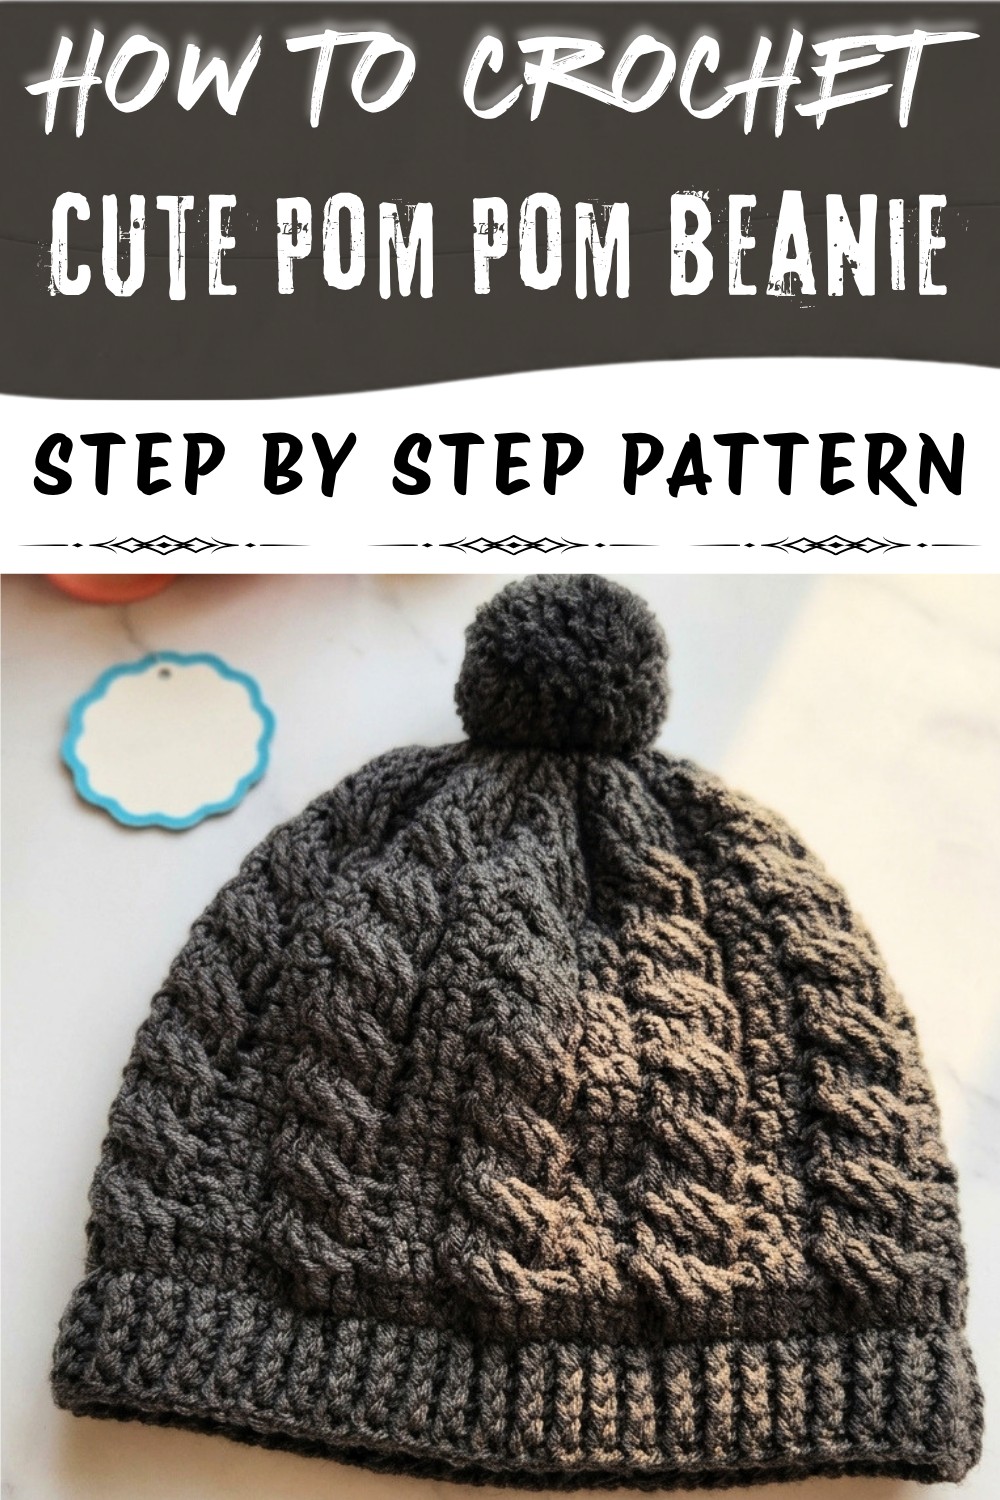
Your hand-crocheted wool pom-pom winter beanie is now complete. This cozy, textured hat will keep you warm in chilly weather while showcasing your crochet skills. With its ribbed brim and adorable pom-pom detail, this project offers both utility and style for the colder months.
Final Remarks
- Ensure the stitches are even for a polished look.
- Block your beanie if necessary to give it a finished shape.
- Don't hesitate to experiment with different yarn textures and colors to make the project your own.