
Fix cold-weather styling fast with the Free Crochet Ribbed Hat Pattern for fashionable ribbing and customizable comfort in every stitch.
As the days grew colder, I realized my family needed something warm yet simple to wear for those brisk outdoor walks. That's when the Crochet Ribbed Hat became my go-to project-a wonderfully cozy and stylish hat that's easy to follow and loved by everyone. This hat pattern features a beautiful ribbed texture created with half double crochet in the back loop, offering both elegance and practicality. Whether you're looking to make a snug winter hat or a trendy slouchy design, this pattern is easy to adjust to fit your style. Add a playful pom-pom at the top or keep it simple; either way, this hat is a must-have for chilly days.
Why This Pattern is Perfect for You
- Simple enough for beginners, with professional-looking results.
- Flexible and easy to customize for any head size.
- A quick project, ideal for gifting or donating.
- Stylish, stretchy, and versatile for all ages!
Free Warm Crochet Ribbed Hat Pattern for the Entire Family
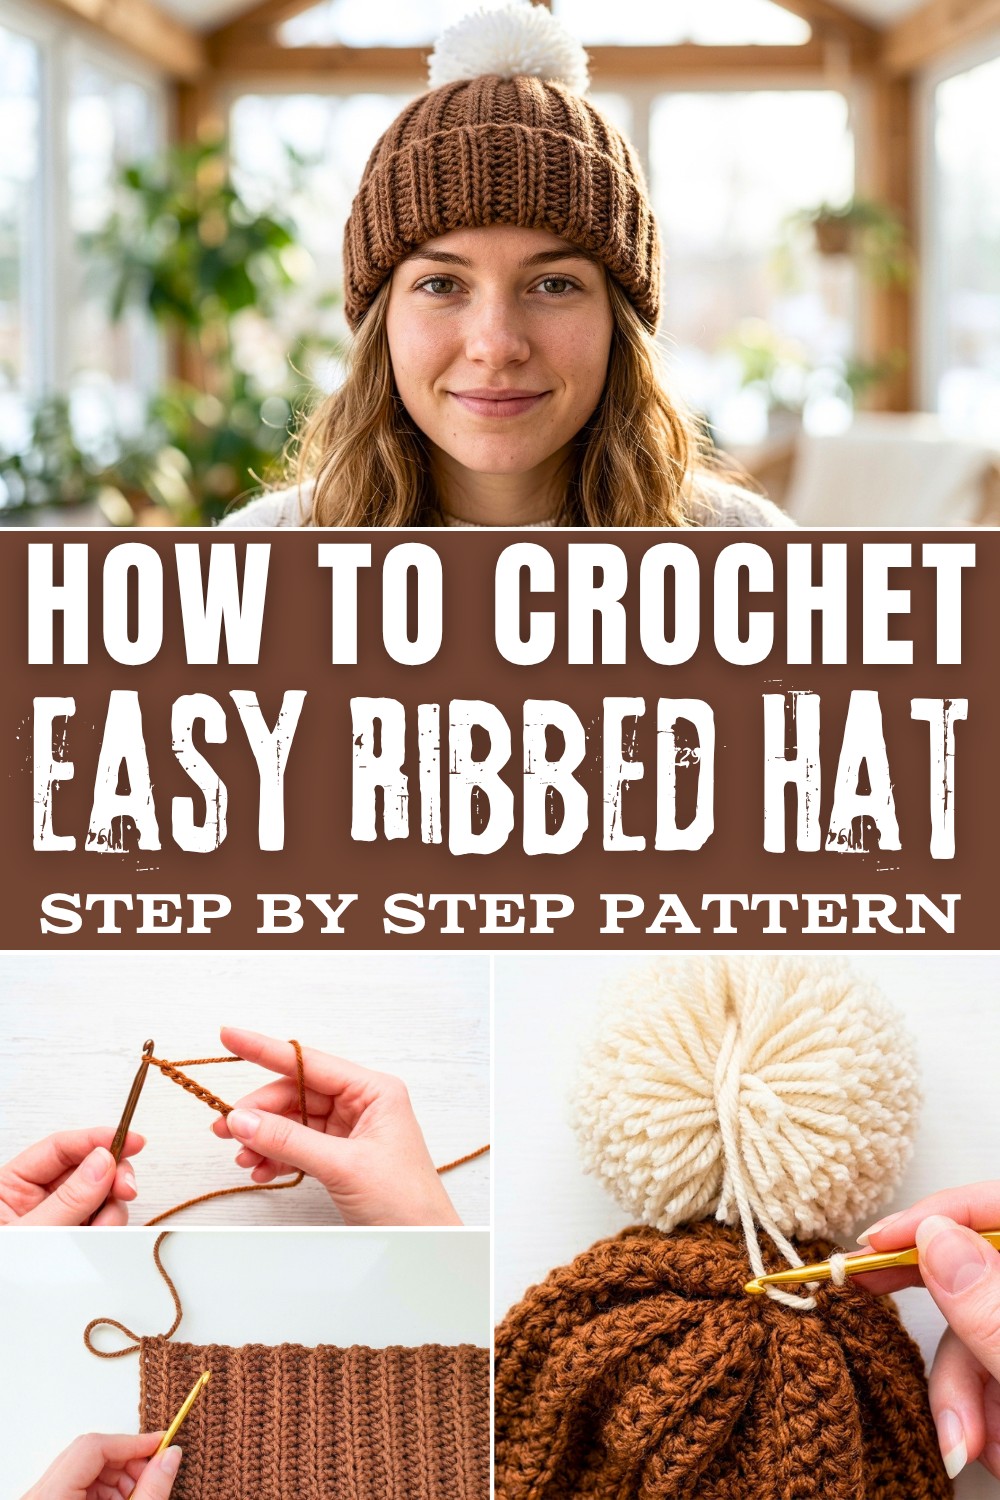
The pattern uses medium-weight yarn (#4) and a 5mm crochet hook, making it perfect for beginners or anyone who wants a quick project. With its stretchy ribbed look, the pattern fits snugly around the head while staying comfortable for extended wear. You can create it in classic solid colors or experiment with vibrant hues to give it a personal touch. This is the ideal accessory for everyday wear, gifting to family and friends, or even donating to those in need during the colder season.
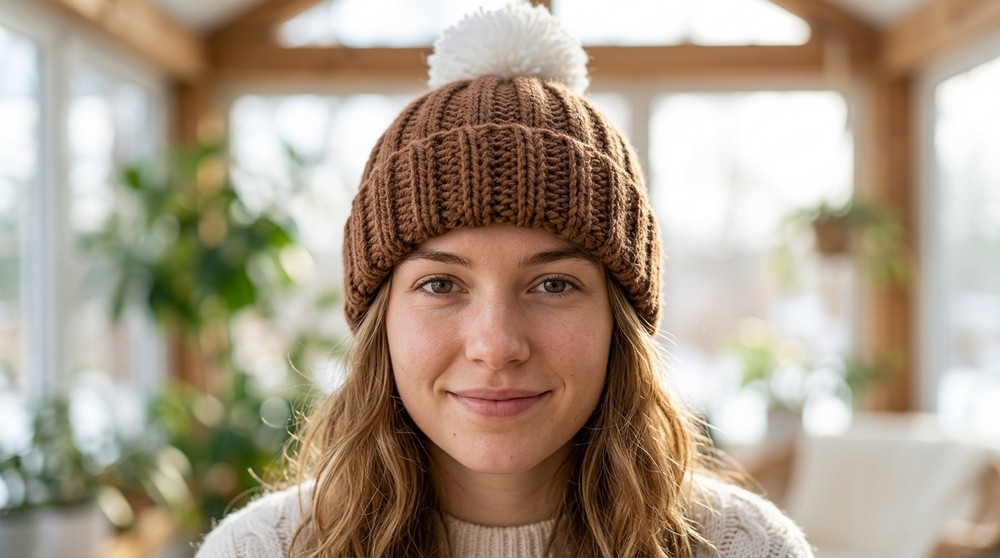
Additional Projects You Can Make From This Pattern
- Cozy Cowls or Scarves: Great for matching winter sets.
- Ribbed Ear Warmers: Quick and functional for cold days.
- Textured Wrist Warmers: A snug complement to the hat.
- Baby Beanies: Make adorable-sized hats for little ones.
- Striped Designs: Experiment with colors to make playful variations.
Skills You'll Master With This Pattern
- Learn the half double crochet back loop stitch for a beautiful ribbed texture.
- Seam edges effortlessly using slip stitches for a clean, polished result.
- Understand how to measure and adjust for perfect sizes.
- Finish with a stylish pom-pom attachment or leave it plain for an understated look.
Step-by-Step Crochet Pattern: Ribbed Hat
Skill Level
Beginner to Intermediate: Involves basic stitches such as half double crochet, slip stitches, and sewing for closure.
Finished Size
- Fits most adult head sizes.
- Adjustable circumference: Approximately 17-20 inches (44-50 cm).
- Adjustable height: Chain 30-36 cm (12-14 inches) for a regular hat or longer for a slouchy effect.
Materials
- Yarn:
- Medium-weight (#4) yarn (100% acrylic recommended).
- Suggested brands: Red Heart, Bernat Premium, or Crochet Smart Yarn in brown color.
- Hook Size:
- 5.0 mm Crochet Hook
- Additional Supplies:
- Scissors
- Darning Needle: For weaving in ends and joining.
- Optional: Pom-pom maker or cardboard for a pom-pom.
Key Abbreviations (US Terminology)
| Abbreviation | Description |
|---|---|
| ch | Chain |
| hdc | Half Double Crochet |
| sl st | Slip Stitch |
| BLO | Back Loop Only |
Special Notes
- Customizable Height: Adjust the number of chains in your foundation chain to modify the height of the hat.
- Tension Consistency: Maintain an even tension to ensure the ribbed texture is uniform.
- Pom-pom: Adding a pom-pom is optional; the hat works beautifully without one.
Pattern Instructions: Crochet Ribbed Hat
Step 1: Start with the Foundation Chain
Foundation Chain:
- Begin with a slip knot.
- Chain 12-14 inches (30-36 cm):
- For regular fits, chain 12 inches (30 cm).
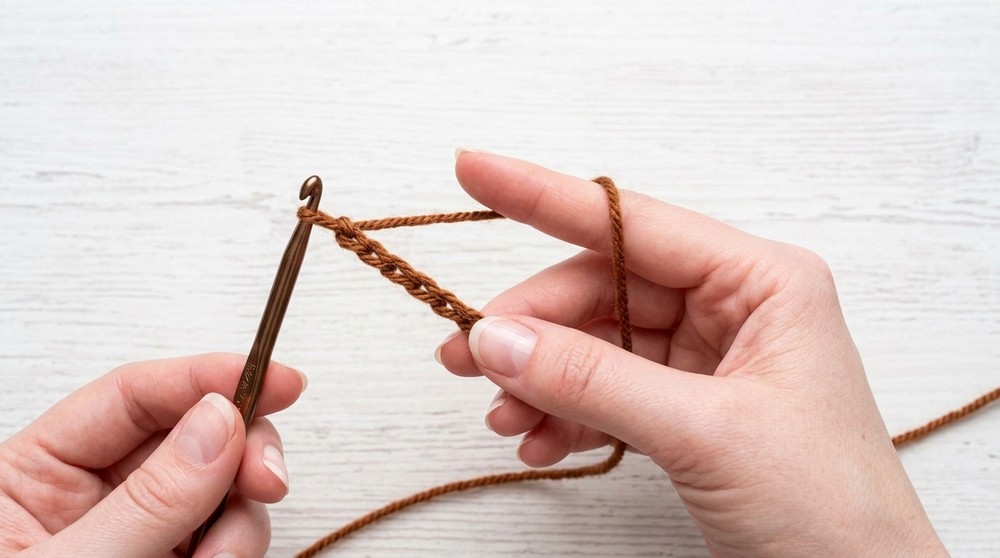
- For a slouchy hat, chain 14 inches (36 cm) or longer.
- For regular fits, chain 12 inches (30 cm).
Step 2: Work Half Double Crochet Rows
Row 1:
- Start in the 3rd chain from the hook:
- Yarn over, insert hook into the 3rd chain, pull up a loop.
- Yarn over and pull through all three loops on the hook (hdc).
- Repeat hdc into each chain across.
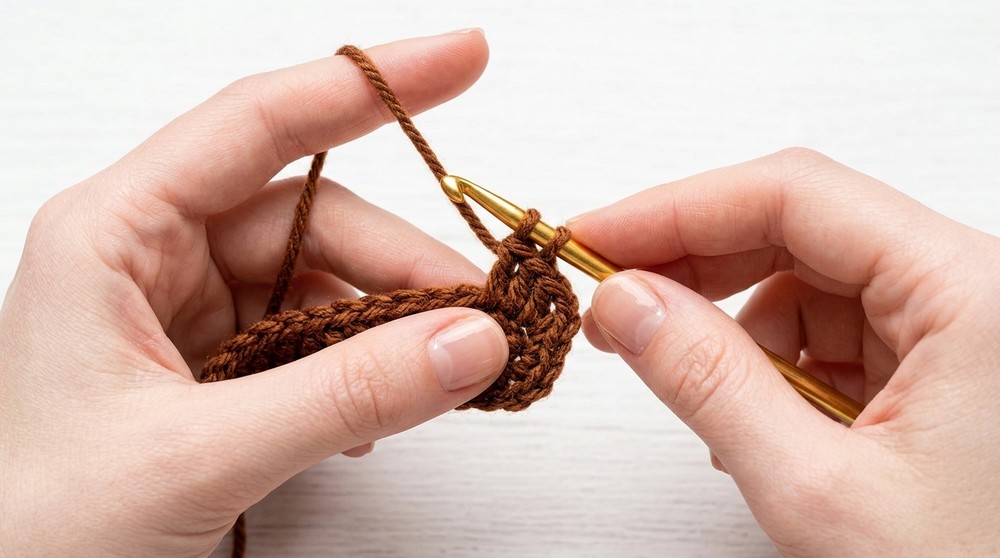
Row 2 (Start Ribbed Pattern):
- Chain 1 and turn.
- First Stitch:
- Yarn over and work hdc into the back loop only (BLO) of the first stitch.
- Continue working hdc in BLO across the row.
- Ensure you do not miss the last stitch, which may be tucked behind.
Repeat Row 2:
- Continue working hdc in BLO rows for the entire piece.
- For a snug fit, keep the width between 17-20 inches (44-50 cm) or until the strip fits comfortably around the head.
- Always end with an even number of rows.
Step 3: Seam the Rectangle into a Tube
Slip Stitch Seam:
- Fold the rectangle in half, aligning the edges.
- Insert your hook into the last hdc on one side and the corresponding chain space on the other.
- Slip Stitch:
- Pull through both layers and through the loop on your hook.
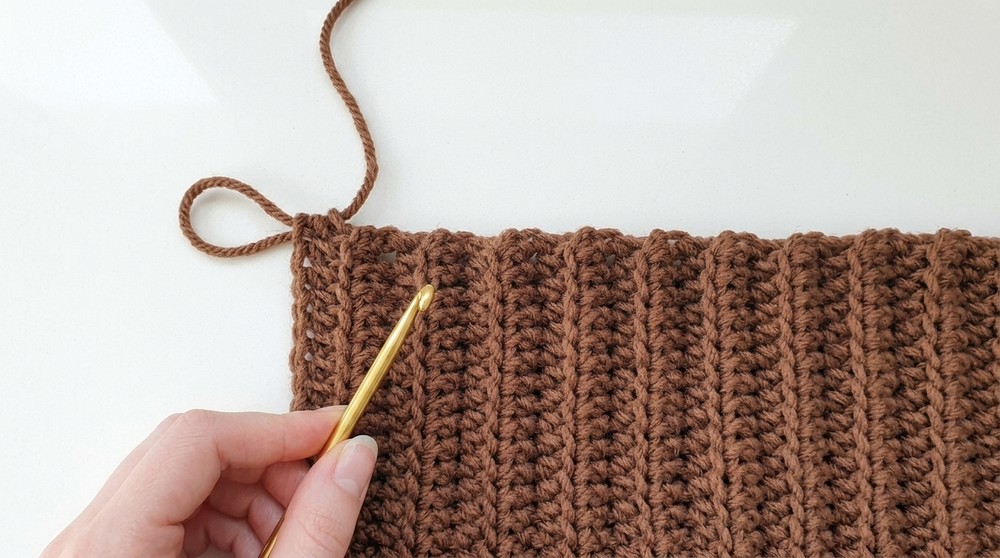
- Repeat this process across the edge.
- Pull through both layers and through the loop on your hook.
- Ensure no stitches are skipped for a seamless join.
Step 4: Gather the Top of the Hat
Close the Crown:
- Leave a 20-inch (50 cm) tail when cutting the yarn.
- Using a darning needle, weave in and out of the top edge of the hat.
- Ensure to catch each row for an even closure.
- When finished weaving, pull snugly to gather the edges into a closed circle.
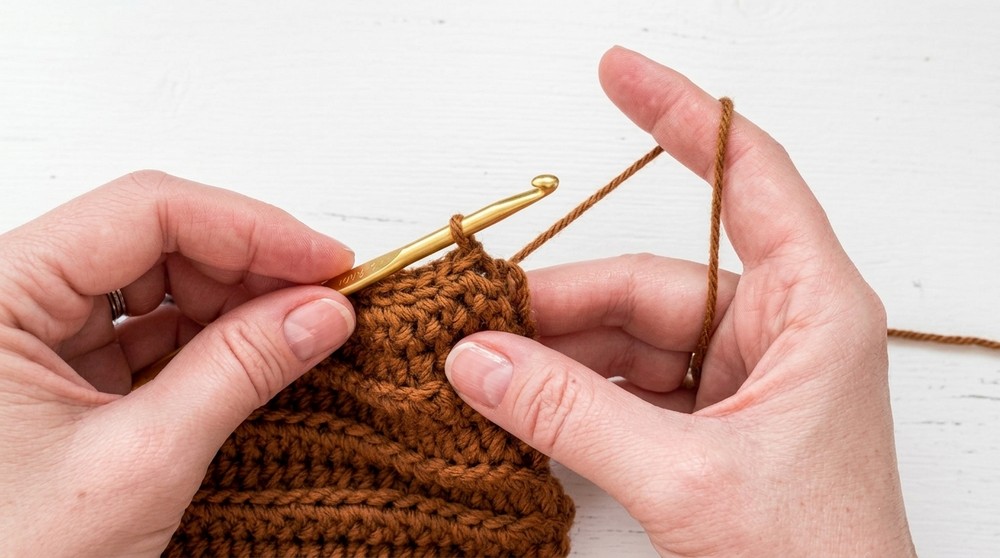
- Tie the yarn to the beginning tail and secure with stitches to close the gap completely.
Step 5: Optional Pom-Pom
Attach Pom-Pom:
- Prepare the Pom-Pom:
- Use either a pom-pom maker or create one using cardboard. Choose your preferred method.
- Secure the Pom-Pom:
- Insert your crochet hook into the crown center, pulling each of the pom-pom ties through opposite sides of the center.
- On the inside of the hat, tie the pom-pom ties securely.
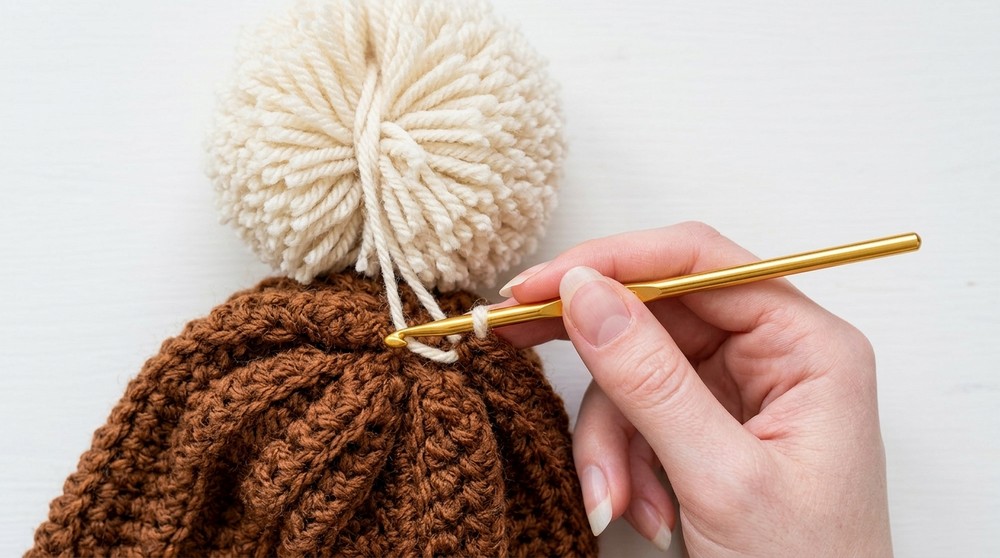
- Weave in and trim any excess yarn.
Finishing Touches
- Check: Ensure all ends are securely woven in.
- Turn the Hat Right Side-Out: The ribbed texture should appear neat, and the seam will be discreet on the inside.
- Styling: Add embellishments, stitch designs, or use colorful yarn to personalize.
Conclusion
Congratulations! You've completed your Crochet Ribbed Hat. This timeless design offers flexibility in style-it can be worn snugly or as a slouchy fashion statement. Customizable for all ages, it's a quick and rewarding project for gifting or personal use.
Pattern Corrections (If Needed)
- Ensure proper stitch count on each row for shape uniformity.
- If the seam appears uneven, ensure stitches are aligned when slip stitching.
Tips for Success
- Uniform Stitch Count: Avoid missing stitches on the edges to keep the ribbed design consistent.
- Adjust the Height: Add or reduce the foundation chain length for shorter or taller hats.
- Use Soft Acrylic Yarn: Softer yarn ensures a comfortable fit, especially for children.
Overcoming Challenges in the Pattern
For beginners, the trickiest part might be finding the last stitch in each row or ensuring a smooth seam during slip stitching. If your edges look uneven or the stitch count doesn't align, don't worry! Double-check each row to make sure you're crocheting into the correct back loops and always look for the tucked stitch at the edge. The solution is to Count your stitches each row to maintain consistency with your hard work will pay off with a beautifully balanced texture.