
Spruce up your everyday essentials with a trendy crochet cherry keychain pattern that's bursting with personality and effortless style.
Who knew something as small as a cherry could bring so much joy and creativity to your crochet projects? This free crochet cherry keychain pattern is an absolute treat, combining cuteness and practicality in one tiny, colorful pattern. With its cheerful blush details, adorable embroidered face, and vibrant stems, this keychain is perfect for your keys, bags, or as a handmade gift for someone special. The beauty of this pattern lies in how easy it is to make, using basic stitches like single crochet, slip stitches, and simple increases to create the cherries, stem, and leaves. These versatile stitches are not only beginner-friendly but also make it possible to branch out into other fun projects like amigurumi or small ornaments.
Free Crochet Cherry Keychain Pattern That Stand Out
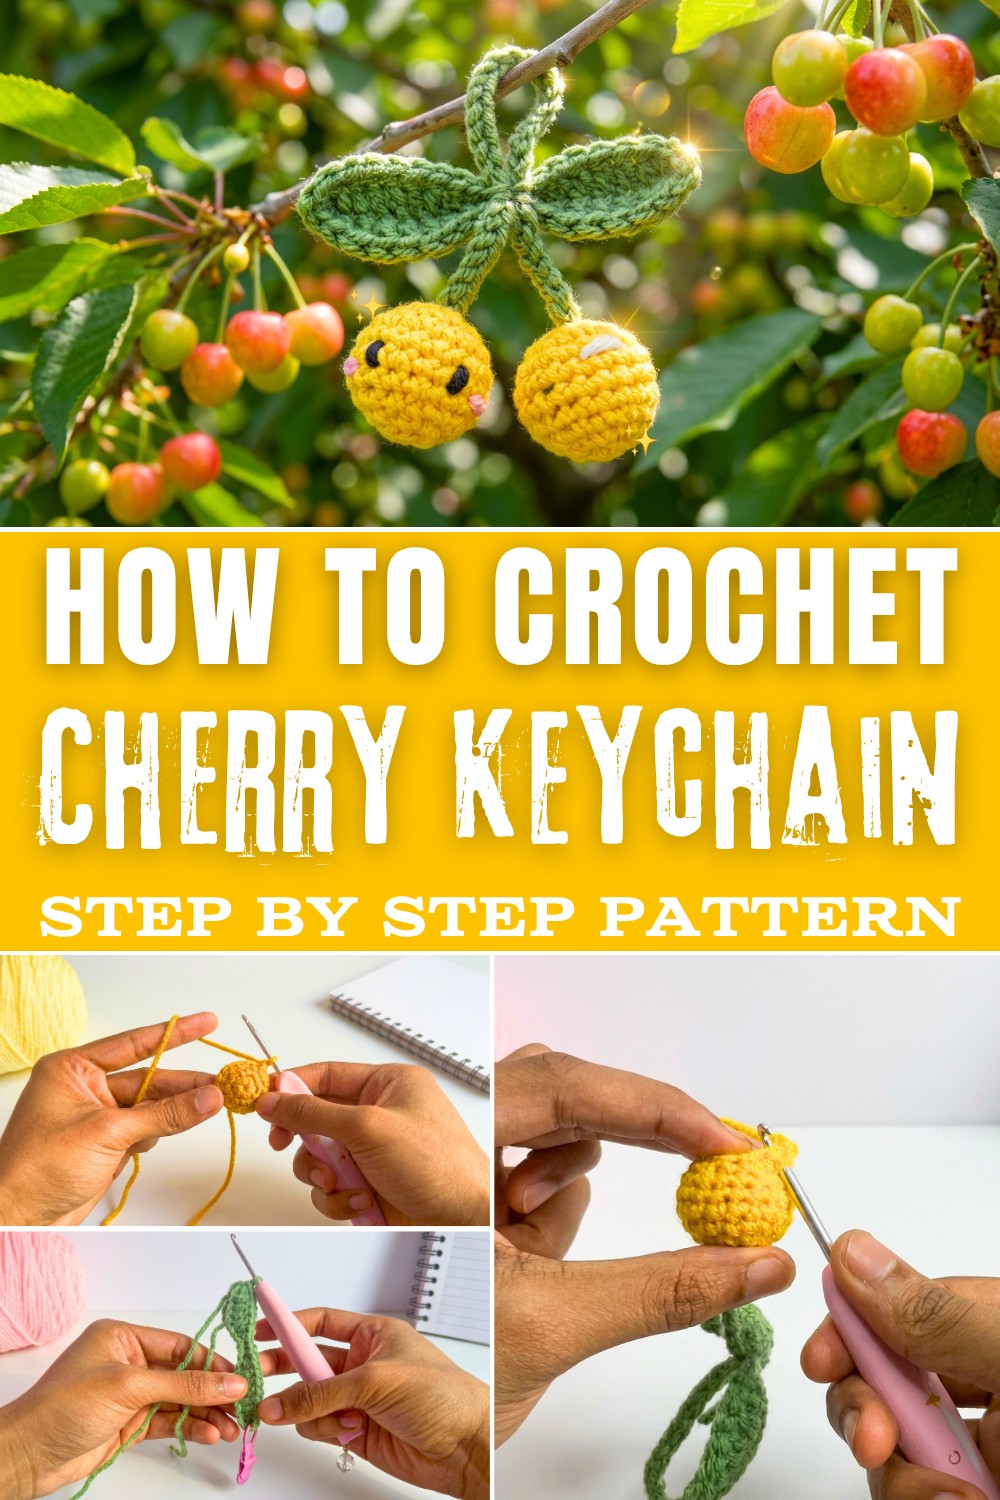
Each cherry is crocheted as a rounded shape, stuffed for a full, plump finish, and brought to life with simple details like embroidery and color accents. The addition of a handy loop on the stem makes this little creation functional as well as decorative. You'll find it so satisfying to watch it all come together, piece by piece. Whether you're adding this to your own collection or gifting it to a fellow crochet fan, this project is bound to make someone smile.
Through this pattern, you'll learn how to shape small, rounded pieces, work seamless attachments, and add charming details with embroidery. These skills are a gateway to endless creativity, empowering you to crochet more whimsical and functional items.
What You Can Make With These Skills
- Fun fruit-themed keychains or charms
- Mini amigurumi toys with personality
- Eye-catching ornaments for home décor
- Personalized, handmade gifts for loved ones
Start crocheting, and let the charm of these cherries inspire your next project.

Crochet Cherry Keychain Pattern
This guide is a step-by-step pattern designed to help crocheters, including beginners, create a charming cherry keychain. Featuring playful blush details, embroidered eyes, and highlights, this pattern uses simple stitches that make the process easy while offering creative touches for a professional finish.
Crocheting this adorable cherry keychain combines simplicity with fun details, perfect for adding flair to your accessories or gifting it to loved ones. In this pattern, you'll work with key stitches such as single crochet, slip stitch, double crochet, half double crochet, and increases. You'll also crochet rounded shapes, assemble pieces, and add decorative embroidery for personal touches. Whether you're new to crochet or looking for a quick project, this charming pattern is ideal for all skill levels!
Finished Size
- Each cherry: ~1.25" (3.5 cm) diameter
- Total length (including stem/leaves): ~5-6" (13-15 cm)
- Gauge: Not crucial, but ~8 sc across = 1", using recommended hook and yarn
Materials
- Yarn:
- #3 (light/DK) or #4 (worsted) weight yarn in Yellow (cherries), Green (leaves/stem)
- Small scraps of White (highlight), Pink (blush), and Black (eyes/face)
- Hook: 3 mm crochet hook
- Stuffing: Polyester fiberfill
- Yarn needle: For sewing and embroidery
- Stitch marker: Optional but recommended
- Scissors
- Keychain ring: Optional, for turning into a keychain
Abbreviations (US Terms)
| Abbreviation | Meaning |
|---|---|
| ch | chain |
| sc | single crochet |
| hdc | half double crochet |
| dc | double crochet |
| sl st | slip stitch |
| inc | increase (2 sc in same st) |
| dec | decrease (sc2tog) |
| st(s) | stitch(es) |
| FLO | front loop only |
Special Techniques
- Magic Ring: For the cherry center, here worked as ch-4 joined with sl st to form a ring.
- Invisible Decrease: For neater shaping, work decreases in front loops only.
- Working in the round: Place a stitch marker in the first stitch of each round to keep track.
Pattern
LEAVES
In green:
- Ch 19.
- Row 1:
Skip first ch, work in 2nd ch from hook:- sc, hdc, dc in next 4 ch, hdc, sc.
- sl st in next 2 ch.

- sc, hdc, dc in next 4 ch, hdc, sc (completes first side).
- Row 2 (continue on other side of foundation ch):
In same ch where your last sc was made at the end of Row 1:- sc, hdc, dc in next 4, hdc, sc,
- sl st in next 2,
- sc, hdc, dc in next 4, hdc, sc, sl st to join.
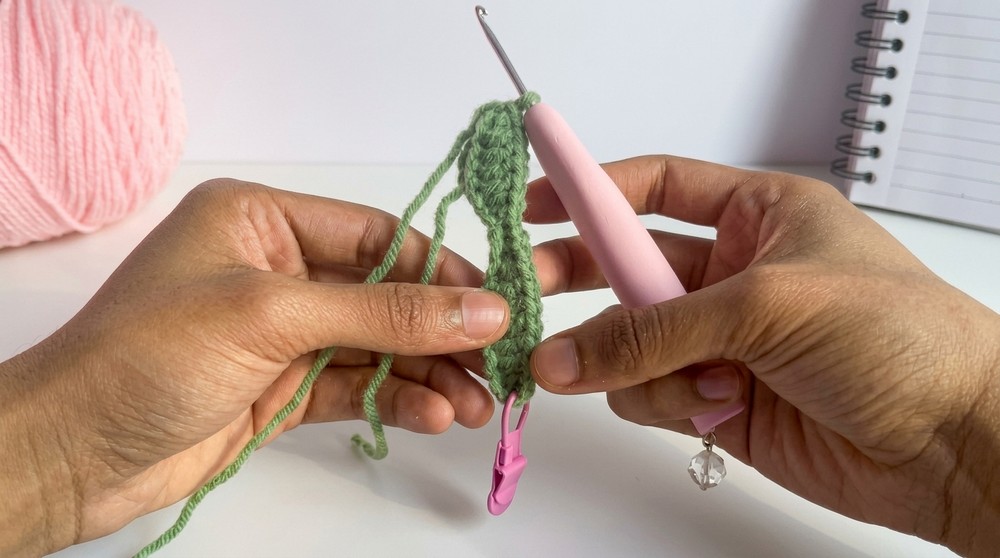
- Fasten off, leaving tails for joining.
- Weave in ends neatly on the wrong side.
STEM/HANGER
In green:
- Ch 35 (or longer/shorter as desired).
- Fasten off, leaving a tail for attaching.
- Attach stem to center of leaf:
Use the yarn tail and yarn needle to stitch the stem securely through the slip stitches at the "V" center of the leaves.
Make sure the stem is lying flat and centered.
Knot and weave in any ends.
CHERRY (Make 2, in yellow):
Each cherry is worked in the round:
- Magic ring (or ch 4, sl st to form ring).
- Round 1: Working into the ring, 6 sc. (6)
- Round 2: Inc in each st around (2 sc in each st) (12)
- Round 3: (sc, inc) around (18)
- Rounds 4-6: sc in each st around (18 per round)

- Round 7: (sc, dec) around (12)
- Use invisible decrease (FLO) for best result.
- Stop here to attach to stem (see "Assembly" below).
- Stuff the cherry with fiberfill.
- Round 8: dec around (FLO, 6)
- Fasten off leaving a tail.
Use yarn needle to weave through remaining front loops and draw tight to close.
ASSEMBLY
- Attach Cherries to Stem:
- Use the starting tail of each cherry and a yarn needle.
- Thread the tail through the top of the cherry and around the base/end of the stem, pulling through cherry by 1-2 chains.
- Knot to secure on the inside.
- Tuck in ends.
- Stuff cherries fully after securing one side, before closing up the last round.
EMBELLISHMENTS (Face & Details)
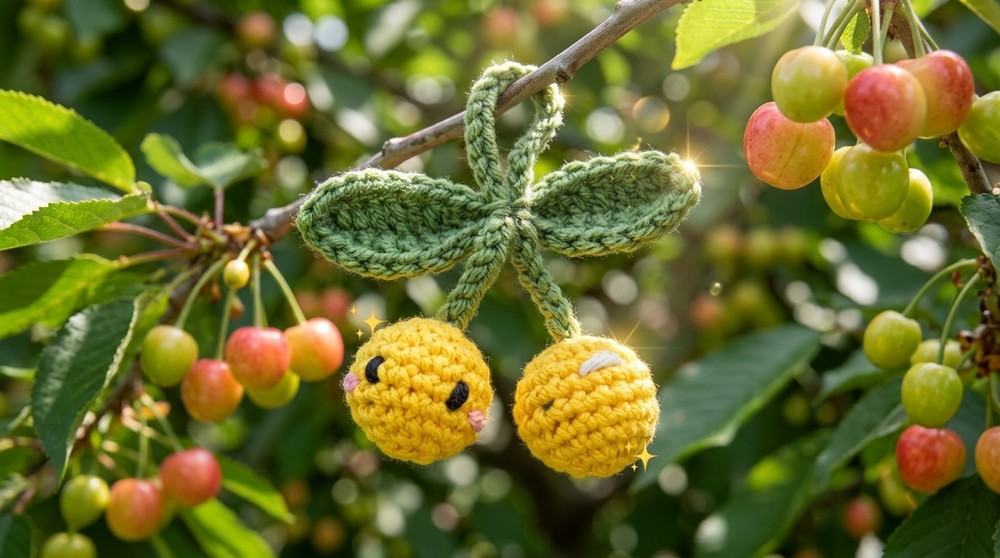
- Eyes: With black yarn or embroidery thread, stitch two simple lines or small "V" shapes at the fifth round from the bottom (center front).
- Blush: With pink yarn, stitch just below or beside each eye.
- Highlight: With white yarn, stitch a small "dash" between rounds 3 and 4 on the other cherry for a shiny look.
- After each, knot at bottom and tuck ends inside cherry.
Customization Ideas
- Add a small bow at the stem or a smiley face to the cherry.
- Use other shades of red/pink for a duo-tone cherries.
- Embroider tiny hearts or letters for personalization.
- Attach a jingle bell or bead at the leaves for sound.
Tips
- Keep stitches tight for a neat and plump appearance.
- Mark your rounds using a stitch marker for accuracy.
- Stuff cherries generously for a round, squishy look.
- Check symmetry when attaching the leaves/stem and face details.
Special Techniques Recap
- Invisible join on the cherries for seamless closure.
- Weaving in ends: Hide all tails inside for a professional finish.
Conclusion & Finished Look
You now have a bright, adorable cherry hanger! With plump, soft cherries, realistic leaves, and a long stem, it's perfect as a bag charm, keychain, or fun decor. Your completed work should be cute, puffy, and full of personality-with custom touches added if you like.
Possible Challenges & Easy Fixes
This pattern is beginner-friendly, but you might run into a few bumps along the way. Don't worry-here are common difficulties and simple solutions to help you as you crochet:
- Keeping the Tension Even:
Sometimes your stitches might feel too tight or too loose. If the yarn feels hard to pull through, loosen your grip on the yarn slightly. If the loops seem loose or floppy, tighten it a bit until the yarn slides smoothly along the hook. Practicing a few stitches before starting your project can help you find the right tension. - Working in Rounds for the Cherries:
Crocheting in a circle, especially with a magic ring, can be tricky if you're new to it. Use a stitch marker (or even a paperclip) to mark the first stitch of each round so you don't lose track. If the magic ring feels too hard, you can chain 4, join with a slip stitch to create a small loop, and crochet into that loop instead. - Attaching Pieces and Adding Details:
Sewing the cherries to the stem or embroidering the face might feel a bit overwhelming. Take it one step at a time! Position the pieces where you want them first and take your time stitching them together. For adding blush, eyes, or highlights, use pins or soft chalk to mark placements before you embroider.
By slowing down and tackling one challenge at a time, you'll find the process easier and much more enjoyable. Mistakes are part of the fun-just adjust, and keep going!