
Keep it fun and simple with an easy crochet teddy bear keychain pattern that adds a cute and playful touch to your keys, bags, or gift ideas.
I still remember the first time I made a crochet teddy bear keychain-it was such a fun and relaxing project, and the result was absolutely adorable! This pattern is perfect for beginners and features a combination of cute and practical design that works up quickly due to its small size. The teddy bear pattern is crocheted in neat, small rounds, mostly using basic stitches. Its tiny size makes it ideal as a quick handmade gift or a charming accessory for your keys, bags, or even backpacks. You can pick soft pastel yarns for a dreamy and gentle look or opt for vibrant shades to make it stand out in a delightful way.
Learn the Free Crochet Teddy Bear Keychain Pattern for Cute Accessories
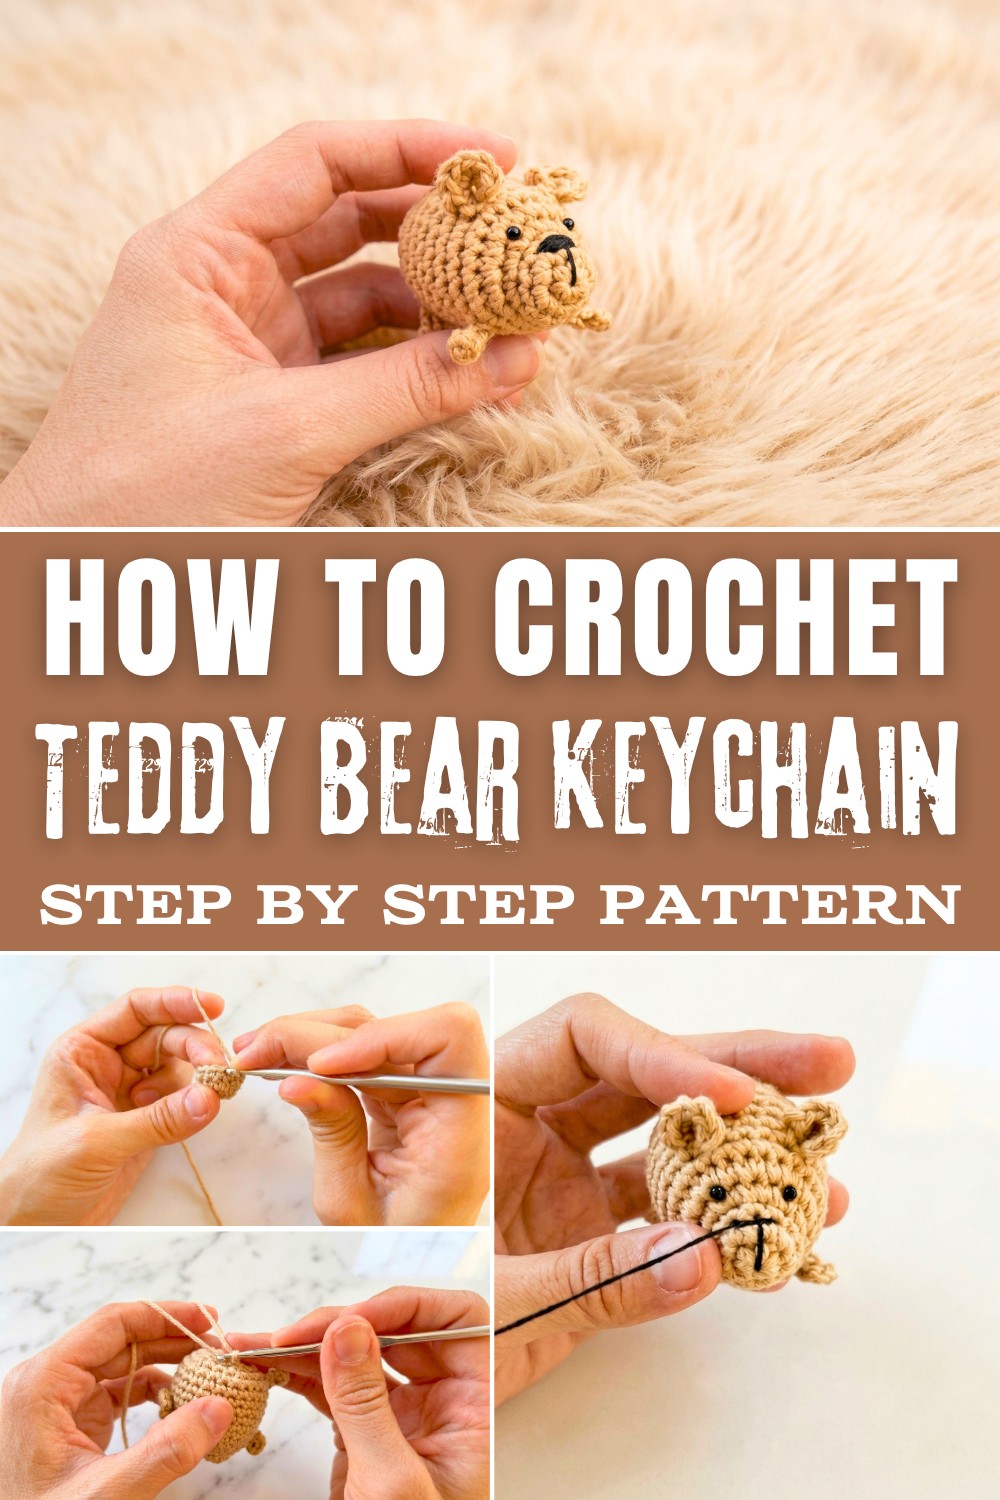
The beauty of this pattern lies in its simplicity, using single crochet stitches and a magic ring as the special stitch. These techniques are easy to master and highly versatile, opening the door to creating many other fun crochet projects. For example, once you've learned these stitches, you can make amigurumi animals, tiny figurines, crochet charms, or adorable ornaments. The teddy bear pattern itself is compact and well-shaped, with cute little ears that make it so endearing.

What You Will Learn and Explore With This Pattern:
- Master basic stitches like single crochet and the magic ring.
- Gain confidence in crafting small and seamless 3D projects.
- Learn simple embroidery techniques to add facial details to bring your crochet teddy bear to life.
- Learn how to assemble tiny parts and create personalized pieces with bows or decorations.
- Find other creative crochet ideas like making tiny animals, amigurumi, or keychain charms with the same techniques.
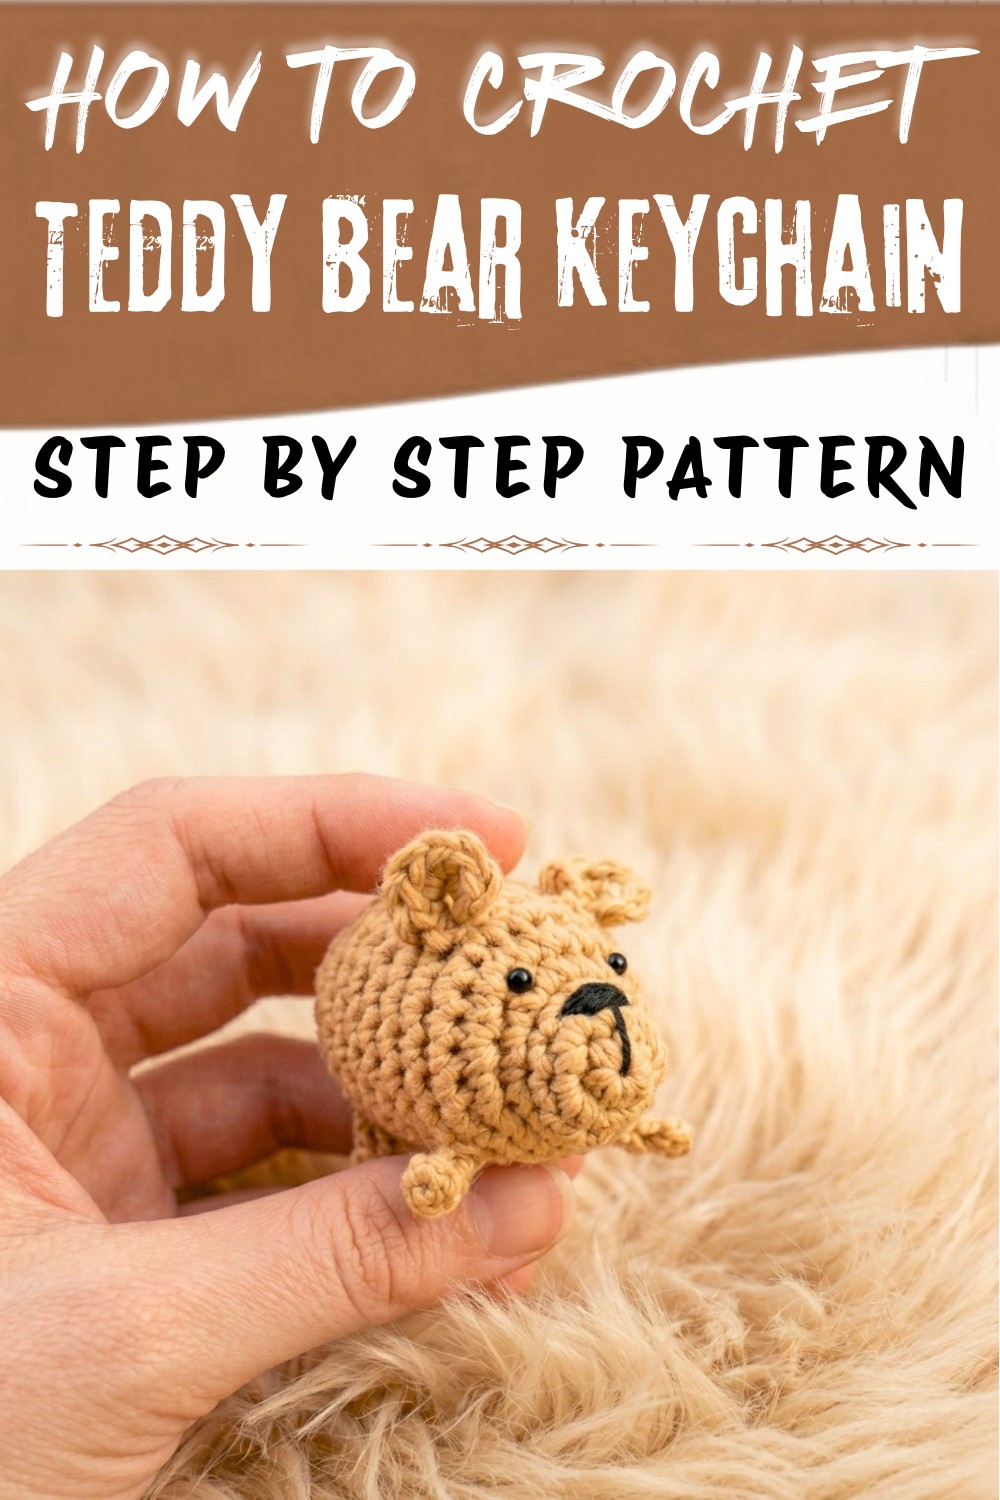
Teddy Bear Keychain - Detailed Amigurumi Pattern
Finished Size
- Approximate Height: 5-6 cm using 2 mm hook and DK/light sport cotton or acrylic yarn.
Materials
- Yarn: DK/sport weight cotton or acrylic in desired bear color (sample uses beige)
- Crochet Hook: 2 mm (or suitable for tight amigurumi stitches)
- Stuffing: Polyester fiberfill, wadding, or preferred stuffing
- Safety Eyes: 3 mm (or embroider if for small children)
- Yarn Needle: For finishing and embroidery
- Stitch Markers: Highly recommended for tracking legs and ears
- Scissors
- Lighter or heat source for eye-backing (optional for safety eyes)
- Keychain ring (optional)
Gauge
Gauge is not critical; work tightly enough so stuffing does not show.
Reference: 24 hdc in the round = ~5 cm diameter.
Abbreviations (US Terms)
| Abbreviation | Meaning |
|---|---|
| MR | Magic ring |
| sc | Single crochet |
| hdc | Half double crochet |
| dc | Double crochet |
| inc | Increase |
| dec | Decrease |
| sl st | Slip stitch |
| ch | Chain |
Special: "Half point" (media vareta/media punto) in video = hdc (half double crochet).
Special Techniques
- Working limbs and ears as you go: Uses chains and hdc worked into back loops to create solid, non-floppy features.
- Pineapple stitch tail: A cluster of 5 incomplete double crochets closed together.
- Face Embroidery: Simple straight stitches for snout and satin stitches for nose.
- Markers: Strongly advised for limb placement.
Pattern
HEAD & BODY (Worked as one)
R1: MR, 6 hdc in ring (6)
R2: 2 hdc in each st around (12)
R3: 1 hdc in each st around (12)
R4: 3 hdc, 6 inc (2 hdc in each st), 3 hdc (18)
R5: 3 hdc, (1 hdc, inc) x6, 3 hdc (24)
R6:
- 2 hdc
- First Leg: ch 4, turn, hdc in 2nd ch from hook and next 2 (3 hdc), sl st into top of previous st to secure base of leg
- 7 hdc
- First Ear: ch 2, turn, work 5 hdc in 2nd ch from hook, ch 1, sl st into marked st to attach base
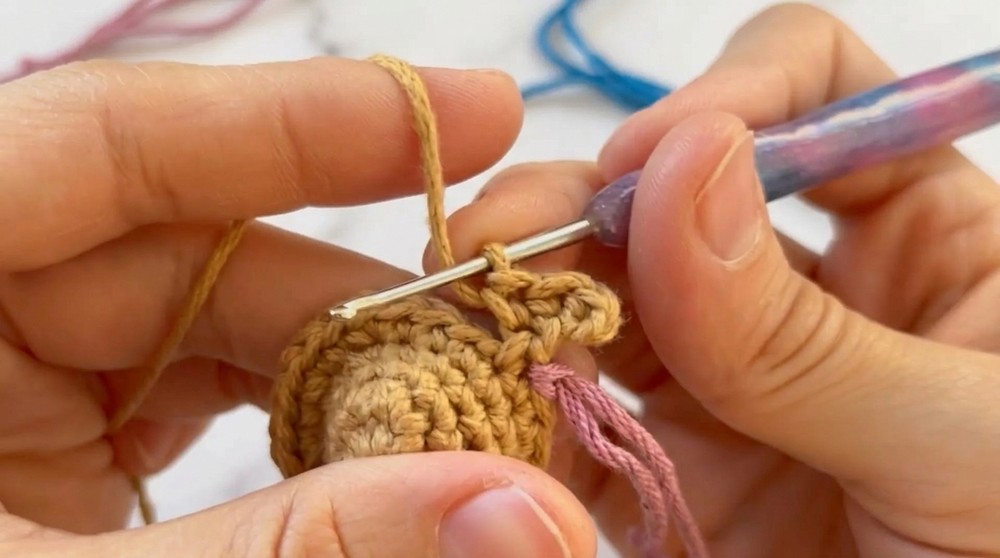
- 5 hdc
- Second Ear: ch 2, 5 hdc in 2nd ch from hook, ch 1, sl st into marked st to attach base
- 7 hdc
- Second Leg: ch 4, hdc in 2nd ch and next 2 (3 hdc), sl st to top of previous st
(Use colored stitch markers at each place you start/end a limb or ear. See video for detailed placement.)
At the end of R6: 24 hdc for the body, not counting limbs/ears.
7-11:
24 hdc in each round, working into body stitches only.
(R7 may be trickier due to navigating around limbs and ears; markers will help. Stretch out limbs and ears after these rounds.)
Insert safety eyes: Place between Rounds 4 and 5, spaced 3-4 stitches apart and centered between ears. Use heat to flatten back if no washers.
12:
- 3 hdc
- Third Leg: ch 4, hdc in 2nd ch and next 2 (3 hdc), sl st into marked st
- 19 hdc
- Fourth Leg: ch 4, hdc in 2nd ch and next 2 (3 hdc), sl st into marked st
- 2 hdc
24 hdc total
13:
24 hdc around (as in previous body rounds), working around legs.
14:
[Dec, 2 hdc] x6 (18)
15:
- [dec, 1 hdc] x6 (12)
(Pause mid-round to stuff body firmly)
16:
- dec x3
- Tail: ch 2, in 2nd ch from hook work 5 unfinished dc:
- Yo, insert, pull up a loop, yo, pull through 2, leave last loop
- Repeat 5 times (should have 6 loops on hook), yo and pull through all for tail
- sl st to top of last st to form a tiny ball
- dec x3 (6)
FO.
FINISHING
- Close the remaining hole at the base: use yarn needle to weave through front loops of last round, pull tight to close.
- Snout and Nose:
- Embroider a horizontal line in center between eyes as the snout.
- Add vertical satin stitches for thickness; add a few for the nose horizontally.
- Secure all yarn ends and pull knots inside as shown.

- Shape the bear: Tug ears and limbs outward so they stand clear of the body.
- Attach keyring (optional): Use a strong body stitch at the top of the head.
Tips & Customization
- Color Options: Try using two tones - lighter for muzzle or belly.
- Expression: Vary the embroidery for open/closed mouth, or add eyebrows for different personalities.
- Safety Eyes: If making for a baby, embroider eyes instead.
- Secure pieces: Use tight tension and knots hidden inside for best finish.
- Markers: Don't skip using markers for limb/ear placement.
Conclusion & Final Look
This teddy bear is nearly seamless, with limbs and ears incorporated as you go. Its proportions are adorable for a compact, sturdy keychain.
Few Challenges and How to Solve Them
One challenge you might face with this pattern is working with small parts like the ears and assembling the pieces. Since the teddy bear keychain is tiny, holding and stitching small components can feel a bit tricky at first. Another difficulty could be achieving neat and uniform stitches if you're new to crocheting in rounds. But don't worry-patience and practice are the key! To make things easier, use a light-colored yarn so you can clearly see your stitches, keep your tension even, and take breaks if your hands get tired. For assembly, using pins to hold the parts in place before sewing them together is a great trick to make sure everything lines up perfectly. Following the pattern step by step will help you avoid mistakes, and soon enough, you'll have your adorable teddy bear keychain ready!