
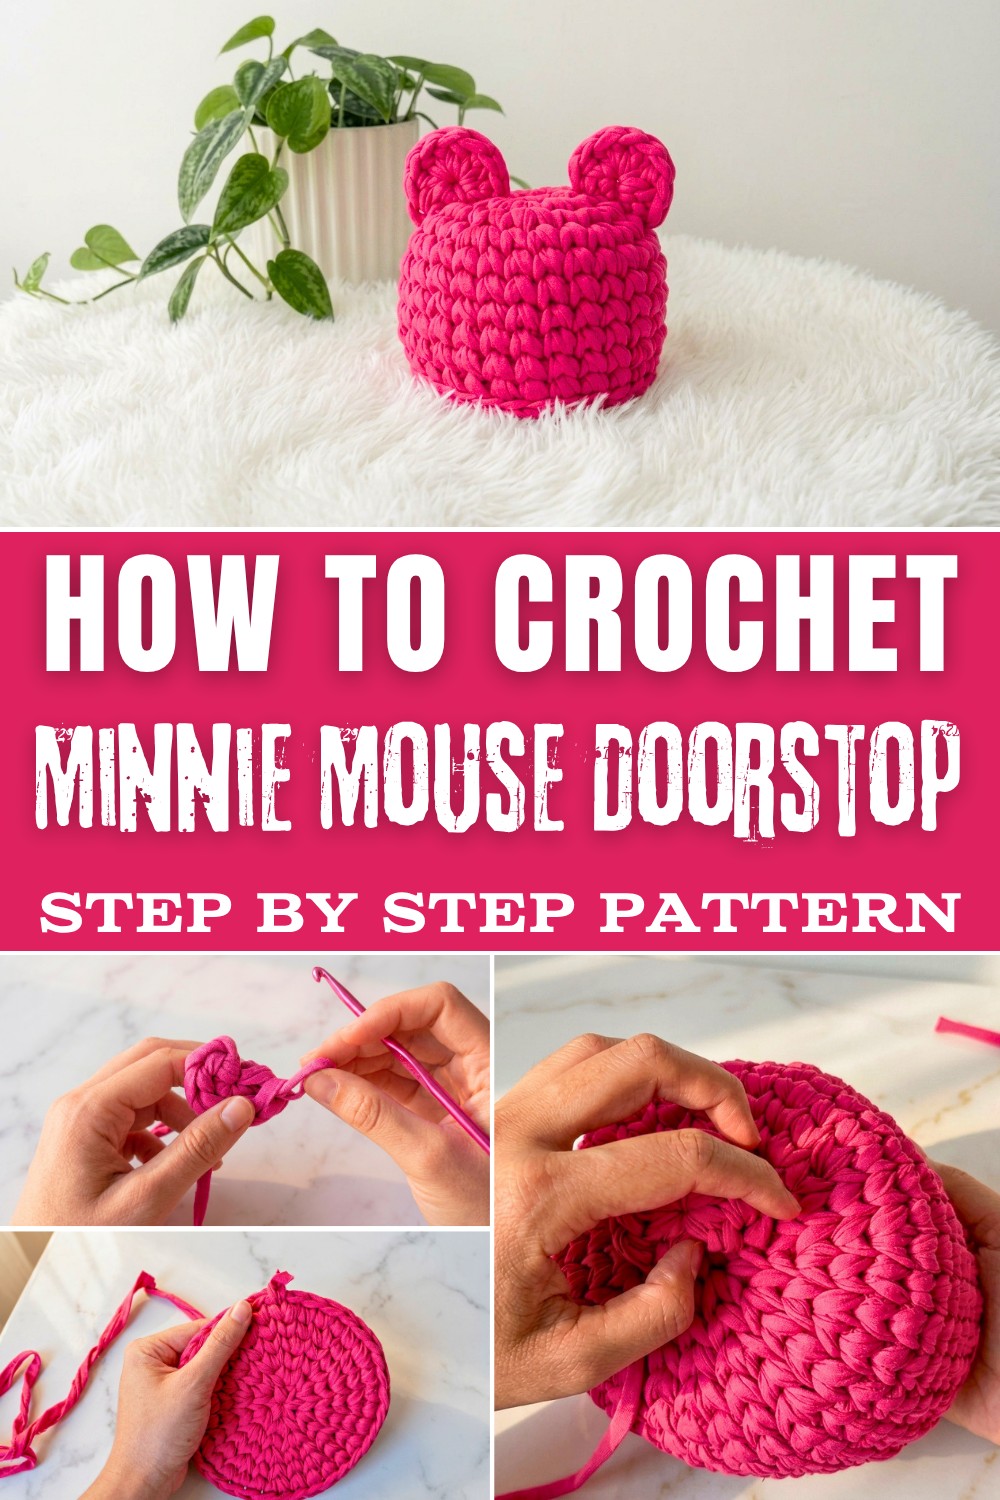
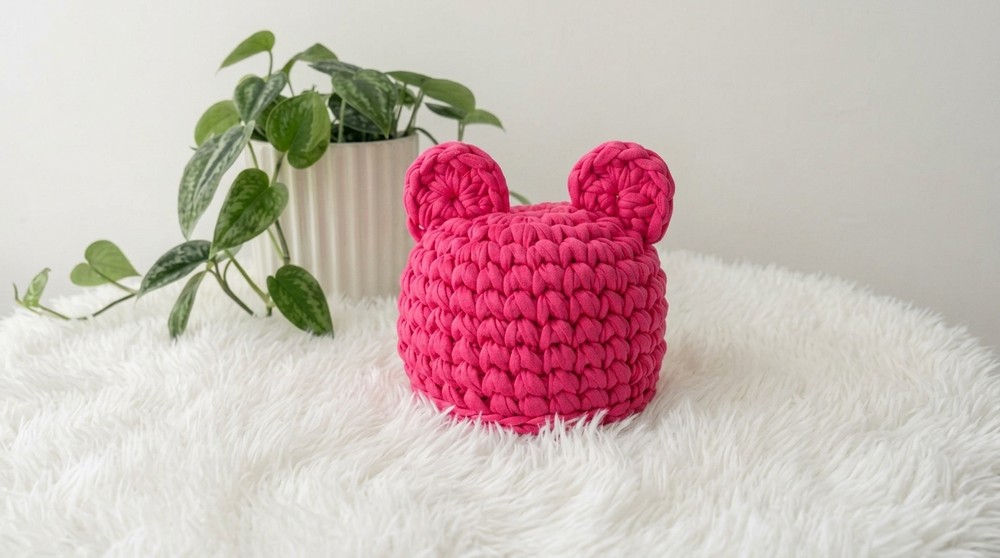
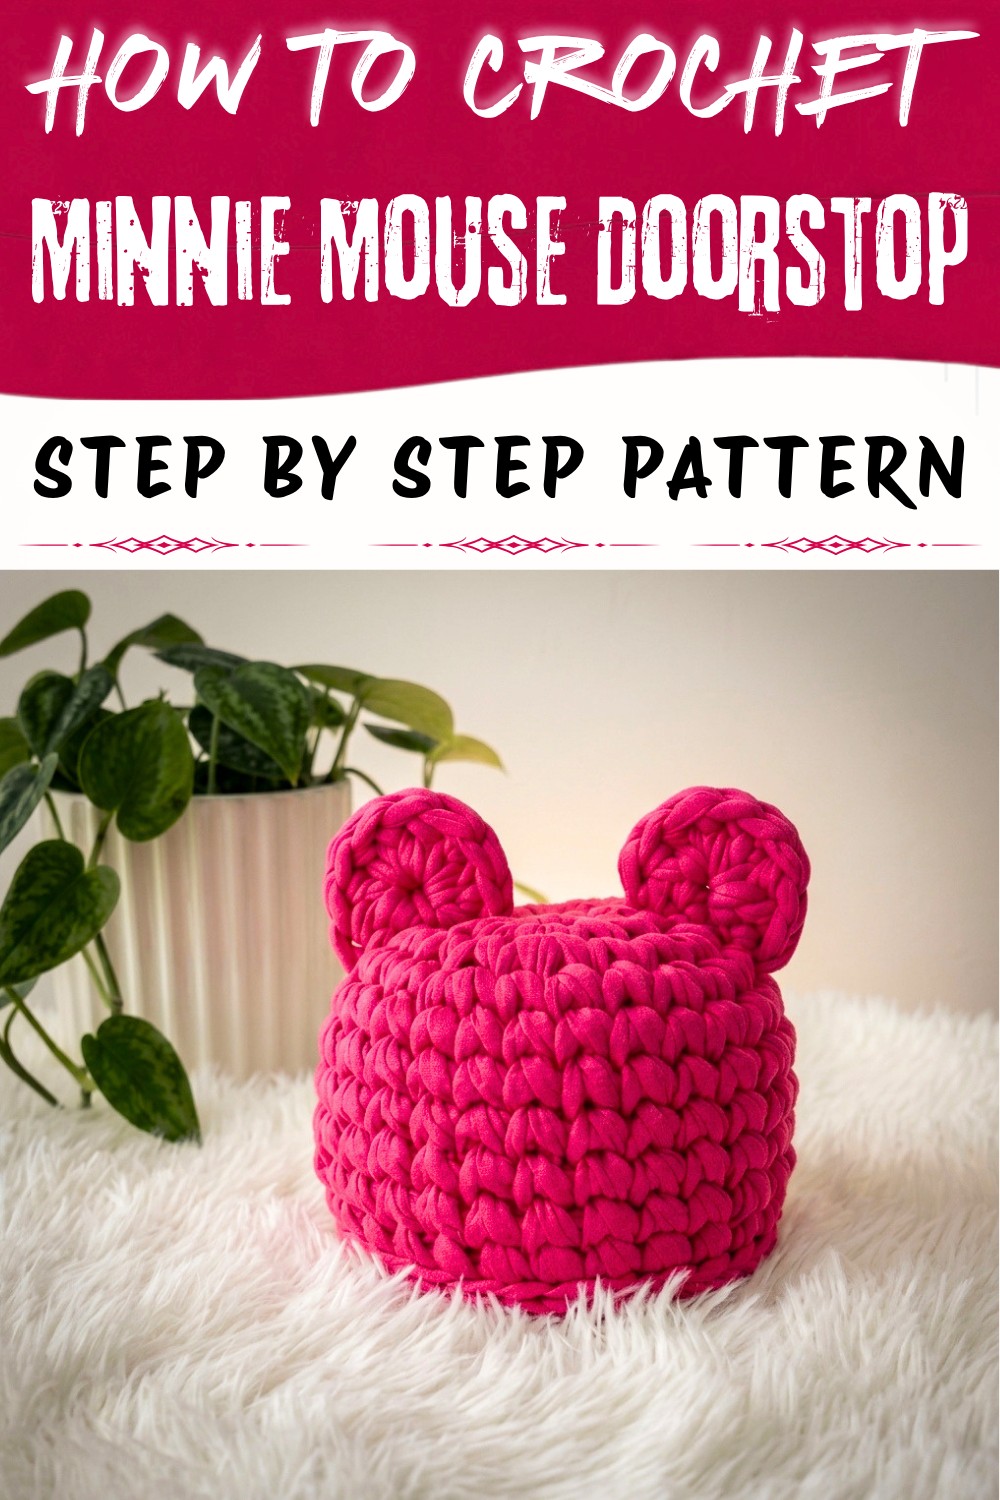
Keep your doors in place stylishly with a Free Crochet Minnie Mouse Doorstop Pattern that's both practical and full of personality.
Creating a crochet doorstop is a fun and practical way to add a touch of charm to your home, and what could be more delightful than a Minnie Mouse-themed pattern? This doorstop not only serves the functional purpose of keeping doors securely in place but also works as adorable décor, particularly for Disney lovers or kids' rooms. The pattern highlights Minnie's classic bow and polka dot theme, making it perfect for infusing a bit of whimsy into your space. Using simple stitches like single crochet (sc), double crochet (dc), and slip stitches (sl st), this pattern is approachable even for beginners. These foundational stitches can also help you create other items like toys, coasters, or even small bags.
Free Crochet Minnie Mouse Doorstop Pattern for Beginners
What You'll Learn and Create from This Pattern
- Learn to work in the round to form sturdy, three-dimensional shapes.
- Master basic stitches like single crochet (sc), double crochet (dc), and slip stitch (sl st) for creating versatile designs.
- Understand how to assemble and attach separate components, such as the ears and bow, for a polished look.
- Repurpose the techniques to make amigurumi toys, coasters, weighted paperweights, or even themed bookends.
- Adapt the pattern to create other characters like Mickey Mouse or other themed doorstops for personalized décor.
This easy-to-follow pattern opens up a world of possibilities while letting you create something functional and adorable!
Materials Needed
- Medium-to-chunky yarn in Bright Pink (leftover yarn is perfect; Jamila uses 90% polyamide/10% elastane for flexibility)
- 5-6 mm crochet hook, or size to match yarn
- Scissors
- Tapestry needle
- Filler: Small stones or pebbles (for weight)
Finished Size
- Height (body only): about 10 cm
- Height (with ears): about 14 cm
- Diameter: about 13 cm
Special Techniques & Stitches
You'll use fundamental crochet stitches: single crochet for the base and body, half double crochet for the ears, and basic increases (working two stitches into one) to shape the circle. The magic ring is a key technique for starting tightly closed shapes. Attaching the base uses sewing/whip stitch, and facial features can be embroidered, sewn, or glued. If you're new to sewing parts, this is a gentle introduction.
Pattern Instructions
1. Base & Main Body
Start with a magic ring:
Round 1:
Work 6 single crochet (sc) into a magic ring. Pull tail tight to close ring.
[Total: 6 sc]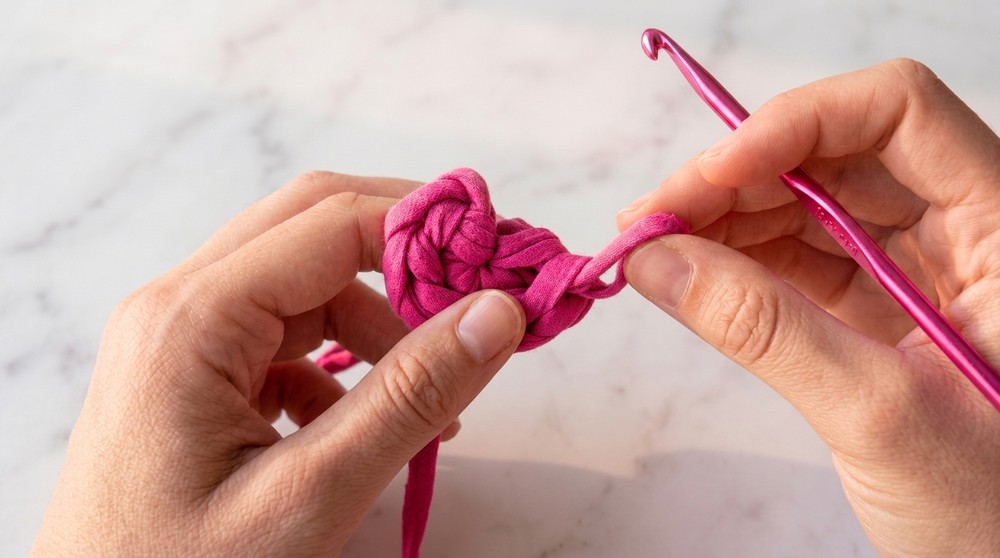
At the start of the project, you'll feel anticipation as the flat circle forms beneath your hook-an unassuming base with so much possibility. In the middle, the sides build up and your bear takes shape, becoming more dimensional and lovable with every round; here, creativity blossoms as you add ears, face, and custom touches.
Explanation:
A magic ring lets you close the bottom of your bear tightly, so no fillers can escape.
Round 2:
Work 2 sc in each stitch around.
[Total: 12 sc]
By making two stitches in every stitch, the circle gets wider.
Round 3:
Repeat (1 sc in next stitch, 2 sc in next stitch) around.
[Total: 18 sc]
Alternate one single crochet and then an increase to gradually expand your circle.
Round 4:
Repeat (2 sc, 2 sc in next stitch) around.
[Total: 24 sc]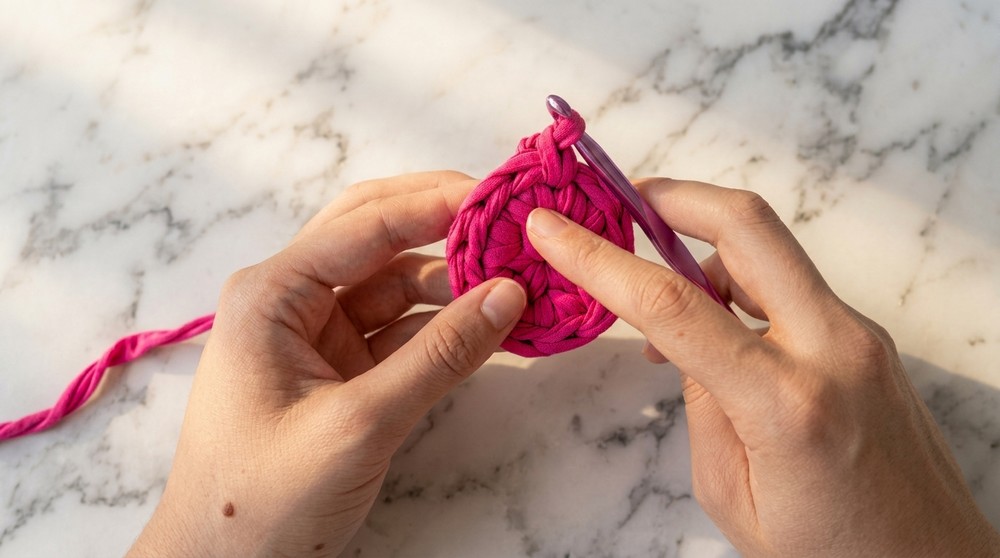 Add another stitch between increases-this keeps the circle growing smoothly.
Round 5:
Repeat (3 sc, 2 sc in next stitch) around.
[Total: 30 sc]
Explanation:
Now you have three single crochets between each increase, so the base stays flat.
Round 6:
Repeat (4 sc, 2 sc in next stitch) around.
[Total: 36 sc]
The base is now as big as you need for a standard doorstop-about 13-14 cm. If you want a bigger doorstop, repeat another increase round here.
2. Body Height
Rounds 7-13:
Work 1 sc in each stitch around (no increases; 36 sc each round).
[Work 7 rounds to reach your desired height.]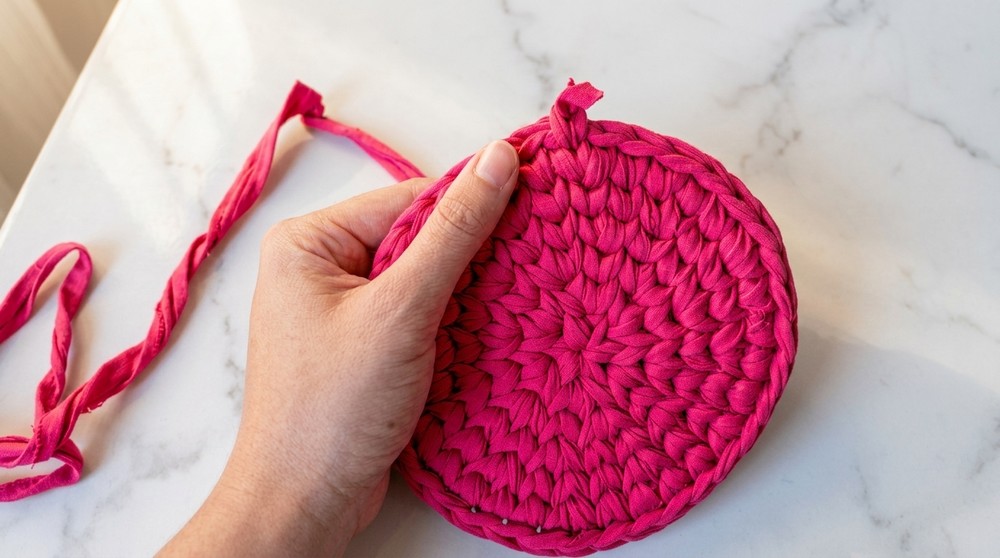
Explanation:
No more increases-this makes the bear's sides grow up, forming a 3D bowl shape. Your piece will start to resemble a cylinder.
3. First Closure & Filling
- Fasten off, leaving a long yarn tail.
- Keep the opening at the top open for stuffing/filling.
- Fill the bear well with small stones or similar weight for a doorstop; pack firmly so it keeps its shape.
Completion brings a sense of accomplishment: stones nestle inside, the base closes, and your bear doorstop stands ready, charming and practical-a cheerful creation that will make you smile every time you pass through the door.
Filling with stones gives your bear enough weight to hold the door open.
4. Bear Ears (Make 2)
With matching yarn:
Ear Round:
Magic Circle, ch 2, work 9 half double crochets (hdc) into the ring.
Close ring tightly.
[Total: 10 stitches (9 hdc + 2 ch, which counts as a stitch)]
- Fasten off, leaving a long tail for sewing.
Each ear is a small, round shape using half double crochets. Make it sturdy using a magic ring for a tidy look.
5. Attach Ears
- Using the long tail and a tapestry needle, sew each ear onto the top of the body:
- Place ears on either side (about 6 stitches apart), securing all around the base of each ear.
- Weave in and knot the yarn securely inside.
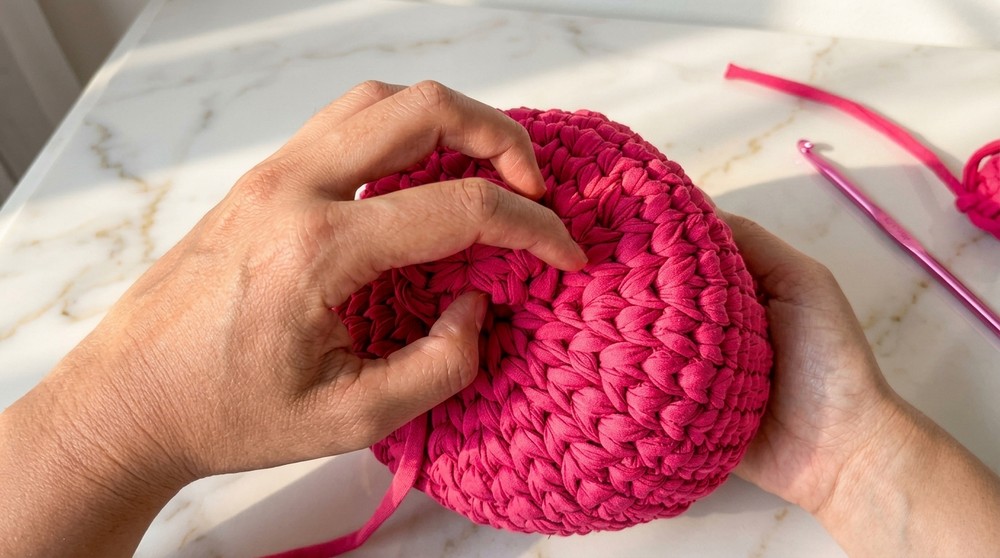
Space the ears evenly for a cute look. Securely knot and weave in the ends so the ears don't fall off.
6. Finish Bottom
- Crochet another flat base following steps in Rounds 1-6.
- Fasten off, leave a long tail.
- Place the bottom over the filled opening and sew the base to the body using the long tail and tapestry needle. Use whip stitch or mattress stitch to join, picking up the back loops of both pieces for a neat finish.
Securing the bottom keeps all the stones safely inside the bear.
7. Facial Features (Optional)
- Sew or glue on safety eyes, a nose, and embroider a smile, if you wish.
- If using amigurumi eyes, glue them on as the mesh is too thick for their washers.
This crochet teddy bear doorstop is more than a home accessory; it's a celebration of simple skills, upcycled materials, and personal expression. Whether you keep it basic or turn it into a unique character, you finish with a functional, handmade piece-and new confidence for your next crochet adventure.
Explanation:
A simple embroidered or glued-on face gives your bear lots of character. Use whatever materials you have!
8. Final Touches
- Make sure all ends are woven in, the base is secure, and the bear is packed firmly enough to stand and not tip over.
- Adjust ear placement or facial features as desired.
Round-by-Round Simplified Explanations
- Rounds 1-6: These establish the bottom flat circle of the bear-each round adds 6 more stitches than the last to keep the shape flat.
- Rounds 7-13: No increases here; you're just making the sides go up, turning your shape into a bowl, then a cylinder.
- Stuffing & Assembly: After building the body, fill it heavily before closing for function.
- Ears & Face: Ears are little circles sewn on top; any face style you like can be added with yarn and glue.
- Final Base: This keeps the filling in; sew it up tightly for safety!
Now your adorable handmade bear doorstop is ready to keep doors open and make everyone smile. Feel free to get creative with colors, ear shapes, facial details, or even add a bow or scarf.
Important Remarks
Consistency in stitch counting is important for symmetry-especially for a neat, round shape. Choose a filler that's safe and suitable for the doorstop's intended use. Secure knots and tight stitching ensure durability. Customize boldly and have fun with the finishing details; this is a forgiving project that can be adapted as you go. One of my favorite parts of this pattern is how easy it is to give your doorstop the perfect amount of weight-just fill the finished piece with rice, small pebbles, or beans for a sturdy accessory that stands up to everyday use. The result is not only practical and durable but also irresistibly cute, making it a sweet addition to kids' rooms, nurseries, or any spot in need of a whimsical touch.