
Sprinkle some sunshine into your day with this free crochet pineapple amigurumi pattern featuring simple steps for a cute & playful friend.
I've always loved crocheting small, colorful projects that spark joy and brighten up a space. One day, I stumbled upon the idea of making a pineapple amigurumi, and I instantly knew it would be an adorable addition to my handmade collection. Crocheting this little fruit is not only a fun way to use yarn but also a perfect project for adding a pop of tropical charm to your home decor or gifting something unique to someone special.The beauty of this pattern lies in its playful details. The vibrant red body is paired perfectly with green leaf accents, making it look cheerful and fresh. You can even mix shades of red and green to create a multicolored tropical vibe.
Cute Crochet Pineapple Amigurumi Pattern for Gifting
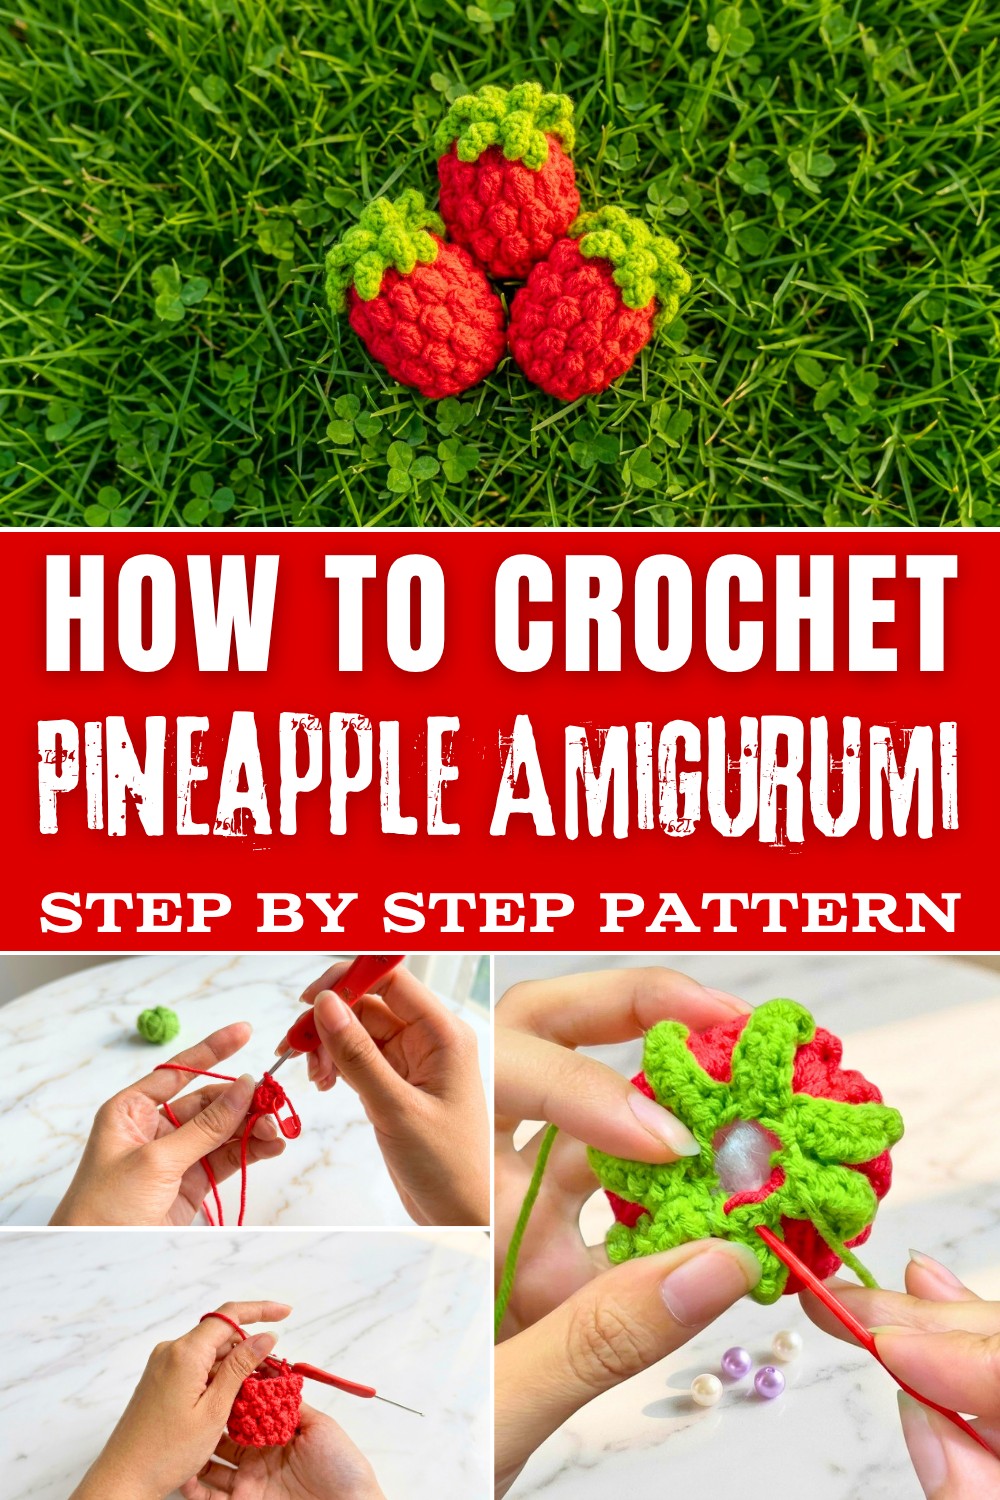
The texture of the pineapple is created using the popcorn stitch, which adds depth and character to its design. Once you master this stitch, you'll discover it's incredibly versatile-you can use it to create things like textured blankets, decorative pillows, or even cozy hats.What's wonderful about this pineapple amigurumi is its versatility. It can be used as a keychain, a desk decoration, or even attached to gift bags for a quirky touch. It's beginner-friendly and works up quickly, making it a satisfying project for anyone trying out amigurumi.
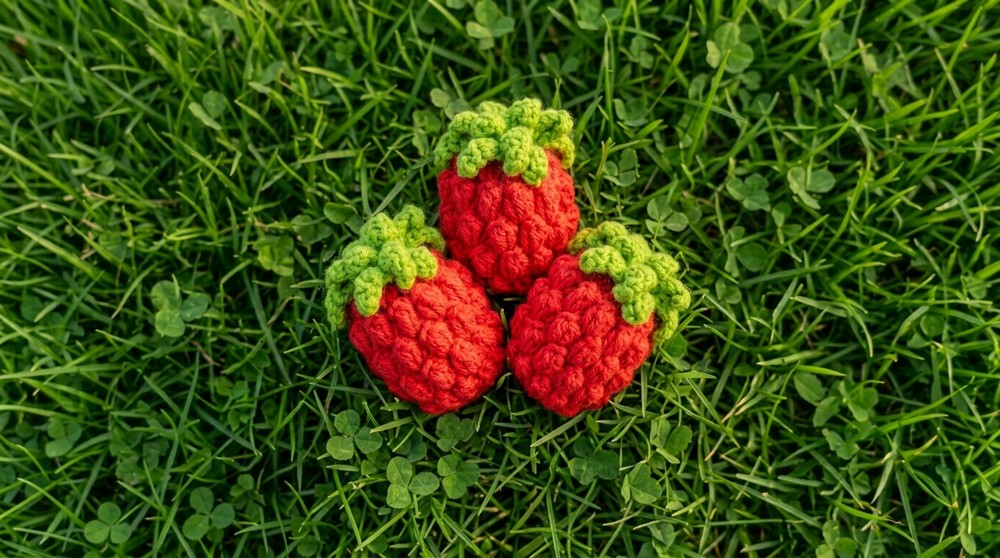
Here's what you'll learn and create with this pattern:
- Master the popcorn stitch to crochet textured designs.
- Learn how to shape amigurumi patterns for fruits, toys, or decorations.
- Explore how colors can transform your project into something playful and vibrant.
- Use the techniques for creating other small projects, including plush vegetables, mini animals, or festive ornaments.
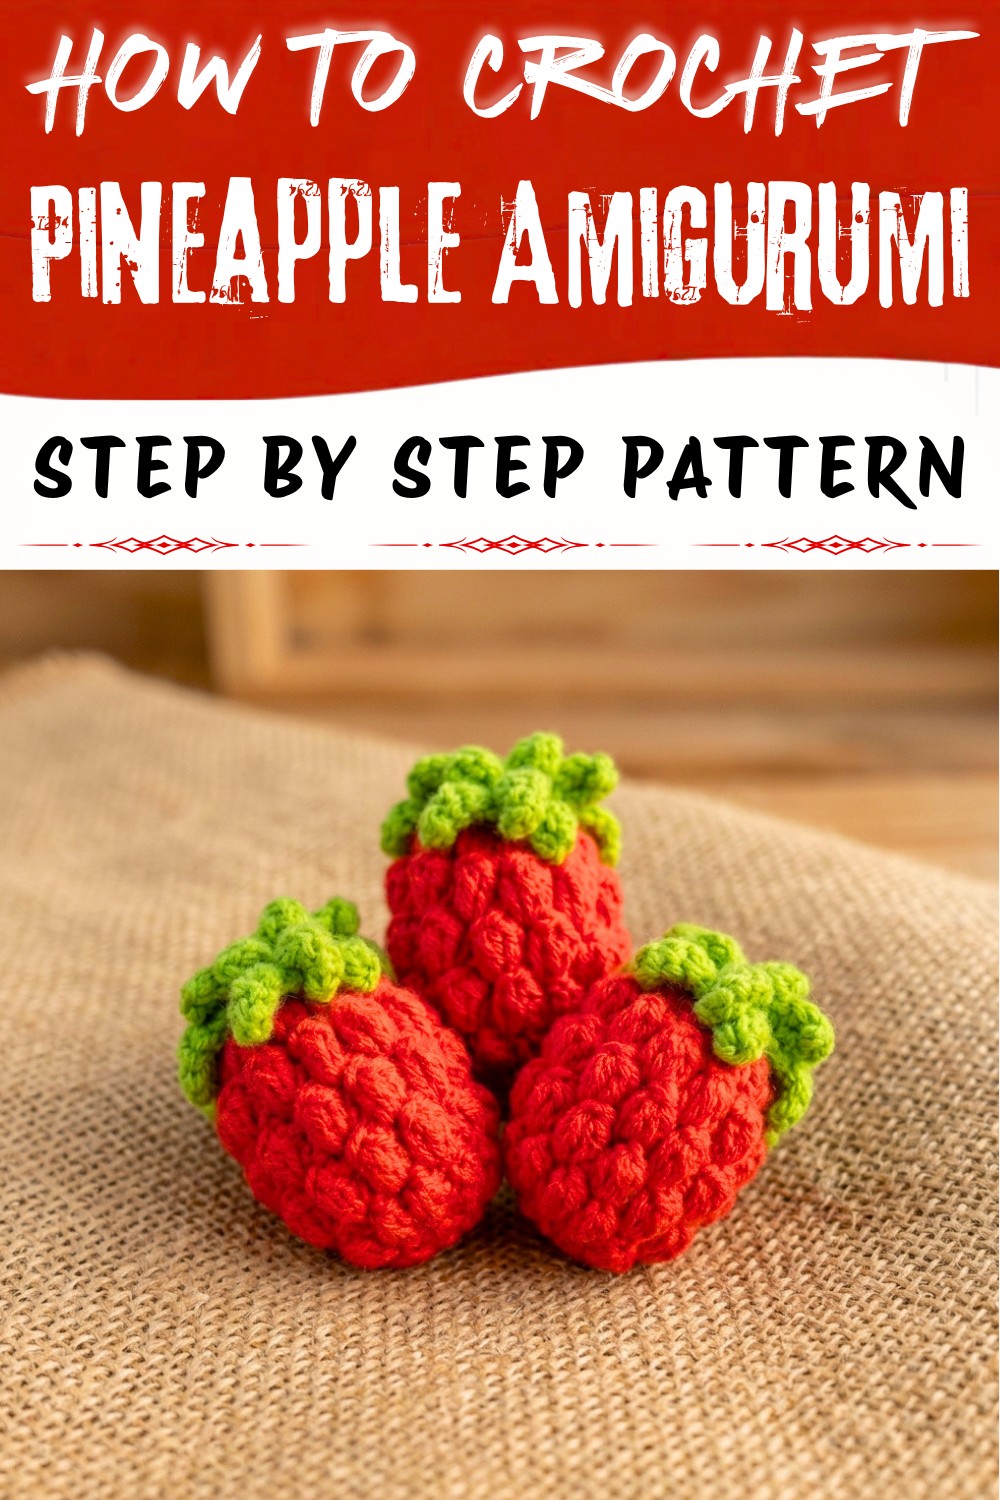
Grab your favorite shades of bright red and green yarn, and have fun creating your tropical masterpiece!
Free Crochet Pineapple Amigurumi Pattern
Bring a touch of tropical fun to your crochet collection with this mini-sized pineapple amigurumi! Its vibrant red body and fun green leaves make it the perfect accessory or desk decor. This beginner-friendly pattern uses basic crochet stitches, including single crochet (sc) and the textured popcorn stitch, for creating depth. By following this step-by-step pattern, you'll crochet an adorable and unique pineapple that's as much fun to make as it is to display.
Materials Required
- Yarn:
- Bright red (body)
- Green (leaves)
- Crochet Hook: 2.5 mm or 4 mm (choose based on yarn thickness)
- Stuffing: Cotton/polyester fiberfill
- Stitch Marker: To track rounds
- Sewing Needle: For assembly and hiding yarn tails
- Scissors
Finished Size
Approximately 4-6 cm tall. Adjust size by using different yarn/hook or adding rounds.
Yarn, Hook, Stitch & Starting Tips
- Use bright red for a classic pineapple look, but try pastel or rainbow for fun variations!
- Green for leaves adds charm-try lively or rich green shades.
- Hook size: Choose 2.5-4 mm to ensure a tight fabric (no stuffing leak).
- Stitches:
- Magic ring
- Single crochet (SC)
- Popcorn stitch/Bobble stitch (for texture, called "corn kernel")
- Chain stitch (CH)
- Slip stitch (SL ST)
Is the start easy?
Yes! Magic ring and single crochets required. Beginners may need practice with magic ring, but it's rewarding and simple after a try.
Abbreviations List
- ch: Chain
- sc: Single crochet
- inc: Increase (2 sc in one stitch)
- dec: Decrease (single crochet two stitches together)
- sl st: Slip stitch
- popcorn st: Popcorn stitch (instructions below)
Who Can Use This Pattern
- Beginners: Simple increases, textured stitches, easy closing.
- Intermediate/Advanced: Add more texture, leaves, personalization.
Step-by-Step Pattern
Body of Pineapple
Round 1: Create the Magic Ring
- Make a magic ring.
- Work 6 single crochets (SC) into the ring.
- Mark first and last stitch.
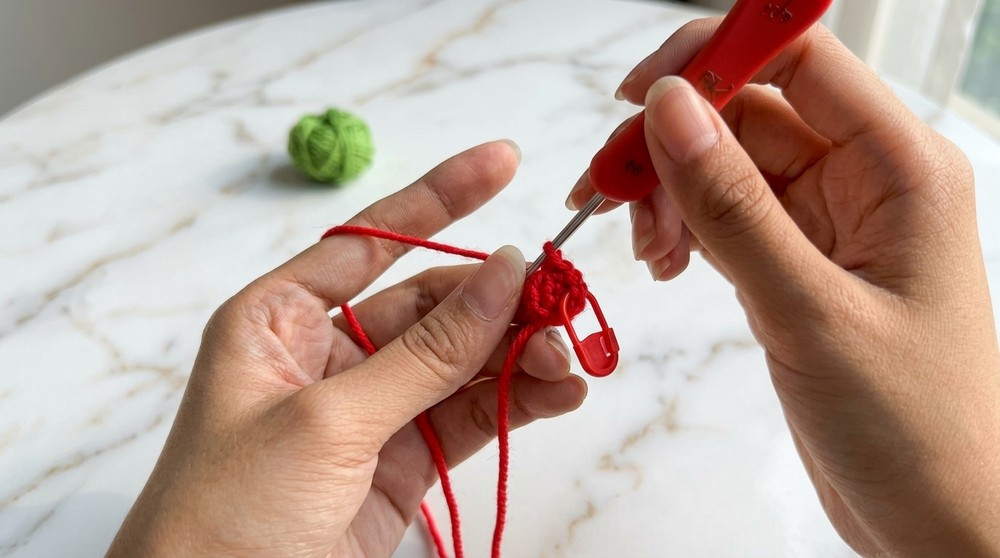 You start with a loop and make it bigger, switch to textured stitches for authentic pineapple bumpy skin, close the shape and stuff, then make the leaves as chains, sewing them around the top. It's quick and highly customizable for all skill levels.
Make a small loop, crochet 6 stitches in it. This forms the pineapple base.
Round 2: Increase
- In each stitch, work 2 single crochets (SC).
- At the end, you'll have 12 stitches. Mark first and last stitch.
Make two stitches in every hole so your circle grows.
Round 3: Popcorn Texture
- In each stitch, make a popcorn (bobble) stitch (as described):
- 5 double crochets (DC) in the same stitch, then slip the hook out, insert into the top of the first DC, pull the last loop through.
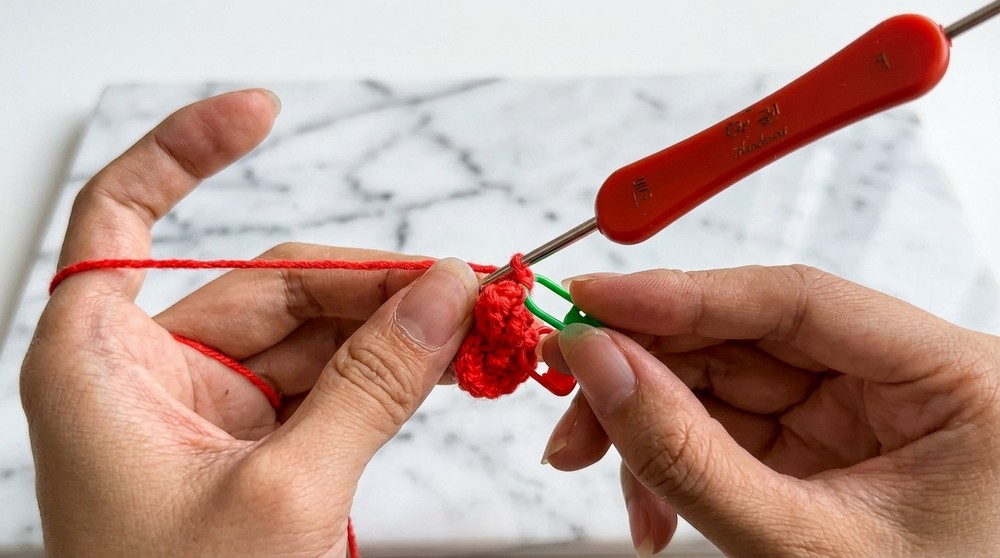
- 5 double crochets (DC) in the same stitch, then slip the hook out, insert into the top of the first DC, pull the last loop through.
- Repeat in every stitch for a total of 12 popcorn stitches.
Do five tall stitches in one hole, gather them together for a bumpy look-repeat for every stitch.
Rounds 4-6: Continue Texture
- In each stitch, make a popcorn stitch as above.
- You'll have 12 popcorn stitches per round.
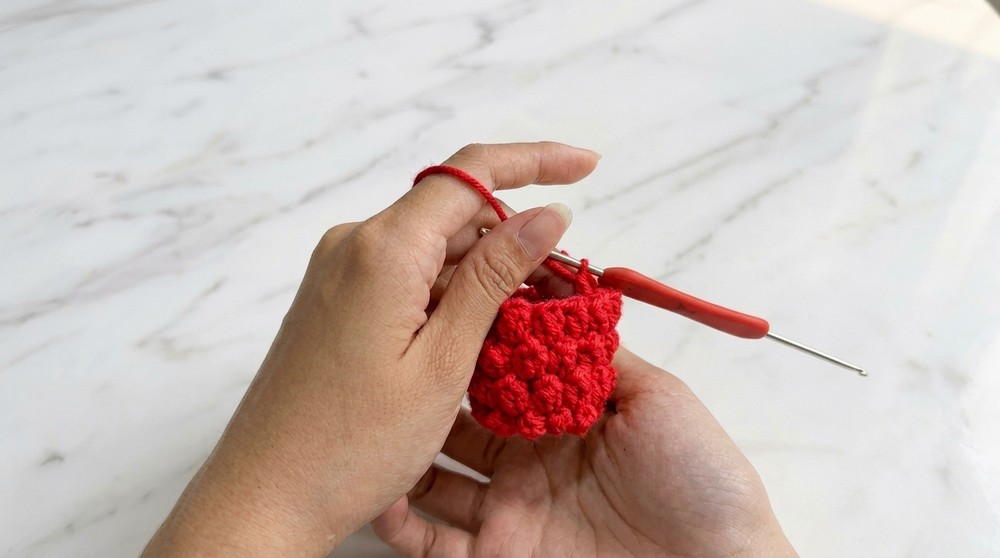 Textured, bumpy body emerges; looks like a mini pineapple shell.
Keep making bumpy stitches in each stitch for 3 more rounds to build a textured pineapple body.
Closing and Stuffing
Round 7: Begin Closing
- Work 6 stitches, combining every two stitches together (decrease).
- Each decrease uses two adjacent stitches to make one.
Start narrowing the top by joining two stitches into one for each pair.
Stuffing Step
- Add stuffing before completely closing the opening to shape the pineapple.
Fill your pineapple with soft fiberfill so it's plump and cute.
Leaves-Changing Color and Crocheting Top
Switch yarn to green.
Leaf Round:
- Pick up a stitch at the top with green yarn, make a slip stitch to join.
- Begin with a chain of 7 (CH 7).
- Go back down the chain-skip the first two stitches, then:
- Work 2 single crochets (SC)
- 2 half-double crochets (HDC)
- 1 double crochet (DC)
- Finish by attaching the leaf to the top with a slip stitch (SL ST), ideally using back loop only ("BLO") for a neat finish.
Repeat the leaf-making process around the top (usually 6 leaves for fullness).
Make a long chain, stitch down to make a pointy leaf, then attach it and repeat for more leaves.
Optional Second Layer of Leaves:
- For a double-leaf pineapple, repeat the leaf process on any remaining BLOs, alternating leaf positions for a lush look.
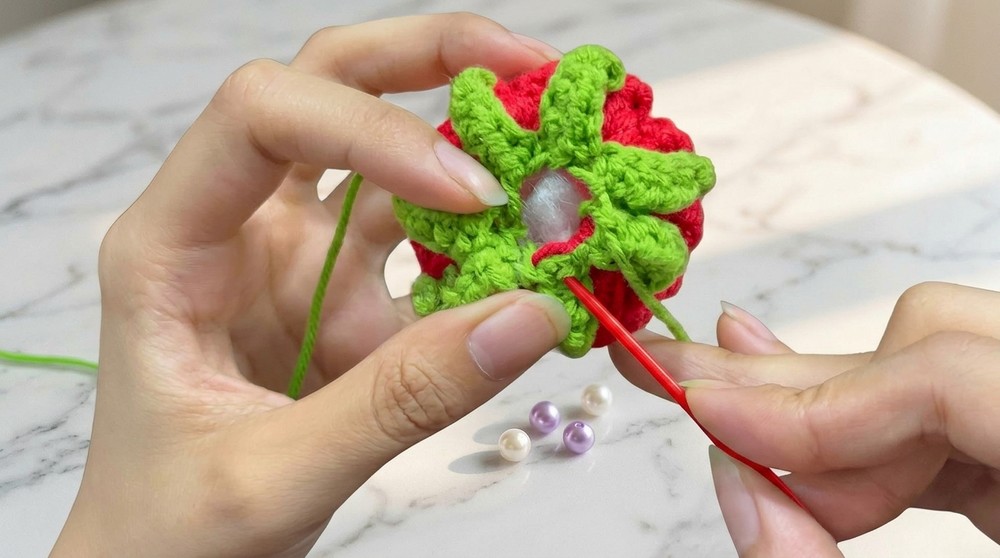
Final Assembly & Adjustments
- Use a sewing needle to hide yarn tails. Adjust leaves so they fan out naturally.
- Gently squeeze and shape pineapple with hands.
- Attach to keychain or use as a decorative plush.
Customization Ideas
- Use variegated yarn for a rainbow pineapple.
- Embroider a cute face for extra character.
- Add beads or attach to a string for hanging decor.
- Make larger pineapples by increasing the number of rounds.
- Combine with other fruit amigurumi for a themed set!
What Else You Can Make Using This Pattern
- Amigurumi strawberries, apples, or other fruit designs.
- Cute keychains or hanging ornaments.
- Decorative toys for kids or gifts.
Grab your yarn, pick up your hook, and let the tropical vibes inspire you! Once you finish this adorable pineapple, you'll want to crochet an entire basket of fruits.
Special Techniques & Important Remarks
- Magic ring: Start all amigurumi neatly-practice with a video if new.
- Popcorn/Bobble stitch: Creates authentic, bumpy texture-experiment for confidence.
- Mark stitches: Always mark first and last stitch to prevent mistakes.
- Stuff before closing: Easier than stuffing through a tiny opening.
- Attach leaves securely: Use back loop only for neat, strong attachment.