
Crocheting your own placemat is a simple and enjoyable way to add a handmade touch to your kitchen or dining table. With a free crochet placemat pattern, you can create beautiful, functional pieces that not only protect your surfaces from heat and spills but also bring a cozy charm to every meal. Whether you're an absolute beginner or just looking for a quick project, this pattern is a fantastic choice. The process is straightforward, the results are impressive, and you'll love seeing your handiwork brighten up your home.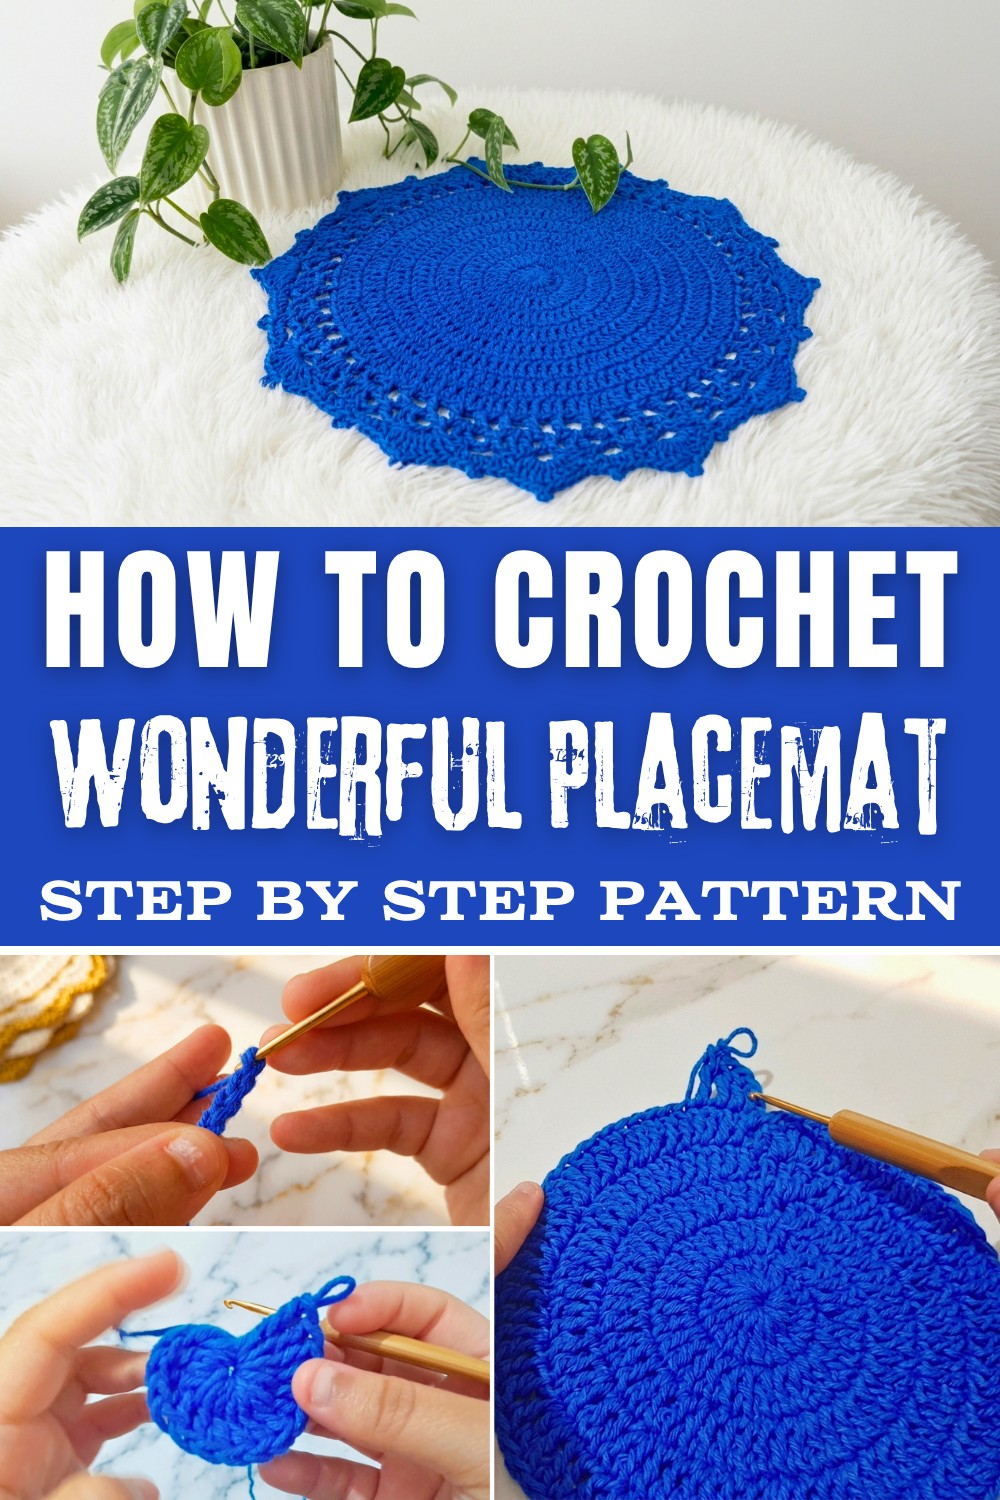
Why Choose This Crochet Placemat Pattern?
- The pattern is beginner-friendly, making it perfect for those new to crochet or anyone seeking a relaxing project.
- It features the half double crochet stitch, an easy yet decorative technique that forms a sturdy and flat fabric-ideal for placemats.
- With just basic yarn (preferably cotton for durability) and a crochet hook, you can complete this project in just a few hours.
- The simple repeat of stitches ensures your placemat will have a consistent and professional appearance.
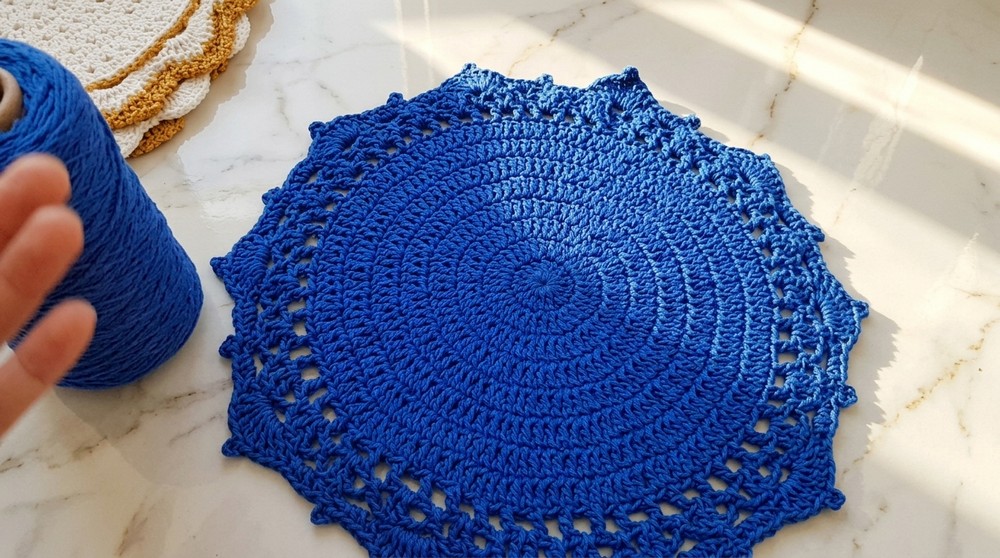
What's Beautiful About This Placemat?
- It's customizable-choose any color to match your decor or make a vibrant set for special occasions.
- The texture from the half double crochet adds subtle detail, making each placemat visually appealing as well as practical.
- Its generous size provides plenty of protection for plates, mugs, and cutlery.
What You'll Learn and Create
- You'll master even, straight edges, switching colors if you want, and neatly finishing your project.
- The same pattern and stitches can be used to make a range of items like matching coasters, mug rugs, dishcloths, or a stylish table runner.
- This project helps you build confidence, allowing you to explore other home accessories using the half double crochet stitch.
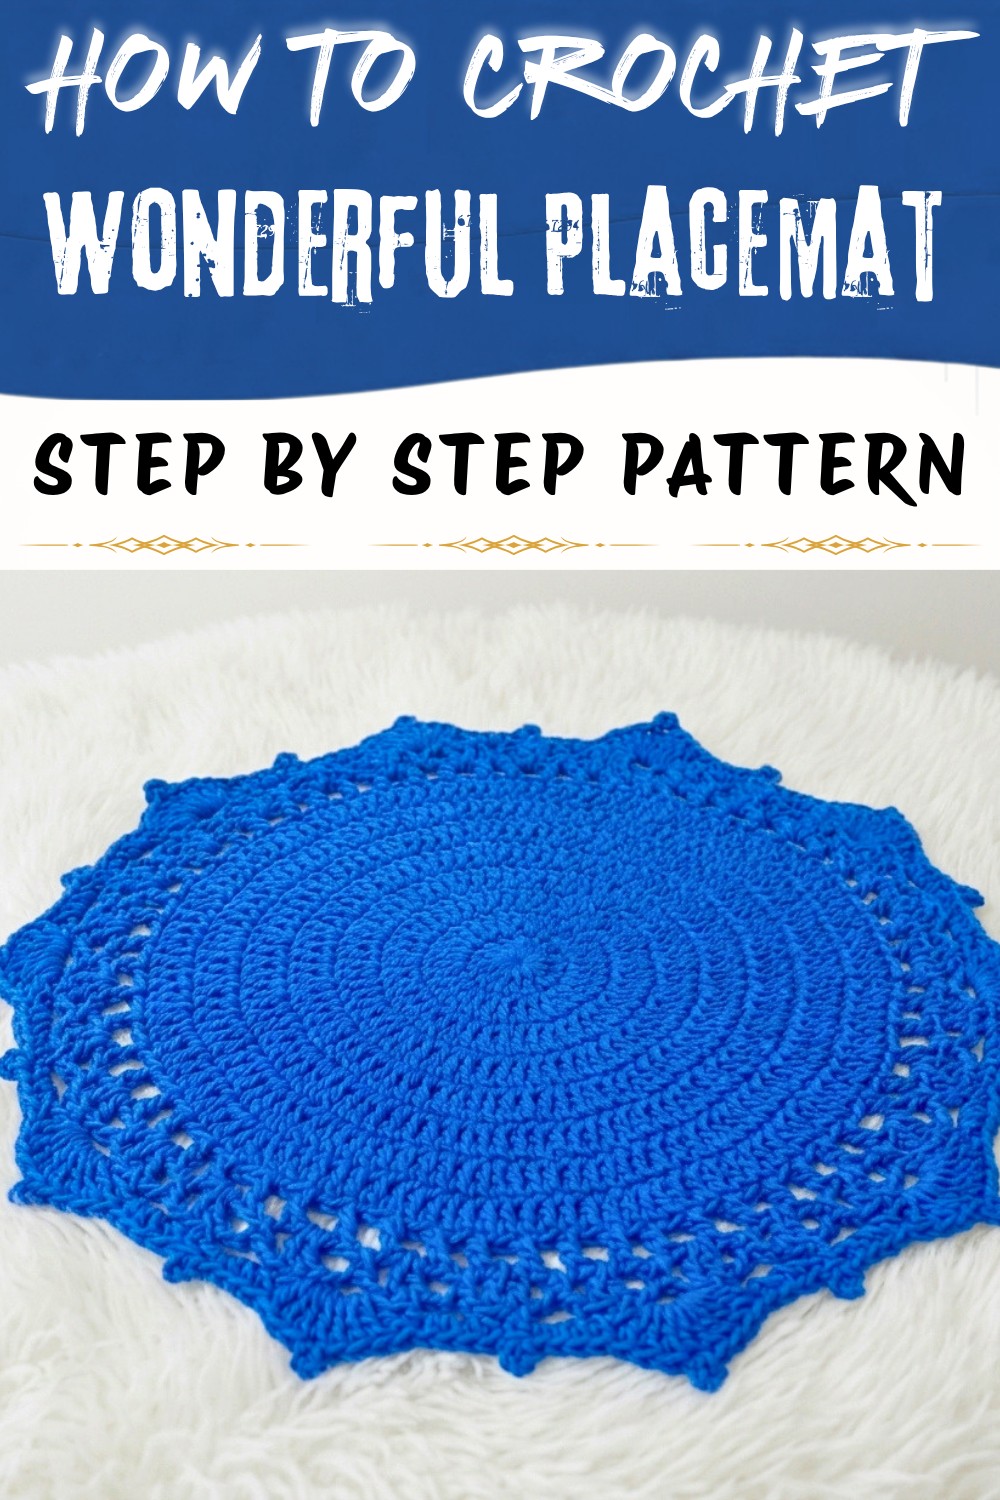
Crochet Doily for Beginners - Step by Step
Materials
- 3 mm or 3.5 mm crochet hook
- "Aerooma" No. 6 thread, or similar yarn you have at home
- Scissors
Step 1: Start Your Doily - Magic Ring & Base
- Leave a short tail (for finishing).
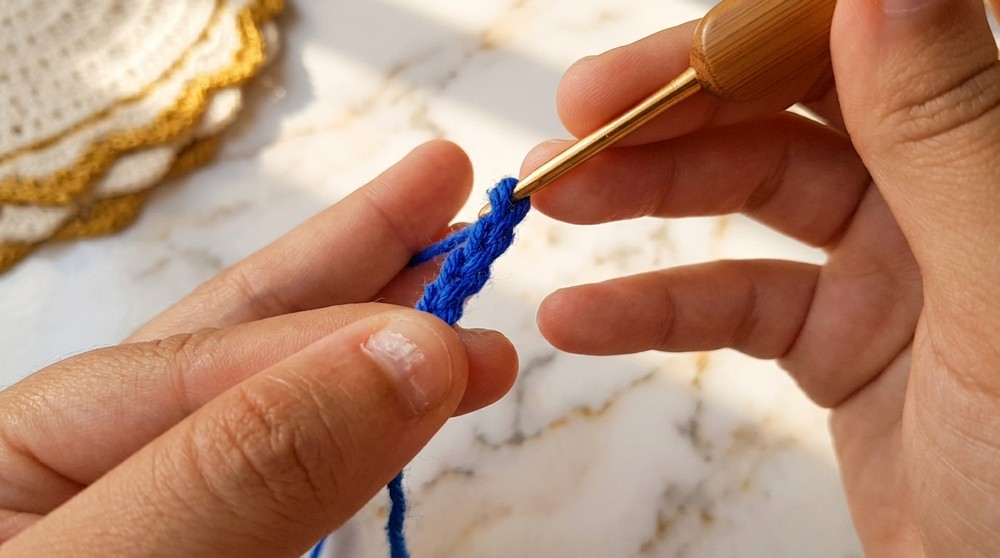
- Make a slip knot and chain 6.
- Insert the hook into the first chain, close with a slip stitch to form a ring.
Explanation:
You're setting up a small loop to crochet into, which will be the center of your doily.
As you begin, there's a sense of anticipation in selecting your favorite yarn color and preparing your crochet hook. With the first few stitches, you lay the foundation for your placemat, watching as the neat lines begin to take shape. The rhythm of looping and pulling through each stitch creates a calming pace, inviting you into the creative flow.
Step 2: First Round - Fill the Ring
- Chain 1 (to begin round).
- Inside the ring, crochet 16 double crochets (dc) (bring the tail along as you work, to hide it).
- Pull the tail tight so the hole closes.
- Slip stitch into the first dc to join and finish the round.
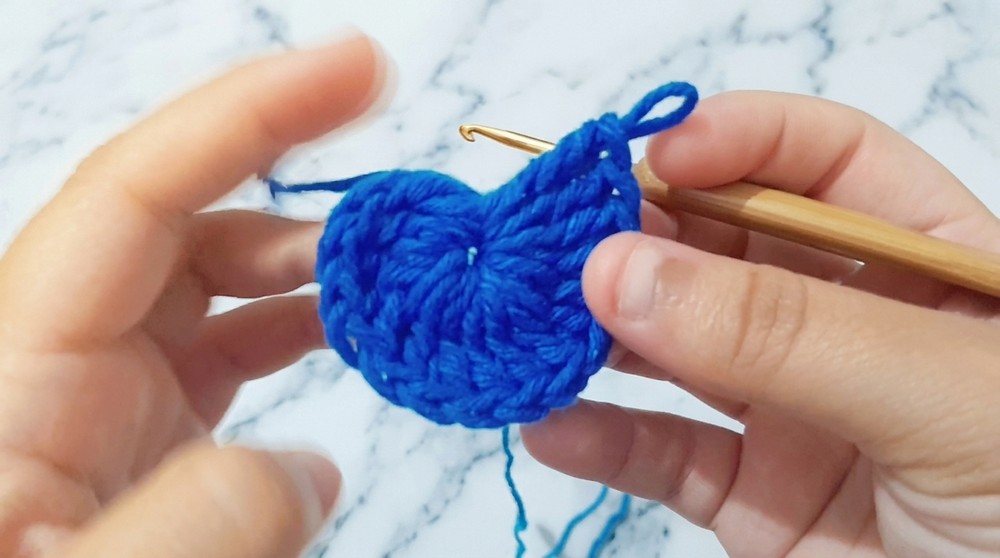
Explanation:
You are making a neat round center for your doily by filling the initial ring. The stitch count forms a nice, flat circle.
Step 3: Second Round - Doubling Up
- Into each stitch from previous round: crochet 2 double crochets (in same stitch) (increase around).
- Total: 32 double crochets.
- Slip stitch to join.
Explanation:
Putting two stitches into each from the previous round makes the circle bigger and keeps it flat.
Step 4: Third Round - Alternating Increases
- In the first stitch, crochet 1 double crochet.
- In the next stitch, crochet 2 double crochets in same stitch.
- Repeat around: (1 double crochet, 2 double crochets in next stitch).
- Total: 48 double crochets.
- Slip stitch to join.
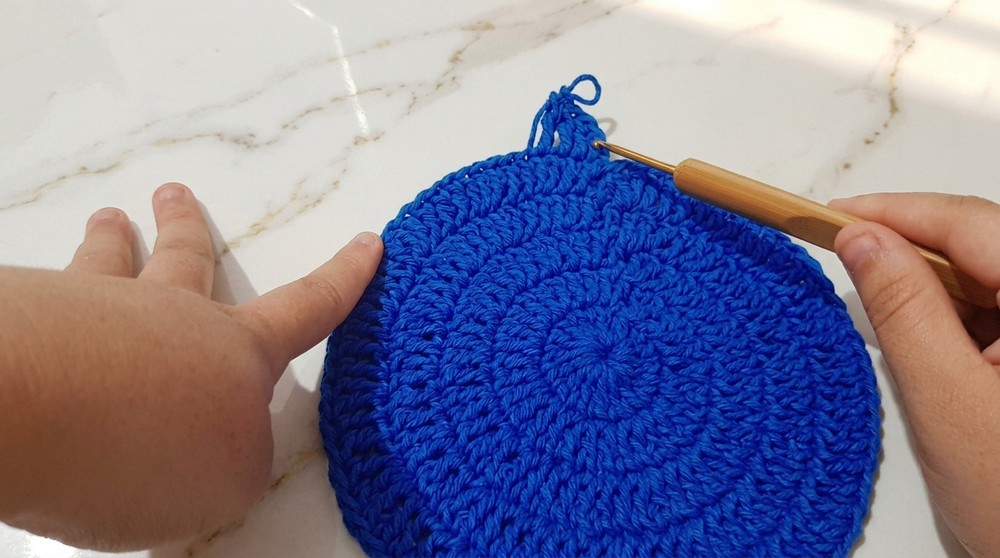
Soon, your placemat is growing steadily, and you notice the fabric forming its lovely texture. The repetition of rows is pleasantly soothing, letting your hands work almost automatically while your mind wanders. Here, you might decide to switch colors for a playful striped effect or stick with a single shade for timeless elegance. Any small mistakes become part of the placemat's unique character, adding charm to each piece.
Explanation:
This round alternates one single and one double to start making gentle increases, so your doily doesn't ripple.
Step 5: Fourth Round - Increases Spaced Further
- Repeat:
- 2 double crochets (one in each of next 2 stitches),
- 2 double crochets in next stitch (increase).
- Total: 64 double crochets.
- Slip stitch to join.
Explanation:
You add increases less often now, so the piece grows steadily and remains flat.
Step 6: Fifth Round - Keep Expanding
- Repeat:
- 3 double crochets (one each in next 3 stitches),
- 2 double crochets in next stitch.
- Total: about 80 double crochets.
- Slip stitch to join.
Explanation:
By having three singles between each increase, you keep the circle shape as it gets bigger.
Step 7: Sixth Round - Continue Expanding
- Repeat:
- 4 double crochets (one each in next 4 stitches),
- 2 double crochets in next stitch.
- Total: 96 double crochets.
- Slip stitch to join.
Explanation:
Every round you add an extra single stitch between increases. This keeps the doily flat as it grows.
Step 8: Seventh Round - Even Bigger
- Repeat:
- 5 double crochets (one each in next 5 stitches),
- 2 double crochets in next stitch.
- Total: 112 double crochets.
- Slip stitch to join.
Explanation:
Each time, more single crochets between increases = circular, flat, even growth!
Step 9: Eighth Round - Final Increase Row
- Repeat:
- 9 double crochets (one each in next 9 stitches),
- 2 double crochets in next stitch.
- Total: 123 double crochets.
- Slip stitch to join.
Explanation:
A big increase gap at this stage nicely opens up the doily for a lacy look.
Step 10: Ninth Round - Make the "Holes" (Mesh)
- Chain 3 to start.
- Repeat around:
- Skip 1 stitch,
- Double crochet in the next stitch,
- Chain 2.
- Keep repeating until you go all the way around - you should have about 62 "holes" or chain spaces.
- Slip stitch to finish the round.
Explanation:
You're making chain spaces (holes) for a lacy effect. These will become the base for the next round's shells.
Step 11: Tenth Round - Shell Pattern
- In each "hole" (chain space):
- Into first space: single crochet, chain 2 (acts as the height), 2 double crochets in same space.
- Into next space: single crochet, chain 2.
- Continue around: 2 dc in one space, sc in next, always with 2 chains between.
- Slip stitch to join.
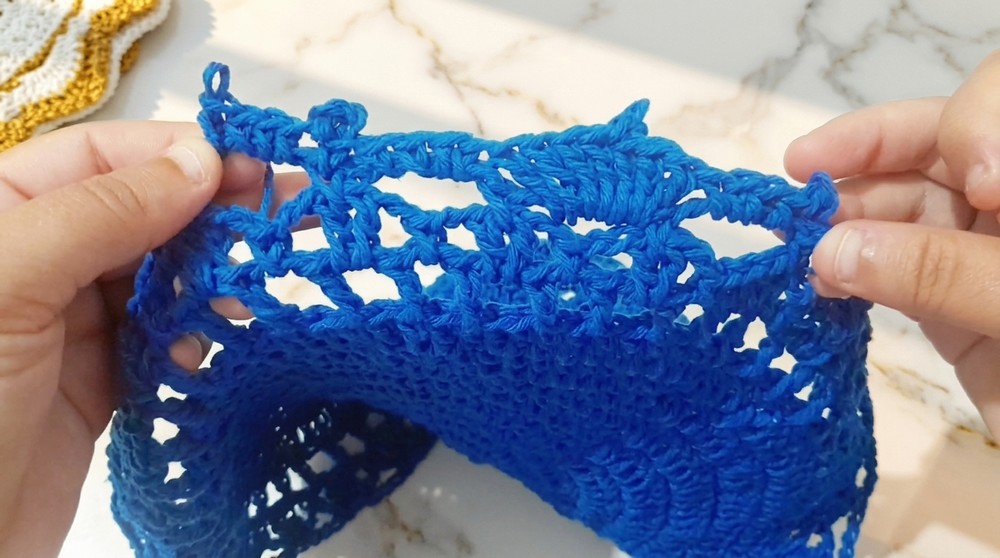
Explanation:
You're now making small cluster "petals" around the doily, separated by single crochets and little chains.
Step 12: Eleventh Round - Decorative Edge
- In the single crochets between shell clusters: make 5 chain stitches, slip stitch into same spot (makes a loop).
- In the 2-dc clusters, make 4 double crochets in same spot.
- Repeat:
- In next "petal" (shell), 4 double crochets,
- In next "hole," 5-chain loop (like a picot).
- If your work curls, adjust the number of chains in the loop (use 6 if tight, or 4 if loose).
- Finish and slip stitch to close round. You should have about 31 loops/picots.
Explanation:
This round adds a pretty, lacy outer edge-your doily's "frills"!
Step 13: Last Round - Tiny Picot Edging
- Into each 5-chain loop:
- Chain 3, slip stitch into first chain (makes a picot), 4 single crochets around loop.
- On each 4-dc petal, do nothing, move to next loop and repeat.
- If your thread is running low, just repeat picots in each loop until done.
- Finish off, cut yarn, hide the end neatly.
As you reach the end, there's real satisfaction in seeing your work come full circle. The last stitches are finished carefully, and you weave in the ends to ensure a polished look. Holding the completed placemat, it's easy to imagine it gracing your table for family gatherings or quiet cups of tea. Each finished piece not only protects your surfaces-it becomes a testament to your creative effort and a cheerful addition to everyday mealtimes.
Explanation:
This delicate, quick round adds a frilled, tidy finish to your doily.
Each round shows you the logic of how stitches and increases keep the crochet flat and build lacy effects. If you go step-by-step, you'll have a pretty and practical decoration, even if you're new to crochet.