
Modernize your caffeine fix with the Free Crochet Coffee Cozy Pattern, offering a stylish, sustainable way to enjoy drinks on the go.
I used to think a coffee run was just a quick stop in my day, until I slipped a handmade cozy around my cup and suddenly it felt like a tiny daily ritual just for me. This free crochet coffee cozy pattern turns an ordinary drink into something warm, personal, and stylish. I love how you can play with colors to match your mood or the season, from soft creams and browns that feel like a hug, to bold reds, greens, or even variegated yarn that creates beautiful stripes as you stitch. The finished cozy hugs your cup perfectly, keeping your drink warm and your hands comfortable, while also cutting down on disposable cardboard sleeves.
Learn Free Crochet Coffee Cozy Pattern for a Perfect Tapered Fit
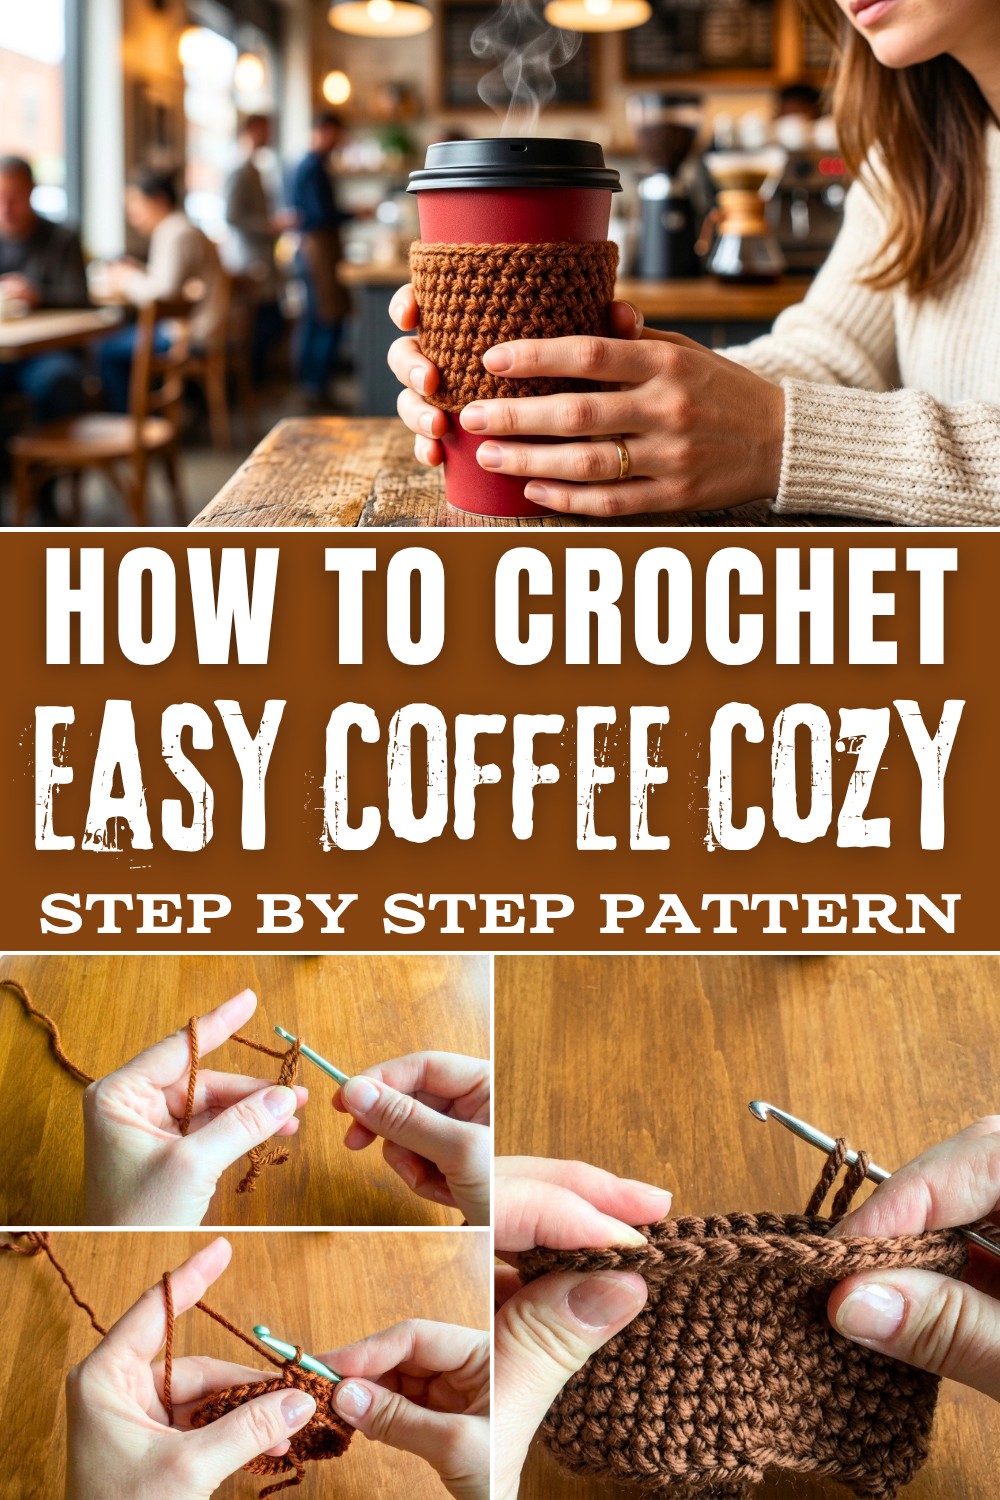
In this pattern, you will be using simple, beginner friendly stitches that build your confidence quickly. You start with a slipknot and chain stitch, then join into a loop with a slip stitch to form the base. The main body is made with single crochet stitches in the round, which creates a dense, sturdy fabric that is perfect for cozies, mug sleeves, jar covers, and small baskets. There is a gentle increase round to shape the cozy so it fits most standard cups, and you will also practice finishing neatly by weaving in your ends so everything looks tidy and polished.

From this pattern you will learn how to crochet in continuous rounds, how to keep an even tension, how to increase without losing count, and how to create a smooth edge at the top and bottom. These skills are the foundation for so many other projects like headbands, wrist warmers, and simple pouches, making this cozy a great stepping stone.
What You Can Make With These Skills
- Coffee and tea cozies in different sizes
- Reusable mug sleeves and travel cup covers
- Simple headbands and ear warmers
- Wrist cuffs or beginner fingerless gloves
- Small baskets or bowls for organizers
- Jar cozies, plant pot covers, and mini gift pouches
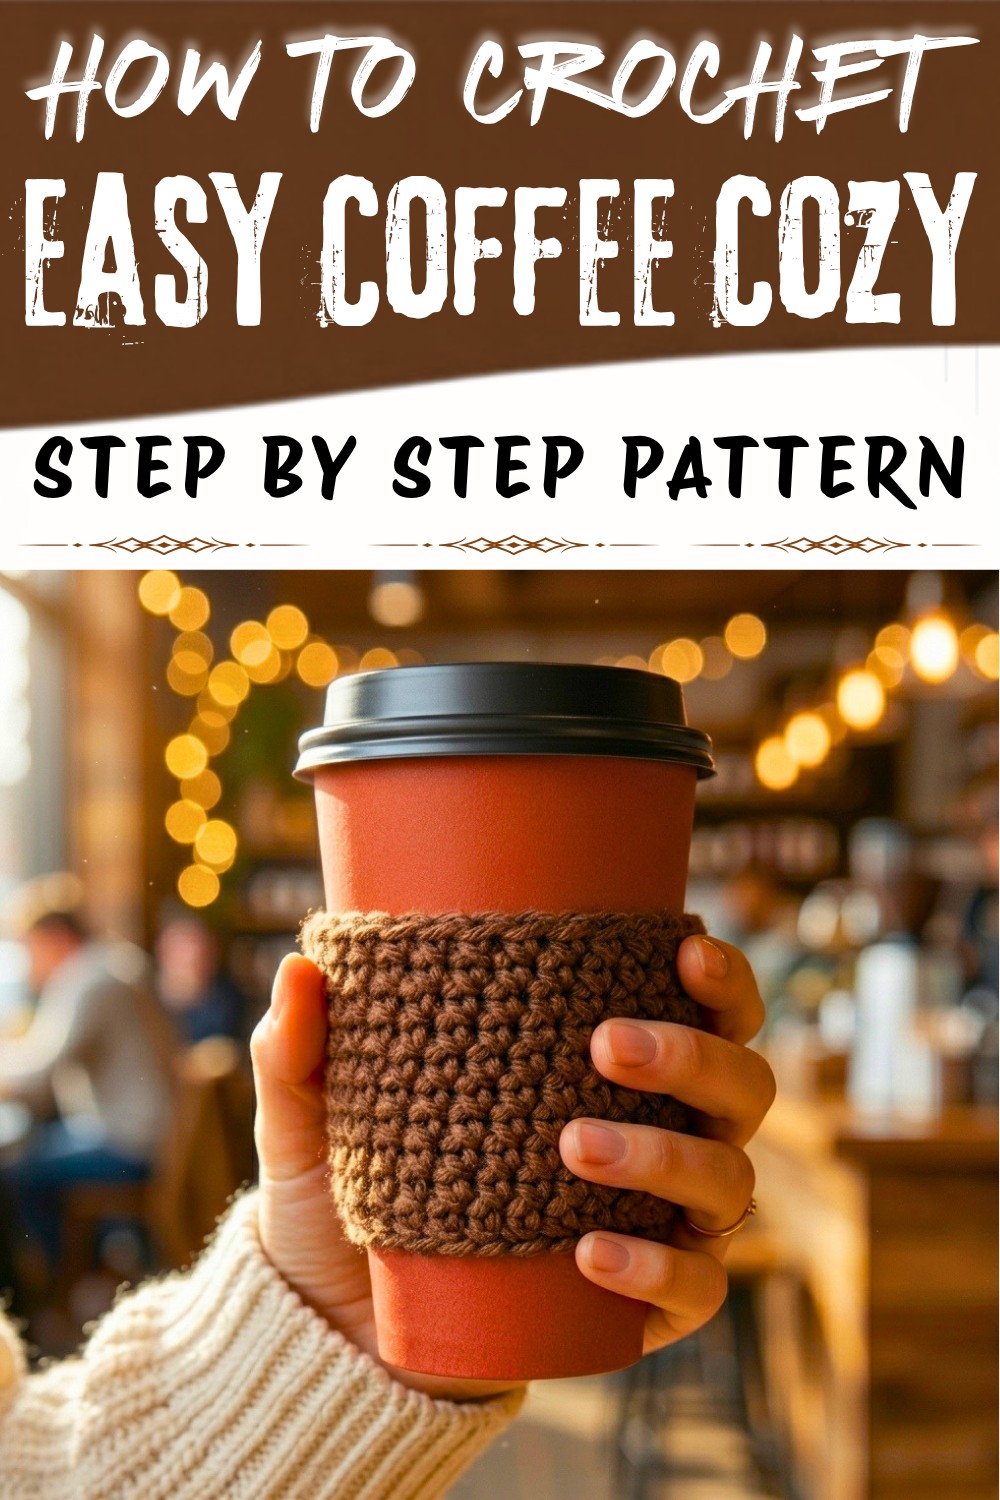
Crochet Pattern For Cup Cozy
Skill Level
Beginner-Friendly
Familiarity with single crochet (sc) and working in the round is helpful.
Finished Size
- Height: Approximately 3 inches (8 cm)
- Diameter (circumference of cup): Approximately 8 inches (20 cm), unstretched, with a slight taper for a better fit.
Note: This size is suitable for most standard cups, tumblers, or mugs.
Materials
- Yarn:
- Medium-weight (#4) yarn, acrylic or cotton (recommended for durability and ease of cleaning). Use brown yarn color in pattern.
- Approx. 50 yards.
- Crochet Hook:
- 6.0 mm crochet hook
- Notions:
- Darning/Tapestry needle
- Scissors
Gauge
- 10 rows of single crochet = 3 inches (7.5 cm)
- Ensure the chain foundation measures ~8 inches (20 cm) without stretching.
Key Abbreviations (US Terminology)
| Abbreviation | Description |
|---|---|
| ch | Chain |
| sc | Single Crochet |
| st(s) | Stitch(es) |
| sl st | Slip Stitch |
| inc | Increase (2 sc in 1 st) |
Special Techniques
1. Slip Knot
- Make a loop with the yarn. Pull the yarn tail behind the loop and pull through. Insert the hook and tighten.
2. Tension Control
- Place yarn behind your fingers to maintain even tension. Use your thumb and middle finger to hold the active stitch while crocheting.
3. Joining a Circle with a Slip Stitch
- Insert the hook into the first chain of the foundation row. Yarn over and pull through all loops on the hook.
4. Invisible Join
- After finishing, use the yarn tail and a darning needle to weave into the second st from where you left off, then pull through the last worked stitch. This creates a seamless edge.
Pattern Instructions
Step 1: Foundation Chain
- Begin by tying a slip knot on your hook.
- Ch until your chain length measures approximately 8 inches (20 cm). This is your foundation chain and the starting point for the cozy.
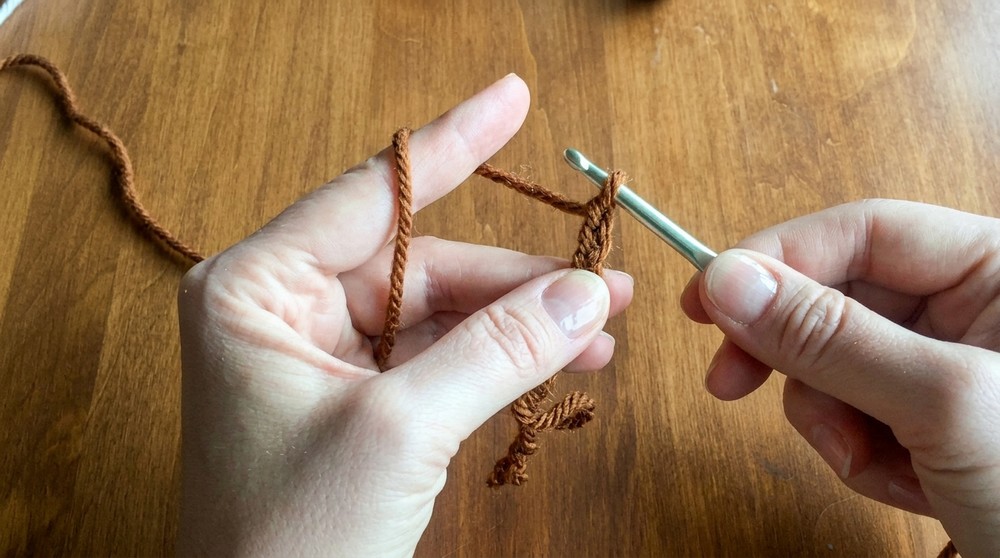
Step 2: Join the Chain to Form a Circle
- Ensure the chain is straight and not twisted.
- Insert the hook into the first chain and work a sl st to join the chain into a circle.
- Ch 1 to secure.
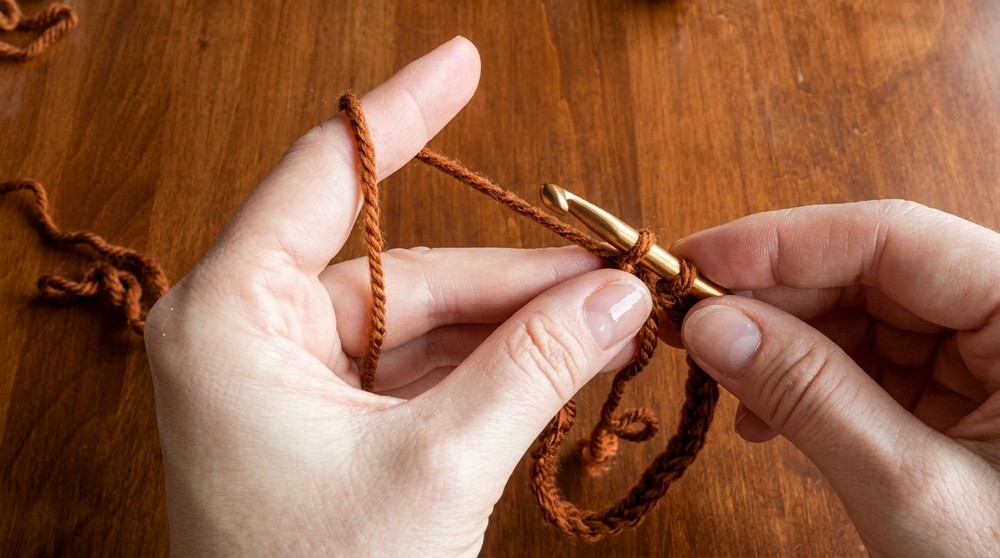
Step 3: Row 1 (Single Crochet Foundation Round)
- Insert your hook into the first chain stitch. Ensure you go under both loops of the chain.
- Yarn over, pull up a loop (two loops on your hook). Yarn over again, and pull through both loops. You have made your first single crochet (sc).
- Work 1 sc in each chain stitch around.
- When you return to the beginning, work 1 last sc in the first chain to ensure a seamless look.

Step 4: Rows 2-5 (Building the Fabric)
- Ch 1, and turn (optional to avoid a seam in the pattern).
- Work 1 sc in each sc from the previous row, making sure to insert the hook under both loops of the st.
- Continue working around.
- Important: Adjust your grip often and maintain even tension to ensure uniform stitches.
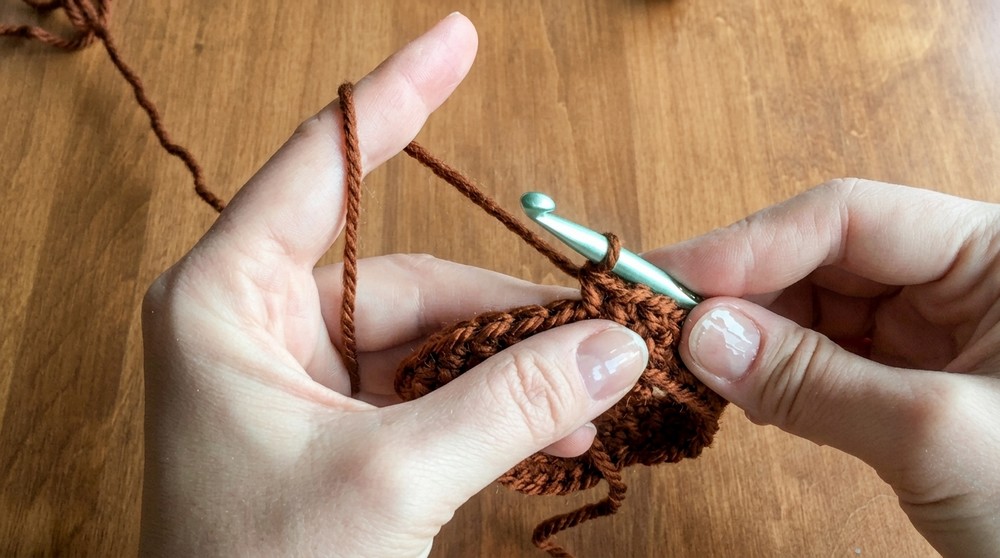
Step 5: Increasing the Taper (Rows 6-7)
- After crocheting approximately 1.5 inches (4 cm), you will begin increasing for a tapered fit.
- In the first stitch of the round, work 2 sc (1 inc).
- At approximately the halfway point of the round, 2 sc in one stitch (1 inc).
- This adds 2 stitches evenly distributed around the row, flaring the top slightly for a better fit.
Step 6: Final Rows
- Continue working in single crochet until the cozy measures about 3 inches (8 cm) tall.
- Ensure that you finish at the same starting point of your rounds (align beginning and end for continuity).
Step 7: Fastening Off
- Cut the yarn with a 6-inch (15 cm) tail.
- Pull the cut yarn through the final loop to secure.
- Follow the invisible join technique:
- Thread the loose yarn onto a darning needle.
- Insert the needle into the second single crochet from where you finished (from the back to the front).
- Insert the needle through the back of the last single crochet, completing the seamless join.

Step 8: Weaving in Ends
- Turn the cozy inside out.
- Using a darning needle, weave the tail through the back loops of several stitches from one direction and then back the other.
- Repeat this process for the starting tail at the bottom.
Finishing the Bottom Edge
- For a polished look, thread your needle and weave in and out of the bottom row (foundation chain) for 5-6 stitches.
- Pull snug and secure the ends for a professional finish.
Customization Ideas
- Striped Cozy: Alternate yarn colors every 1-2 rounds for a striped look.
- Textured Cozy: Add front post or back post stitches to create raised ridges or designs.
- Appliqué or Embellishment: Sew small crochet flowers, buttons, or patches to personalize the cozy further.
- Size Adjustment: Adjust the foundation chain length for a smaller or larger cup. Ensure the chain count is not overly stretched when wrapping around your cup.
Tips for the Best Results
- Practice Makes Perfect:
- If new to crochet, practice single crochets and tension control before starting the pattern.
- Consistent Tension: Be mindful of your grip and adjust as needed to prevent the cozy from being too tight or too loose.
- Test Fit: Slide the cozy onto your cup after finishing a few rounds. Adjust the size if necessary by adding or skipping increases.
- Durable Finishing: Ensure all ends are securely woven to withstand regular use.
- Washable Yarn: Use machine-washable yarn for easy cleaning since the cozy will handle spills.
Conclusion
Your cozy is now complete! This simple yet elegant cup cozy enhances the aesthetic and functionality of your beverages. Its snug fit ensures it stays in place while in use, keeping your hands comfortable and cups stylish. With subtle increases for tapering, clean finishing techniques, and seamless edges, the cozy is perfect for gifting or personal use.