
Fill your day with fun by making an easy crochet llama key cover pattern, ideal for beginners and perfect for adding charm to your essentials.
Keys can often be little troublemakers, scratching everything they touch when tossed into a bag or pocket. Adding a soft llama key cover brings both protection and charm to your daily essentials. This project is perfect for turning your keys into something warm and cheerful while ensuring they stay safe. A little key cover can make every day just a bit brighter with its adorable details and practical use.
Free Easy Llama Key Cover Pattern for Handmade Gifts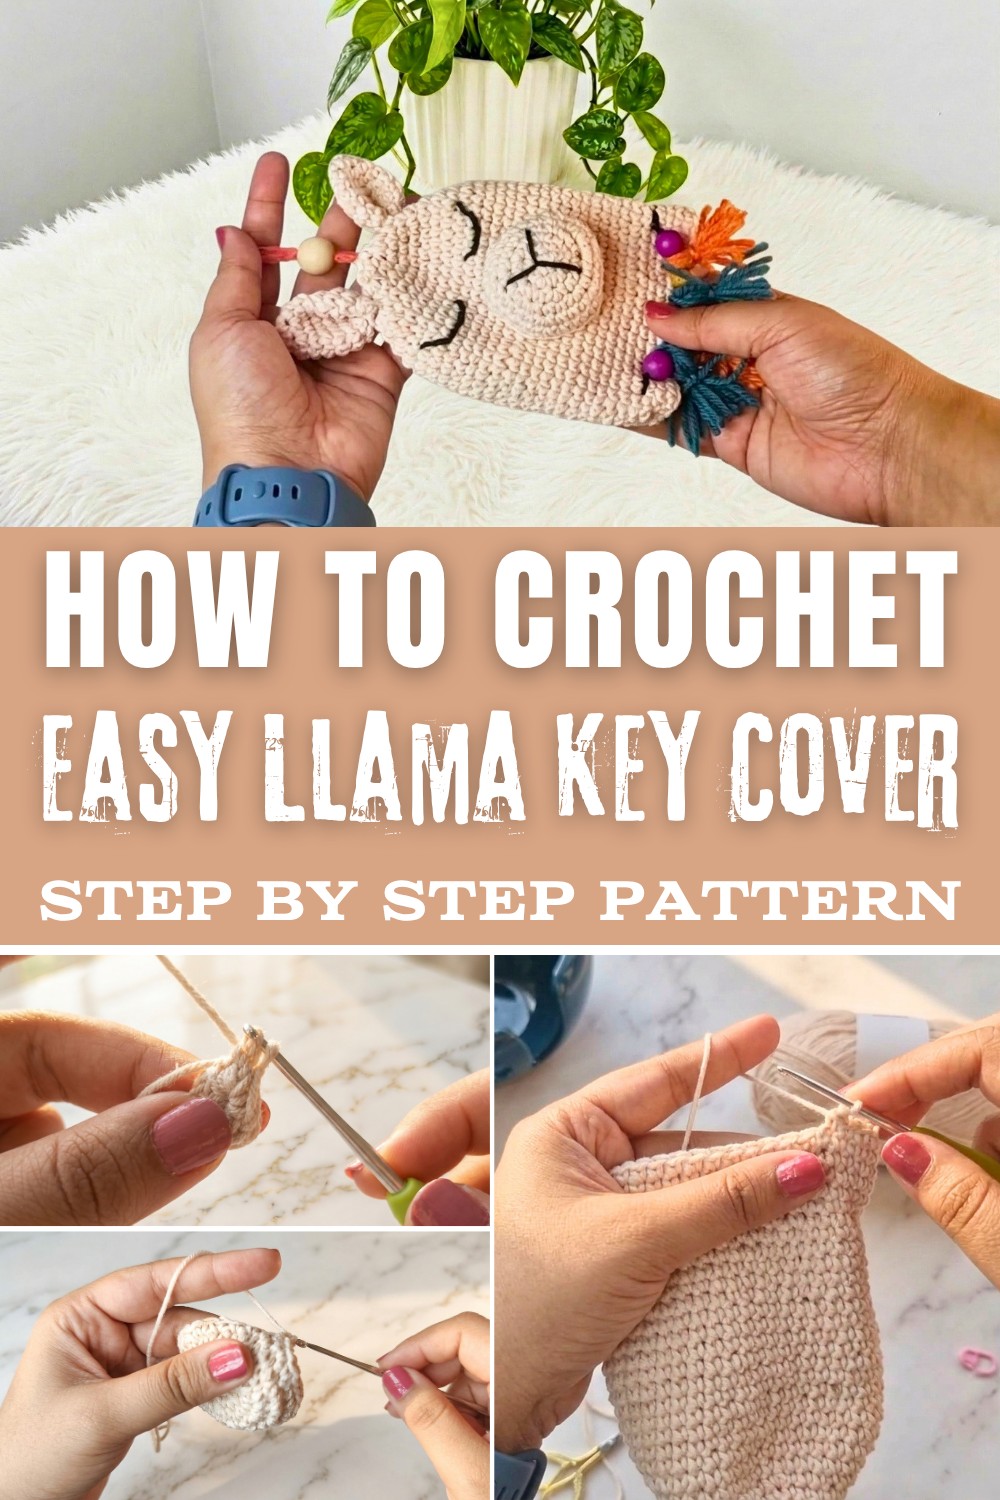
This guide introduces simple crochet techniques like single crochet stitches, increases, and the magic ring. These steps help in shaping the circular base and the plush llama features, such as its ears and snout. It's a beginner friendly project, yet enjoyable enough for experienced crocheters. The magic ring especially is a versatile technique that can be used for crocheting other items like tiny animals, ornaments, or even small toys.
By following this pattern, you'll learn how to make rounded 3D shapes, embroider facial details, and attach keychains securely. Each step teaches skills that you can carry forward into other projects, whether it's making practical accessories, holiday decorations, or thoughtful gifts. The skills you gain here can open up fun ideas for crafting other small items using similar stitches.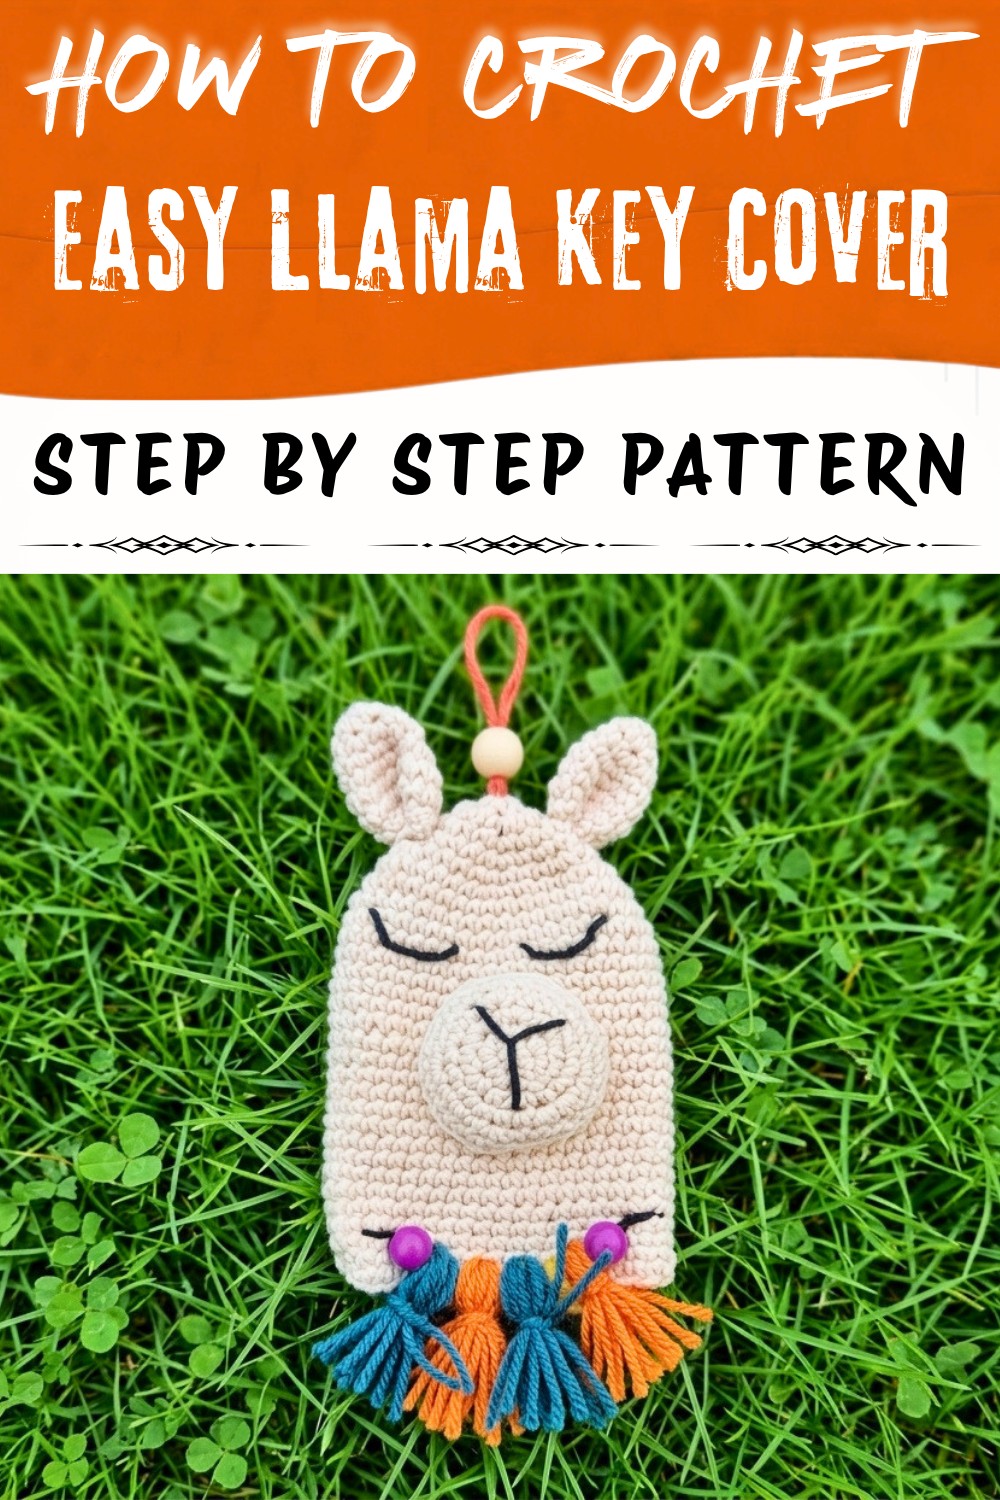 This llama key cover brings practicality wrapped in charm and creativity. It's easy to make, fun to customize, and a joy to keep or share with friends and family.
Modren Llama Key Cover Pattern
Introduction
Do you often worry about your keys scratching your phone or electronics inside your bag? Here's a super fun and creative way to solve that problem-making an adorable llama key cover. This easy crochet project is great for keeping your keys protected while adding a cute decorative touch. The pattern is simple to follow and can even be customized into different animal shapes.
Quick Overview of Pattern
- Project Type: Key cover
- Main Design: Adorable llama
- Special Features: Functional, customizable, and beginner friendly
- Time Required: Approximately 2-4 hours
Notes
- Use light or sport weight yarn for best results.
- Always use a stitch marker to keep track of rows.
- Customize the design with colors, beads, and accessories.
Skill Level
Beginner to Intermediate
Materials
- Light/sport weight yarn (main colors: beige and black)
- Crochet hook (2 mm)
- Stitch marker
- Yarn needle
- Scissors
- Stuffing (or scrap yarn as an alternative)
- Keyring
- Optional: Beads for decoration
Measurements / Sizing
Finished llama key cover fits approximately 6-8 keys and comfortably holds a standard keyring.
Gauge
Gauge is not critical for this project. However, tighter stitches are recommended for durability.
Stitch Abbreviations
- ch: Chain
- sc: Single Crochet
- inc: Increase (2 single crochets placed in one stitch)
- dec: Decrease (single crochet two stitches together)
- st: Stitch
- magic ring: Adjustable loop used for circular crochet
Special Stitches
- Magic Ring:
- Wrap yarn across the back of two fingers to create an "X."
- Insert your crochet hook under the bottom loop, pick up the top loop, twist, and pull through.
- Chain one to secure the ring, then work your initial stitches inside the ring.
- Decrease:
- Pick up the front loop of two stitches (creating three loops on hook).
- Yarn over, pull through the first two loops, then yarn over again and pull through the final two loops.
Step-by-Step Crochet Pattern
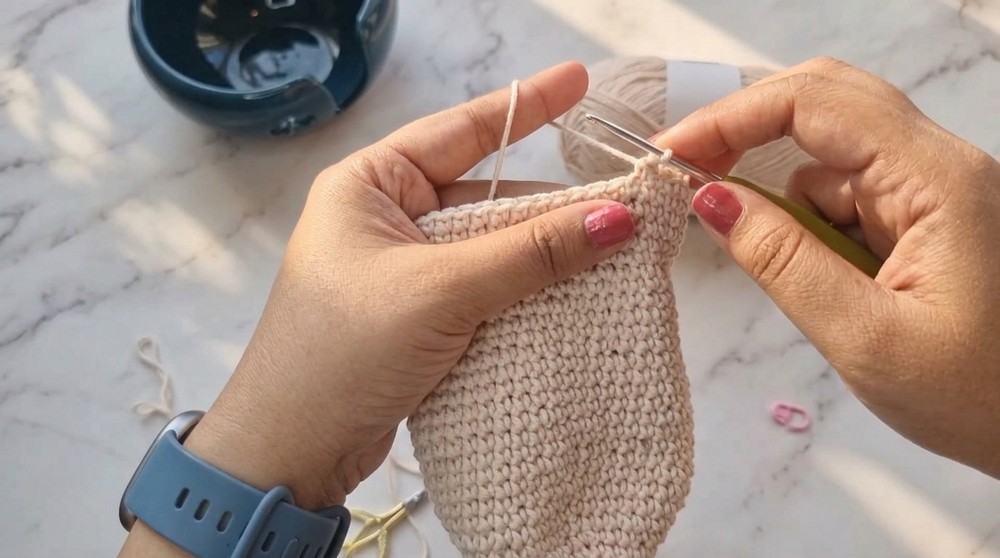
1. Body Structure
The body forms the base of the key cover.
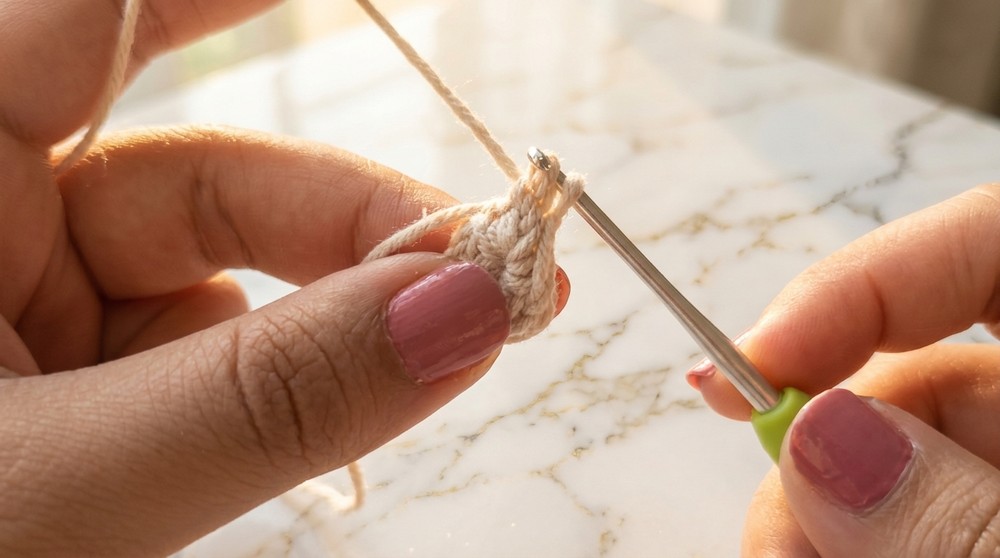
- R1: Make a magic ring, then crochet 6 sc into the ring. Pull the tail tight to close the ring. (6 sts)
- R2: Inc into each stitch around. (12 sts)
- R3: (1 sc, inc) repeat 6 times. (18 sts)
- R4: (3 sc, inc) x2, 3 sc, inc, 3 sc, inc, 3 sc, inc. Each repetition finishes with 24 sts total.
- R5: 4 sc, (inc) x2, 10 sc, (inc) x2, 6 sc. (28 sts)
- R6: 5 sc, (inc) x2, 5 sc, inc, 6 sc, (inc) x2, 6 sc, inc. (34 sts)
- R7: 6 sc, (inc) x2, 15 sc, (inc) x2, 9 sc. (38 sts)
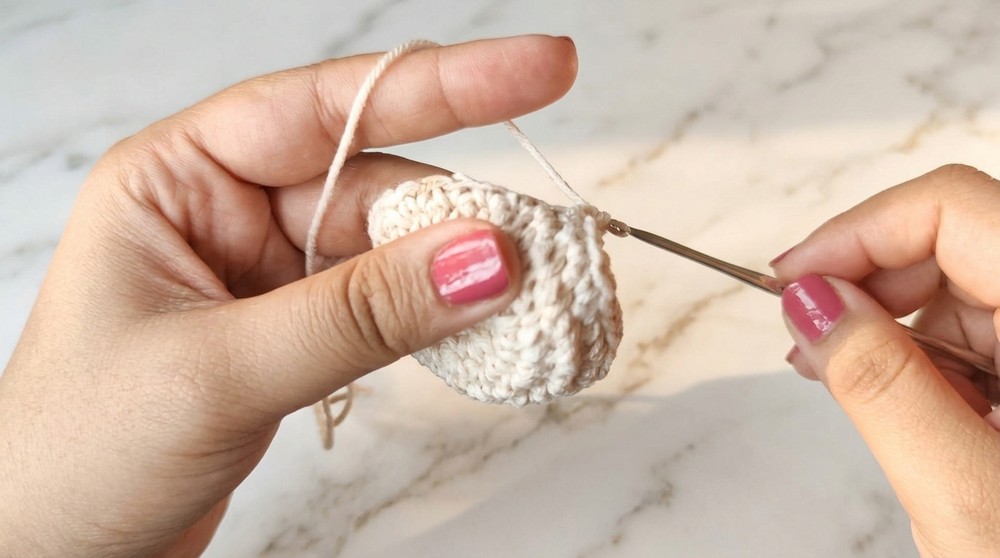
- R8: 8 sc, inc, 18 sc, inc, 10 sc. (40 sts)
- R9: 9 sc, inc, 19 sc, inc, 10 sc. (42 sts)
- R10-R33: Work 1 sc in each st around. Perform 24 rows like this, keeping a consistent stitch count of 42 stitches per row. Finish the final row with a slip stitch into the next stitch. Leave a long tail for sewing and securing the ends later. (42 sts)
2. Muzzle
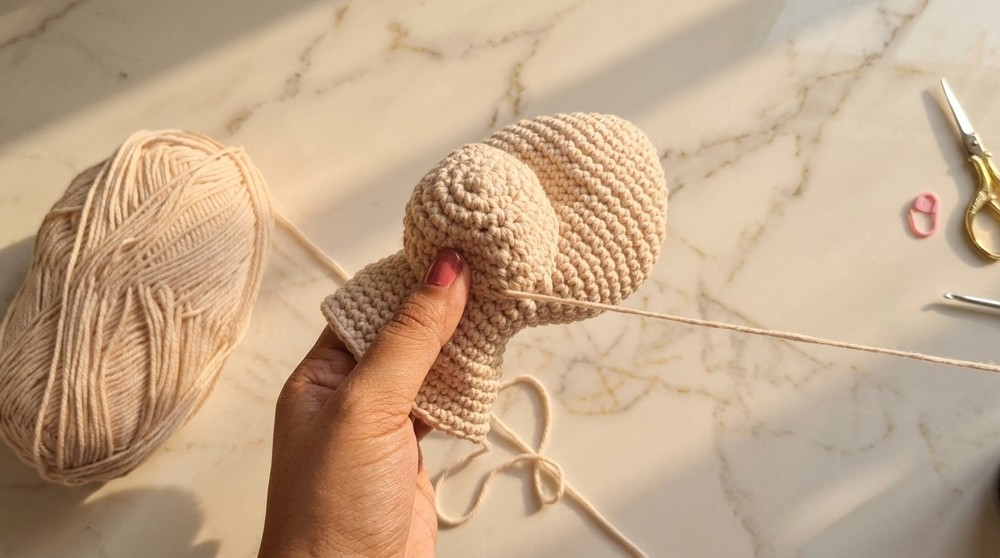
The muzzle creates the adorable snout for the llama.
- R1: Make another magic ring, then crochet 6 sc into the ring and close. (6 sts)
- R2: Inc into each stitch around. (12 sts)
- R3: (1 sc, inc) repeat 6 times. (18 sts)
- R4: (2 sc, inc) repeat 6 times. (24 sts)
- R5: (3 sc, inc) repeat 6 times. (30 sts)
- R6-R8: Work 1 sc in each st around. Maintain a consistent stitch count of 30 stitches per row. Finish and leave a long tail for sewing.
Assembly (Muzzle):
- Sew the muzzle onto the body approximately 10 rows from the bottom. Position it in the middle of the key cover.
- Sew halfway, stopping to add stuffing to give the snout shape and volume. Then finish sewing to secure the muzzle in place.
3. Embroidery
Nose:
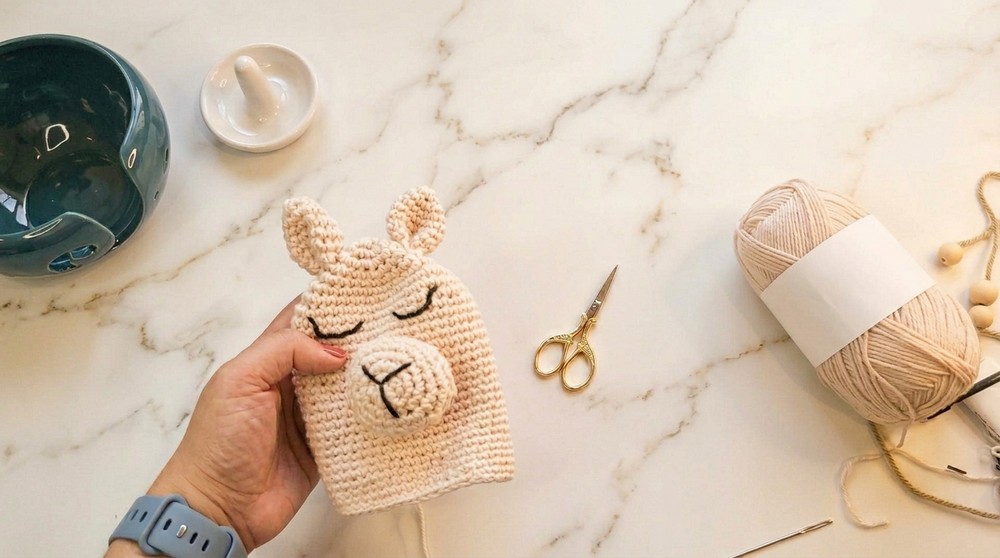
- Thread black yarn onto your yarn needle. Create a Y shaped nose across the stitches on the muzzle:
- Start at the center of the muzzle, and make a vertical stitch down.
- Pull the yarn through again to reinforce the vertical line.
- Then make two diagonal stitches extending outward from the base of the vertical line, completing the "Y" shape. Adjust as needed for symmetry.
Eyes:
- Use black yarn to stitch half moon shapes (closed eyes) on each side of the muzzle.
- Start at the corner of one eye, stitch down into a semi circle, and ensure even spacing.
- Optionally, add lashes by extending small stitches outward from each corner.
4. Ears
Create two ears and attach them symmetrically to both sides of the llama base.
- R1: Create a magic ring, then place 6 sc into the ring. (6 sts)
- R2: 1 sc in each stitch around. (6 sts)
- R3: Inc into each stitch. (12 sts)
- R4: 1 sc in each stitch around. (12 sts)
- R5: (1 sc, inc) repeat 6 times. (18 sts)
- R6-R7: Work 1 sc in each st around for 2 rows. Maintain 18 stitches per row.
- R8: (1 sc, dec) repeat 6 times. (12 sts)
Leave a long tail for sewing.
Assembly (Ears):
- Fold the bottom of each ear in half and sew the ends together to create a slight curve.
- Stitch each ear to the main body at the third row down from the top. Secure with simple stitches.
5. Keyring Holder
- Make a chain of 75 chains using any color yarn.
- Pull the chain through the top magic ring of the body. Insert your crochet hook into the ring, loop the chain through, and pull it to the other side.
- Loop the keyring through the two yarn ends, securing the ring.
- Pull both yarn ends back through the magic ring to tighten.
- If you wish, add decorative beads or tassels at the tail ends for a playful touch.
Conclusion
Congratulations, You've created a delightful crochet llama key cover. This functional accessory is both cute and practical, protecting your electronics from scratches and adding a fun craft to your daily life. Personalize it with colors, patterns, or accessories and use it for yourself or as a thoughtful handmade gift.